Crocheted Music Note Wall Hanging
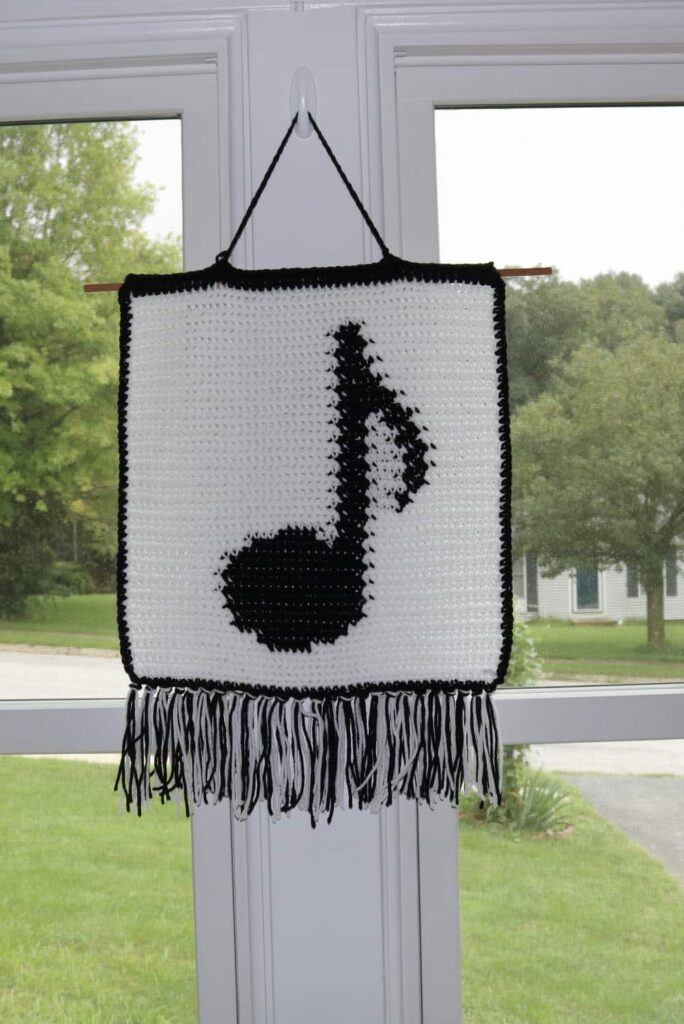
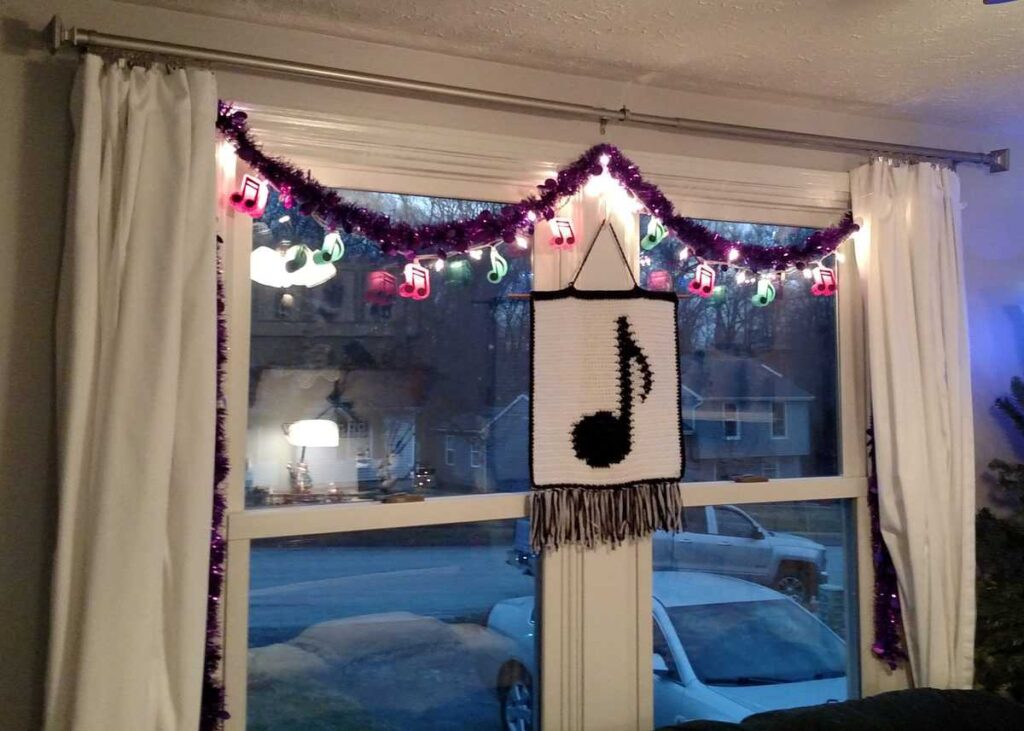
I created this music note wall hanging using a single crochet stitch.
[sc name=”This Post May Contain Affiliate Links”]
First, I drew out my design on Graph Paper. You can make a lot of different designs this way. I have crocheted blankets with words on them that I will show you in another post.
If I recall correctly, I had a large music note (an eighth note) that I cut out. Then I traced around it onto my graph paper, and then I marked with X’s to fill in the shape. I numbered my rows to help keep my place while I was crocheting.
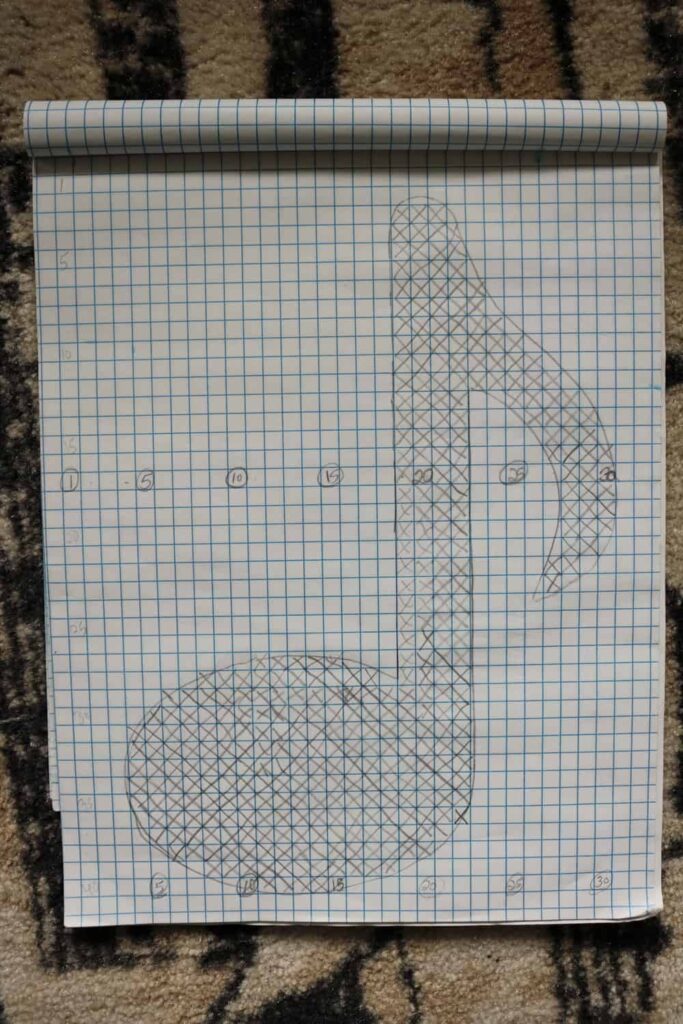
Then I single crocheted several rows in white (with extra room on both sides of the note that are not shown on the graph paper). When I came to the row of black, I made a slip knot in the black, and began crocheting with it, crocheting over the loose white yarn string, the same way that you do when you are crocheting over a loose end or “tail.” When the few stitches of black were done, I let the black yarn just hang there– I did not crochet over it with the white yarn. Then when I turned the row and came back, I picked up the black yarn again and used it, crocheting over the white.
The trick is, you have to be able to go both directions in your mind– when you are working on the “back” side, you are going the opposite way on your pattern– you are not always traveling left to right. Every other row you are working right to left on your pattern. You could number them so that you would always know the odd rows are the front, and the even rows are the back (or vice versa.)
When I was finished, I crocheted a single black row around the square. At the top I crocheted double stitches, so that I could insert a dowel rod for hanging. I added yarn fringe to the bottom to complete it. I attached a single chain of black yarn to then hang the whole thing on a hook.
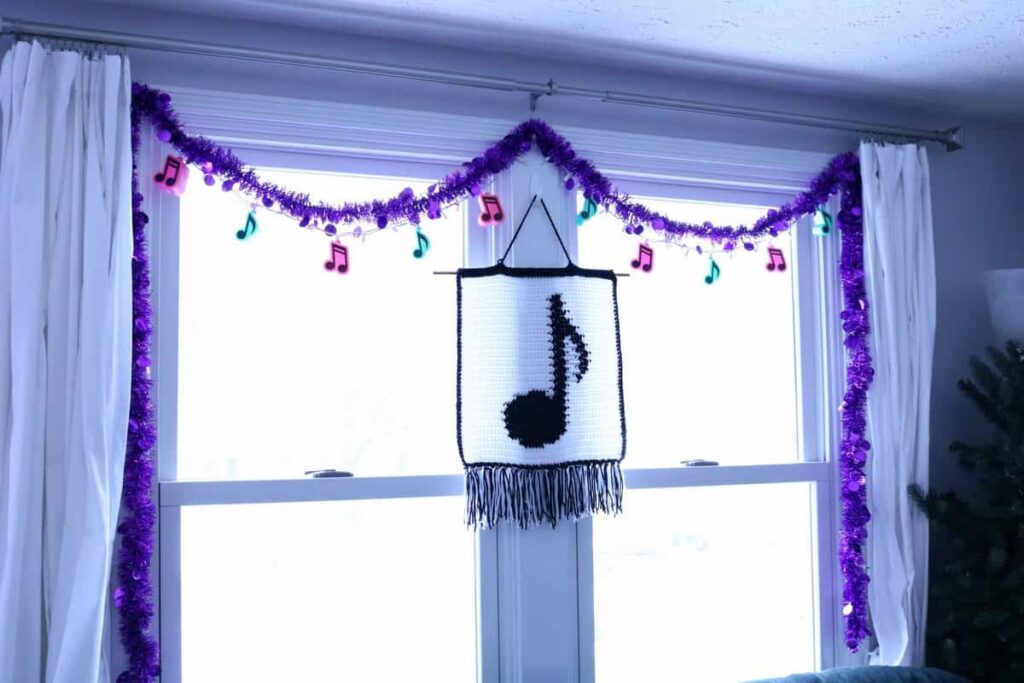
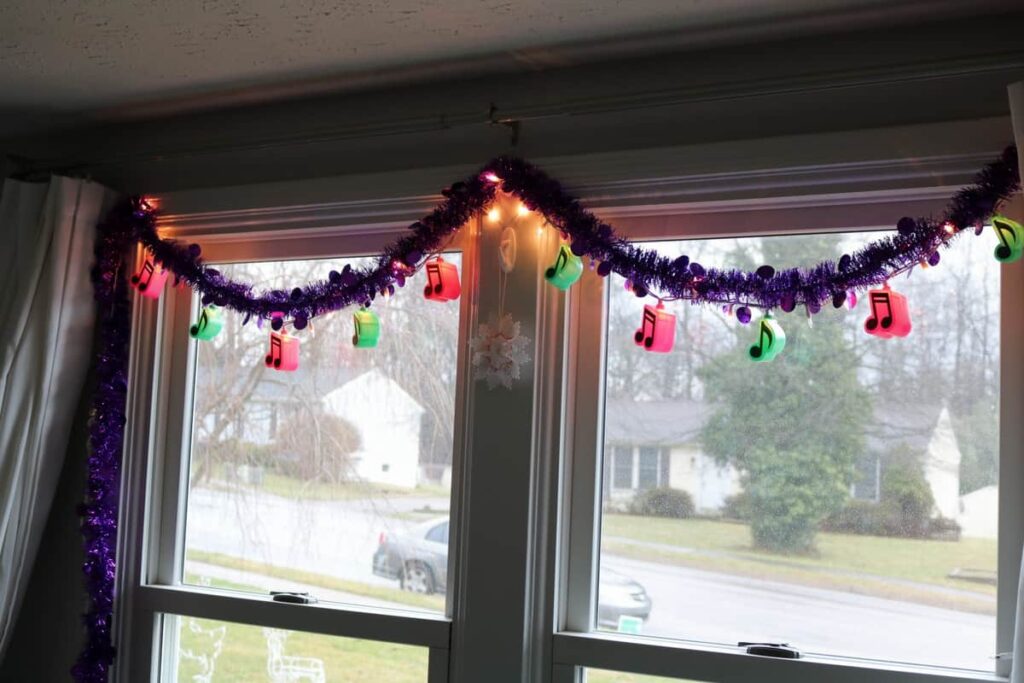
I really enjoy displaying this wall hanging for my piano students. I hung it on the window with my music note light string.
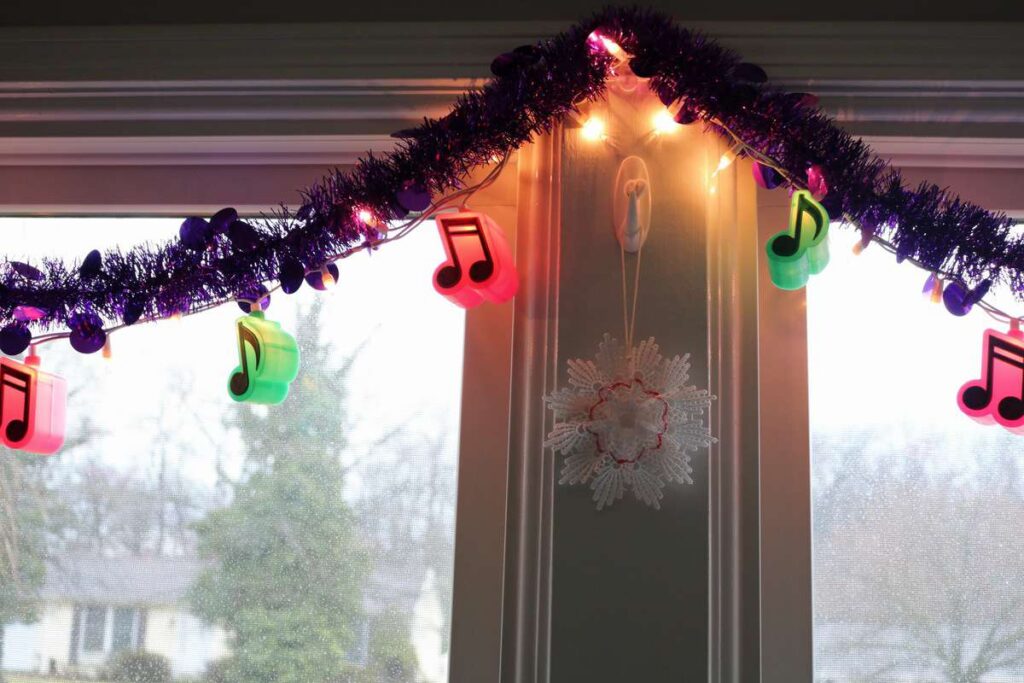
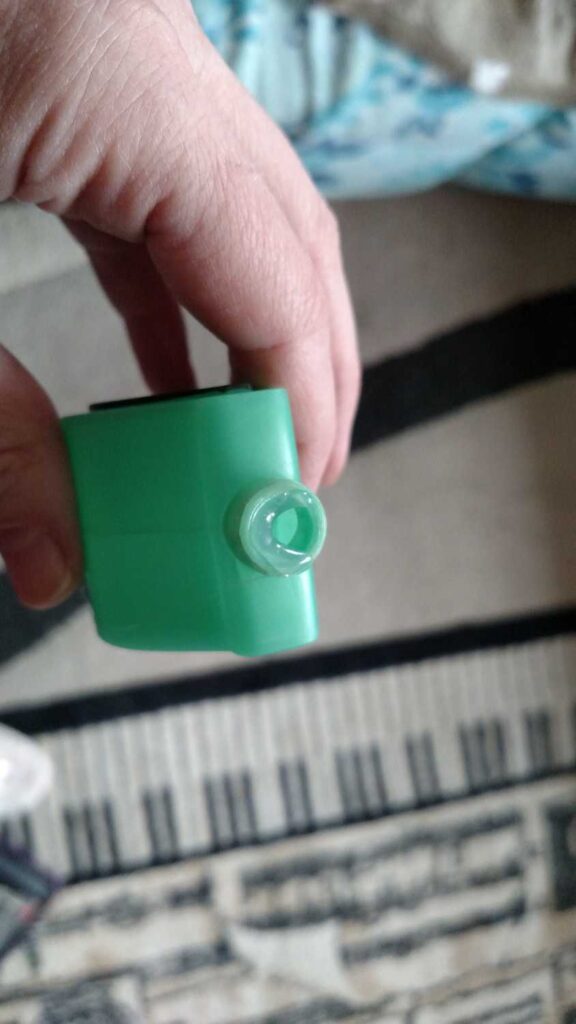
The original lights had stopped working. I saved the plastic note covers. When I wanted to put them over another light string, the holes were too big and they would not stay put. Then hot glue came to the rescue. It took just a tiny bit of glue to make the hole small enough to stay on the light string. (In the picture, much more glue is shown than necessary– a little trial and error and I got it right.)
To store this piece when I am not using it, I just roll it up around the dowel rod. I hope you enjoyed seeing how I created this single crocheted Music Note Wall Hanging. To see how to single crochet, both in pictures and with a video, Click Here.



Hi! I’m wanting to make this for a friend in honor of her mom who passed but I’m a little confused on the design. When crocheting do you start your design left to right, or bottom to top?
I did it bottom to top!. So you can start in bottom left corner, row 1. Then keep in mind that all your odd numbered rows are the front side, and all the even numbered rows are the back side. Does that make sense?
Yes. Thank you so much!! What confused me was on the graph I noticed the numbers to the left and right of the note so wasn’t sure if it was a row or “column” but I think I’m good to go. Thank you so much!! I’m really excited for this project!
I’d love to see a picture when you’re done!
Of course! How do I post a picture in the comments?
I don’t think you can, but you can email it to me at b4andaftersblog at gmail dot com.
As a musician, I love all things music decor. This wall hanging is so fun, and looks like a good stashbuster. I have chosen this as one of my featured projects for this week’s Snickerdoodle Create Bake Make Link Party, which goes live Saturday at 5pm EST.
Thank you so much for the feature, Alexandra! I did not know you were a musician!– what instrument do you play?
Really cute, Liberty!