
How to Copy a Shirt
Have you ever wondered how to make a pattern so you can copy a shirt and sew it? If so, I have the answer! Have you ever asked yourself (or Google, of course) the following questions?
- How do you duplicate shirts?
- How to copy a shirt design
- How do you copy a pattern?
- Copy your favorite T-shirt
- How to copy a shirt pattern
Do you have a favorite shirt or piece of clothing and wish that you had more of them? Or maybe your favorite shirt is wearing out and you really want another one? For me, I just wanted my favorite shirt in another color! This is how I copied my shirt!
Okay, so I videoed a lot of this process so you can see exactly what I did! I did speed it up, so it won’t take near as long to watch it as it did for me to actually make it…. Watch the video for a lot more details!
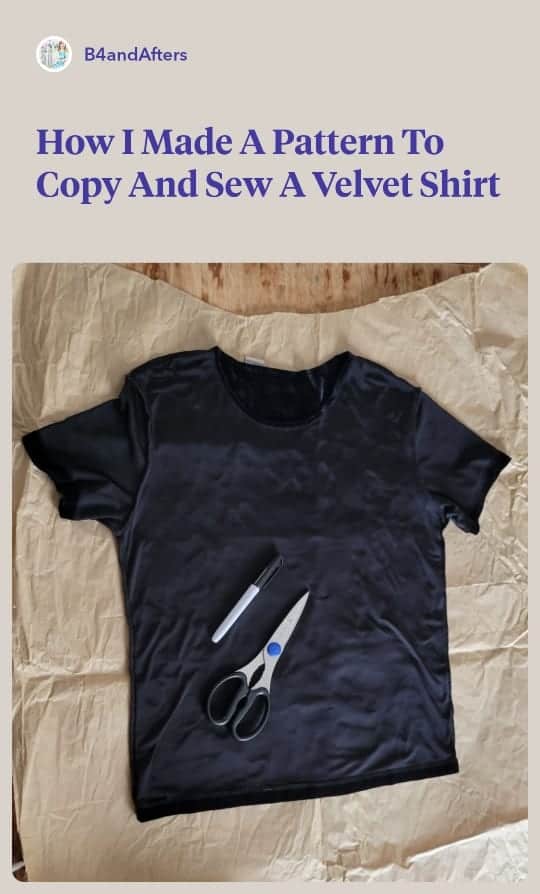
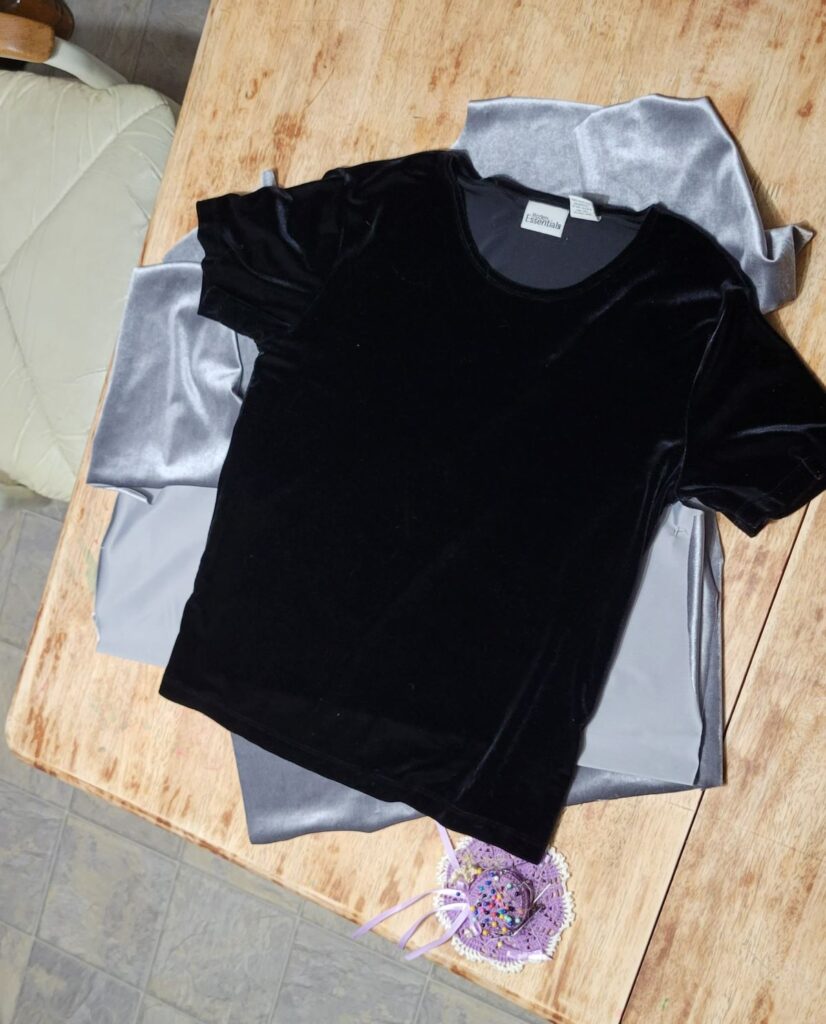
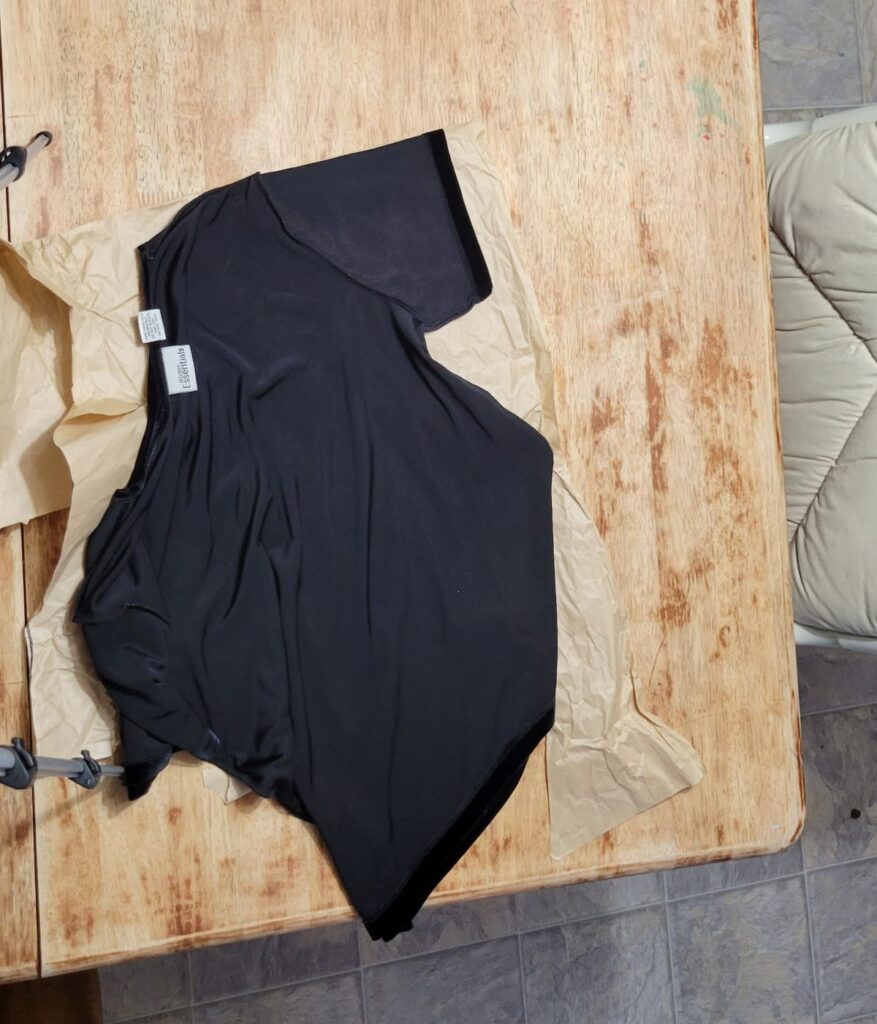
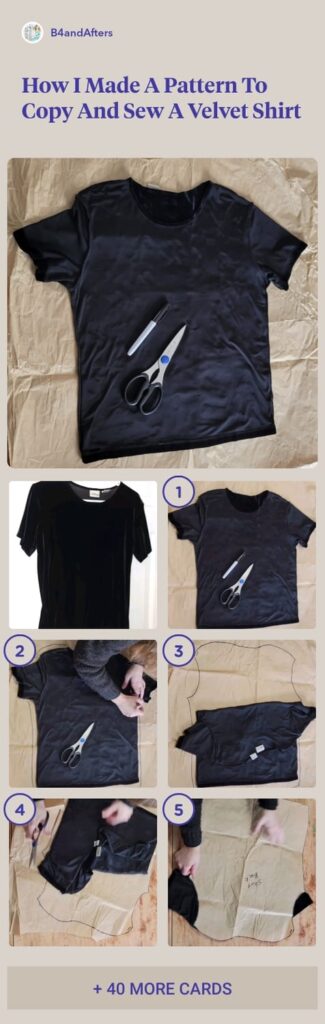
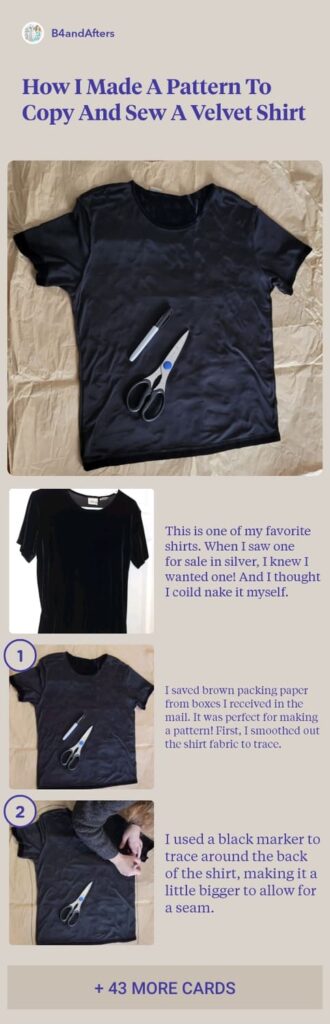
This is one of my favorite shirts. When I saw one for sale in silver, I knew I wanted one! And I thought I could make it myself.
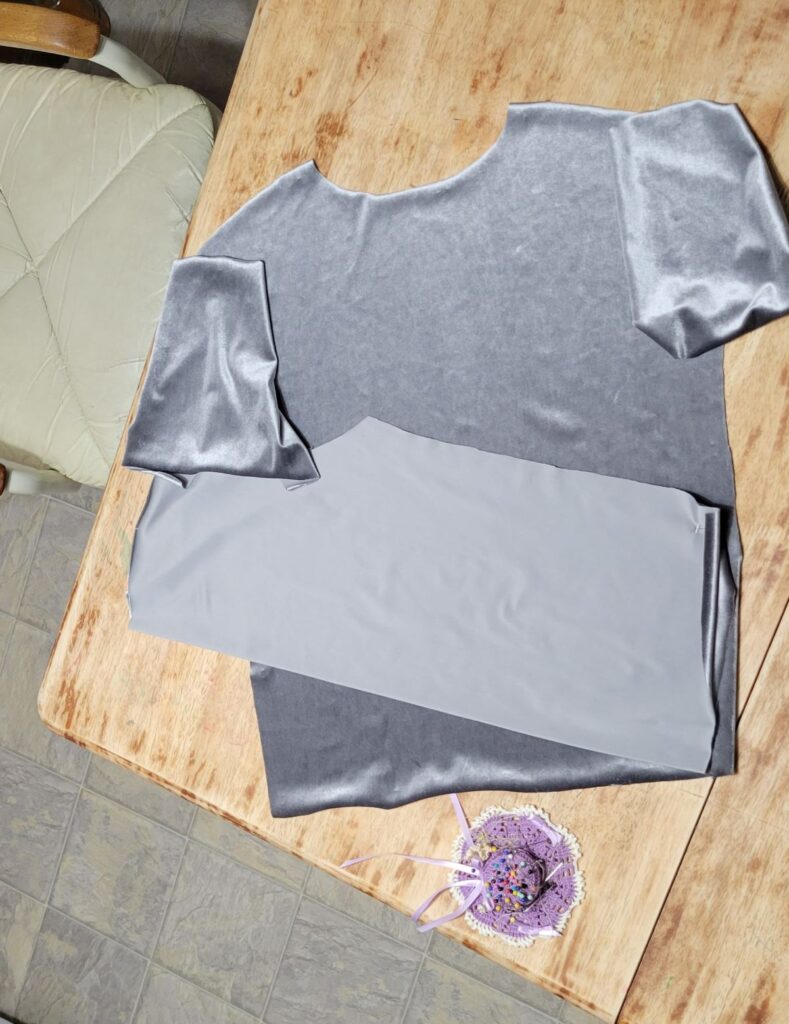
I saved brown packing paper from boxes I received in the mail. It was perfect for making a pattern! First, I smoothed out the shirt fabric to trace it onto the paper.
I used a black marker to trace around the back of the shirt, making it a little bigger to allow for a seam. Then I cut it out. I labeled it “Shirt Back.” Then I laid out the shirt with the pattern on top to see if it matched.
Shop the Post

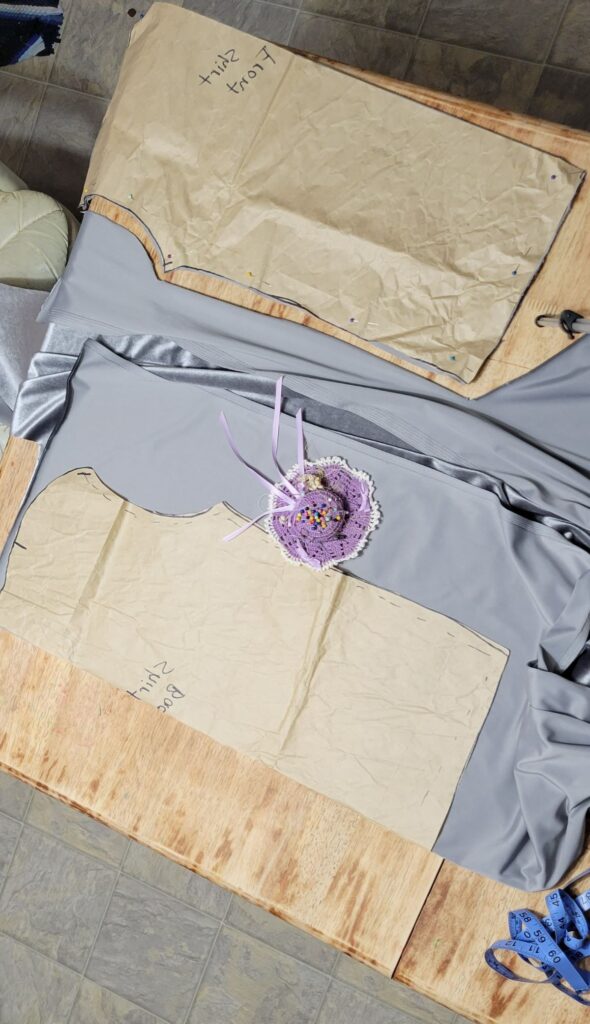
I folded the pattern in half and trimmed it so both sides would be symmetrical. I marked and cut notches to mark the neck opening, and drew the seam allowance just for fun.
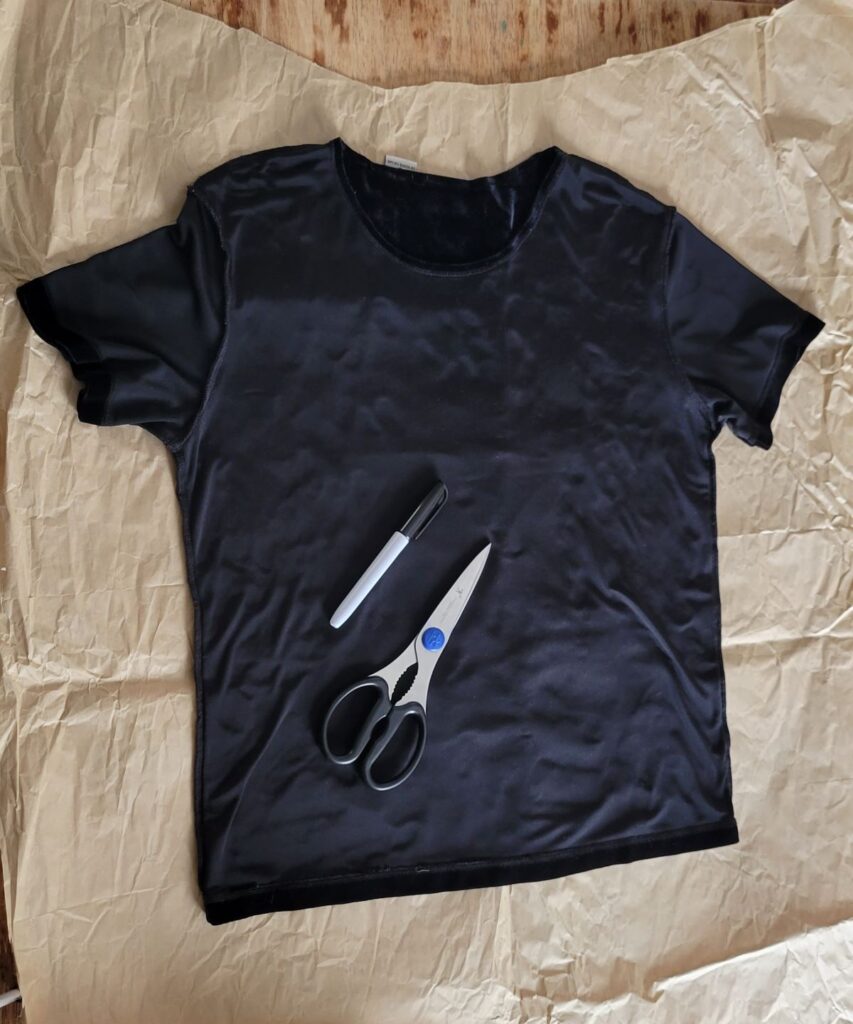
I used the same method to cut the Shirt Front. Be sure to draw past the shoulders to allow for the seam. Did you notice that the shirt is inside out on purpose, to better trace the pieces?
Since it needs to be symmetrical, fold it in half. I decided to just tear my pattern in half and cut it on a fold just like a regular pattern would do. It is easier than cutting the entire shirt flat.
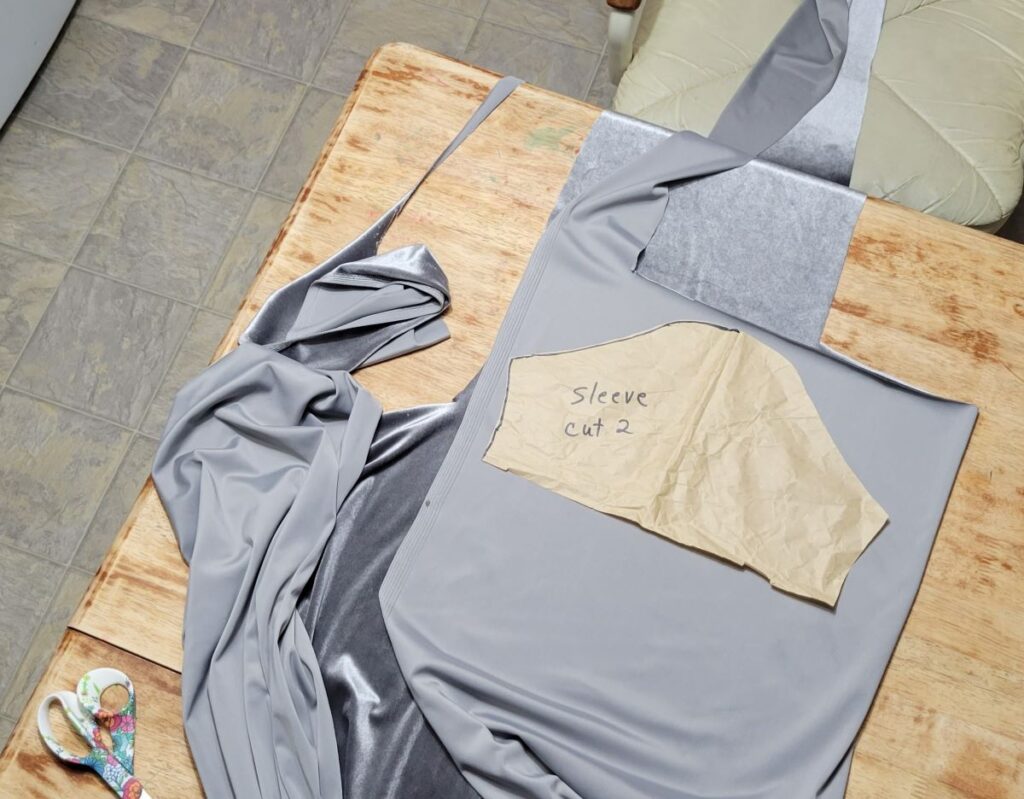
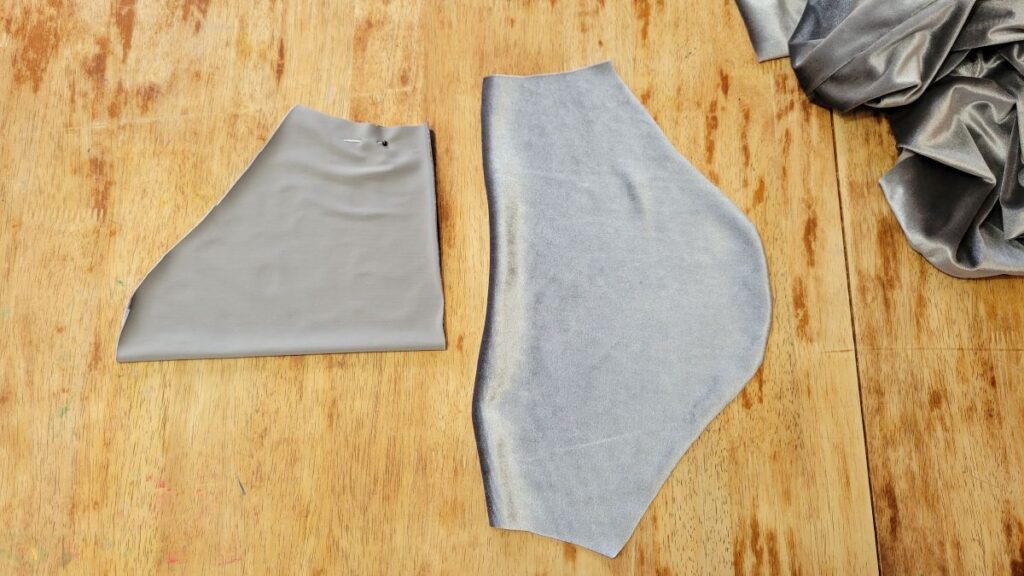
Lastly, I traced a sleeve on a folded paper. I could have traced the shirt front and back this way, by folding the shirt in half.
Cutting the shirt sleeve on a fold in the paper made it a lot easier than trying to figure out the sleeve shape unfolded!!
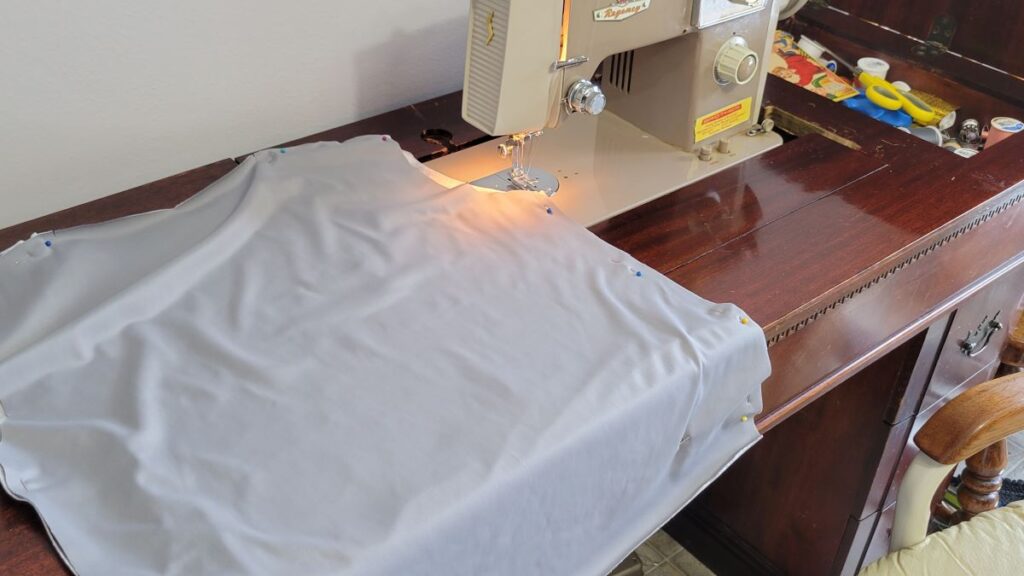
Measure the folded fabric to make sure it is folded evenly. Pin the pattern to the folded fabric.
*Make sure your velvet runs soft when you rub your hand on it, the same direction for all your pieces.
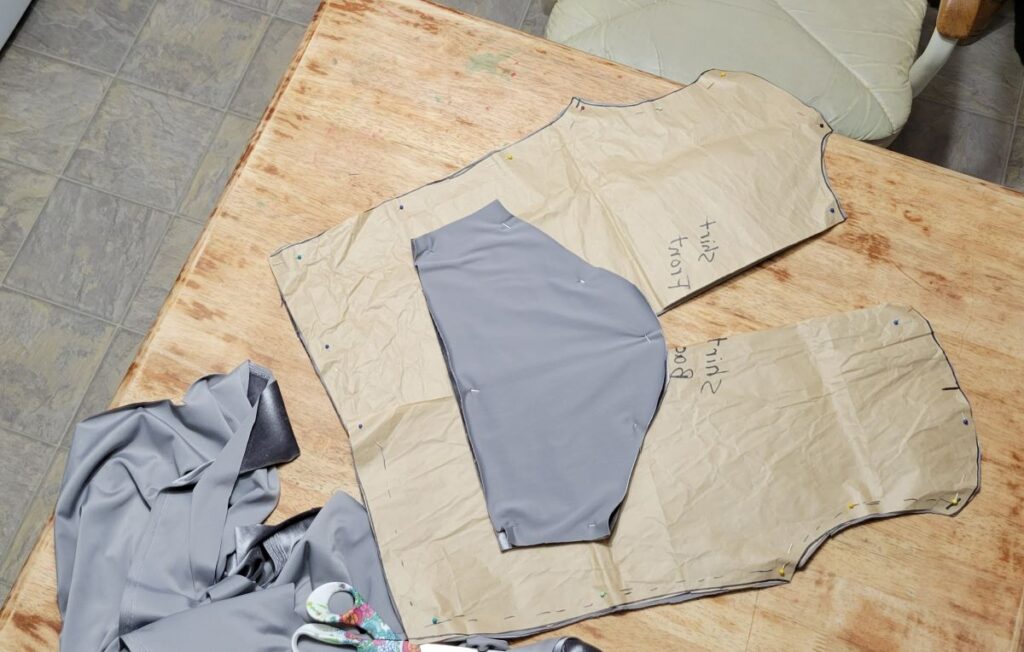
Pin the Shirt Back on a fold.
Then cut it out.
Pin the sleeve piece on two layers of fabric.
This is a great beginner sewing project. It doesn’t get much easier than 4 pieces to make a shirt with sleeves!
- Copy Shirt onto paper. 2. Cut new fabric from pattern. 3. Sew shirt.
Pin the side and shoulder seams.
Pin the shoulder seams.
Begin the sewing process by sewing the side seams.
Sew the shoulder seams next.
Finish the second shoulder seam. At this point I tried it on. It fit great, and looked like a tank top. It’s easier to make cutting/sewing adjustments now, before adding sleeves.
Fold the sleeve piece and sew its short seam.
Then hem each sleeve. (With velvet, it’s better to go darker rather than lighter with the thread color.)
This is the hardest part (besides hemming the neck)…. attaching the sleeve to the body.
Pin the seams together, then find the center top of the sleeve to pin to the shoulder seam. Clip the curves a little to help it fit. The first sleeve turned out so well!
I decided to hem the neck by doing a rolled hem but in two steps. Fold over once, sew all around. Fold over again, sew all around again.
The neckline is the most vulnerable area. If you make any sewing mistakes, they will be seen unless you wear a scarf!
Lastly, sew a wide rolled hem around the bottom.
Shop the Post
I wish I could sew as fast in real life, as these sped up videos make it seem!
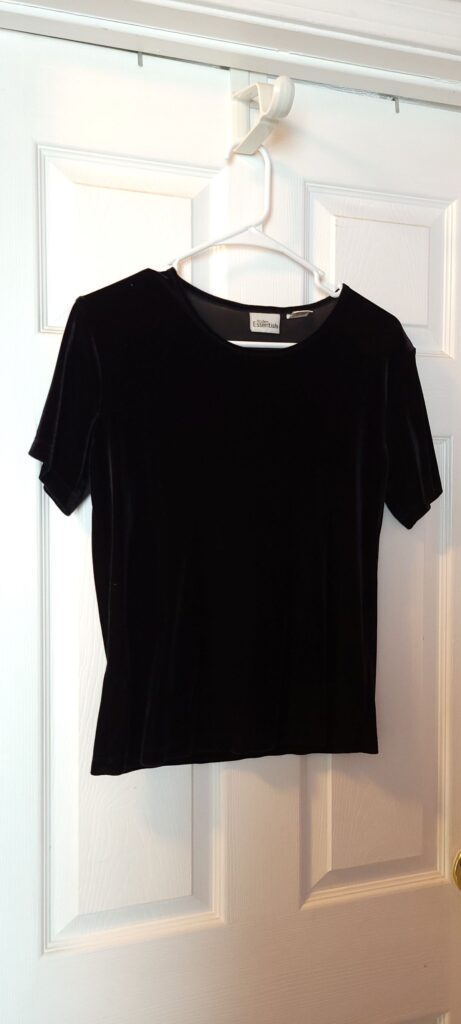
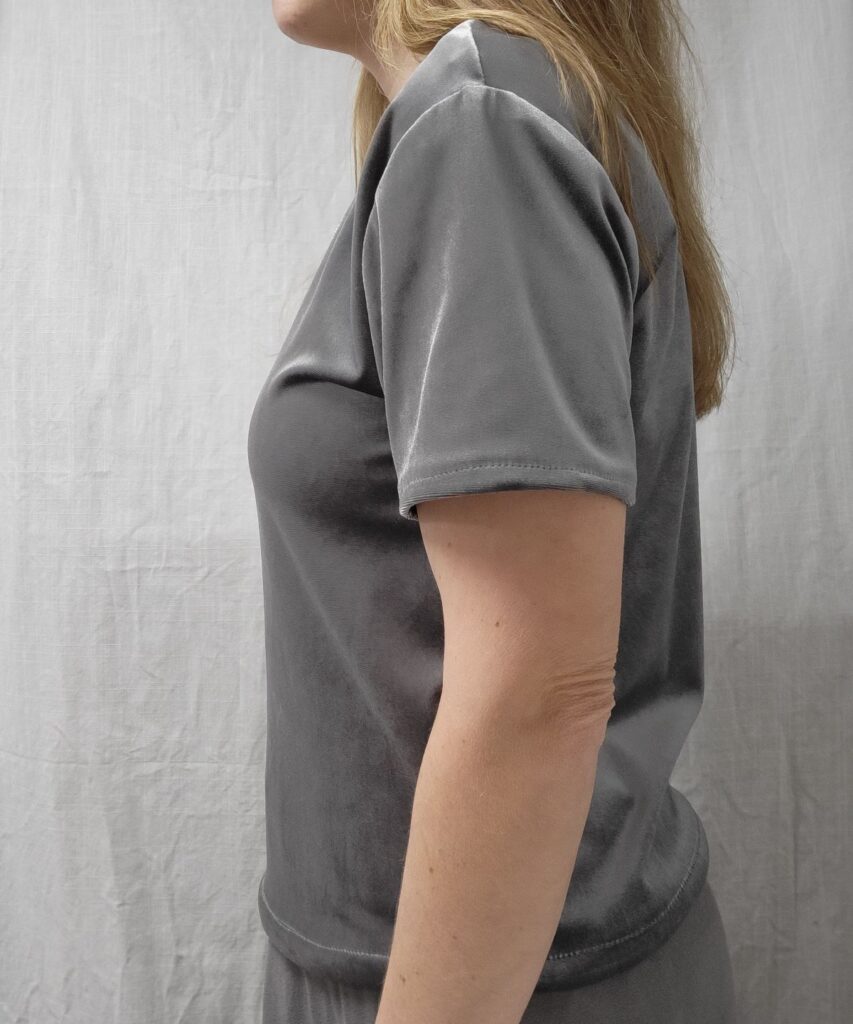
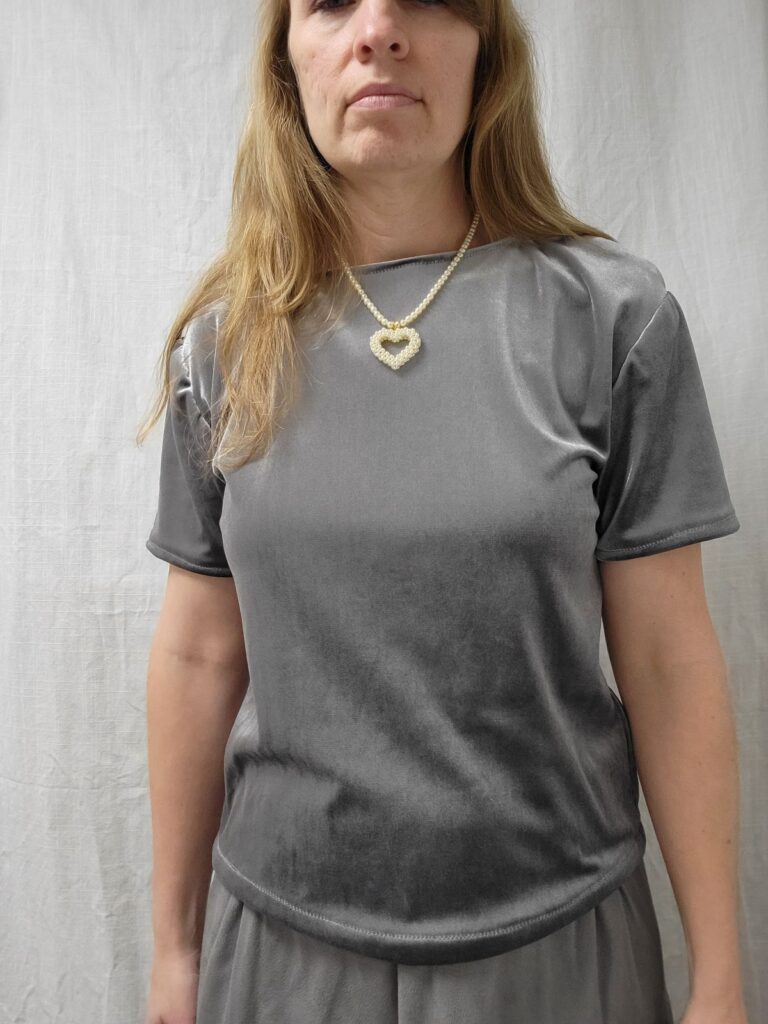
Ok, now to try it on!
From the side….
From the front.
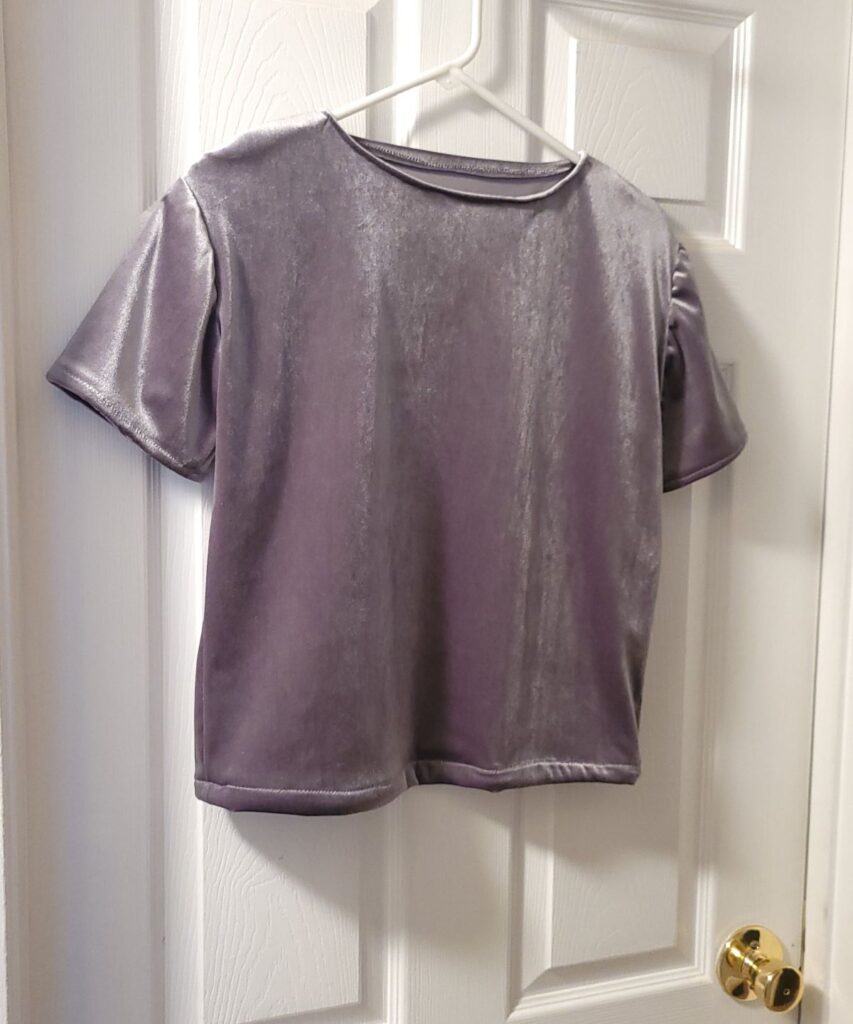
On the hanger.
I tried to include all the details– but if you have any questions please do not hesitate to ask me!
Shop the Post


This is so neat! I would have never thought of doing that. Great job!
I’m glad you liked it, Michelle!