
Master Closet Makeover Part 1
I have wanted to redo our master closet ever since we moved in. It had been painted dark gray. I had asked my husband to install more shelving. He worked very hard to put up more shelves, but did not space them so that shirts could hang without getting wrinkled.
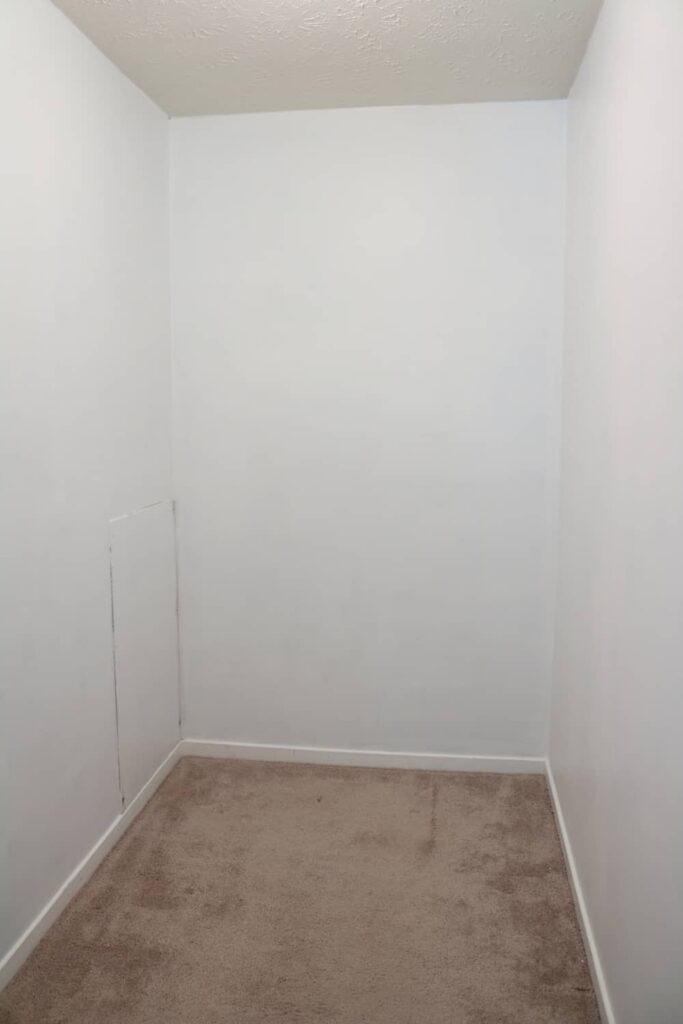
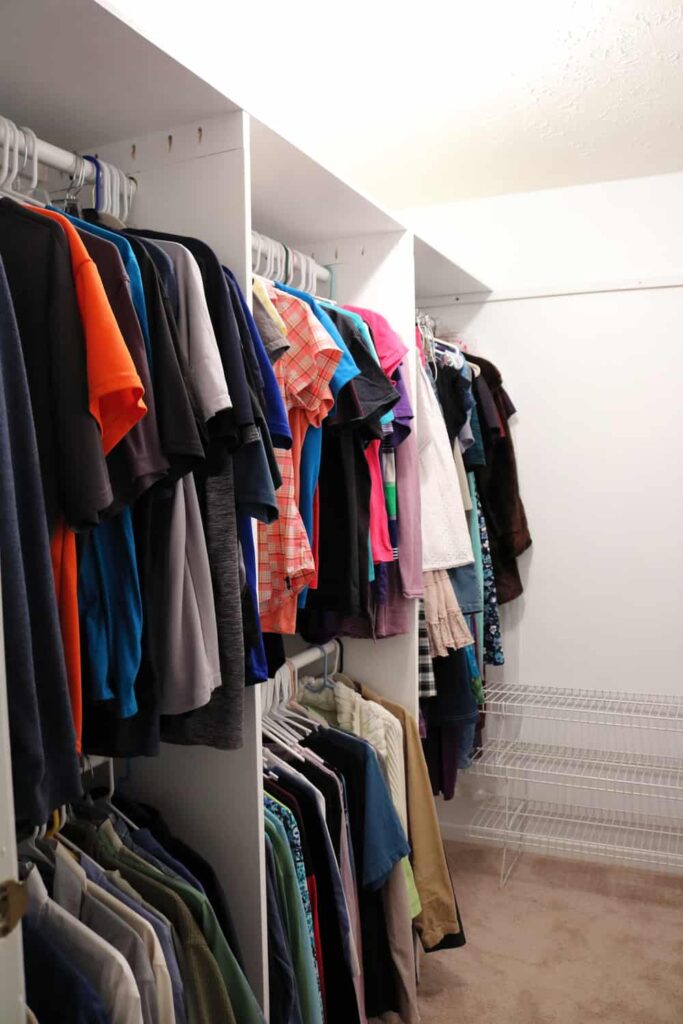
Closet Before
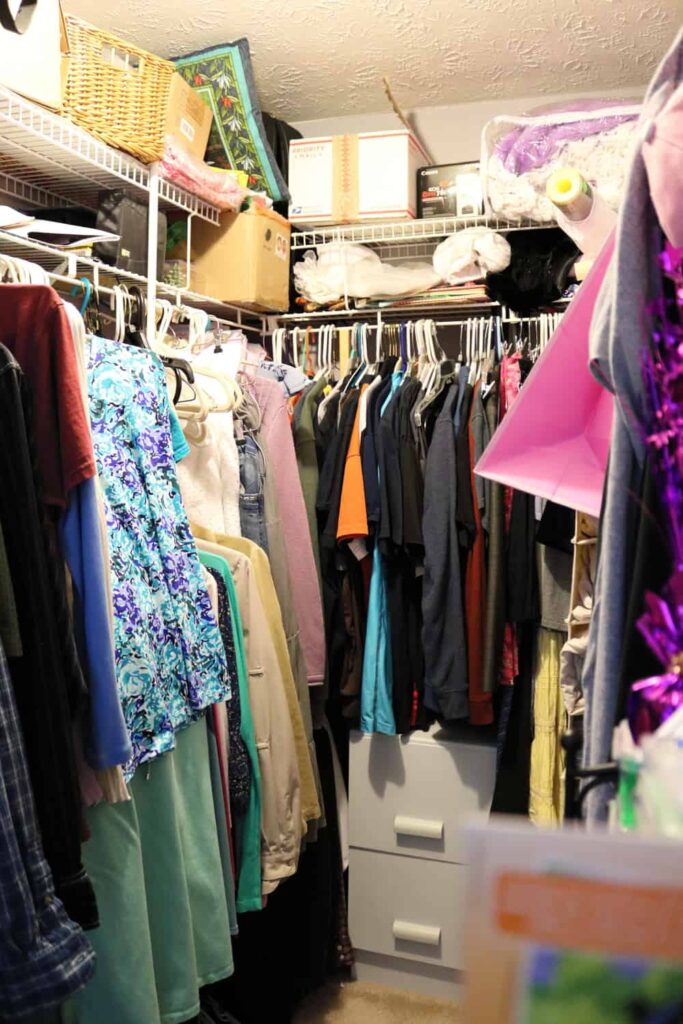
So I couldn’t tear it out after all of that work. Instead, I lived with it like that for five years. Actually, it was my clothes that were wrinkled. I moved my husband’s shirts to this spot, hoping he would get the hint, but it didn’t phase him.
(If you would rather just skip right to the end of this 4 part series and see a video of my finished Closet Makeover, you may view it below!)
If you would like to see all of the details, just keep reading!
(Just want storage solutions? Here they are!)

Closet Before
A year ago, I decided that I would do something about it. But it was summer. “Do it in the winter,” said my husband. That would be a great winter project. Winter came. I said, “I’m ready to do the closet.” Husband said, “Do it in the summer when daughter goes to camp. Then you can put all of the clothes in her room while she is gone.”
Step 1: Clear the closet of clothes and hardware.
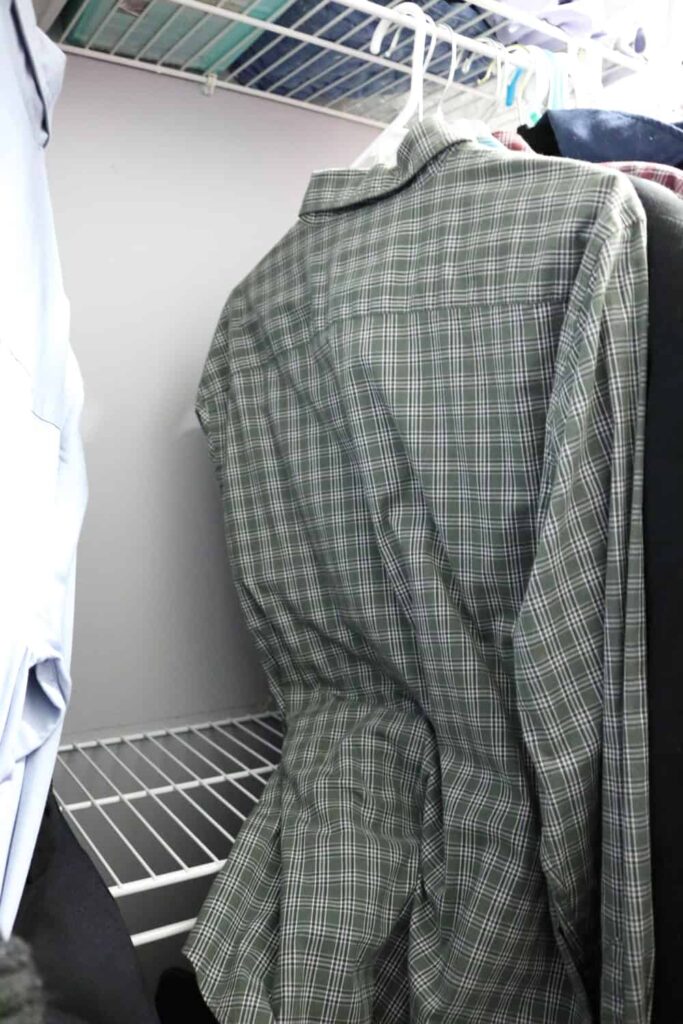
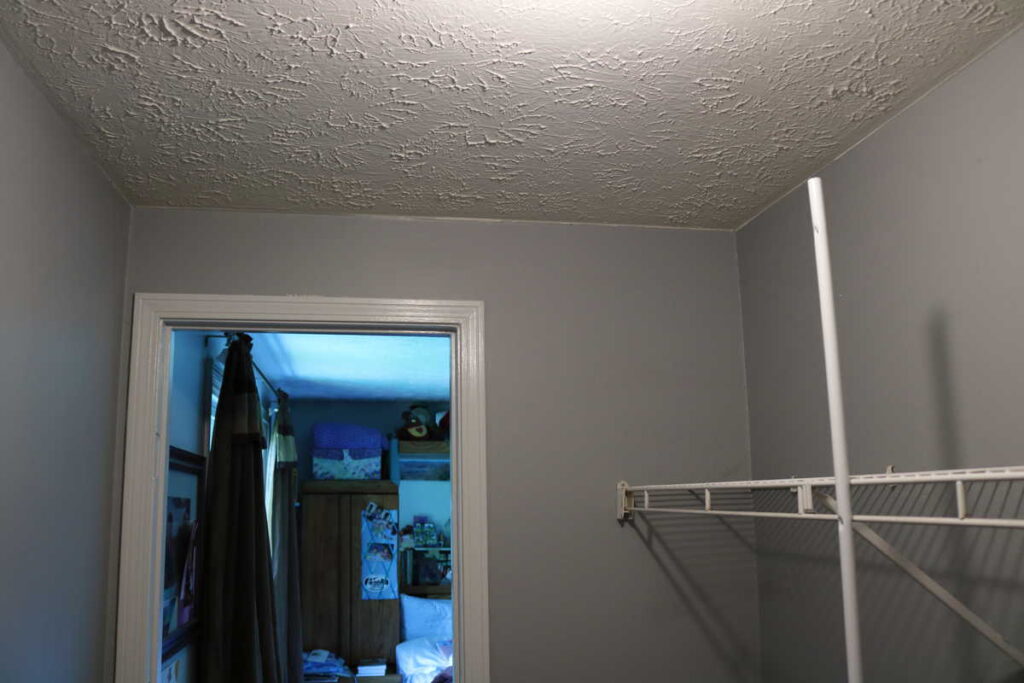
Pole Holding up Crooked Shelf (and the weight of my clothes)
So I drew plans on paper. I began moving a few things at a time from the closet to other places. (For example, my clearance sale baking chocolate moved to the basement. That’s actually a better place for it so it won’t melt.)
I took my time planning, partly because I had to. And that was good, because I changed my plans. What I initially drew on paper, is not exactly what I decided to do in the end. And I am happy about that.
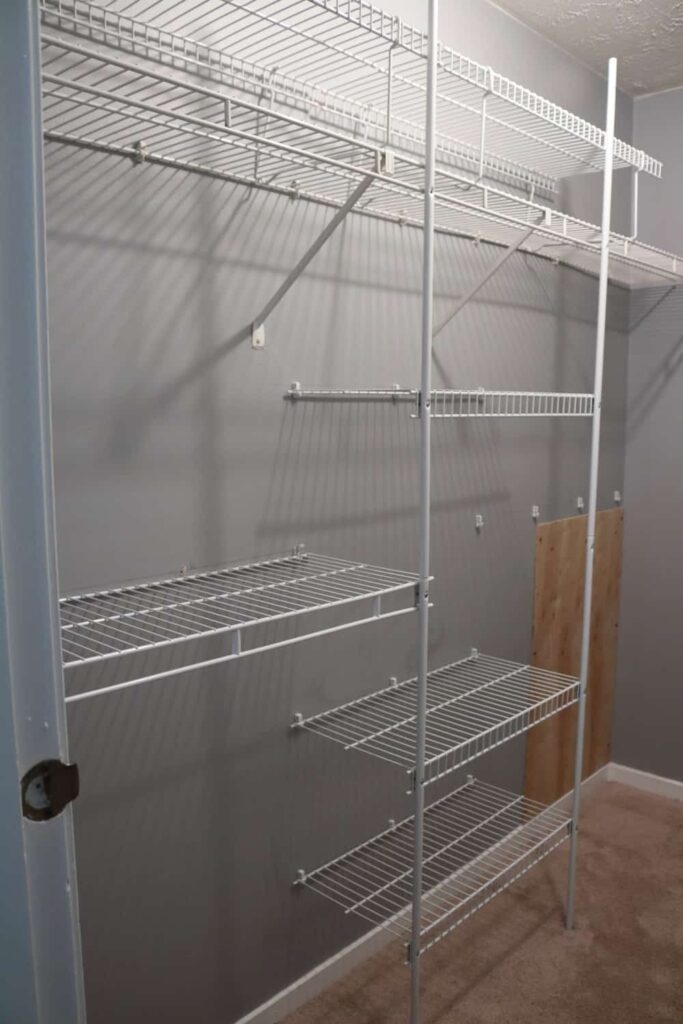
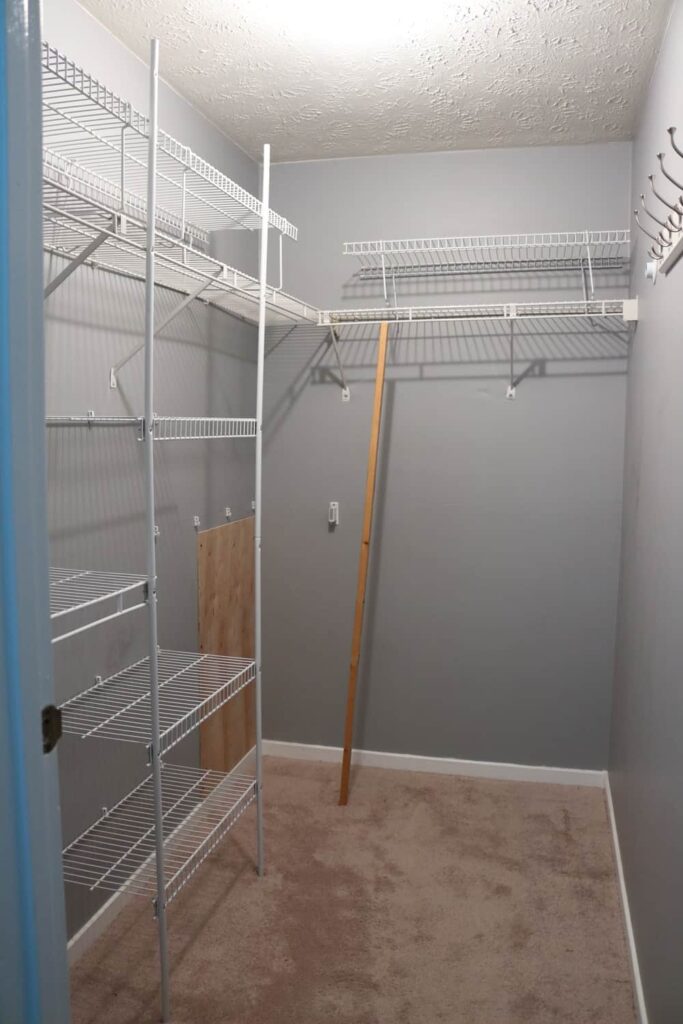
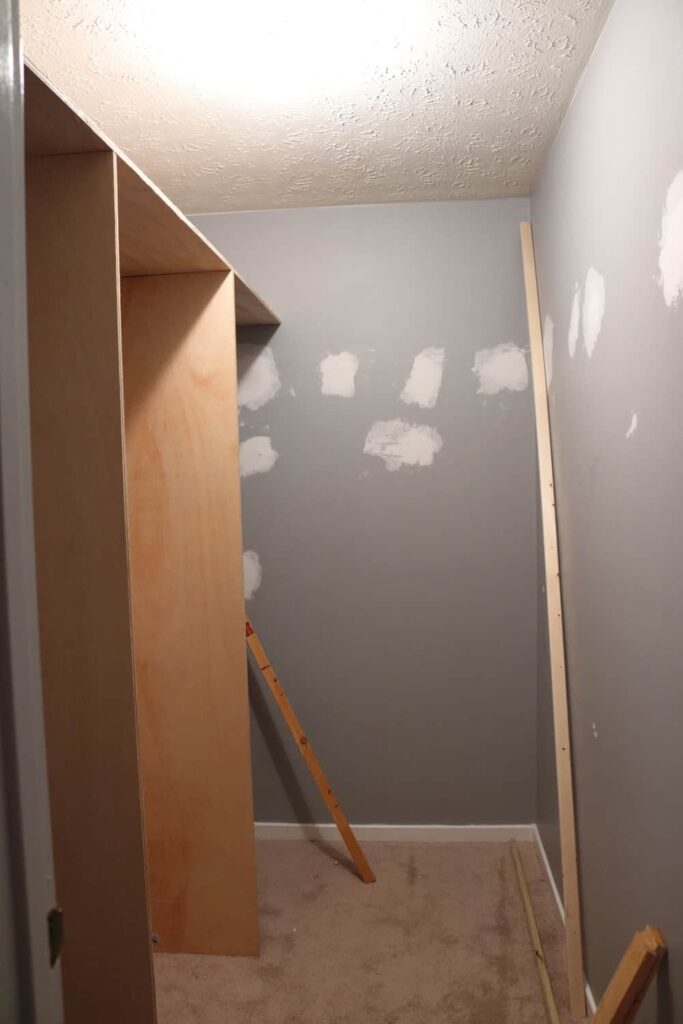
Here’s another Before picture, showing space above the doorway where I planned to add a shelf.
Then came the day my daughter started camp. I had five full days to complete the closet and get our clothes out of her room before she returned. I wasted no time moving all of our clothes to her room, and taking out the crooked wire shelving.
That left a LOT of holes in the wall.
Step 2: Patch the holes
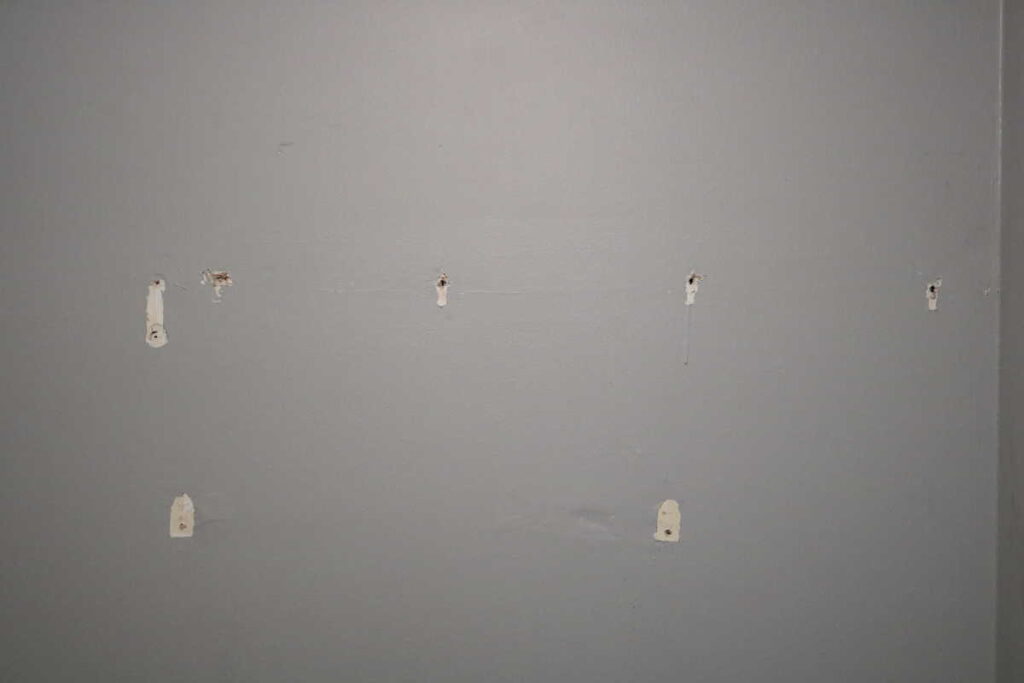
They were big holes, even though I tried to be careful.
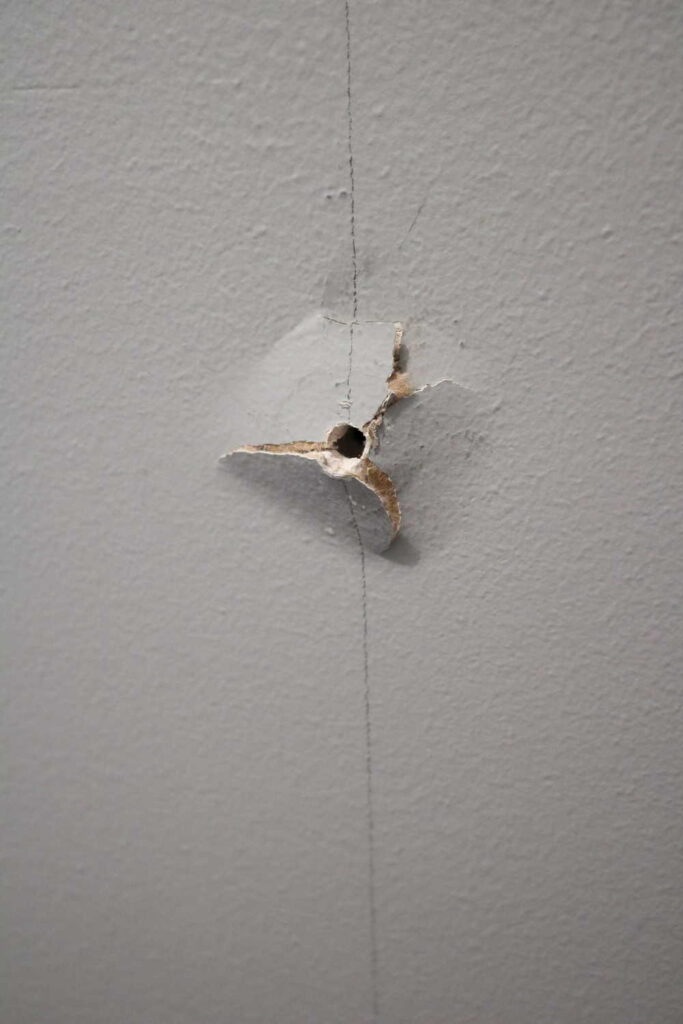
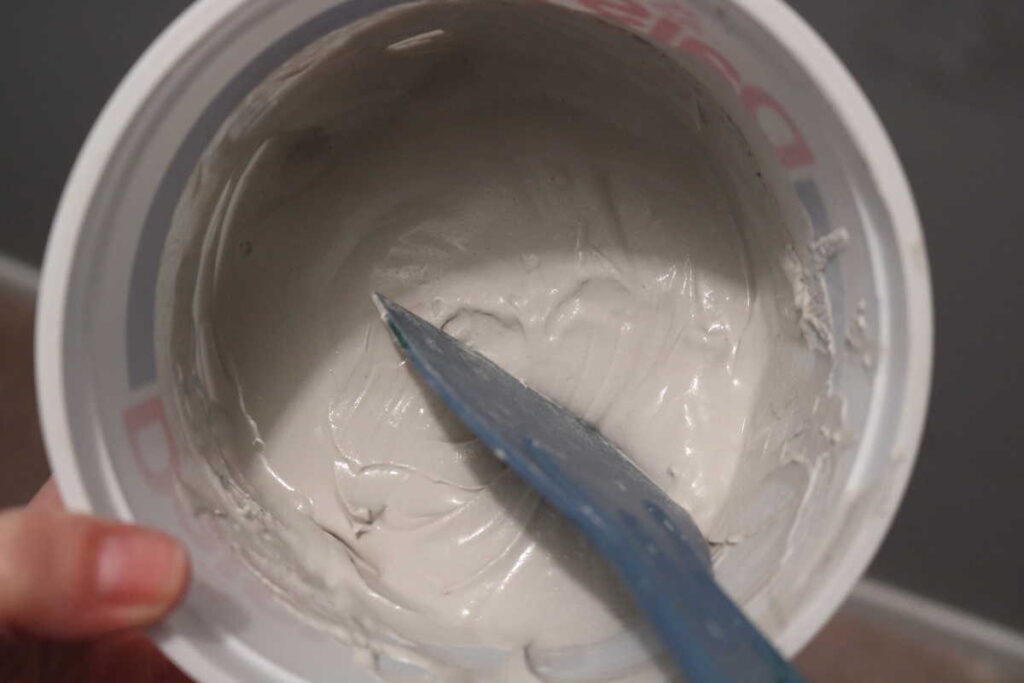
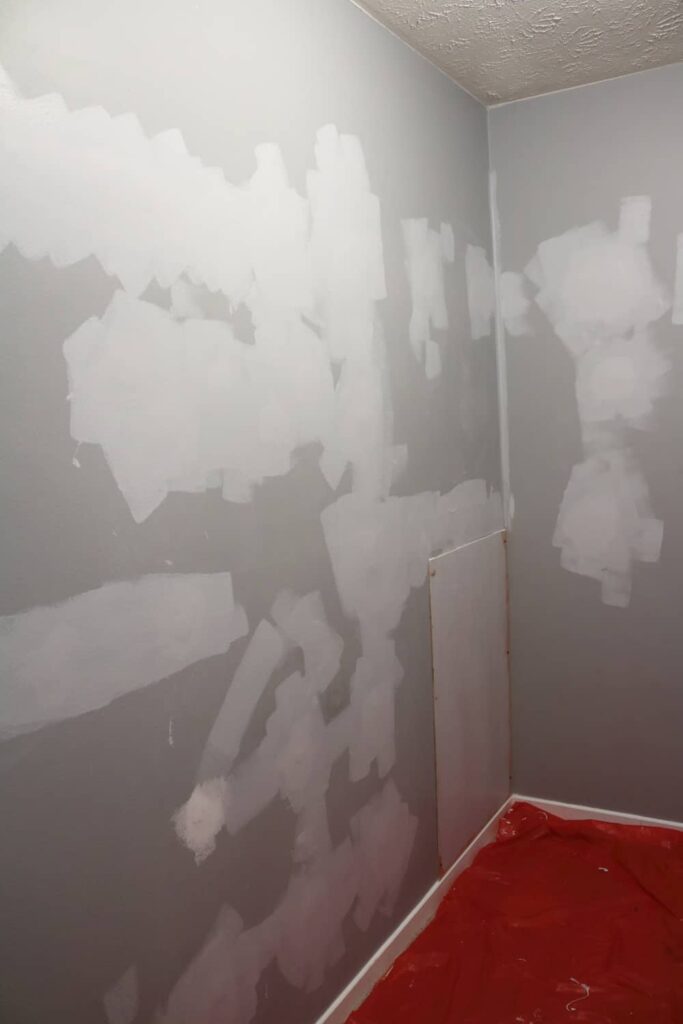
So I set to work patching all of the holes. I was happy that I was getting to work on my drywalling skills. I even bought a metal mudding spatula thing, and the container to go with it.
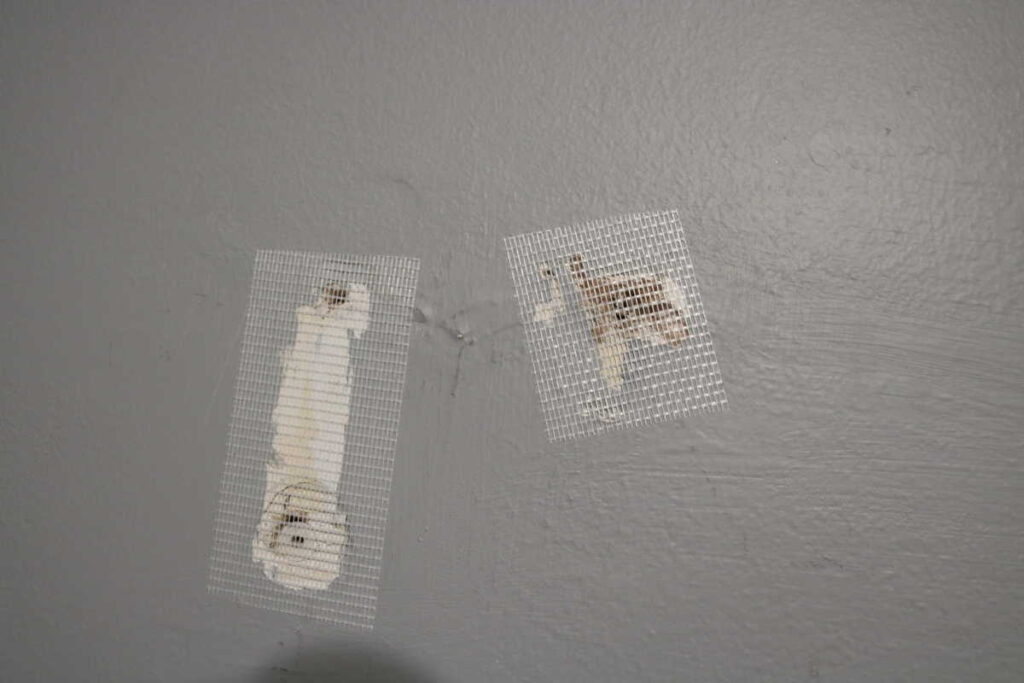
I used drywall patching tape on the biggest holes.
We had leftover drywall dust from the Basement Wall. So I just added water, mixed it up, and spread it on the wall like frosting a cake. Well, sort of.
There was the first coat.
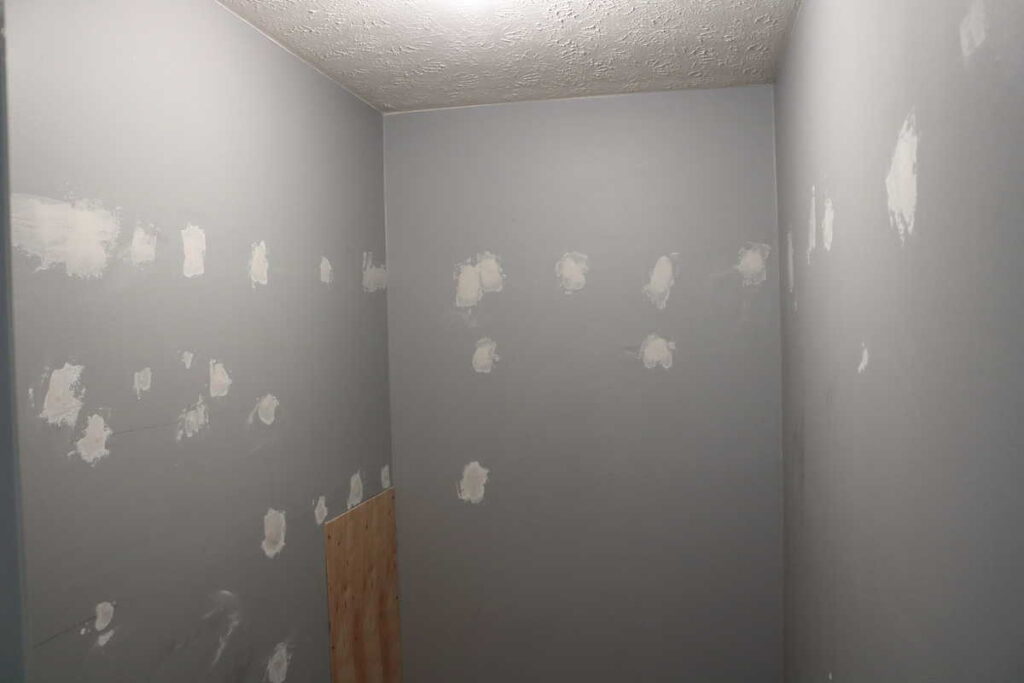
And the second coat… The board is the access panel to the shower on the other side.
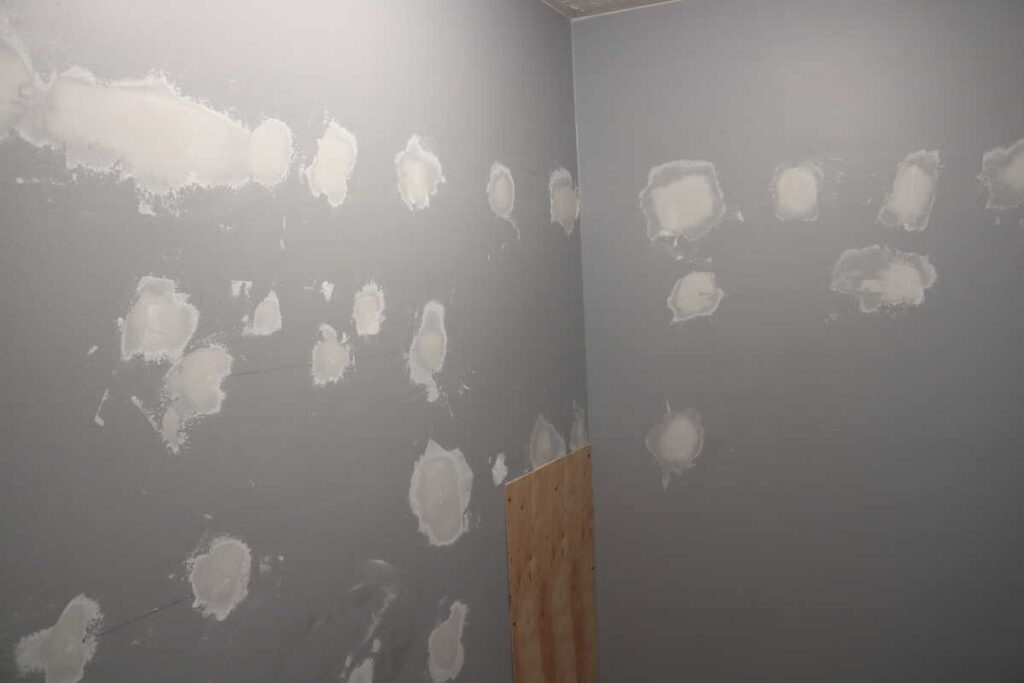
I think it took about three separate coats– all the while waiting for it to dry in between. With each coat you are simply trying to give the illusion of a flat wall– smoothing out all those spots, and “feathering” the patching to make it all blend in.
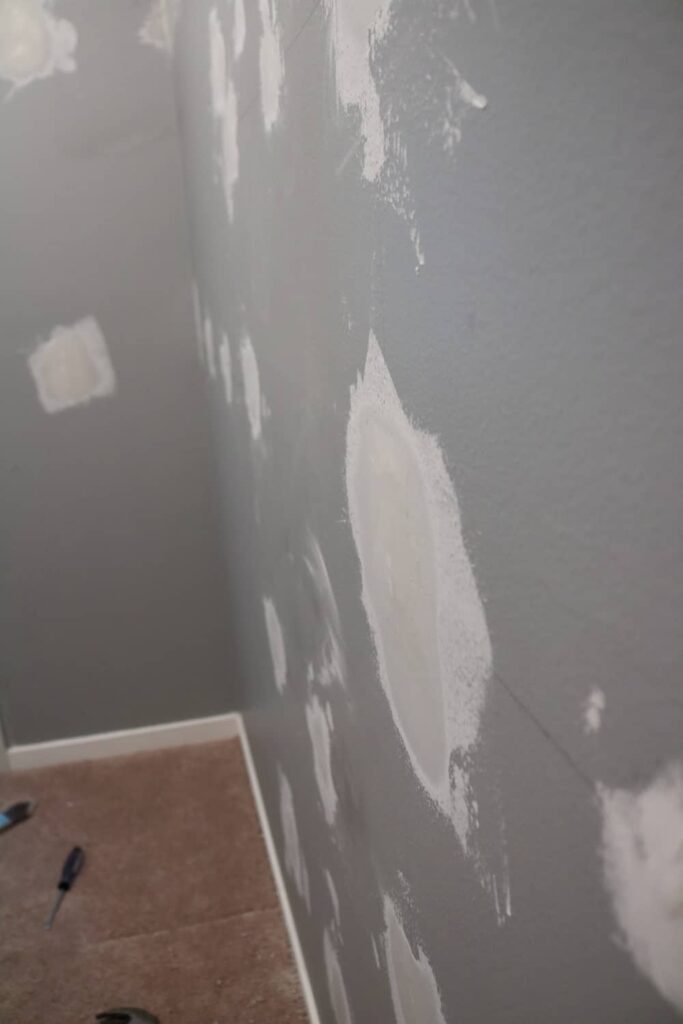
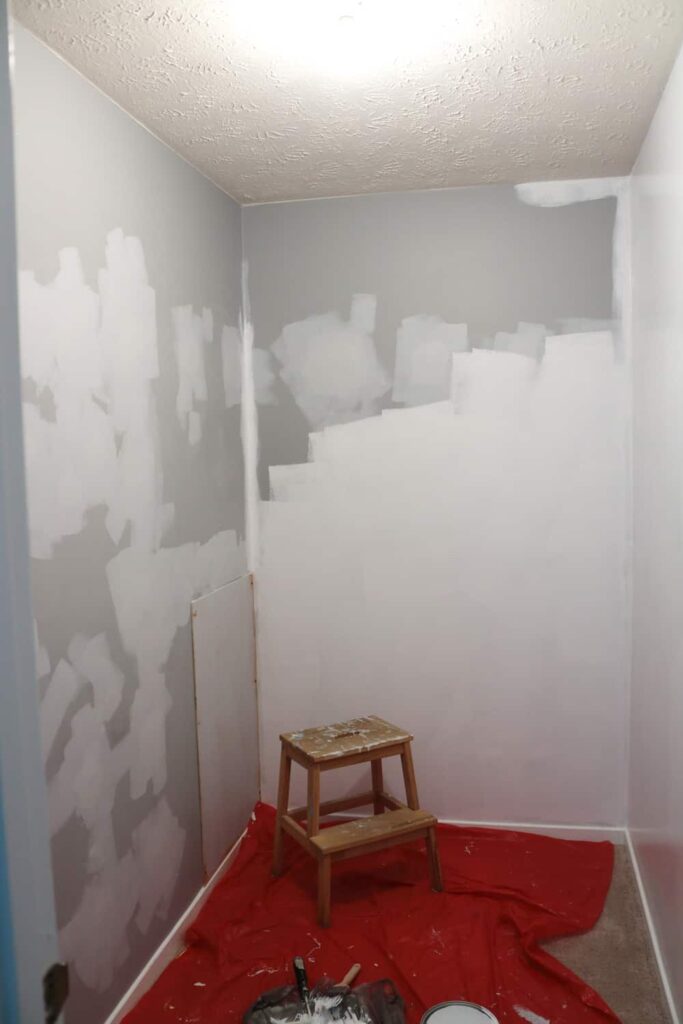
Step 3: Sand the mudded spots.
Then I sanded my imperfect mudding, and remembered that it was going to be covered with clothes anyway.
A closet is the perfect place to practice such things, whether it be mudding, painting, stenciling– anything. You won’t ever see much of the closet walls anyway.
Step 4: While Step 2 is drying– cut, fit, and paint boards
While I was waiting for one of the coats to dry, I dry fitted my boards to be sure they would fit properly before I painted them. I dry fitted the cleat boards, too.
Step 5: Paint primer on the newly mudded and sanded drywall spots.
After sanding, I primed the patched spots.
Step 6: Paint the walls.
Then I painted the whole closet a bright white. This was the last place in our whole house to be painted. And it is the only place that I used white. I wanted to use a prettier color; I really did. But I knew that with all of my colorful clothes and things, that there would be plenty of color in the closet.
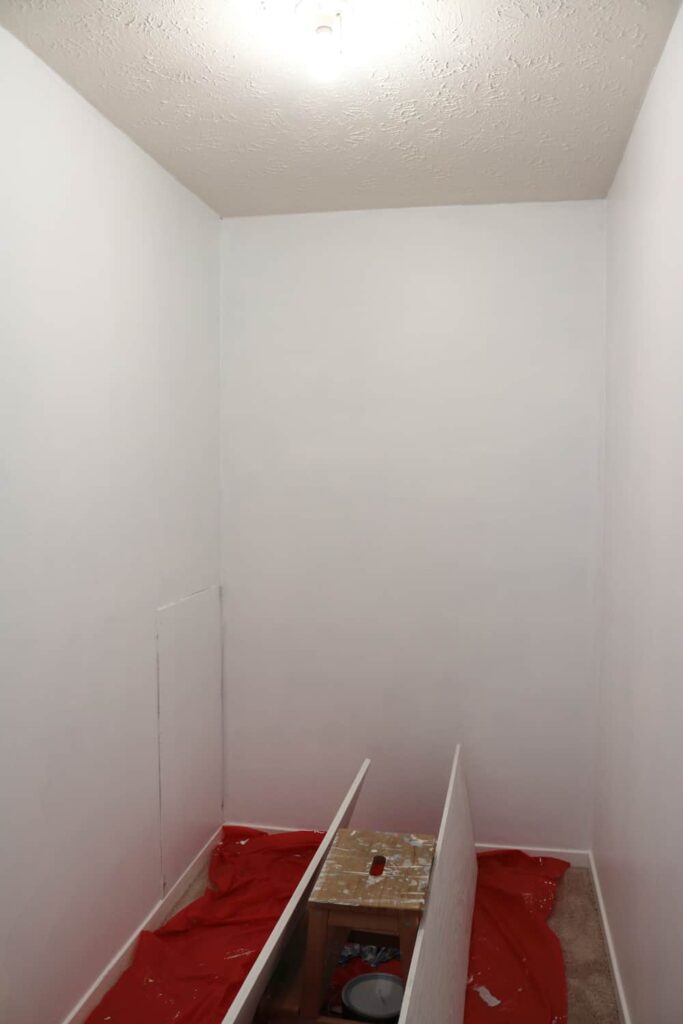
I painted a second coat of white on the walls. By this time I had the three main boards painted, too. I had painted most of them outside, since we do not have a garage. But when rain threatened and I was running out of time, I did bring them into the basement for a final coat. Finally, I was nearing the finish line!
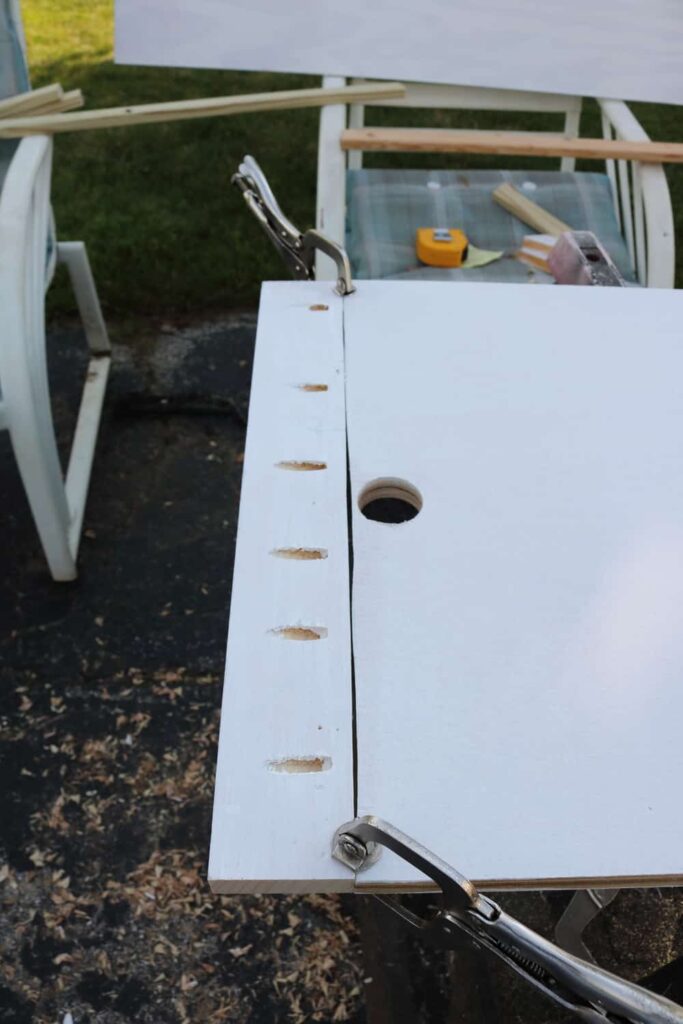
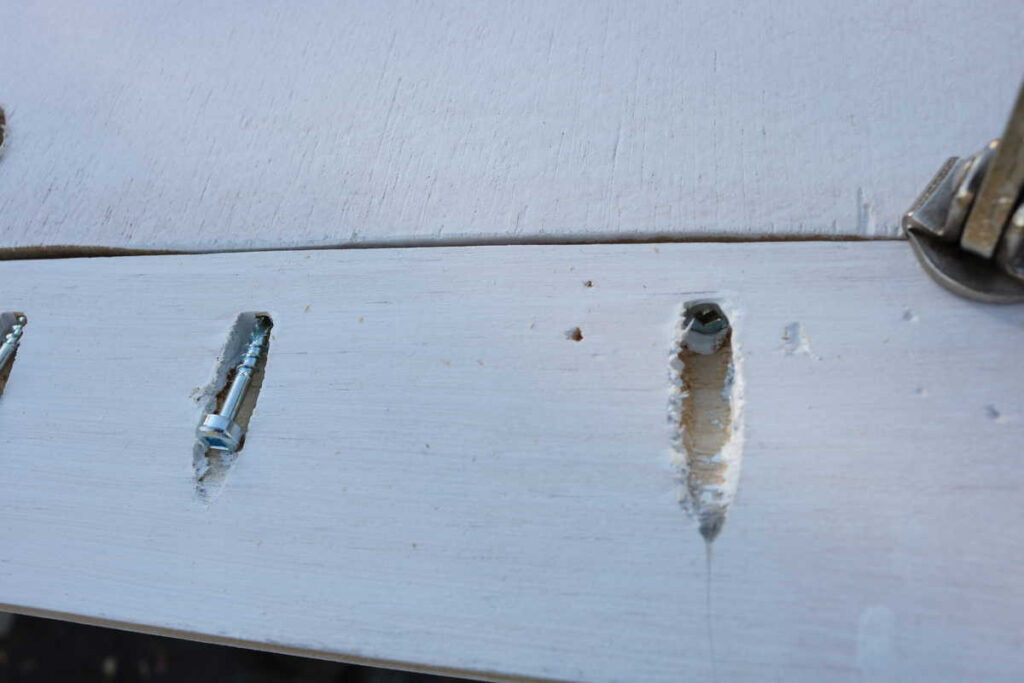
I had three main boards to prepare. The two upright/ vertical boards were leftover from making our Platform Bed. They were almost the right dimensions. Eighteen inches deep was perfect– but in order for a double row of hanging shirts, I needed a little more height. I solved that by adding a scrap board with pocket holes using my Kreg jig onto each upright/ vertical board. It saved me from purchasing more wood.
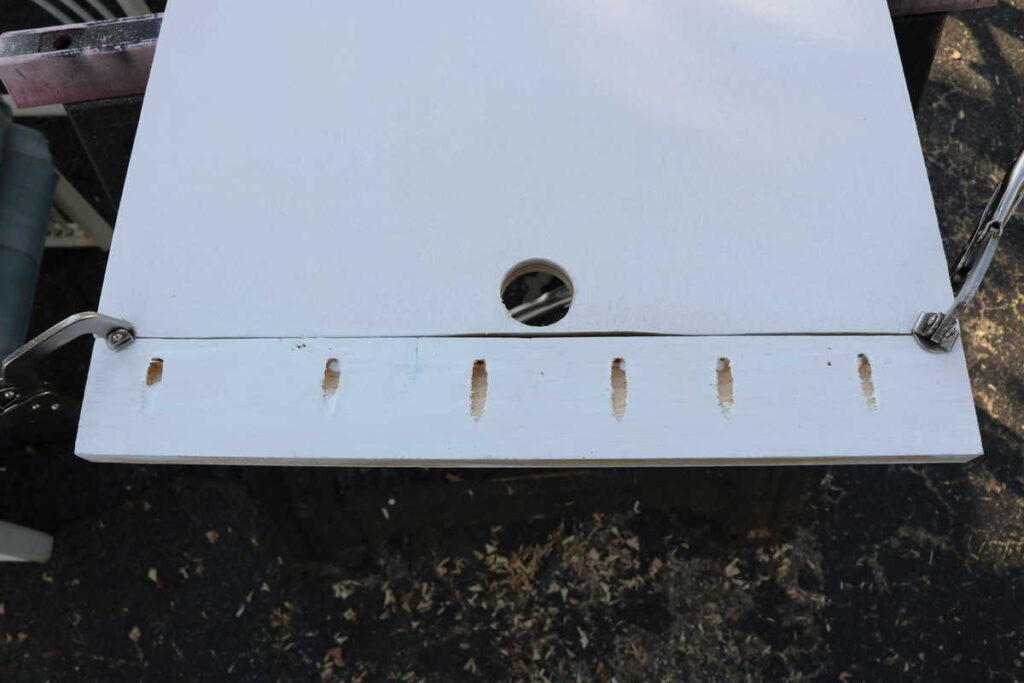
I was able to put pocket holes for screws going BOTH directions, up on one side, and down on the opposite side. The ones going down allowed me to attach it to the upright board. The ones going up allowed me to attach it to the horizontal board going across the top, without any screws showing on top of the shelf.
My crowded driveway/ work area….
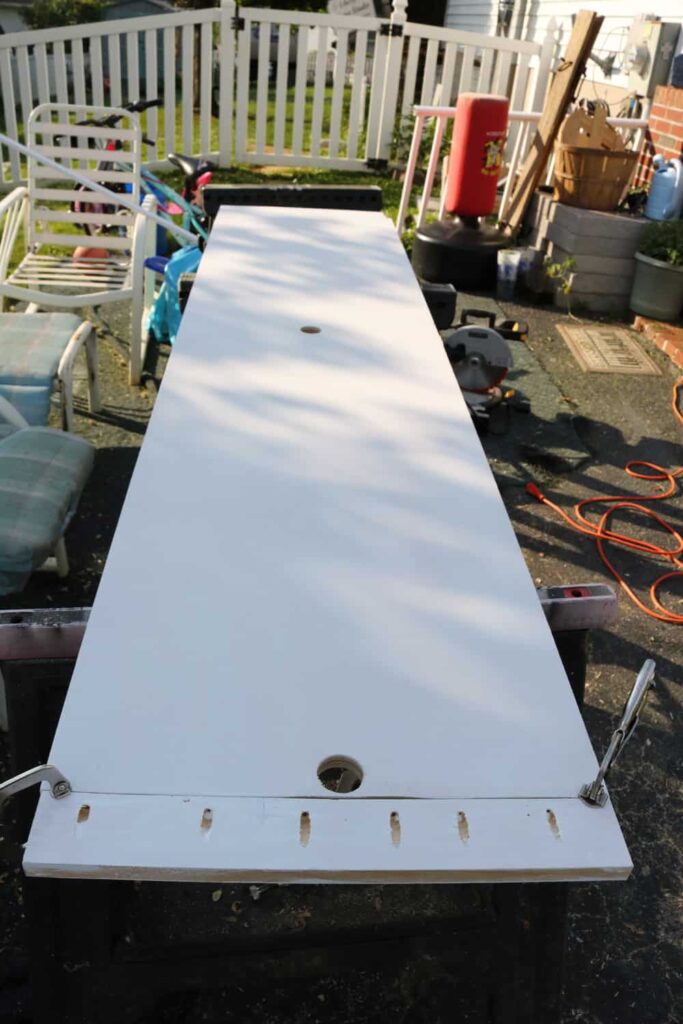
I was so glad to get this board screwed together, knowing I was so close to finishing the master closet makeover that I had been wanting to do for soooo long.
My husband cut the four round holes for me, and the cleat boards and the pocket hole boards. I did everything else while he was at work, and my daughter was at camp.
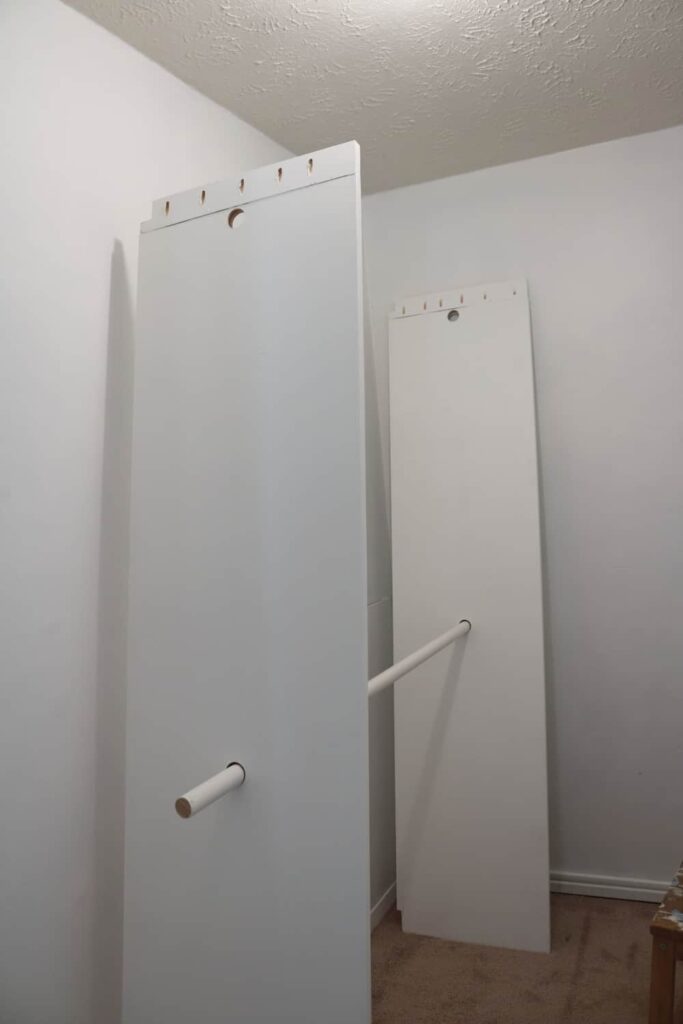
Step 7: Assemble and Install new shelving.
I planned that the lower pole would only go two thirds of the way. The top pole was going to go 100 percent across, completely up to the walls on both ends. But how to get it all assembled? That was a bit of a puzzle to me.
So for fun I made a video of myself assembling it. Although it took a few minutes, it was actually easier than I expected. Here it is if you want to see how I did it.
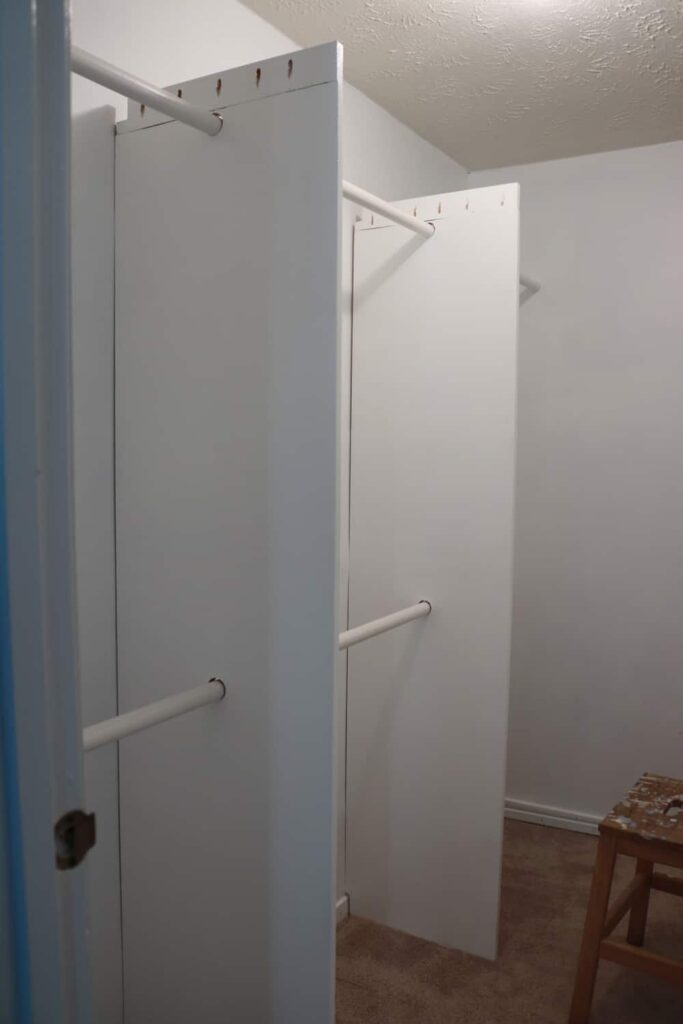
Ta-dah! Here are my upright boards.
This brings us to the end of Part 1. Click on the link below for Part 2!


I wish our closets were as large as yours! Joe has moved me out of the one closet in the master bedroom. I have a small closet in there and have taken over the closet in my Craft Room for my clothes…
Hugs,
Debbie
It did not feel like a large closet because we had the same size lengthwise at our previous condo– you just couldn’t walk into it, though.