
Master Closet Makeover Part 4
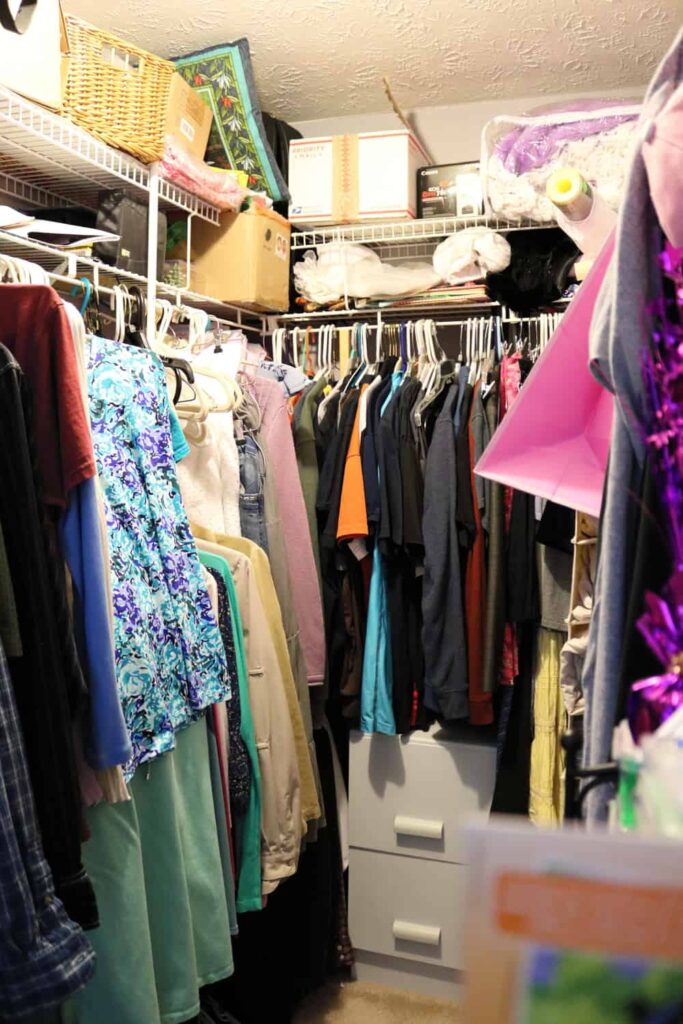
This is the 4th and final post in this short series showing you how I totally redid my closet. In the first post you saw the Before picture, and how I stripped everything out to the bare walls and painted it.
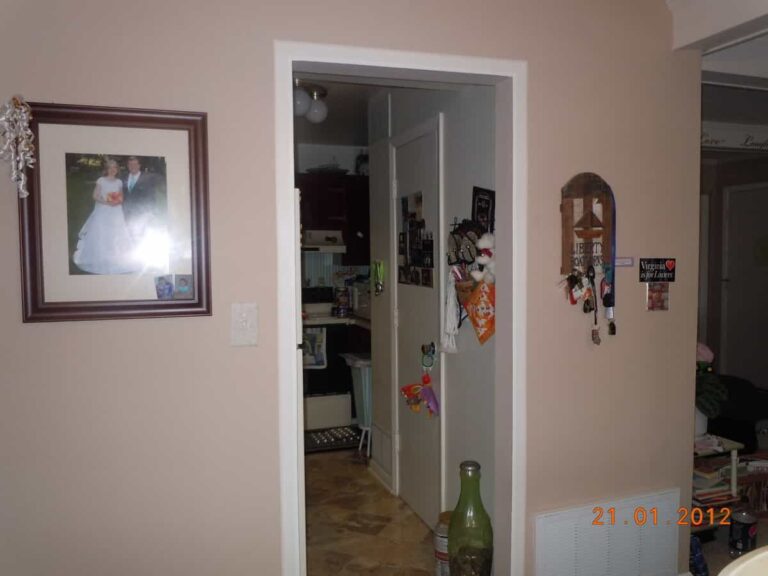
Closet Before
In the Closet Makeover Part 2, I finished installing the shelving that I designed, and put my clothes back in. In my closet makeover part 3, I showed you how I Installed a Light Fixture. Now you get to see the last finishing touches to complete my total closet remodel. I am so happy with the end result, and I hope it gives you some ideas and inspires you to be practical, frugal, and creative in your living spaces!
If you would rather watch a quick video, Click Here. Otherwise, keep reading to see all of the details and I will show you the video again at the end.
Picture
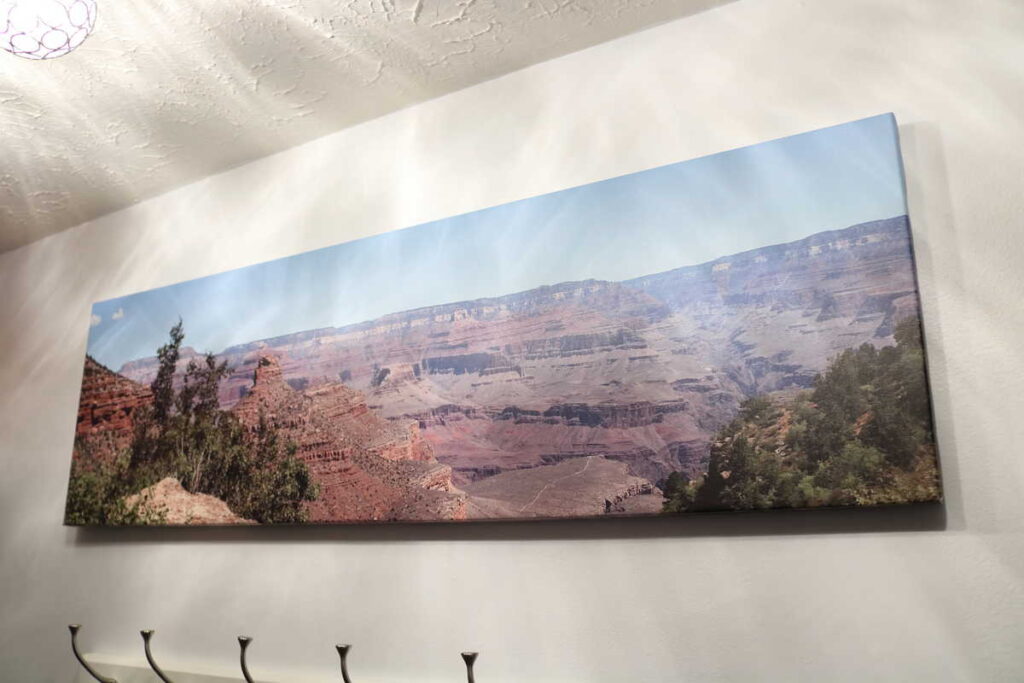
I had space above my wall hook rack to hang a picture. And I just happened to have one that was just the right size. This is a picture that I took of the Grand Canyon when I was there in 2017.
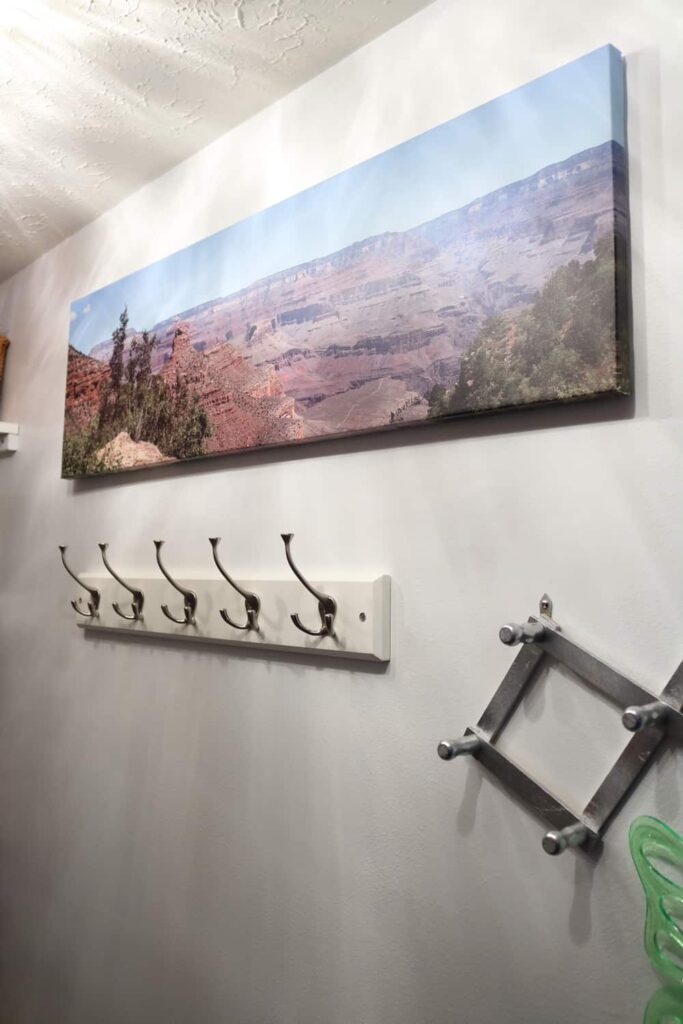
The Grand Canyon has many other named canyons, and the deep canyon to the right is Bright Angel.

I wanted to dress up my closet a little bit. I had some shimmery silver fabric, so I decided to cover my canvas with the fabric by stapling it onto the back.
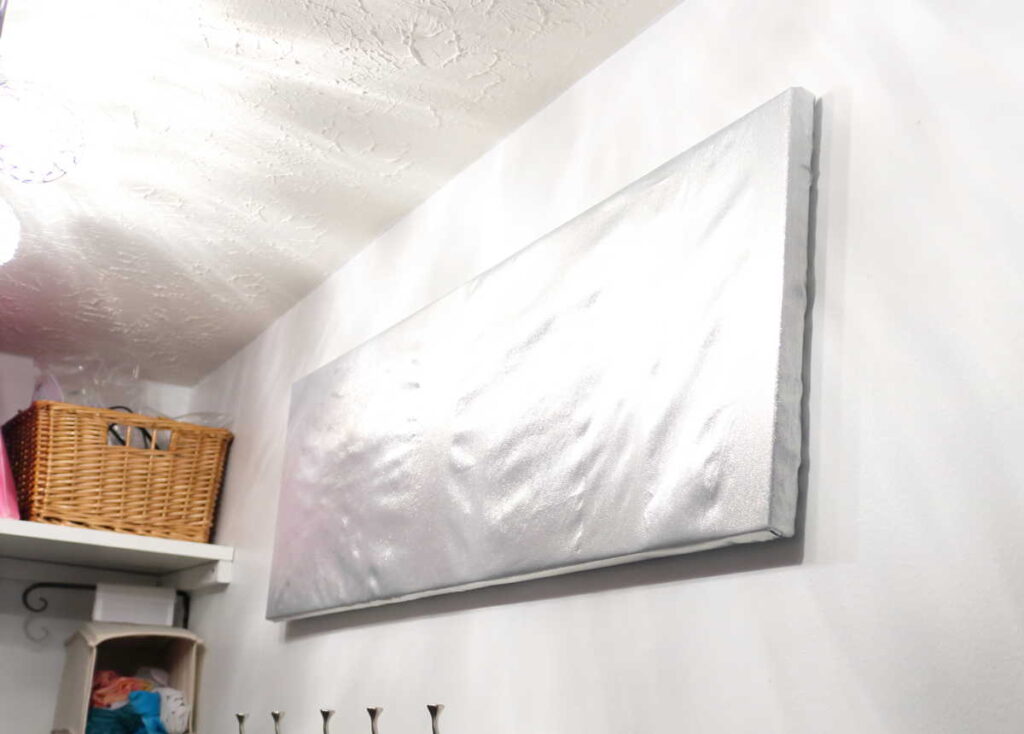
When I get tired of the silver, I can simply remove the staples and my Grand Canyon picture will be there just as before.
Accent Trim
Now I want to show you how I added some accent trim. Can you guess what it is??
My accent trim is covering my cleat boards, and it also covers these pocket holes.
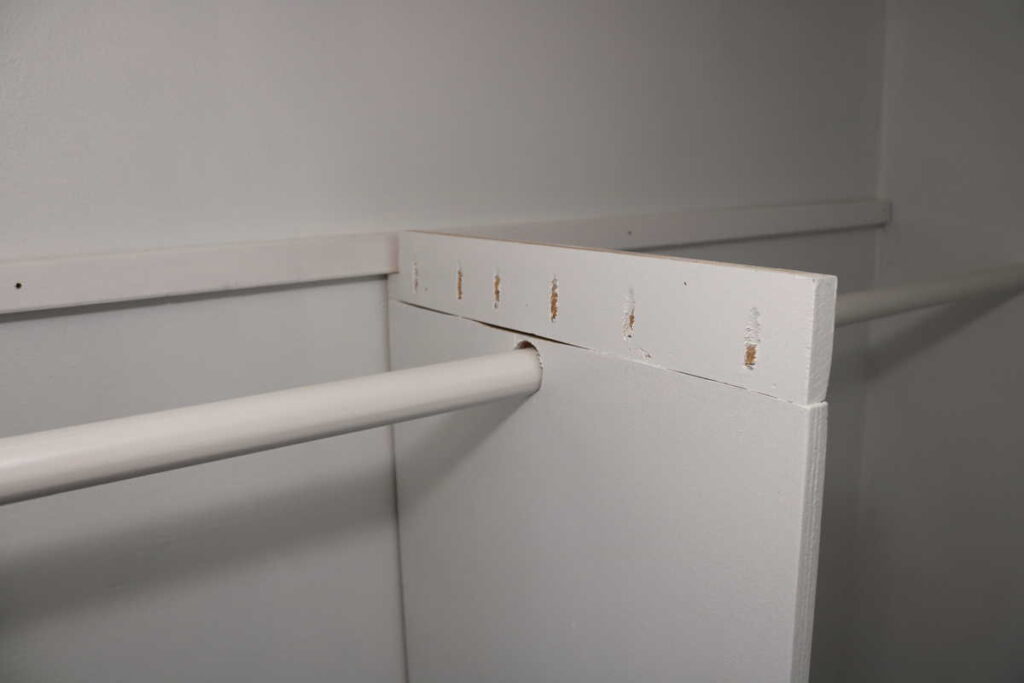
See? Have you guess what it is yet? It is…… contact paper. Not only is it contact paper, it is contact paper from the Dollar Tree!!! Oh yes, this was one of the easiest, cheapest, classiest ideas that I’ve ever had!
At first the contact paper did not want to stick. Then I realized that the boards were too rough, and they needed to be sanded a bit. I just used a sanding sponge block thing (mine has angled edges that are fantastic) to quickly sand the boards enough that the contact paper would stick.

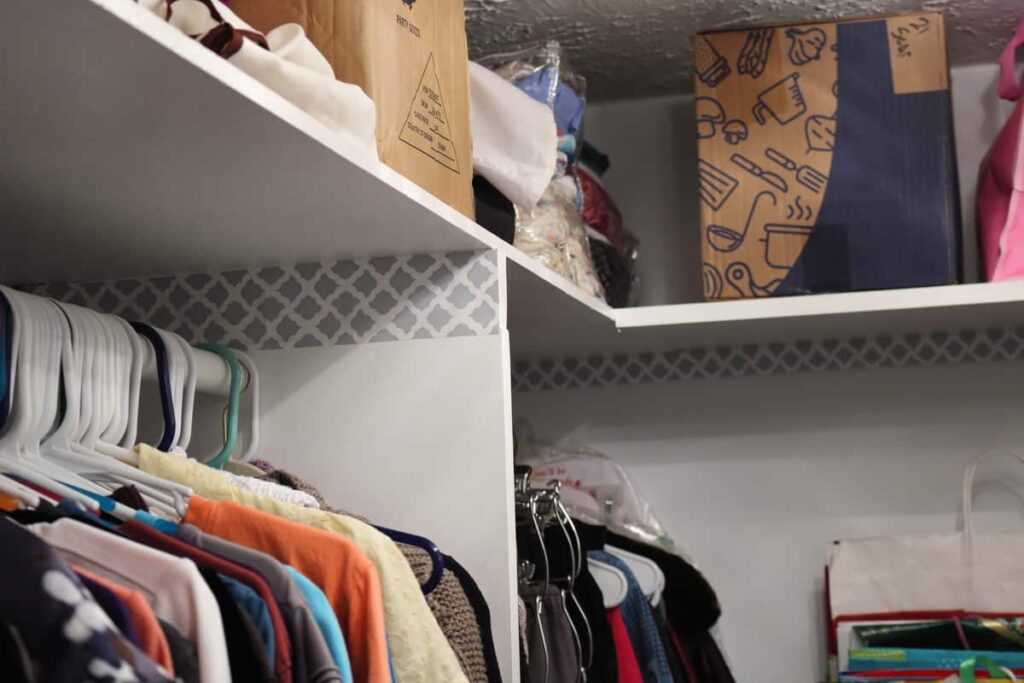
I loved the finished look that this contact paper accent trim gives to my closet!
By the way, are you wondering why matching hangers are not part of my Closet Makeover? You can read Why, here. Scroll to the middle of the post.
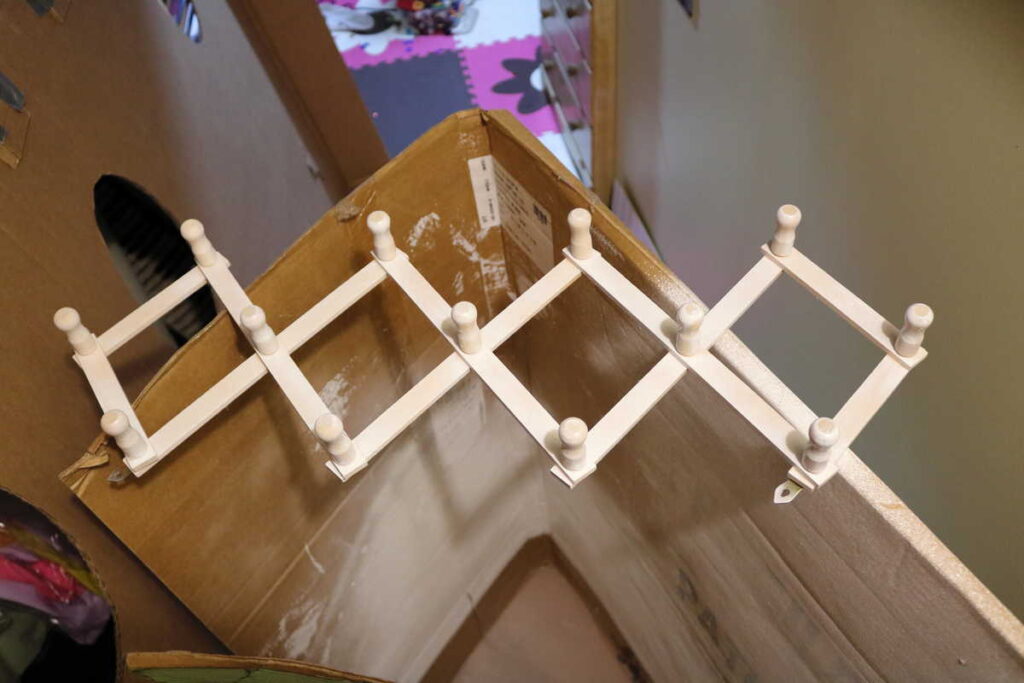
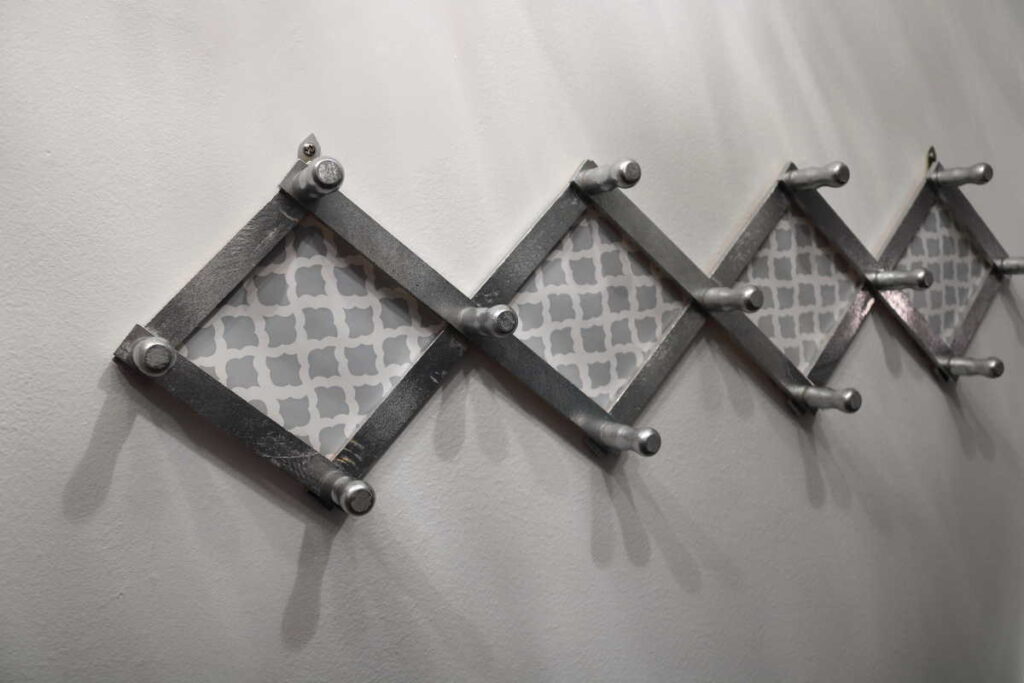
Peg Hooks
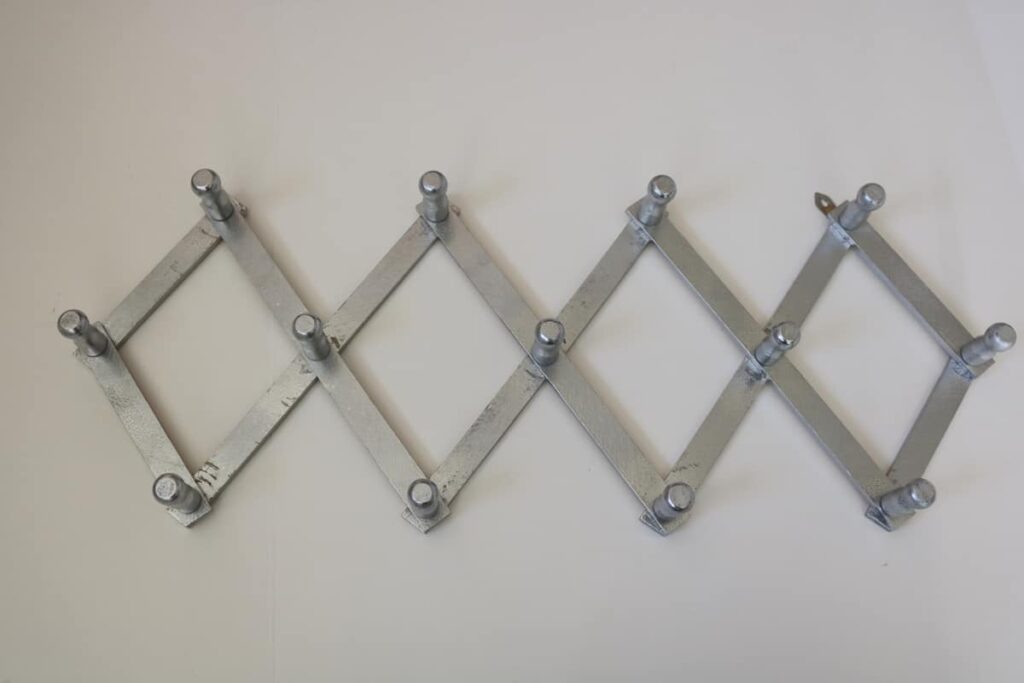
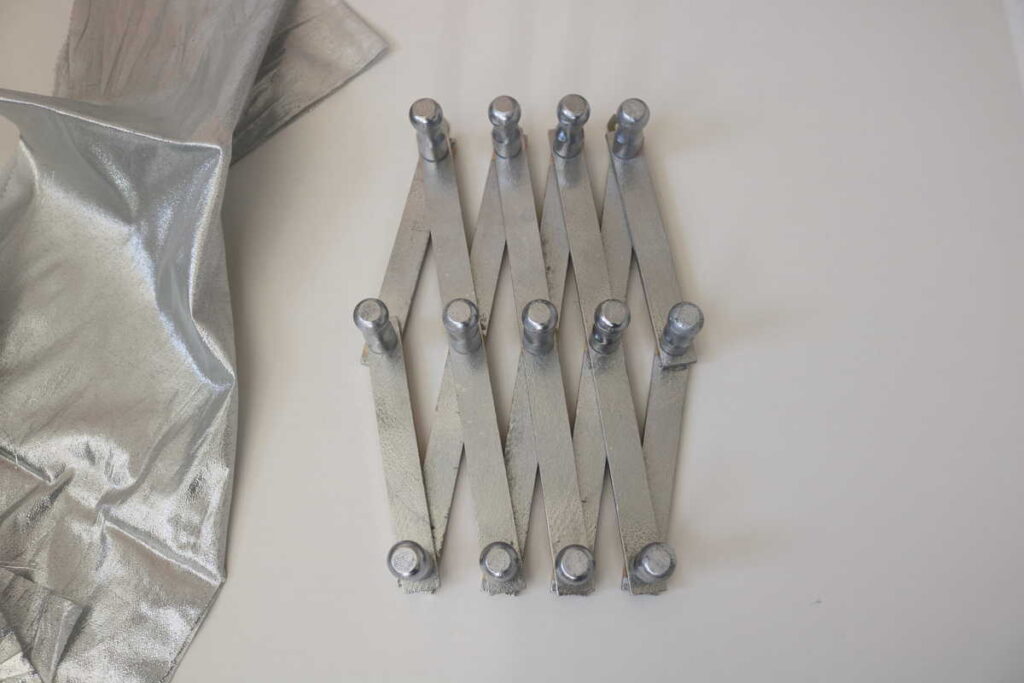
One of the last things I had wanted to add into our master closet was peg hooks. I have an extensive scarf collection and I needed more places to hang my scarves. I had found this accordion peg hook at a thrift store or yard sale– I lost track! Amazon has them in various wood stains. They are also known as coat racks and hat racks. Mine was a natural wood color, but I wanted to paint it. It seems like I always want to spray paint things in the winter when it is too cold to do it outside! So I created a cardboard area in my basement to catch the overspray. I spray painted a white primer on it first and let it dry.
Expandable Accordion Wall Hooks, Before
Then I spray painted it with silver!
The accordion style lets you expand it or contract it how you like it.
I could have stretched it out further, but this is how it fit my space. I hung it at a bit of an angle, so that the peg above the peg below (in the diamond shape) would be off center and allow the scarves to hang without all being on top of each other.
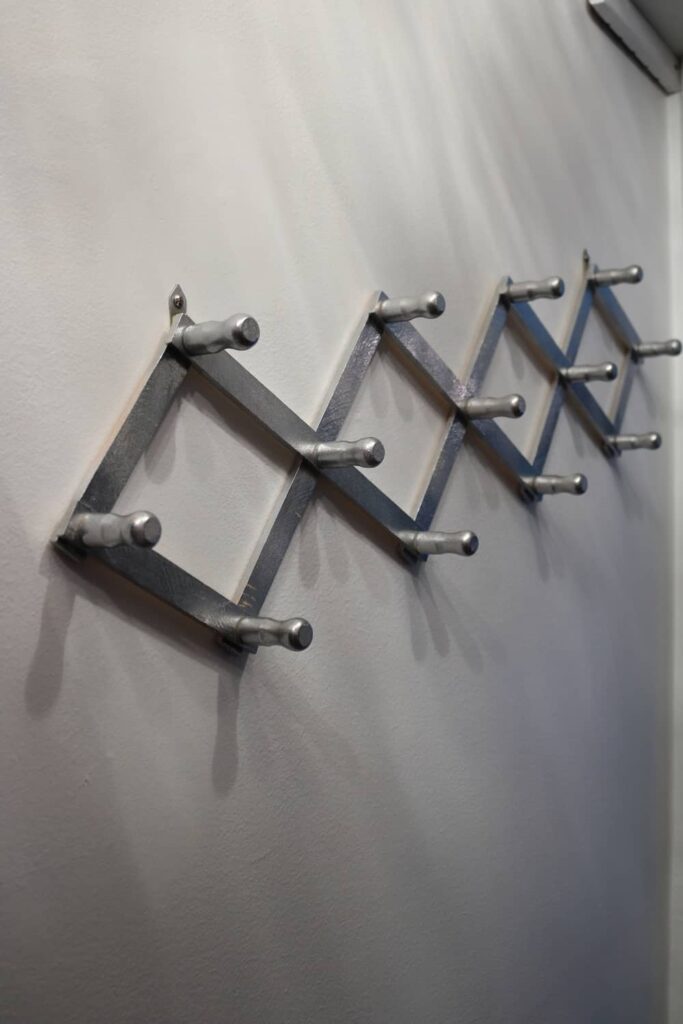
Here you can see the angle that I hung it, with the right side higher than the left side.
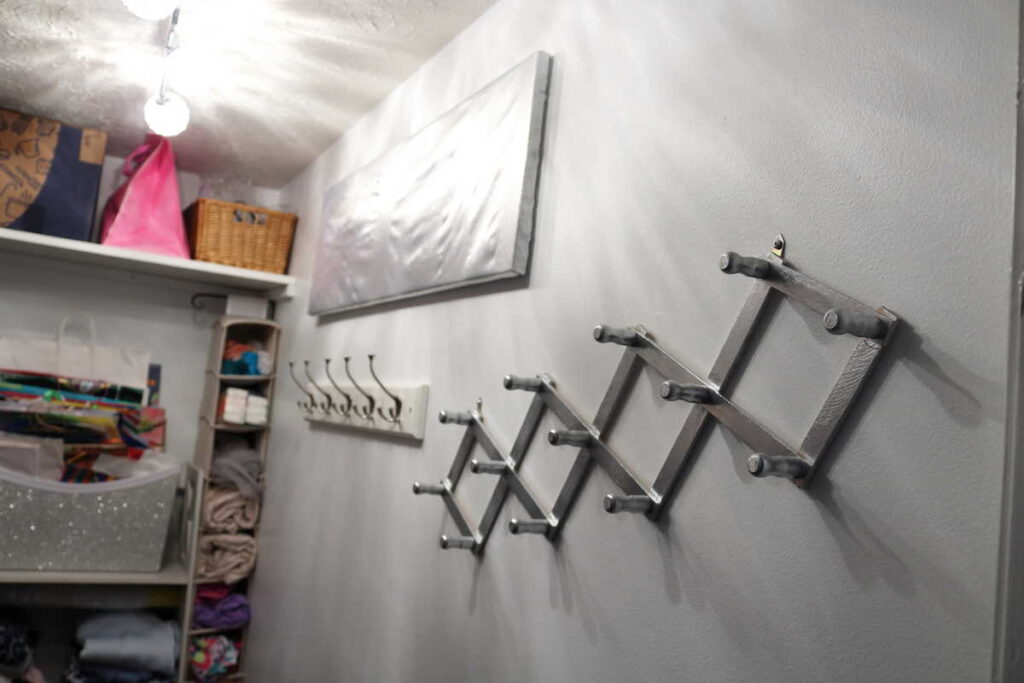
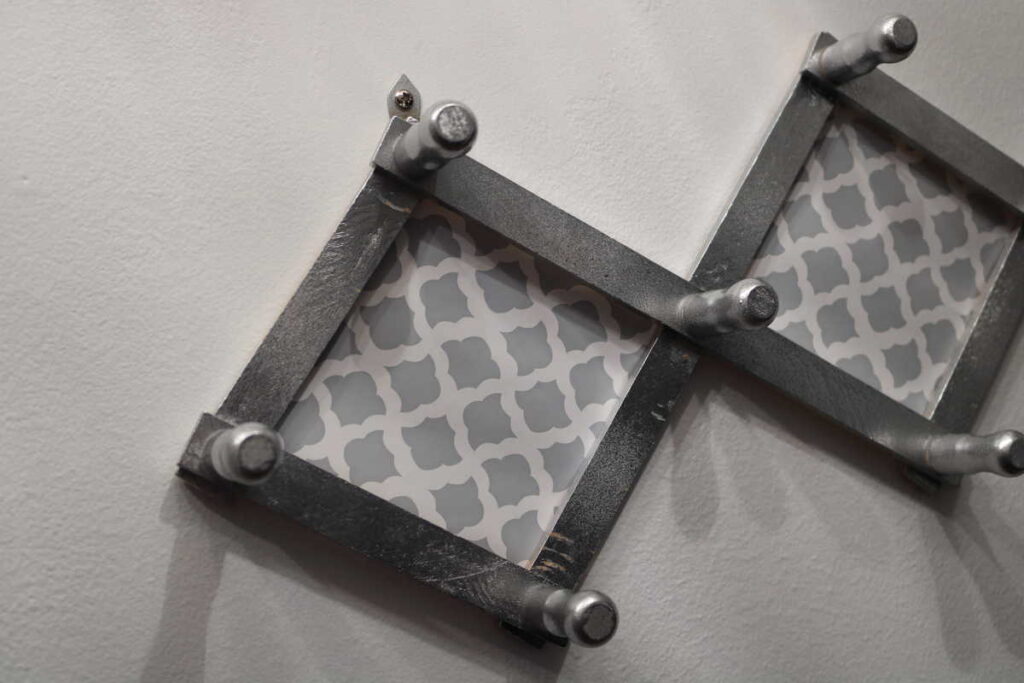
I decided it would look pretty with some pattern behind it, so I put some contact paper behind it.
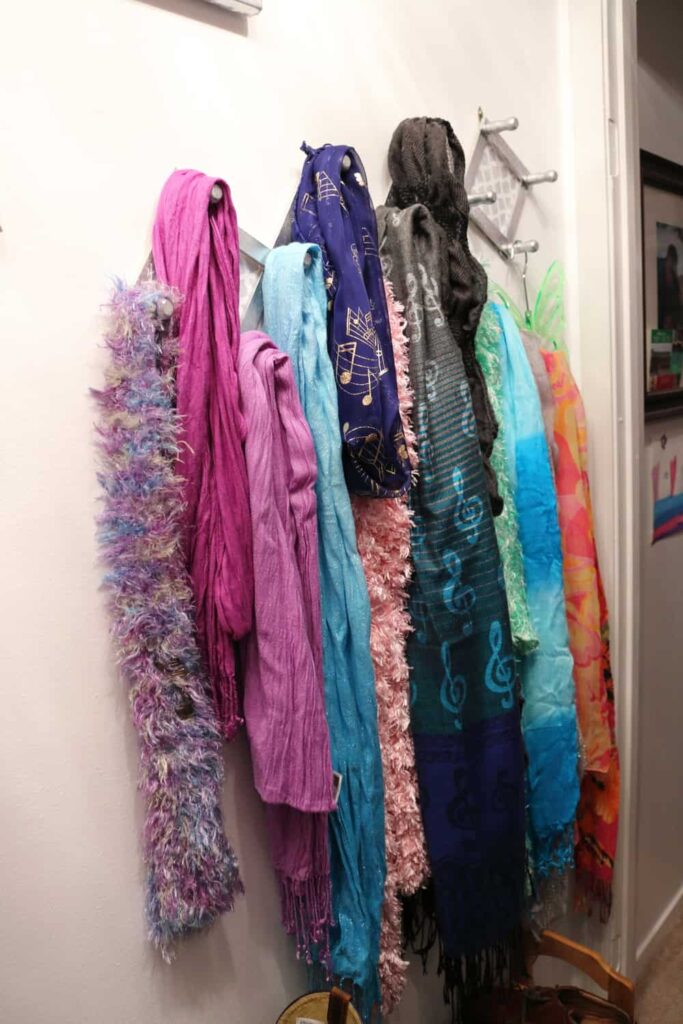
Expandable Accordion Wall Hooks, AFTER!
Here it is with some of my scarves on it!
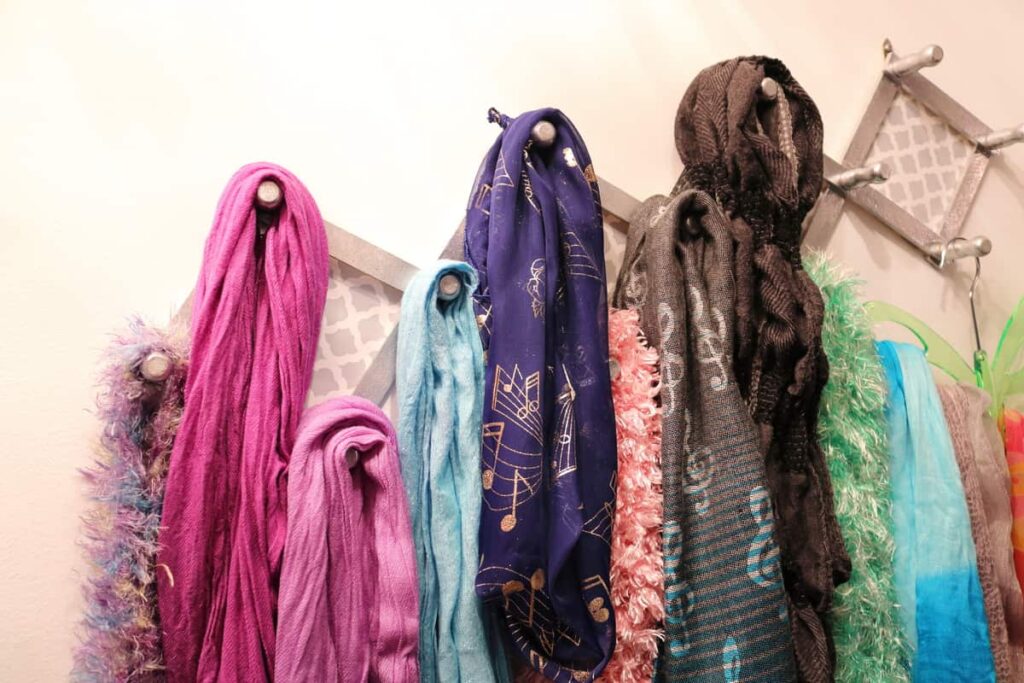
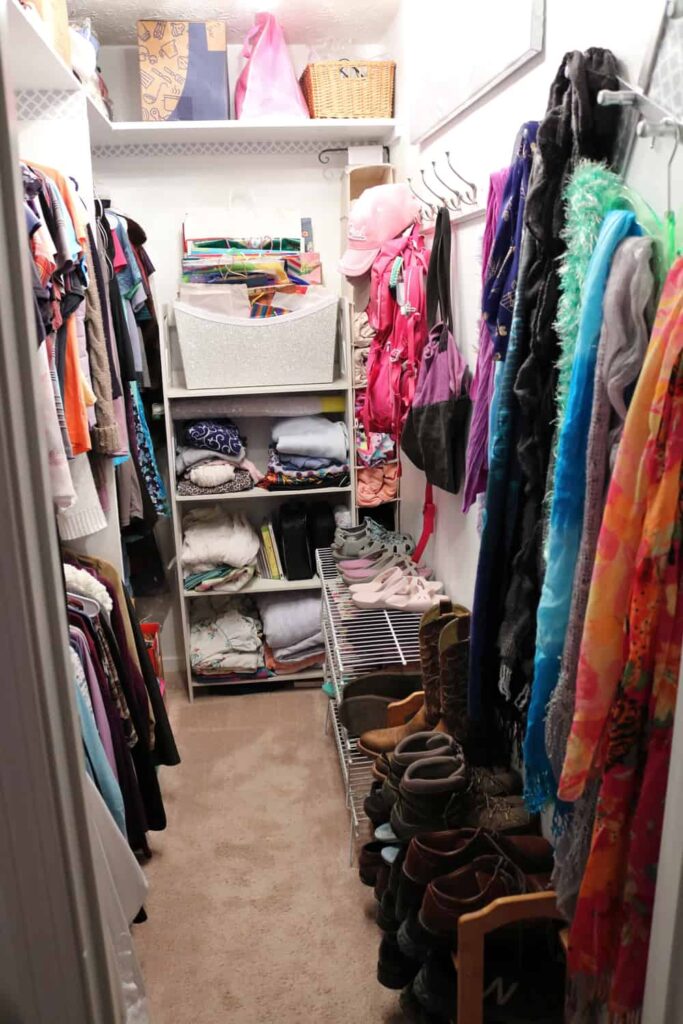
Below the scarves are my husband’s shoes.
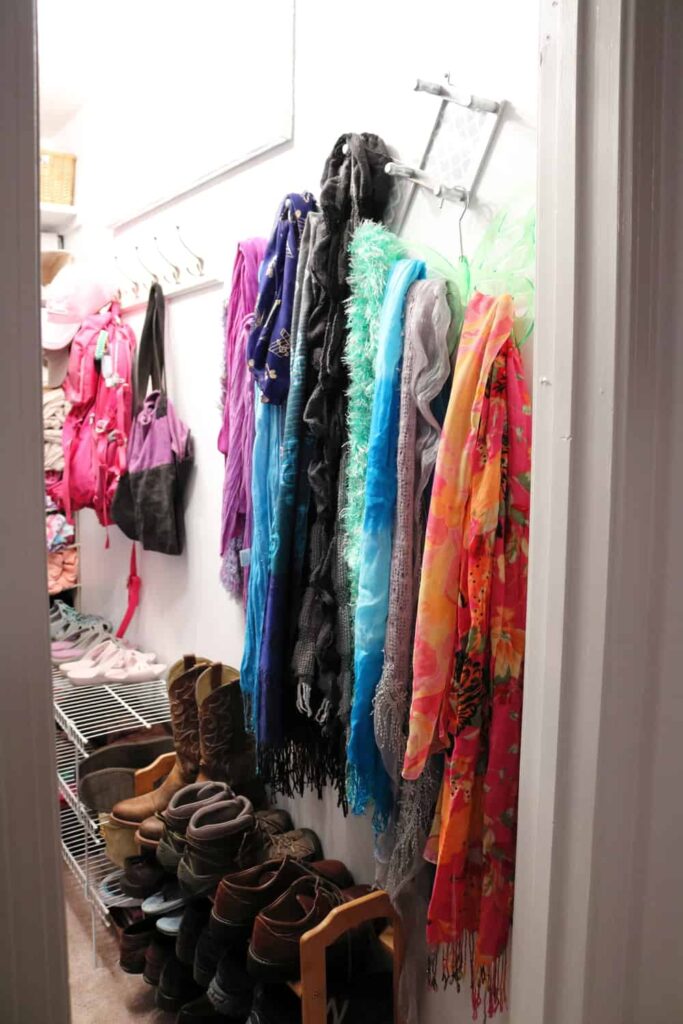
I love how it turned out!
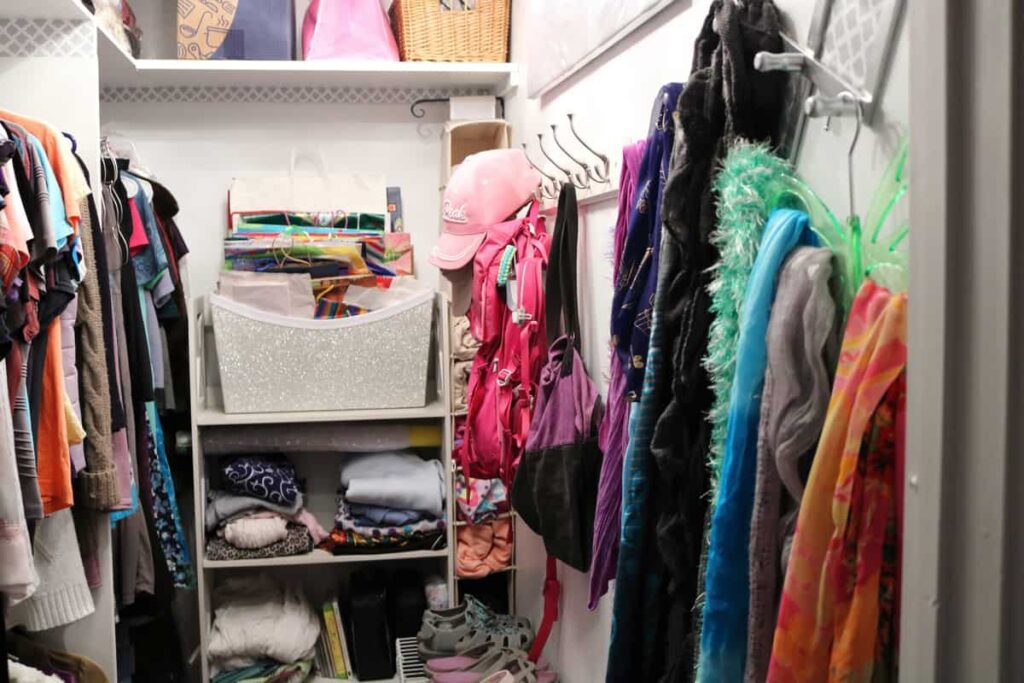
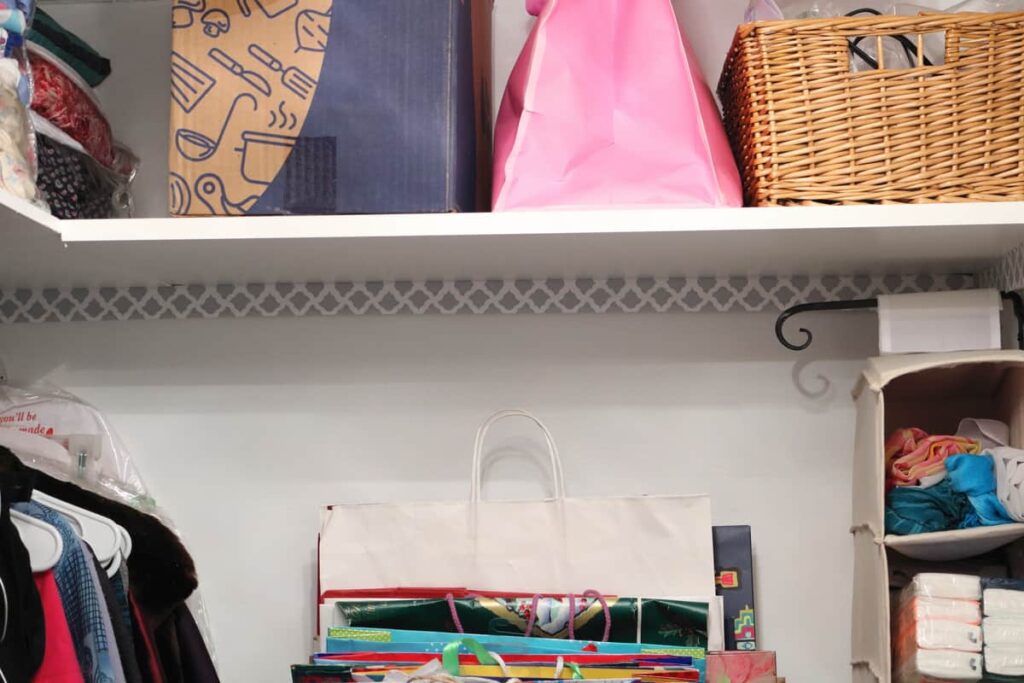
The glittery box holds leftover gift bags ready to be re-used. It was this box that inspired my Silver color palette for this closet.
This Before and After project was a long time being completed! I waited five years to fix something that was bothering me. Then it took maybe a year of planning and waiting for the right time to do it. Then it still took about 6 months from start to actual finish. Of course I wasn’t working on it constantly during that time– so many other projects take up my time, too. (And I can hardly wait to share them all with you!)
If you have a long ongoing project at your house, don’t get discouraged. Keep at it until it is finished! You will be so glad that you did.
I hope that my creative ideas for my closet organization will inspire you! As promised, here is the video so that you can see it in person! Well, sort of….


Wow, your closet looks fabulous! It is always nice to have something like that done. My son is getting married and he is wanting to do a closet makeover so I’m excited to share some of these ideas with him. Thank you.
You’re welcome, Amy! I’m glad to be of help!
Great makeover – I love the contact paper idea! My closet needs a refresh these days…
Shelley
Let me know if you try using any Contact Paper!