New Vinyl Fence
This is part 6 in a series of what I/we did to improve the exterior of our house. You can find where I painted the aluminum siding here, where I pressure washed the brick steps here, where we put in a new door here, where I painted the shutters here, and where I painted the door trim here.
Before
(*This post may contain affiliate links. By purchasing anything from these links, I may receive a small commission at no cost to you. More information is available on my Disclosure page.)
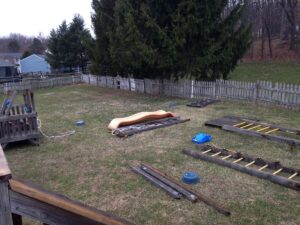
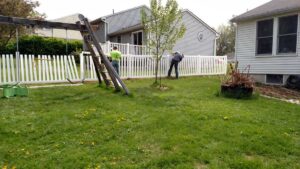
In the picture above you can see our playset before it was assembled, and our old fence. I think we have around 300 feet of fence. We bought the house knowing that the fence needed a lot of work, or replaced. We spent a lot of time deciding whether to replace it with another wooden cedar fence, or a vinyl fence.
When I realized that my husband expected that I would be the one to do the painting of a new wooden fence (as often as it needed it?), I voted for the vinyl fence, even though it was more expensive! I knew that a vinyl fence would still need maintained by being cleaned, but after all of the painting I have done, I thought that would be better than painting! Can you imagine painting both sides of all of that fence?? And even if I used a paint sprayer to do it– what if the wind blew some bright white paint onto something that belonged to my neighbor, like their car?!!
Here is the section in the back by the garden that I was starting.
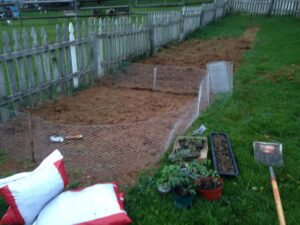
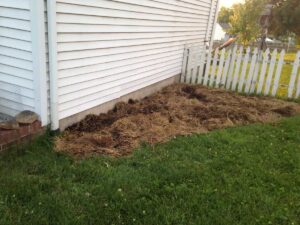
Here is the section by the right front side of the house before I finished landscaping it. Here’s something interesting to take notice of…. with a wooden fence, there is the pretty side on the outside, that you see below. There is also the uglier side on the inside, where the pickets are attached to the horizontal rails (that you see above). But, with a vinyl fence, there is no inside and outside— both sides look exactly the same! Now that we have our vinyl fence, we can see the same pretty side that our neighbors see.
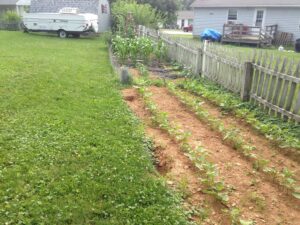
Here is another picture of the fence after the garden was growing.
This was one of those projects that seemed just too big to tackle on our own. So we did hire someone else to install the fence for us. However, to save several hundred dollars, I took down all of the picket sections. I looked forward to reusing them in future projects! By removing them myself, I could be sure to get the sections in the best possible condition. I wasn’t sure that the contractor would take as much care in demolishing an old fence. The added incentive of saving the money helped, too.
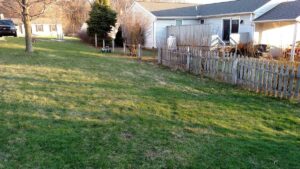
I couldn’t get the posts out, though. Here is the yard with the sections removed– you can see them stacked to the left of the playset.
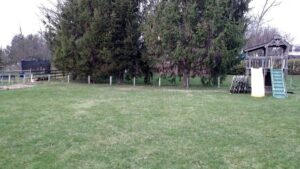
Here is a panoramic picture of our back yard–it shows the left side, the back, and the right side.

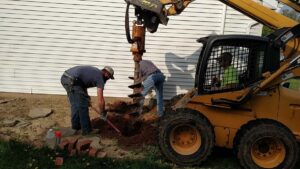
Here is the contractor pulling the posts out with the same skid loader that he is going to use to drill the new post holes.

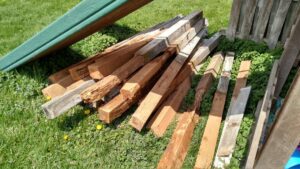
I saved the posts for projects, too!
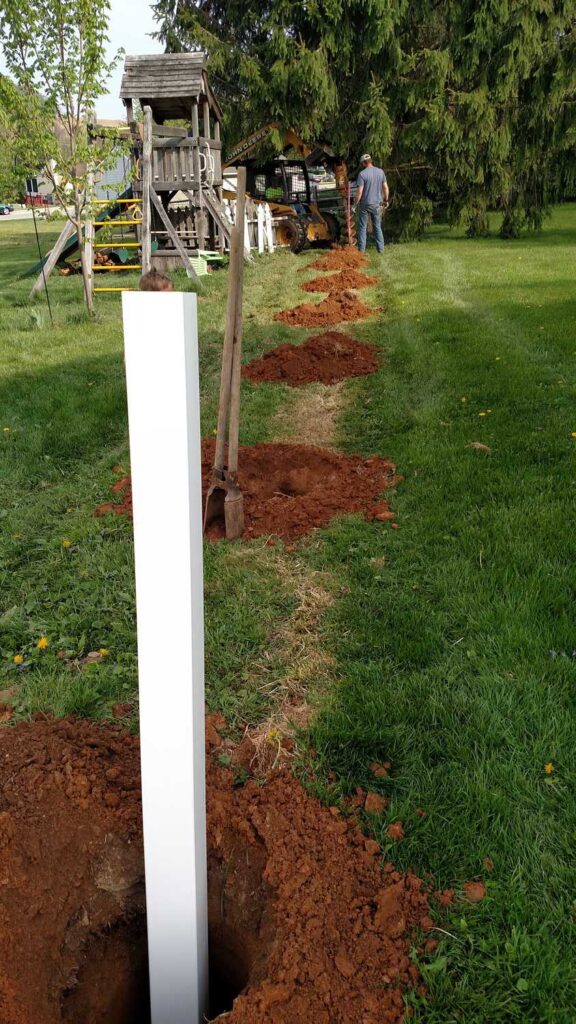
Here is the big drill attachment digging the new post holes.
Here are the new posts for the holes that you see above.
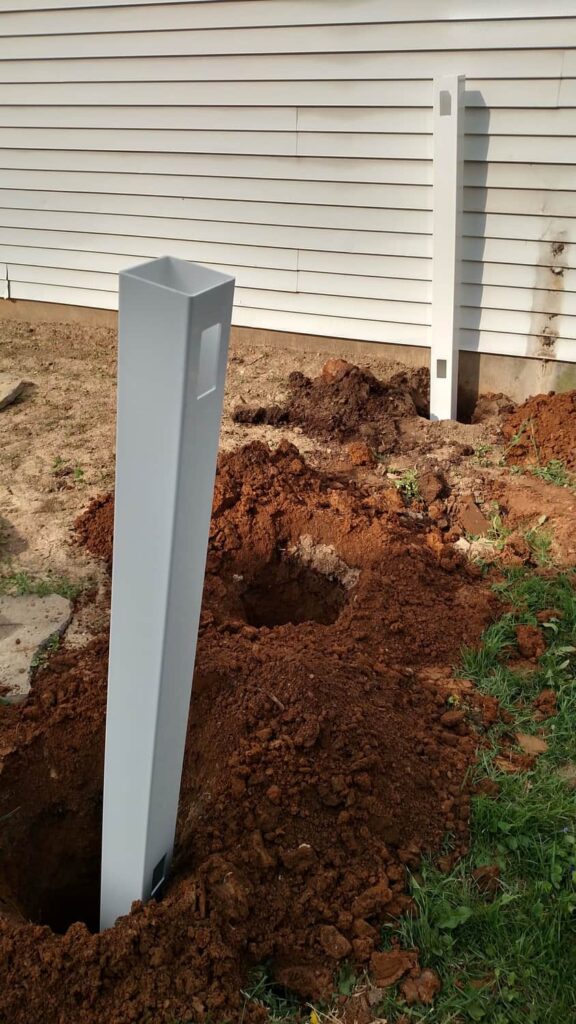
More post holes… see the red clay we have for dirt here in southern Pennsylvania?
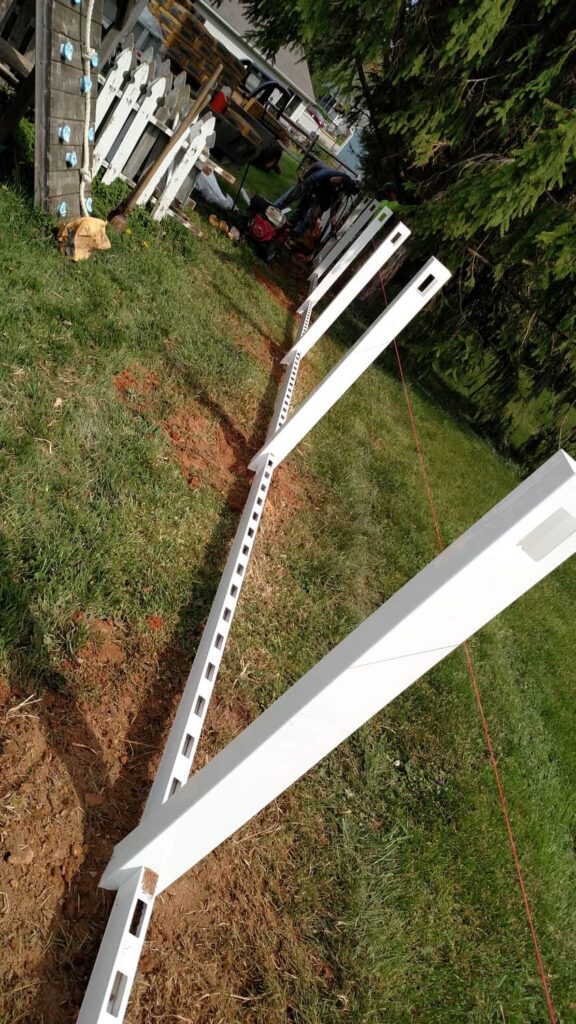
Here are the bottom rails attached to the posts. They used the orange string to be sure the fence was straight.
Here is my daughter helping to put the new vinyl pickets in place.
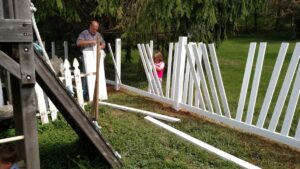
It looked a little bit like a giant Lego set!
All done on this side, except for the post caps.
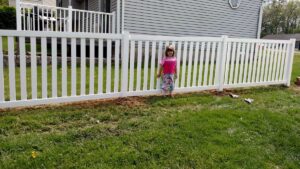
Here is the other side of the house.
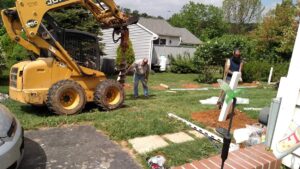
And here is this side all finished.

Here is back to the right side all finished. We put a gate in on each side in the front, and one gate in the back. The back gate was to encourage neighbor kids (and our kids) to use the gate instead of climbing the fence, as was their habit….
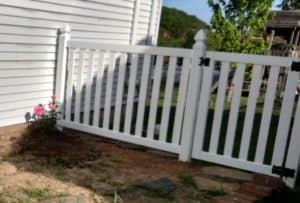
Garden Fence
I planned to use my old fence right away to keep the bunny rabbits out of my garden. I think it was my father-in-law who cut the pickets down to the size that I specified. This cut off the worst worn parts of the pickets. I had the contractors reinstall my old fence using the old wooden posts, all around my garden. (That was another good reason I had removed the sections ahead of time– then they were cut by the time the contractors arrived.) The contractors charge a little extra to do this– but only about half the amount that I saved by removing the fence sections by myself, so that was a Win Win for me! This picture shows the posts tall– but they did saw them off to their proper height after they were installed. I was impressed that the contractors took just as much care with my garden fence as they did with the new vinyl fence, to make sure that it was straight and level.
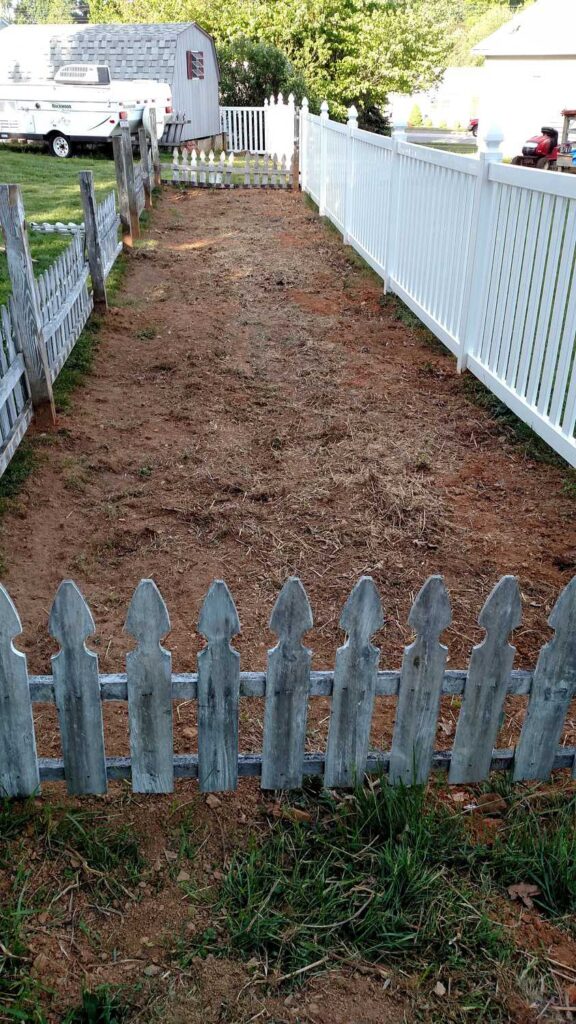
We did leave this corner post long on purpose– for my husband’s grandfather’s mailbox which doubles as a place for me to leave tools.
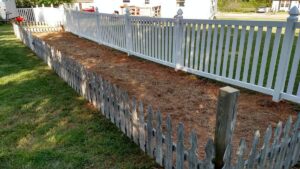
Here are the fences with the garden full grown.
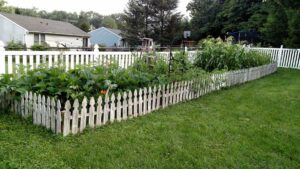
And here they are the next season, after I painted the wooden fence. So I did end up painting a wooden fence after all! I did part with a brush, but mostly with a sprayer. And that little section was a huge job to paint, even with the sprayer. See the hinge on the gate? We reused one of the wooden gates and the hinges, for the garden gate.
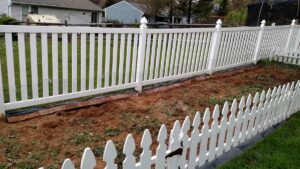
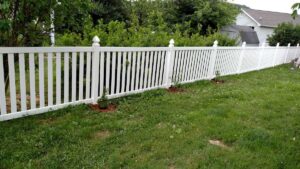
Here’s another shot of the new fence, with some freshly planted blueberry bushes in front of the posts.
AFTER!!
Here is another panorama of the back yard, with the new fence this time. Doesn’t it look so much better?! It was so exciting to see the difference the new fence made. I hope you have enjoyed seeing and reading about this Vinyl Fence Before and After!!






Hi Liberty,
I LOVE your new vinyl fencing! Wow, what a difference it made! I love your garden too! What a clever idea to have those old posts cut and ready to go when the contractor came to dig the holes! Your yard is beautiful and soooo green! Thank you for sharing!
Hugs,
Tee @ Teediddlydee
Thank you, Tee!