
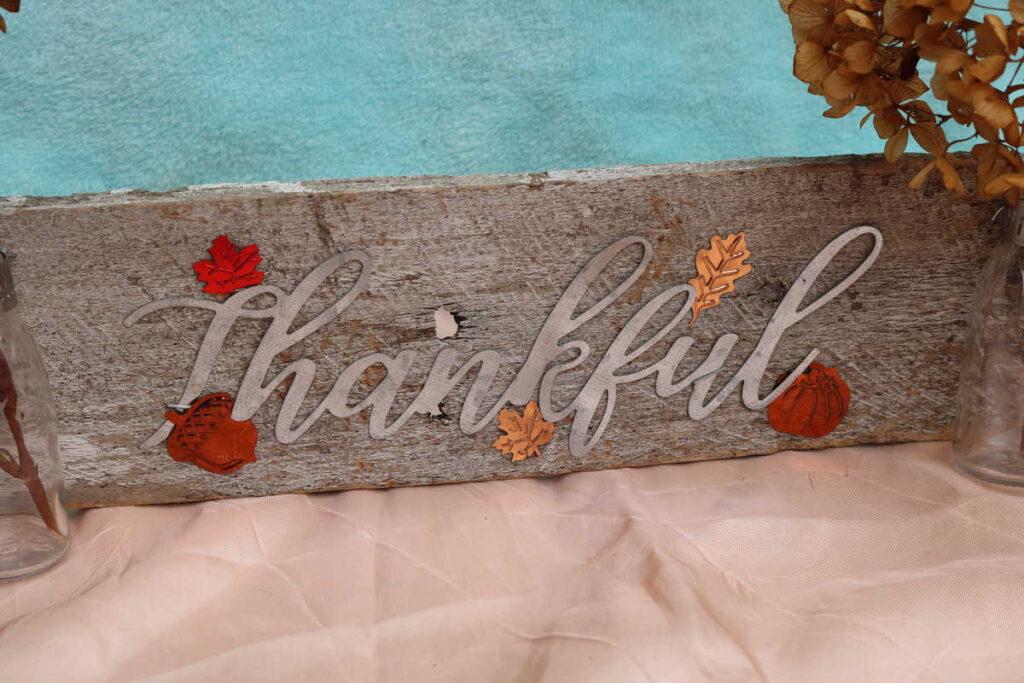
Thankful Sign
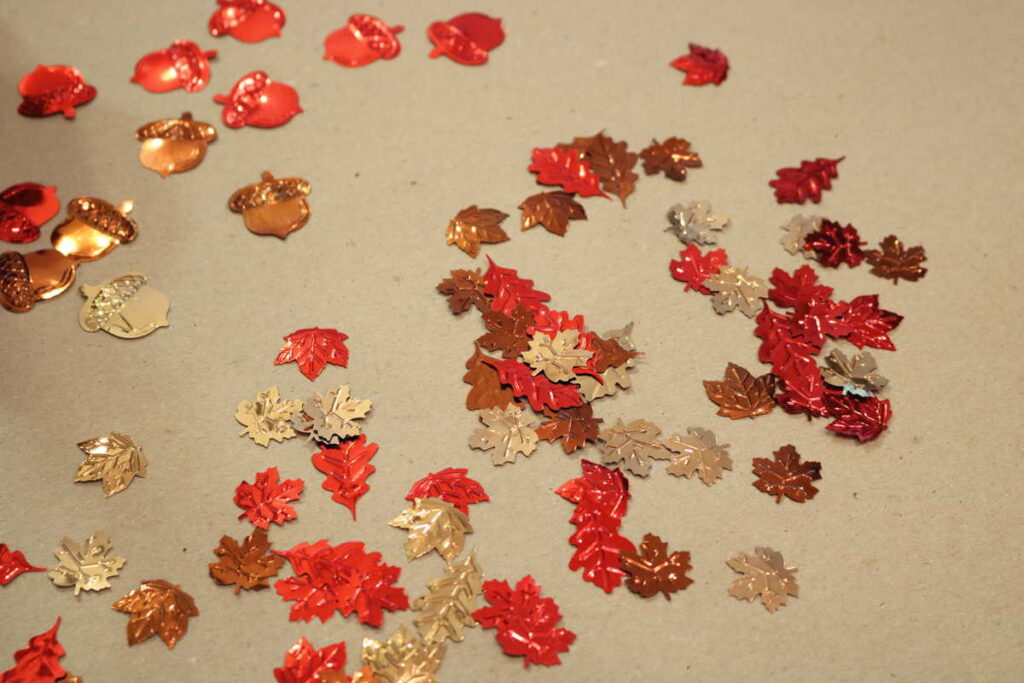
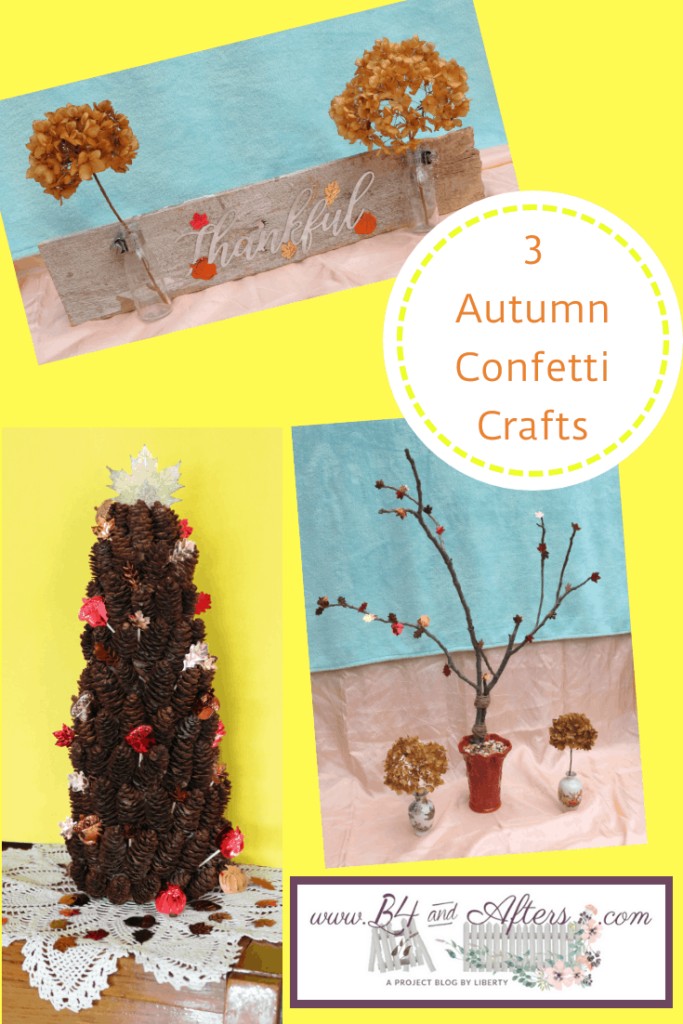
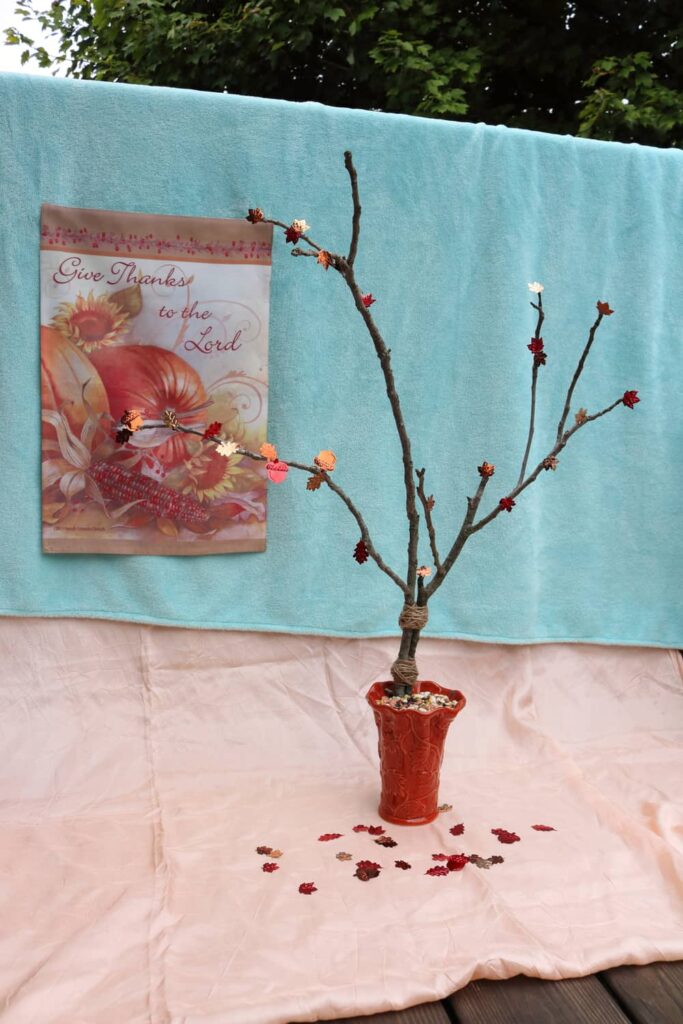
Last year I was given some leftover Fall confetti.* There were leaves, acorns, and pumpkins. I began to get ideas to use them, but since the fall season was past, I had to wait until now to show you! Here is one of my three ideas: a Thankful sign.
BEFORE
Supplies Needed:
- Metallic Confetti
- Metal “Thankful” sign
- Fence Picket
- Cracker Barrel mini maple syrup bottles
- Circle hose clamps
- Stapler and staples
The Dollar Tree had little metal word signs that were 3 in a pack. They said “Welcome,” “Thankful,” and “Harvest.”
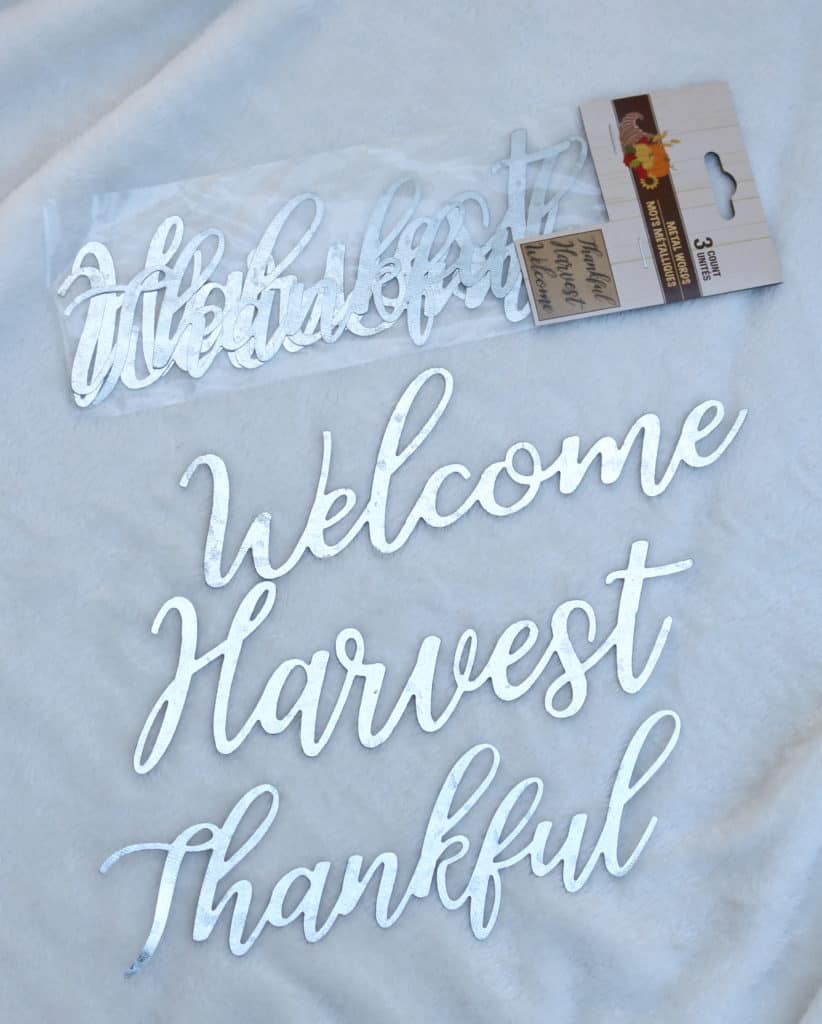
I decided to use the word Thankful. I stapled it with two staples to a sawed off picket from our old Picket Fence. Then I tucked some confetti under the word Thankful.

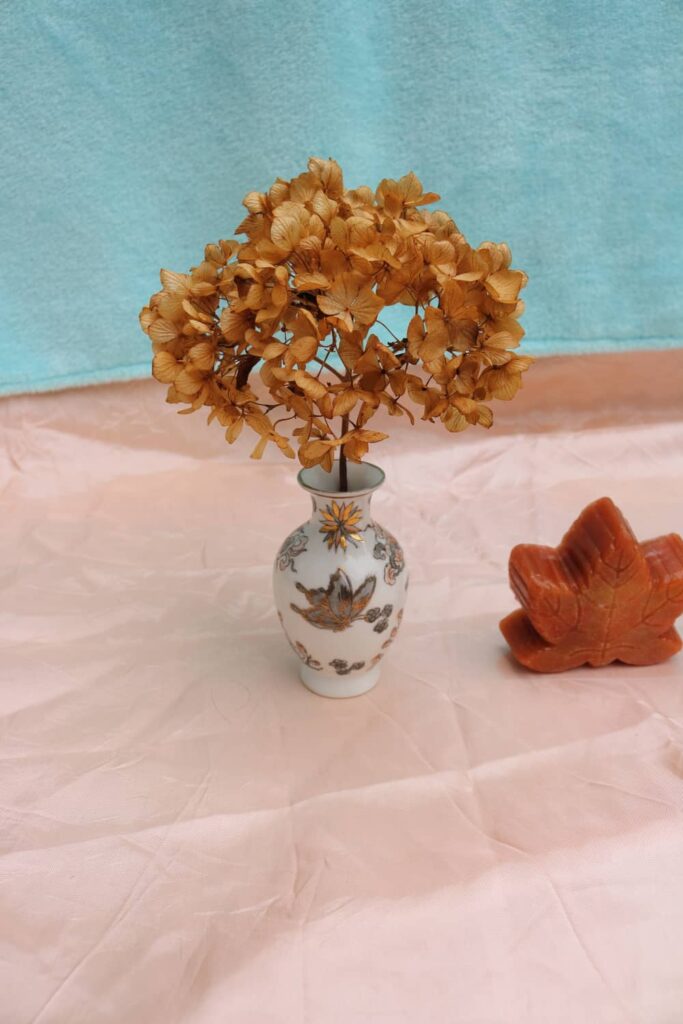
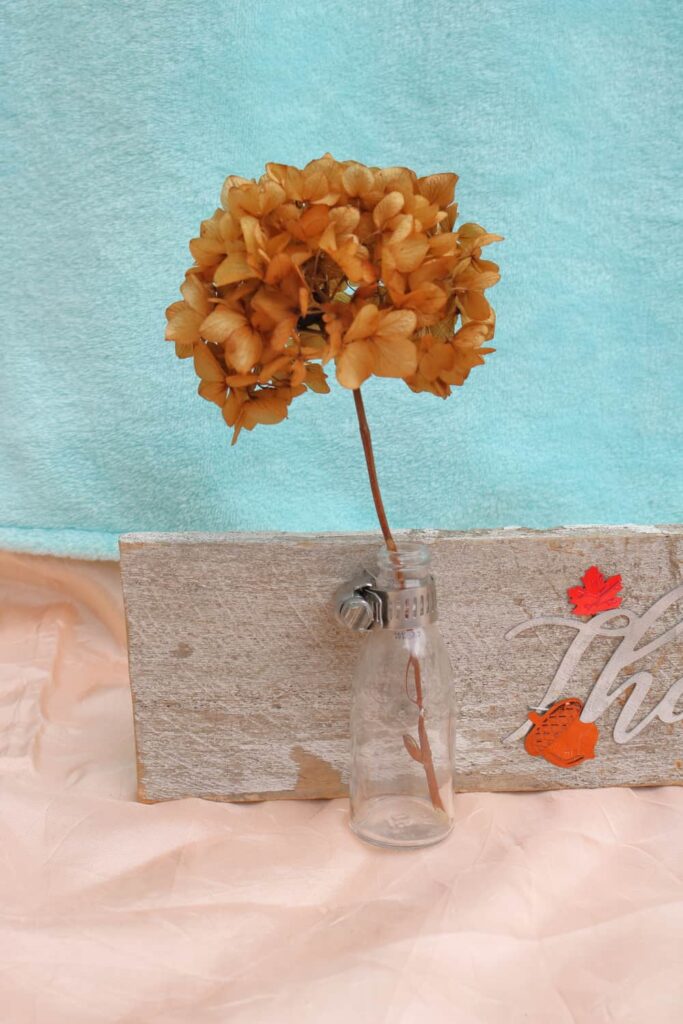
Before I show you what else I added to my sign, I need to show you these cute little dried hydrangeas in miniature vases. Aren’t they sweet? You can probably find vases like these for pennies at a yard sale like I did. Just keep your eyes open. You might find some at a thrift store, too.
The little hydrangeas were leftover from a bunch that I had been saving for a different project.
Here is another bunch of them in a different miniature vase.
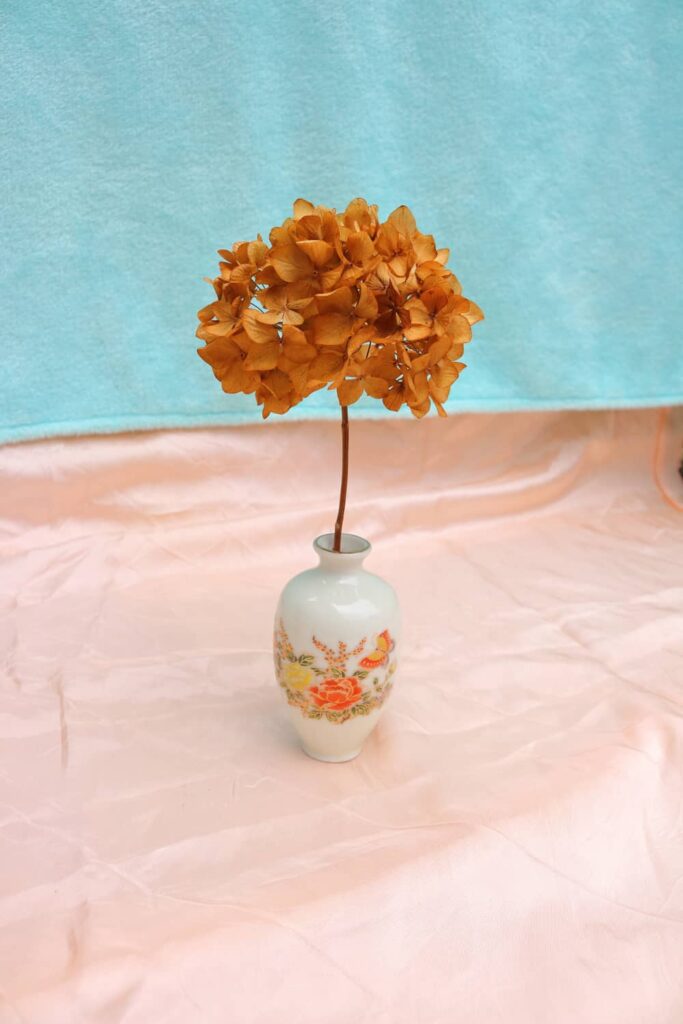
Are you beginning to guess what I did?
I must admit that I got my idea HERE. I just remade it to my own liking, to use my materials. I’ve been saving a lot of Cracker Barrel Maple Syrup bottles– you know, the kind they give you with your pancakes? I am glad to finally be using some of them.
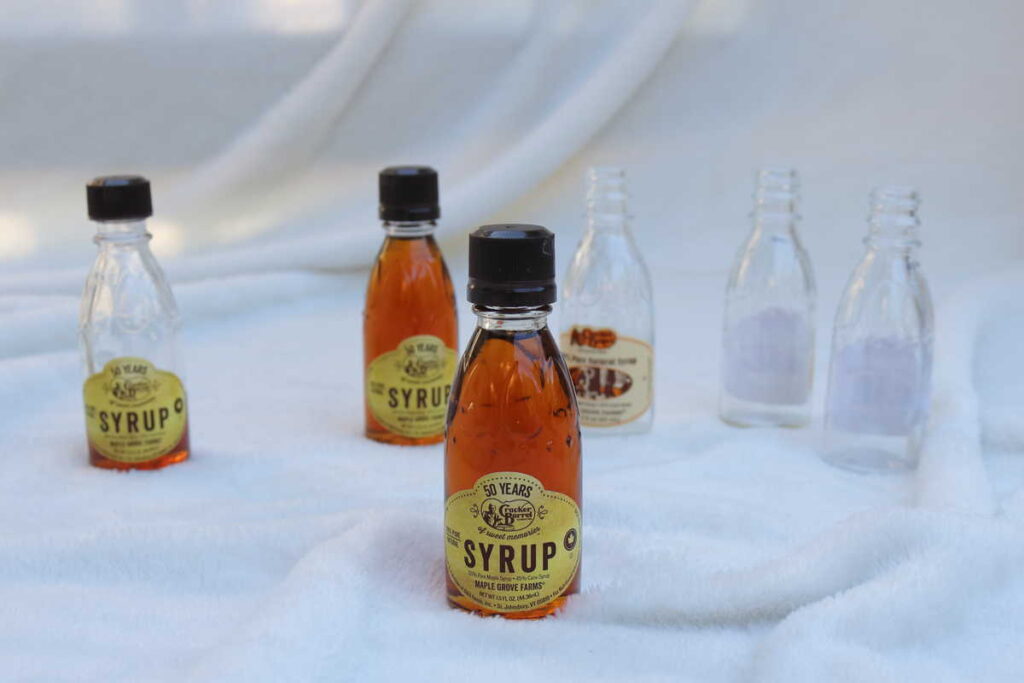
I scrubbed the syrup bottles in soapy water and scraped the stickers off. The stickers are very sticky, so I used my walnut scrubber to get all the stickiness off.
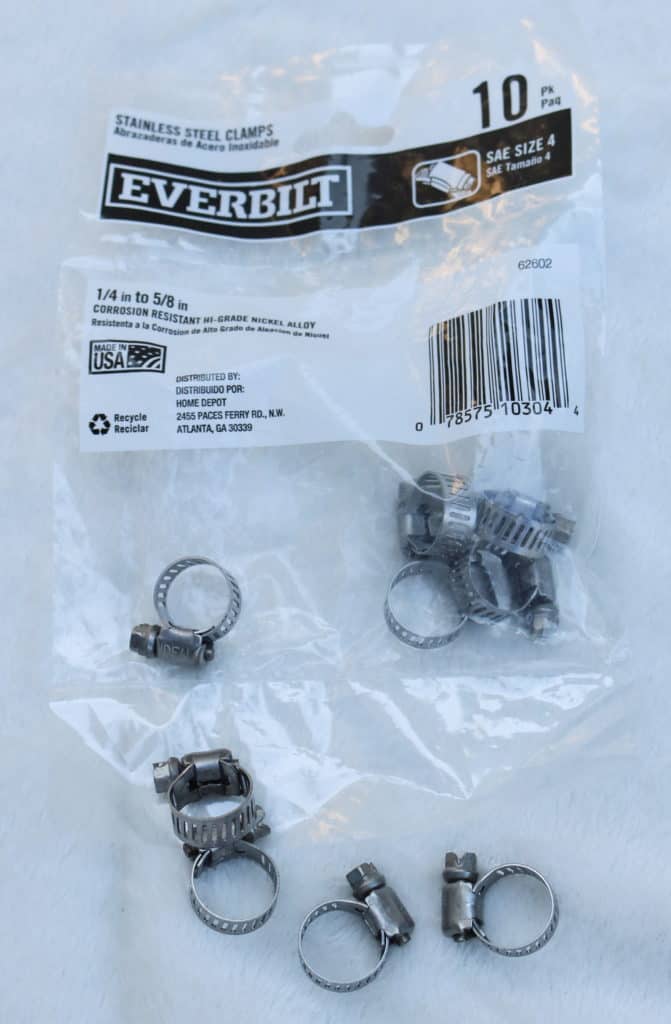
I stapled the hose clamps to the board, then carefully attached the mini syrup bottles– putting one on each side of the board.
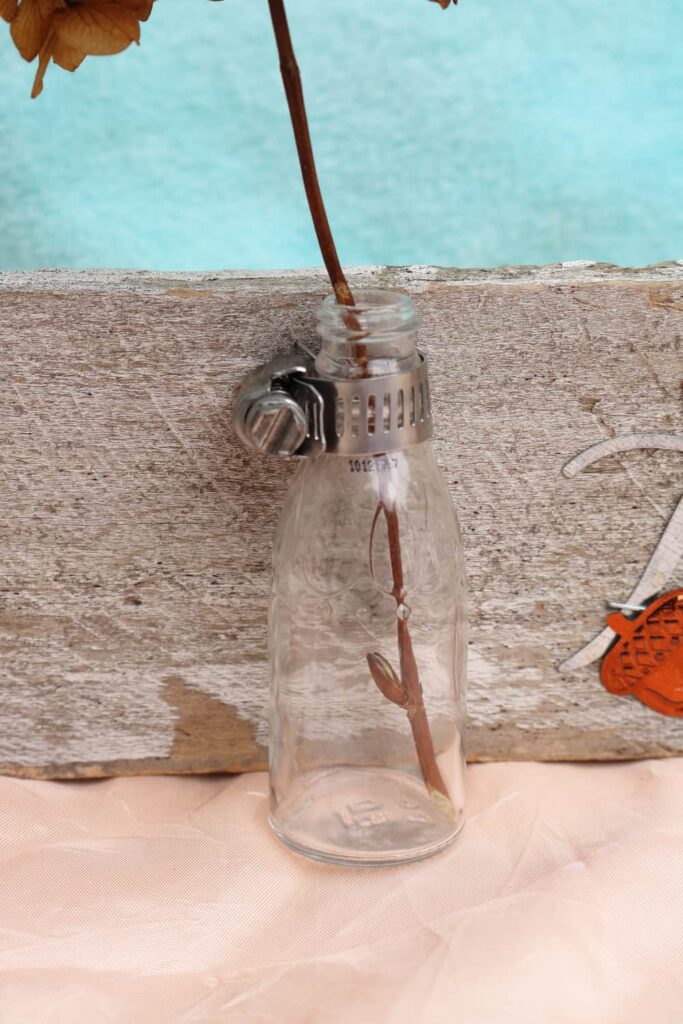
It is just the right size. No need to add water for these flowers! But you could easily add some live flowers with water instead if you wanted to.
What do you think? Is this a project that you would enjoy doing?
AFTER!!
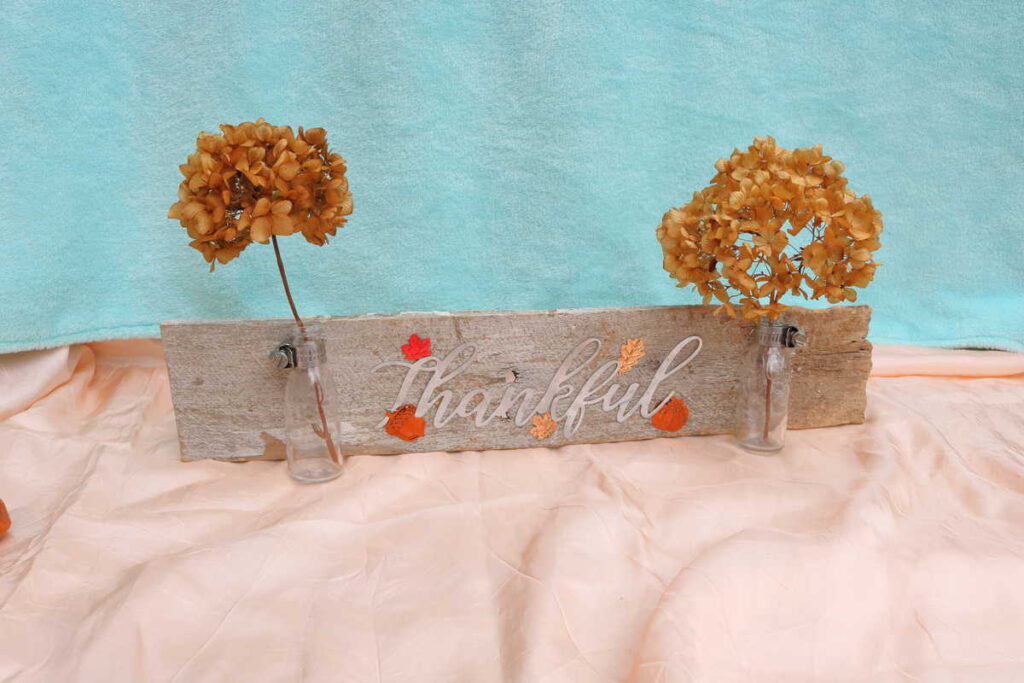
I did attach a picture hanger to the back of the board. But the attached bottles enable the board to “stand up” on its own, and I like it better that way than hung on a wall. Do you like it as a stand-alone piece, or would you hang yours on a wall?

This project was almost free for me– but it did cost 33 cents for the sign, and a dollar or so for the clamps. Everything else was free!
This is where I put the sign for my fall decorating.
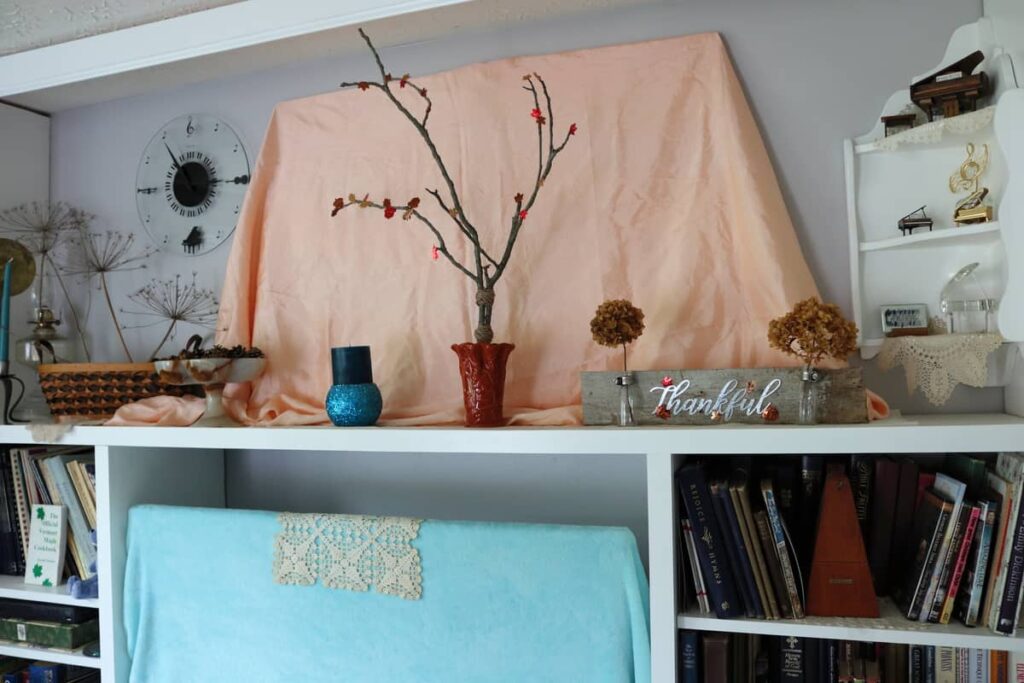
Do you decorate for fall?


very cute projects
This is so cute! Thank you for the tutorial and the fun idea!
Happy day friend!
karianne
You’re welcome, KariAnne!
‘Absolutely love these, especially your “Thankful” sign. Your post will be one of my features for Happy Fall Link Party. Thank you for sharing with us! -Marci @ Stone Cottage Adventures
pinned. shared on FB
Thank you so much, Marci!
That is such a pretty sign! Thanks for sharing with us at the Happy Fall party. Pinned.
You’re welcome! Thanks so much for pinning!
looks so cute!
Your Thankful sign turned out so cute. I love the bottles with the flowers. And I also think that the clamps are really cute.
Thank you, Amy– I’m glad you like it!
What a terrific project. I especially love that you saved and can use the little bottles. They’re great with the muted hydrangea!
Thank you, Jeanie!
Liberty the sign is cute. I love dried hydrangeas. I have them in my home. Some for early fall and some all fall.
Enjoy your day
Cindy
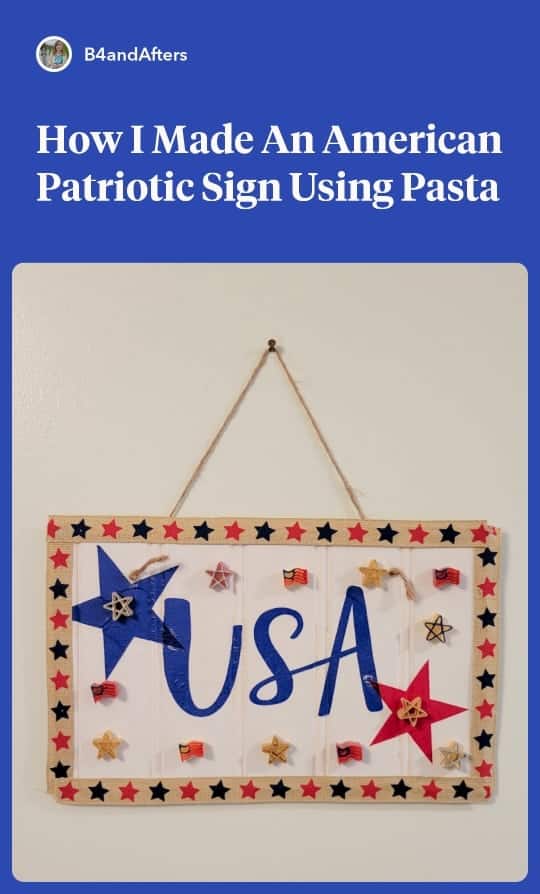
Thank you, Cindy! I’ve seen them in other homes, but this is my first time using them plain like this. (I did make some spray painted ones for the Fourth of July this year.)