
The Right Way to Fill a Taco
During my high school years I worked making fast food at a local taco place. Usually, no one east or south of Ohio has ever heard of Taco John’s. But they are everywhere in the midwest. They are the competitor to Taco Bell. It was through this experience that I began to love Mexican food– I did not grow up eating tacos. I want to give and show you some tips for how to fill a taco (the right way…).
[I’m linking up to #fiestafriday at Fiesta Friday.]

I was glad to find blue corn taco shells on sale for 99 cents. I bought several boxes. Of course you can use yellow or white corn taco shells too. While I am using hard tacos, these steps are the same for soft flour tortillas as well.
To start off, you can eat the tacos right out of the box, but they taste fresher if you toast them in your little toaster oven first. Watch them carefully— it is easy to burn the shells. (You should be reheating your leftover pizza in this toaster oven, too–it tastes much better than the microwave even if it does take a little longer….)
What kind of Toppings or Filling should you put in a Taco?
Tacos start with a protein base of beef or chicken. You can use ground beef or shredded beef. Make your taco meat according to the directions on the Taco Seasoning packet. When I make Chicken tacos, I like to cook boneless skinless chicken breast in a crockpot with sliced green bell peppers and sliced yellow or white onions. Then the chicken is easy to shred and very tender– I call this Fajita Chicken. Then I sprinkle in a Taco Seasoning packet.
Prepare your cold toppings. I like to use shredded cheese, sliced black olives, sour cream, tomatoes, pineapple, and salsa. Use whatever sounds tasty to you. Other toppings might include diced onions, sliced avocado, and lettuce.

How to Put Taco Meat on a Taco
Now that your ingredients are ready it is time to assemble the taco. Usually the way I see people assembling tacos, they put all the meat on the bottom, and then add the toppings. But, if at all possible, you should be spreading the taco meat up the side of the shell, as shown above and below.
I used my mini green spatula, but a flat pie server or a butter knife works well, too. Spreading the meat flat like this is the most important step. : ) Your meat should be hot when you are ready to put your taco together.

Should You Add Cheese to Your Taco?
What would a taco be with cheese? Of course you should add cheese, unless you are allergic to dairy. In that case you could add dairy-free cheese.
Add your shredded cheese, on top of the surface of the meat. Some people like their tomato sauce on the meat and then the cheese, but I prefer the cheese first and then the sauce or salsa.


Do you add Salsa to a Taco?
I had some homemade spicy pineapple salsa that I put on these tacos (I think it was made using THIS. There are a lot of pineapple salsa recipes online). Use regular salsa from your favorite grocery store (I think Aldi has good prices on salsa) or picante sauce according to whatever flavor you like. This taco dinner kit came with spicy tomato sauce, but I don’t care for it.
I think that without salsa, a taco is too dry. Salsa usually comes in Mild, Medium, or Hot options. This refers to the spicy heat flavor. I prefer Mild because even Medium is just a bit too hot for me. If mild salsa is too mild and medium salsa is too hot– you can buy a jar of each and mix them to get the flavor just right!


If you want to add sour cream, the easiest way to do this, especially if you are feeding a crowd– is to put the sour cream into a ziplock bag.

What Can you use to Stand the Taco Upright?
To make it easier to fill the tacos, stand them upright using an upside down muffin tin. This way you can put the sour cream down beside the other ingredients, instead of by itself on top. Who wants to bite into a mouthful of only sour cream?!? (not very many people, I think….)

Then cut a hole in the corner of the ziplock bag and squeeze out just the right amount of sour cream, in just the right place on the tacos. If you want it to look super nice, then go ahead and put it in your icing bag with a star tip on it.

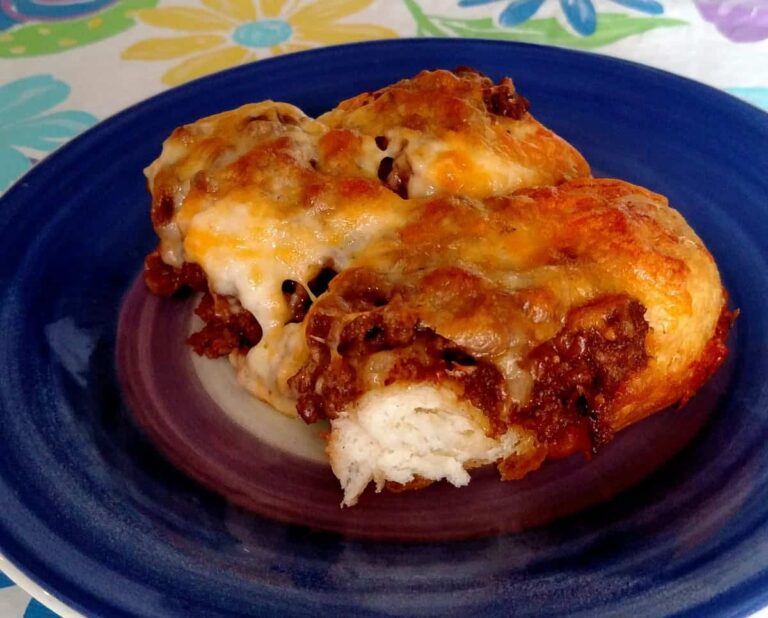
These tacos were soooo good!

Once again, here are my tips for filling a taco:
- Toast the corn shell first.
- Use something flat like a pie server to spread the meat up the side of the taco.
- Stand the taco in an upside down muffin tin to add the rest of the filling.
- Use a ziplock bag to add sour cream or guacamole (optional).
- Enjoy EVERY bite!!


These are such great tips, Liberty! I never even thought to spread the meat flat – that’s great! All of the tips were great, and the muffin tin idea is so clever! So glad to have you at TFT again!
I’m glad it was helpful… yes, who knew?! 😄
I had to click on your post because I couldn’t imagine that there could be any other way of filling a taco besides for how I fill mine. Boy, was I wrong! I will be filling my taco like you fill yours and the tips about using the plastic bag for sour cream and using the muffin tin to hold up the taco were such good ideas!! I am so glad I clicked!
And I’m glad you clicked, too! I hope I didn’t sound arrogant in my post. I just didn’t know how else to put it.
Good idea to lay the taco down! And I like how you stood it up on the muffin pan! Thanks for the tips!
Thank you, Janine! I’m glad you liked my ideas.