Scalloped Brick Edging
I know this is not the normal time of year to be doing landscaping or yard work. But you can do a few things to prepare your flower beds or vegetable garden for spring. I was not planning to do this project– but when free landscape bricks came my way via Craigslist a few days ago, I jumped at the chance.
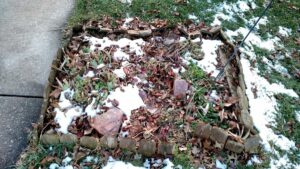
BEFORE
(*This post may contain affiliate links. By purchasing anything from these links, I may receive a small commission at no cost to you. More information is available on my Disclosure page.)
Several years ago, I had created this corner flower bed at the corner of our yard. I have marigolds and irises there; sometimes I have petunias. I had used cedar edging, but with mowing and weed-eating it was not staying in place. Enter a Craigslist post for free scalloped brick edging!
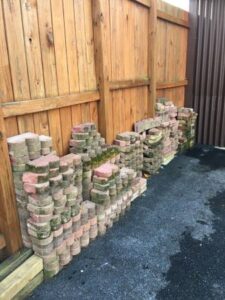
I had to drive only an extra half hour from a place where I already had an appointment. A stranger offered to help load the bricks into the back of the truck. See the heavy duty plastic Craftsman toolbox? That was a free find, also! Have I said how much I love free?!
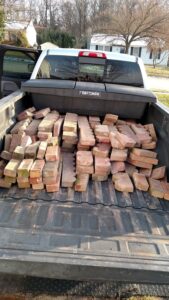
My family helped me unload them. I figured I may as well put them in the general areas where I thought I would be using them. I pulled them to various areas of the yard in my heavy duty wagon (free from a neighbor!) After the end of this post, you might begin to wonder if I buy anything : ).
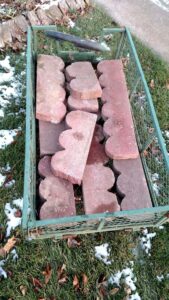
I ended up using the straight/ rectangle shaped landscape edger and not the curved one. It digs into the dirt more easily. I had bought the curved one before I got the rectangle one–yes, you guessed it– free. [So it turns out the curved one is a “turf edger” and the rectangle one is a “root cutter.”] I pulled out the wooden edging and laid the brick/ concrete edging where the wooden edging had been.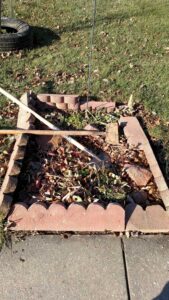
Then I got to work moving the dirt with my root cutter shovel. 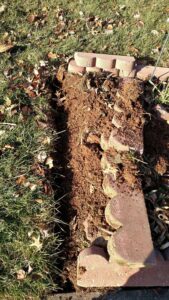
The concrete/ brick edging fit very nicely in the little ditch canal I had dug.
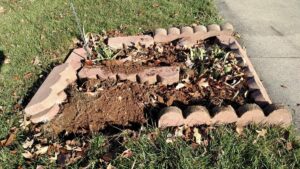
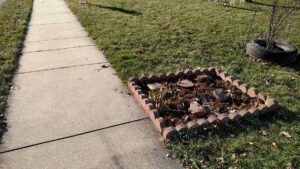
I’m very pleased with the results! This should be much easier to mow and weed-eat near when Spring comes. I’m sure that the people who pass by on the sidewalk will appreciate it, also.
AFTER!!
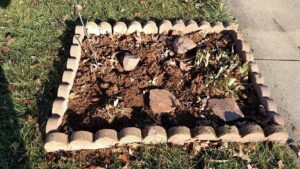
Now, what to do about that tire border around the tree…. paint it? I haven’t decided yet.
