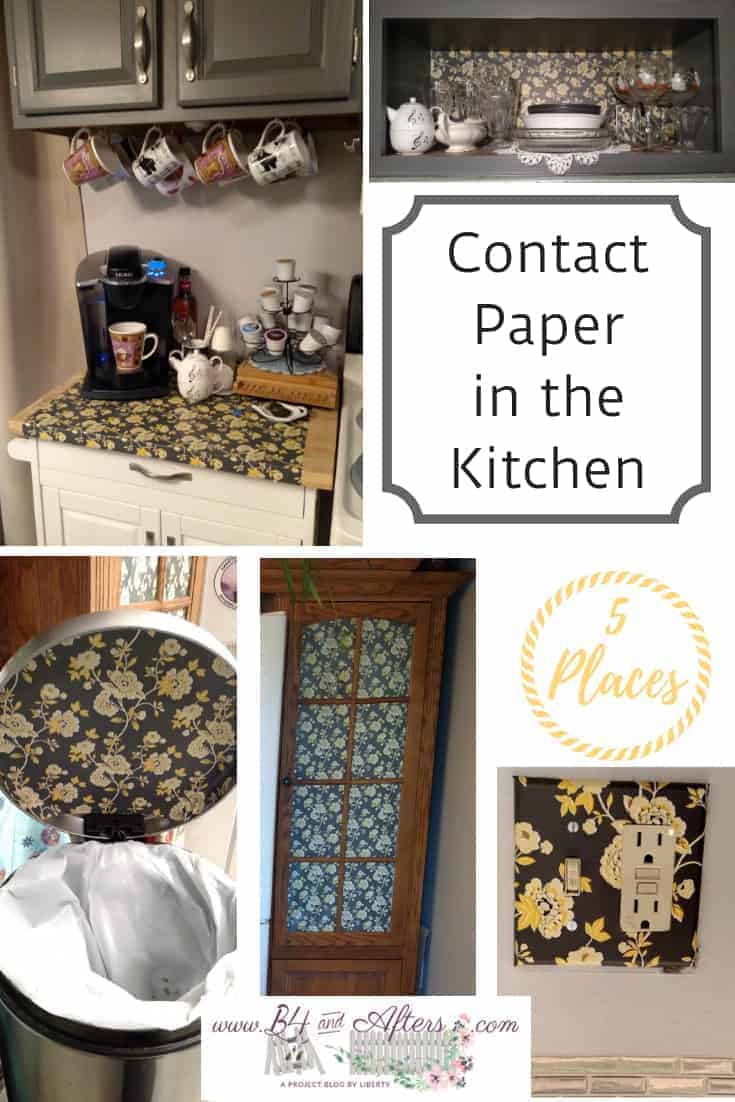
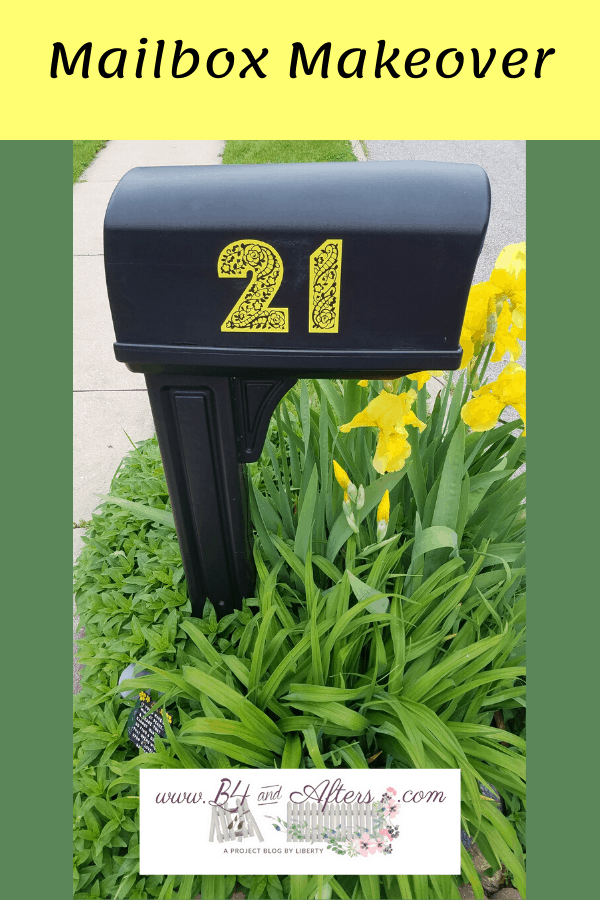
Mailbox Makeover
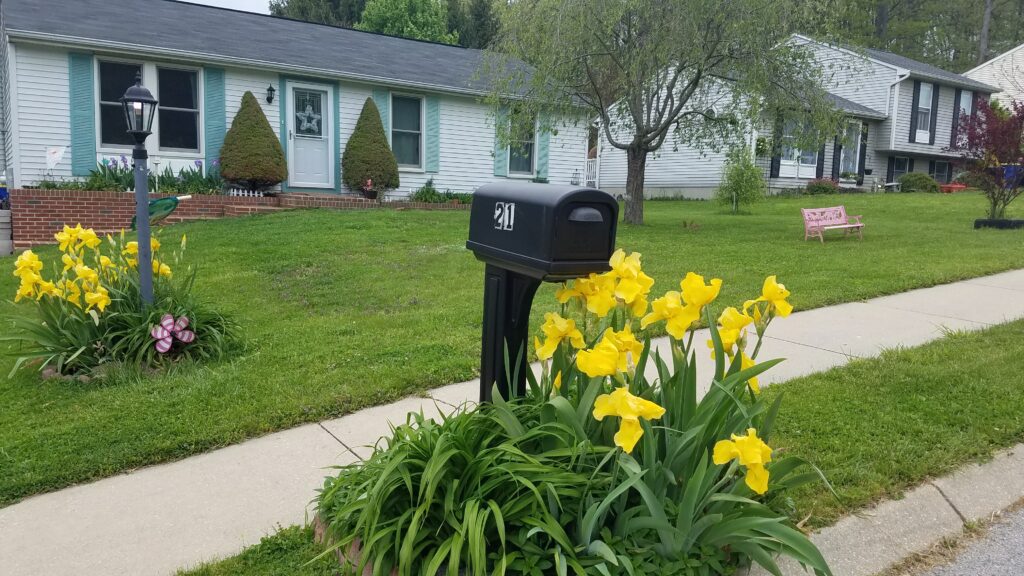
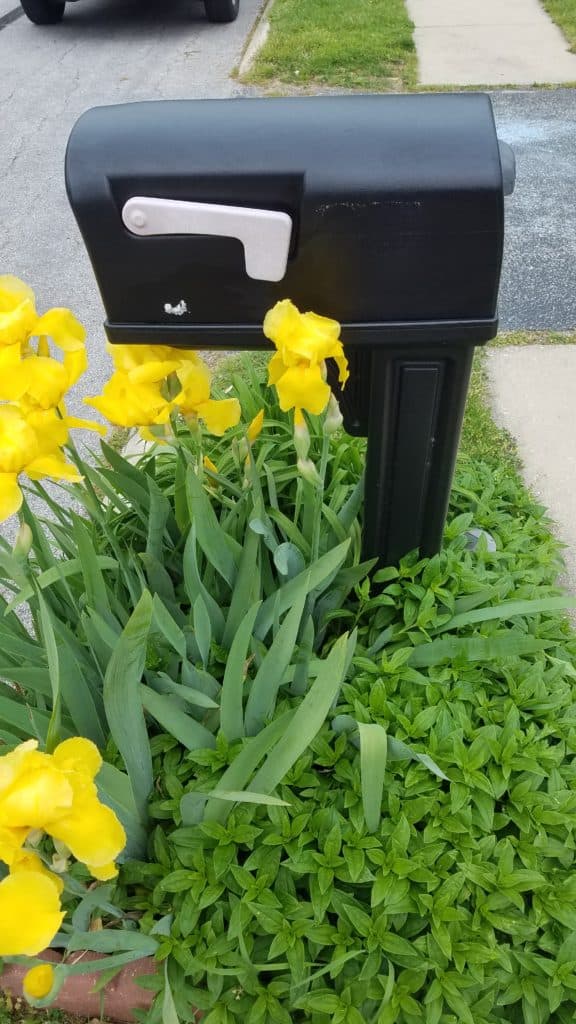
Every spring I look forward to my giant yellow irises blooming. They really are huge– bigger than my hand!
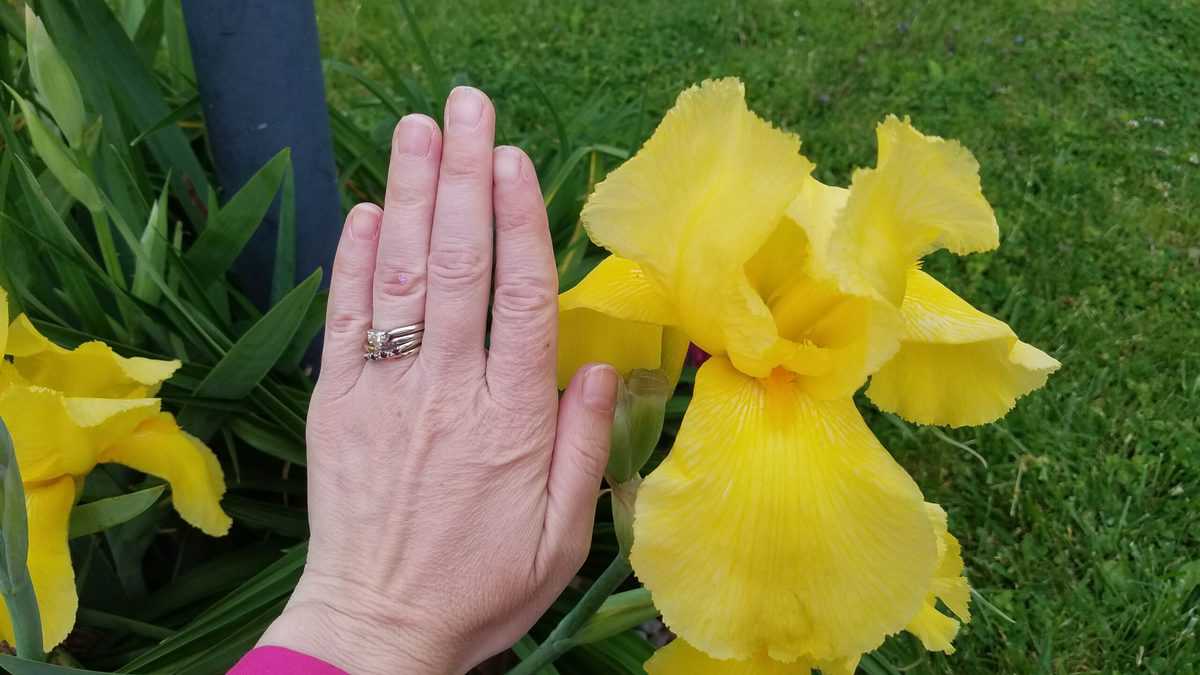
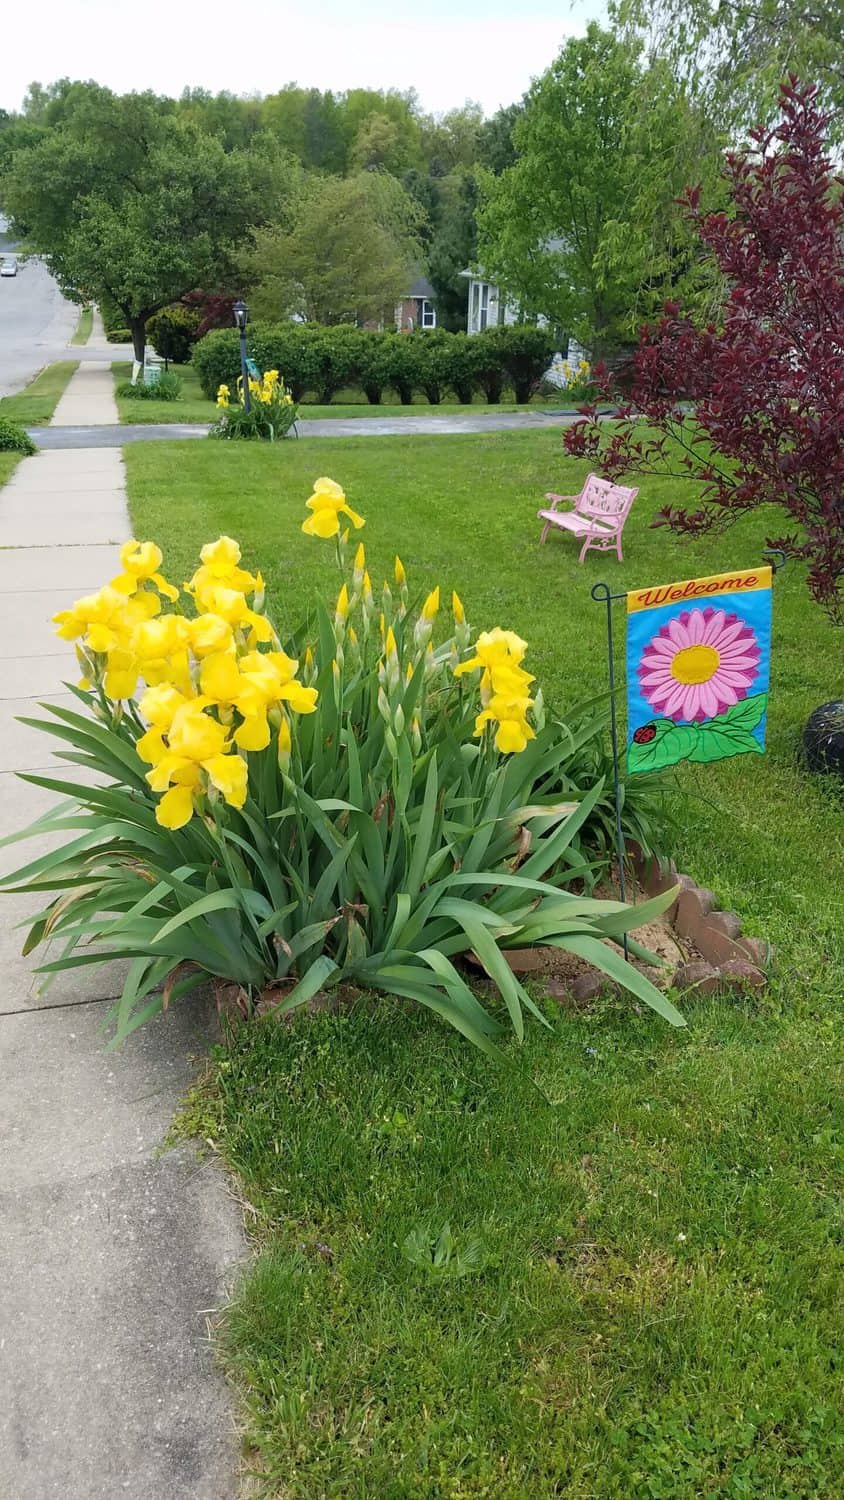
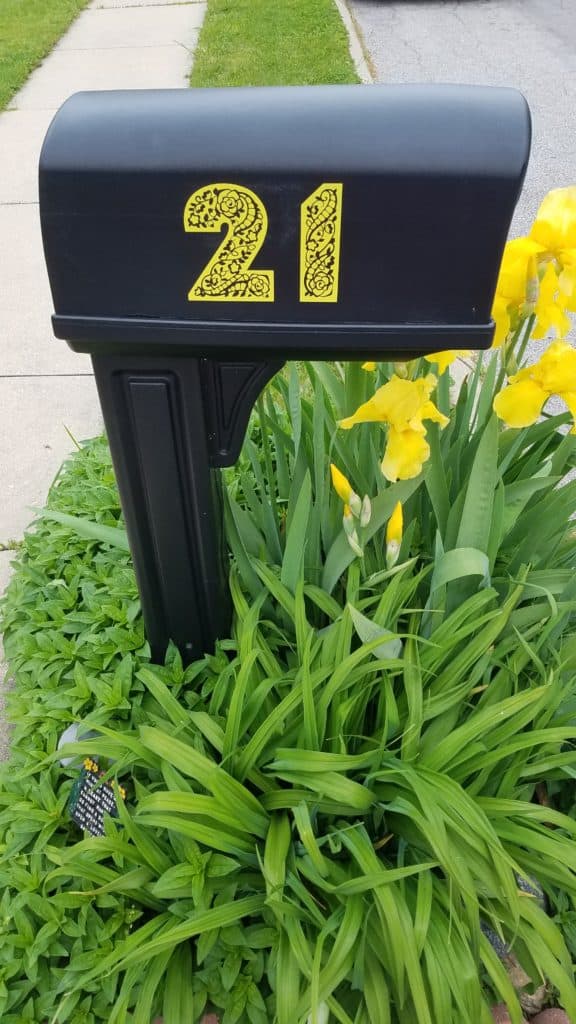
I also love to photograph these irises, trying to preserve their beauty. (I like photographing all flowers, really.) So I was photographing my yellow irises, when I took the following picture, and realized that the number on my mailbox was looking very sad. The number stickers were six years old and getting shabby– shabby enough to maybe spoil my picture! So I decided to do something about it right then and there.
Mailbox Before
I got to work peeling off the old numbers from both sides of my black plastic mailbox. I scrubbed and scrubbed, and got out my Goo Gone. It was very difficult to get those numbers off.
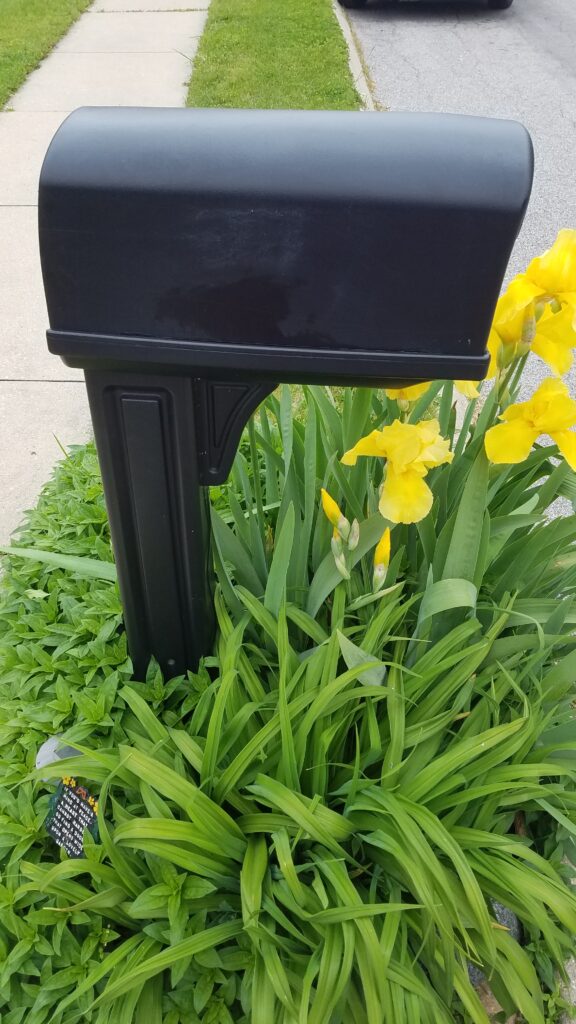
Then I looked around Cricut Design Space for some pretty numbers for my mailbox. After awhile I found some with a filigree flower design cut out of them. I chose bright yellow vinyl to go with my bright yellow irises.
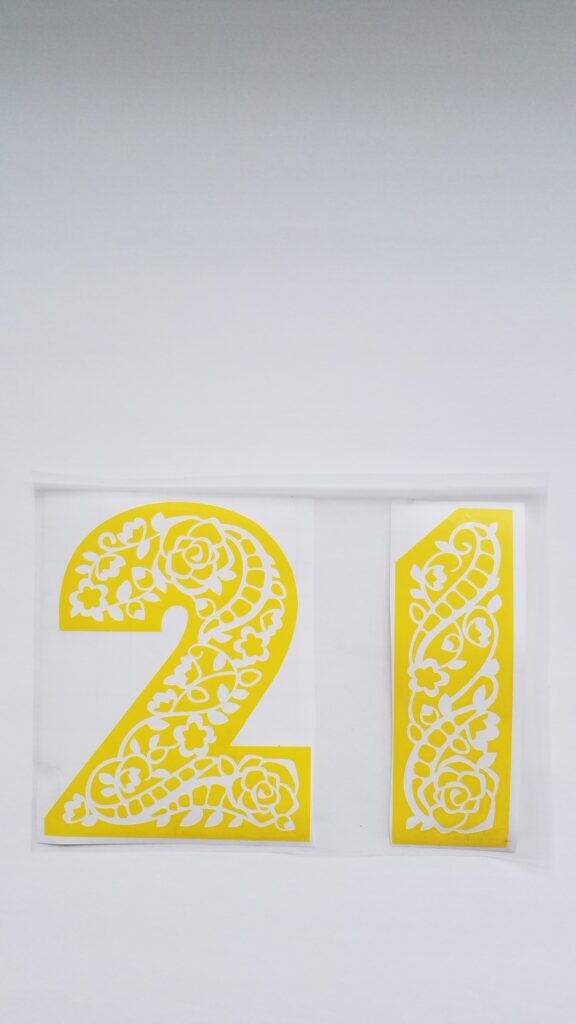
When I weeded out the floral pattern from the numbers, it came out mostly in one piece, and I realized that I could use that part for one of my sets of numbers! So I had zero waste for this Cricut vinyl project!
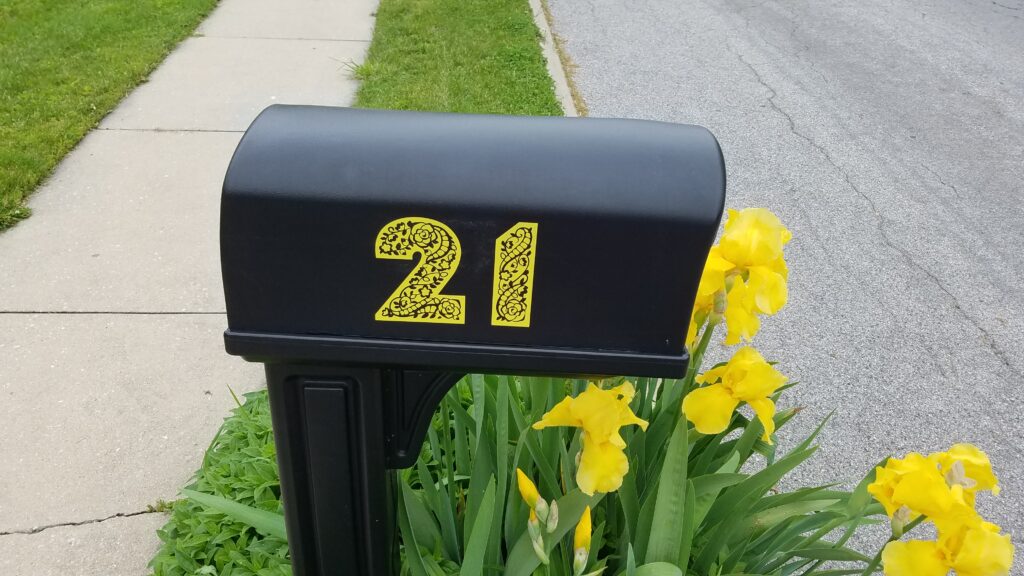
I also unscrewed the flag and spray painted it lavender. The flag had faded to lavender anyway, but was blotchy looking. I didn’t think a bright red flag would look good with my numbers, but maybe it wouldn’t have looked too out of place.
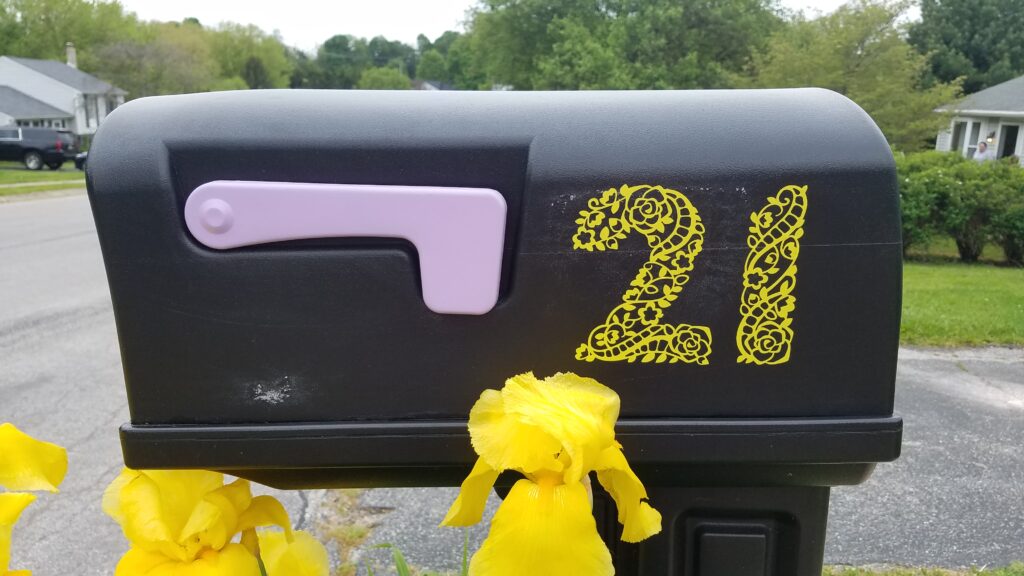
So this is the flag side of the mailbox.
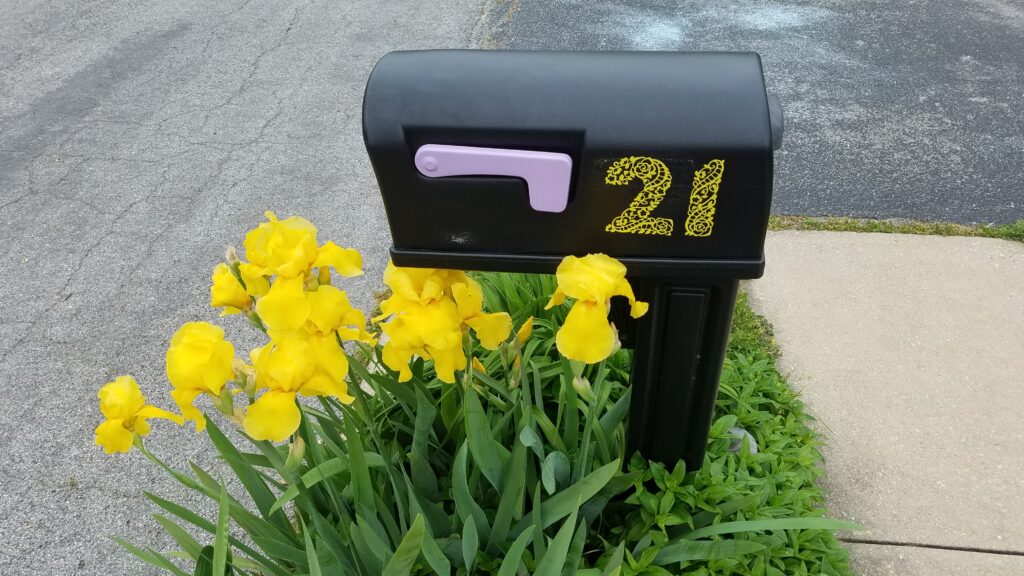
And here is the other side of the mailbox.
Mailbox AFTER!
I’m not sure which side I like best. Which numbers do you like better? The flag side or the no-flag side?
More Cricut Projects
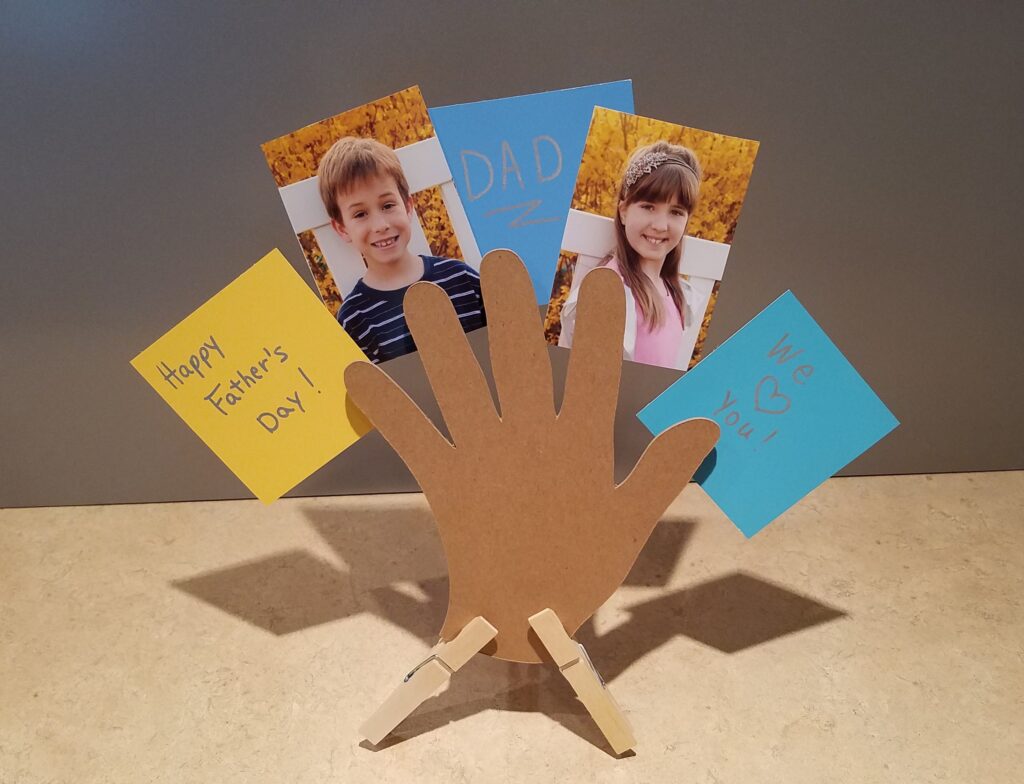
- Clothespin Hand
- Reverse Stencil
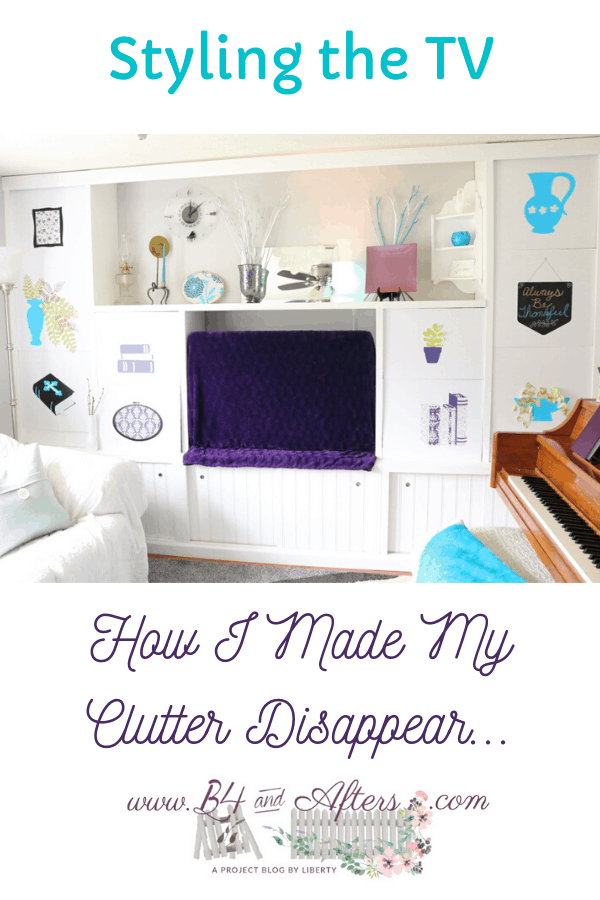
- Faux Bookshelf Decor
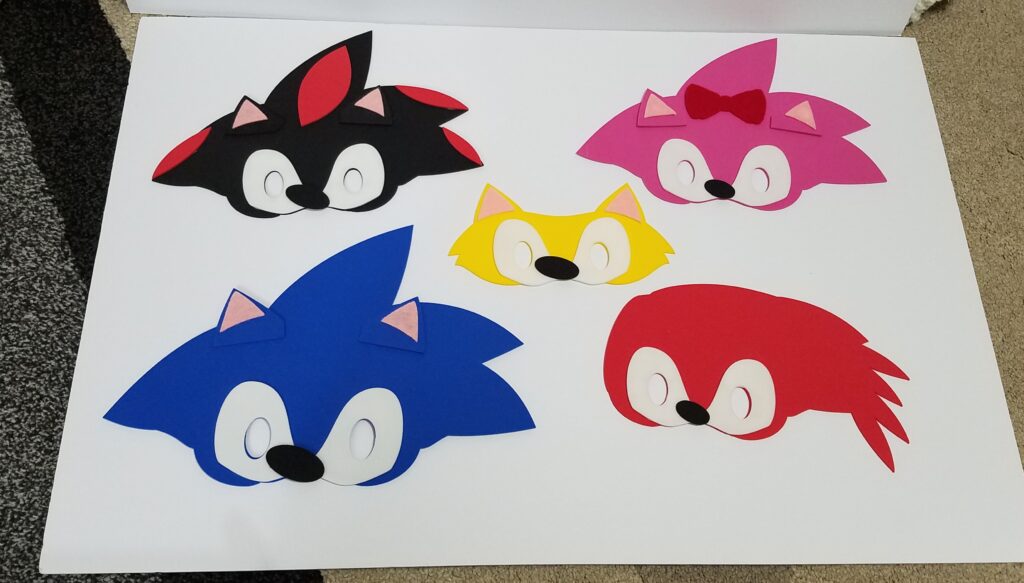
- Sonic Face Masks
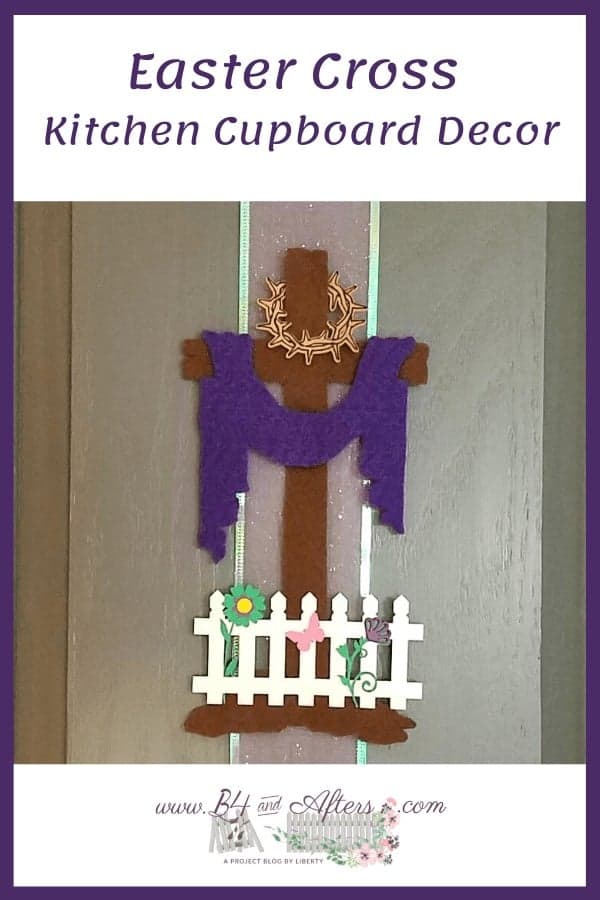
- Easter Cross
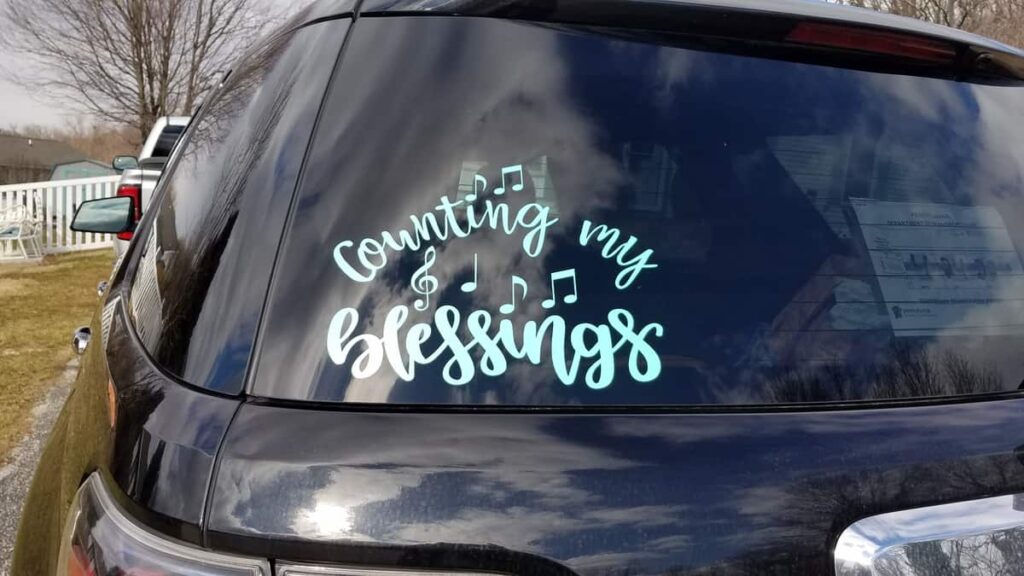
- Window Decal
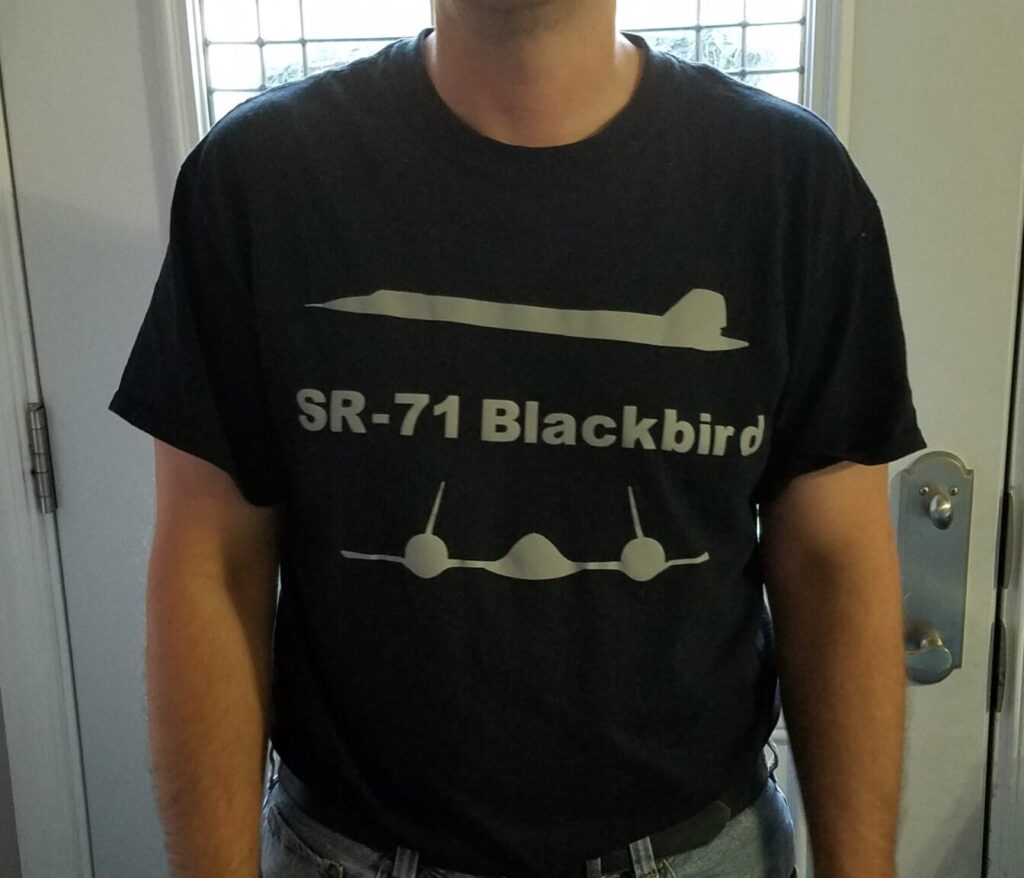
- Airplane Tshirt
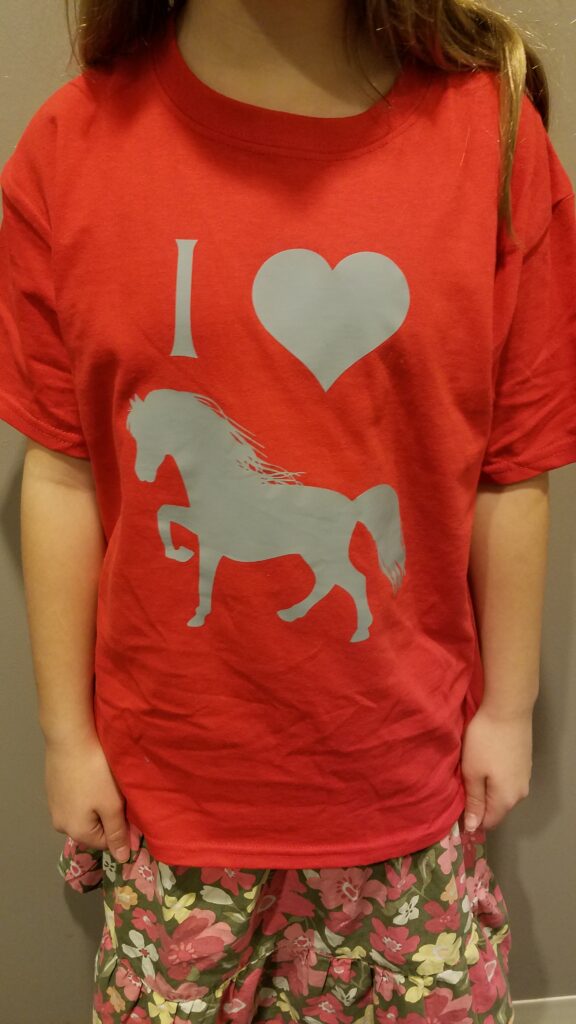
- Horse Tshirt
- Valentine Cupboard Decor

More Cricut Projects
- Clothespin Hand
- Reverse Stencil
- Faux Bookshelf Decor
- Sonic Face Masks
- Easter Cross
- Window Decal
- Airplane Tshirt
- Horse Tshirt
- Valentine Cupboard Decor