
Dress Shaped Cake
For my daughter’s fifth birthday I made several cupcake cakes. One of them was this Princess dress. It was sooooo easy to do! But for her ninth birthday, she asked for a specific kind of Dress Cake. She wanted one that was standing UPRIGHT!!

To be specific, she did not want a Doll Cake like the one I had made for her fourth birthday.
My daughter wanted an upright princess dress cake without a doll in it. So I googled and I thought and I looked on Pinterest for inspiration. I found that inspiration in this Pin of Dress Cookies:
It was a good thing I found that cookie picture because otherwise I would have failed miserably in my sleeve design. Here is what I did:
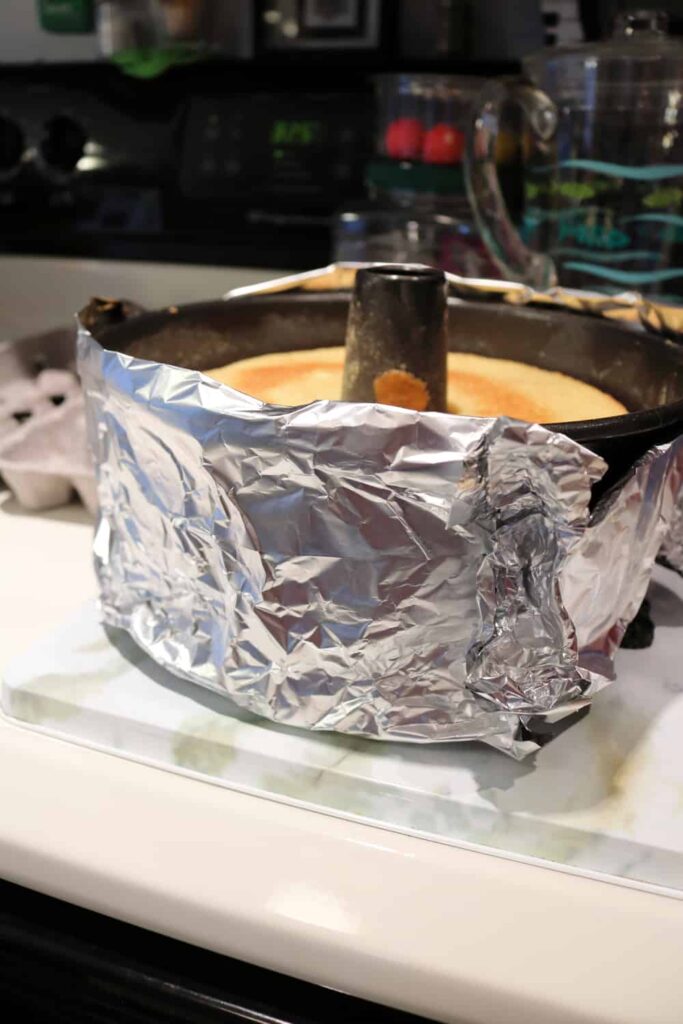
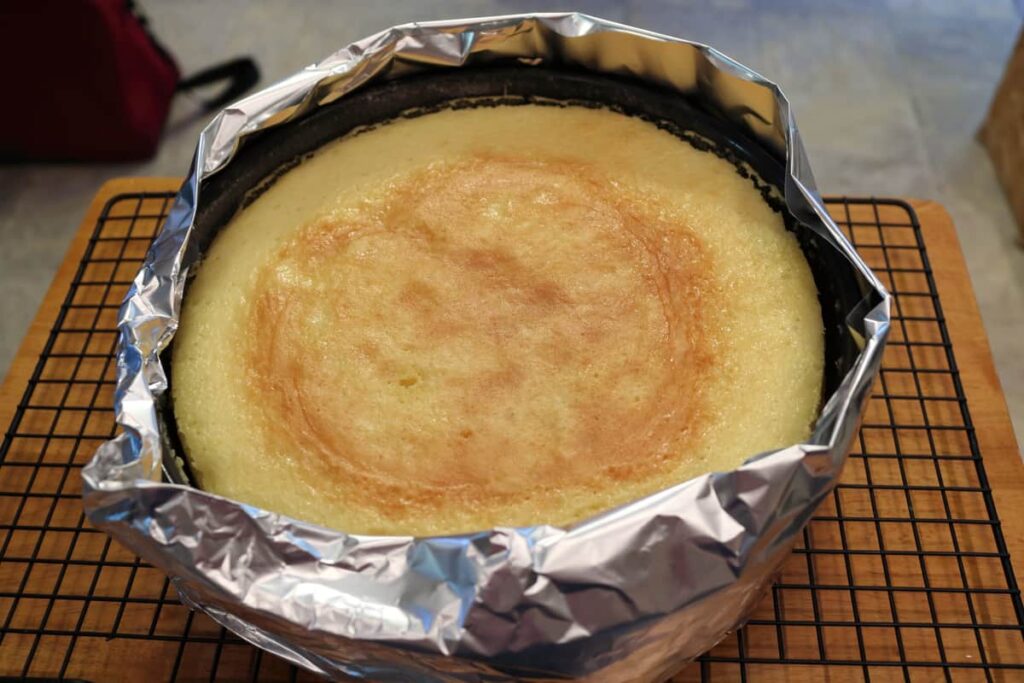
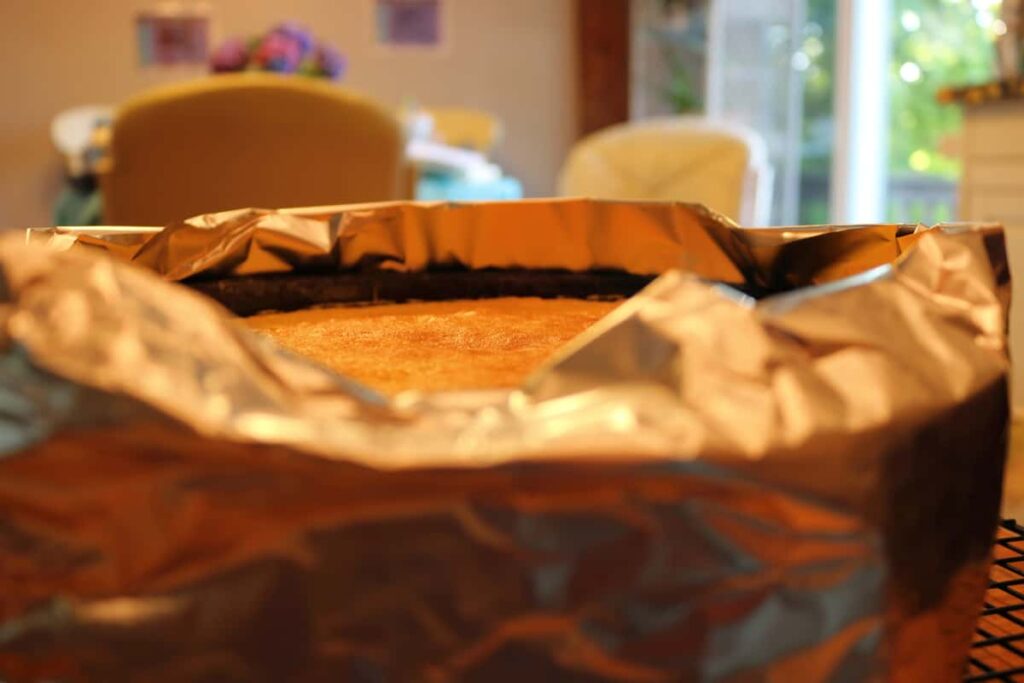
I started by baking several round cakes. I wrapped the pans with homemade cake pan wraps: wet paper towels wrapped in foil. This keeps the cake from “doming” in the center- it keeps it flat when cooking and it also gives the cake a dense texture, more like a pound cake. I did this to save myself the trouble of slicing the tops off for the flat layers that I needed.
Before
You can see that my cakes did indeed bake with flat tops.
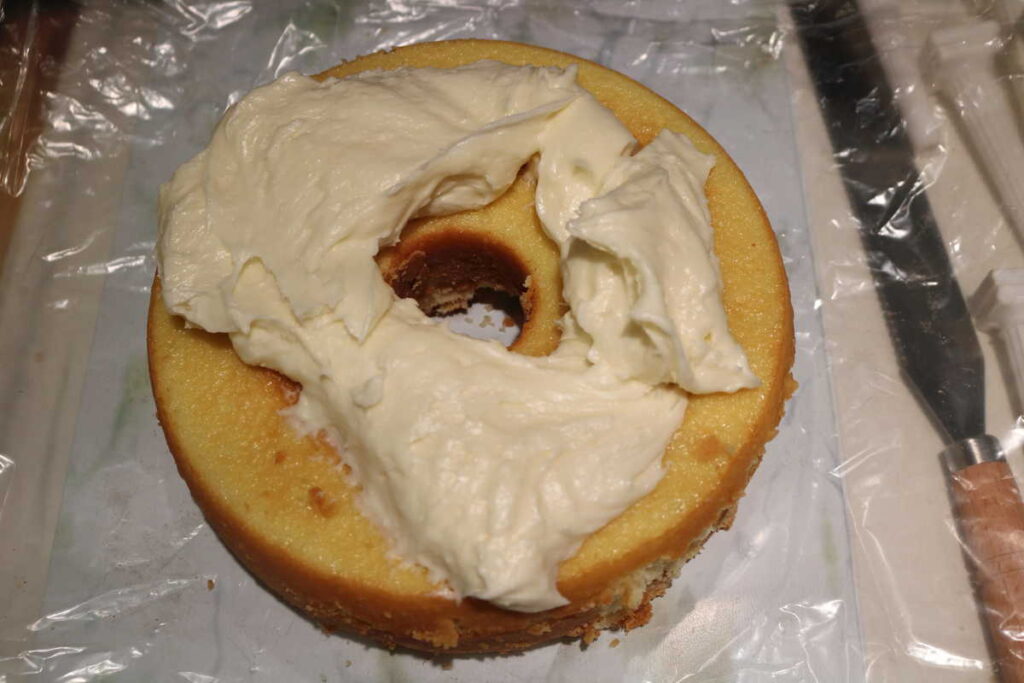
I made white cream cheese frosting, my daughter’s favorite. Then I crumb coated the layers and refrigerated them.
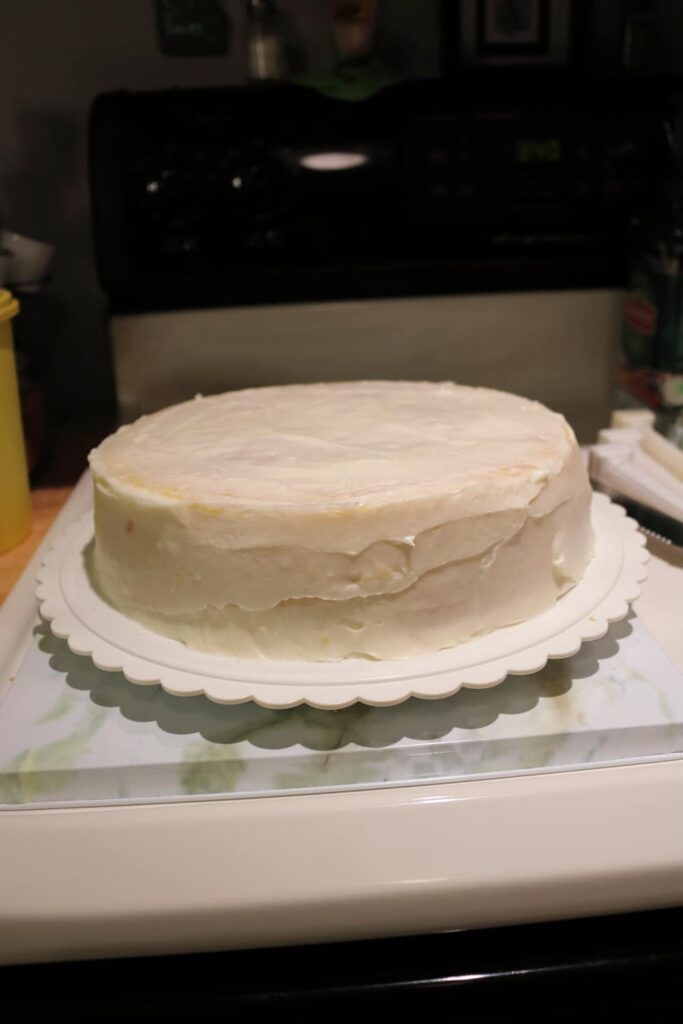
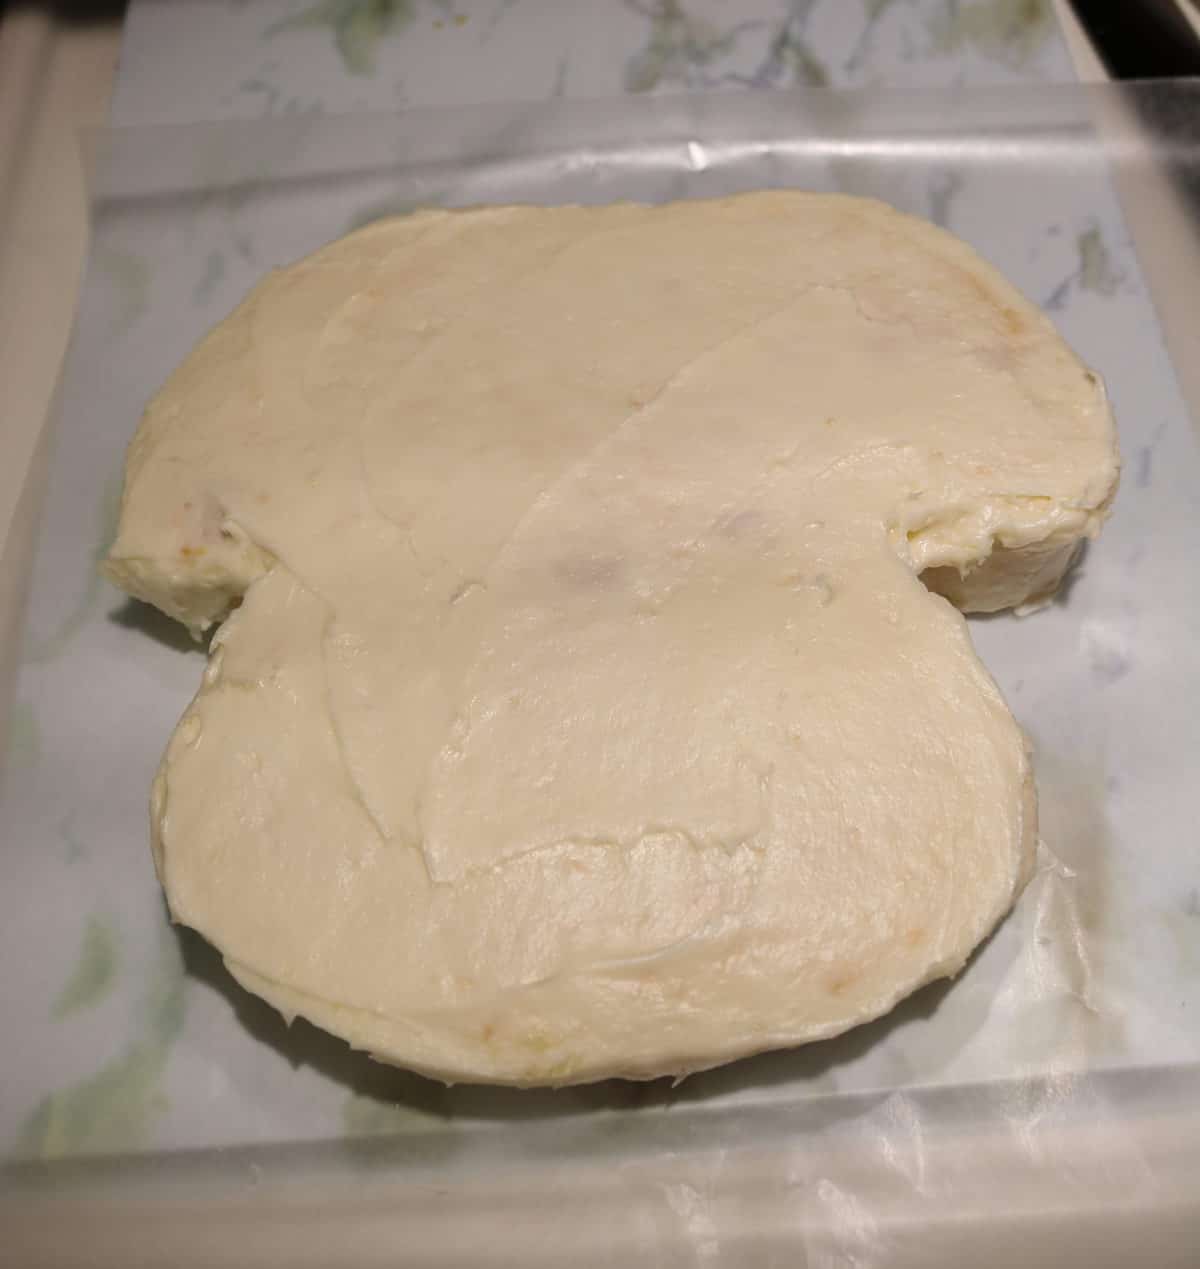
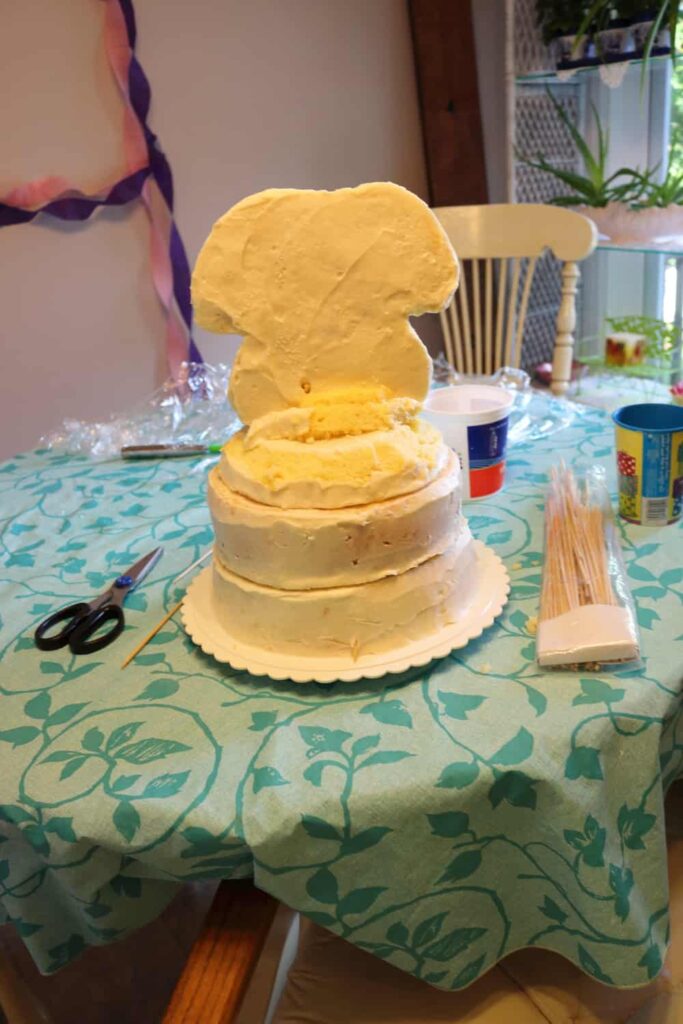
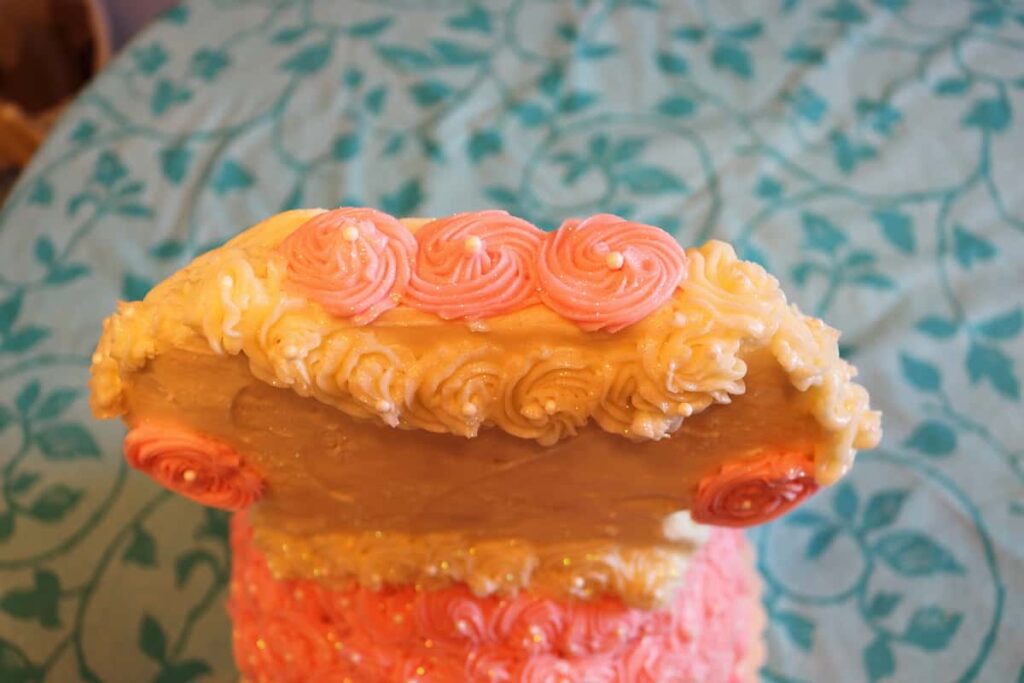
For the top half of the dress, I cut a paper pattern and then laid it on my cake. Then I cut the cake around my paper pattern.

The bottom of the top half is rounded because it was a circle shaped cake. But if I were to make this type of cake again, I would want that bottom part flat, not rounded. I crumb coated this part on a piece of wax paper to make it easy to remove, and refrigerated it. Then I turned it over and crumb coated the other side and refrigerated it again.
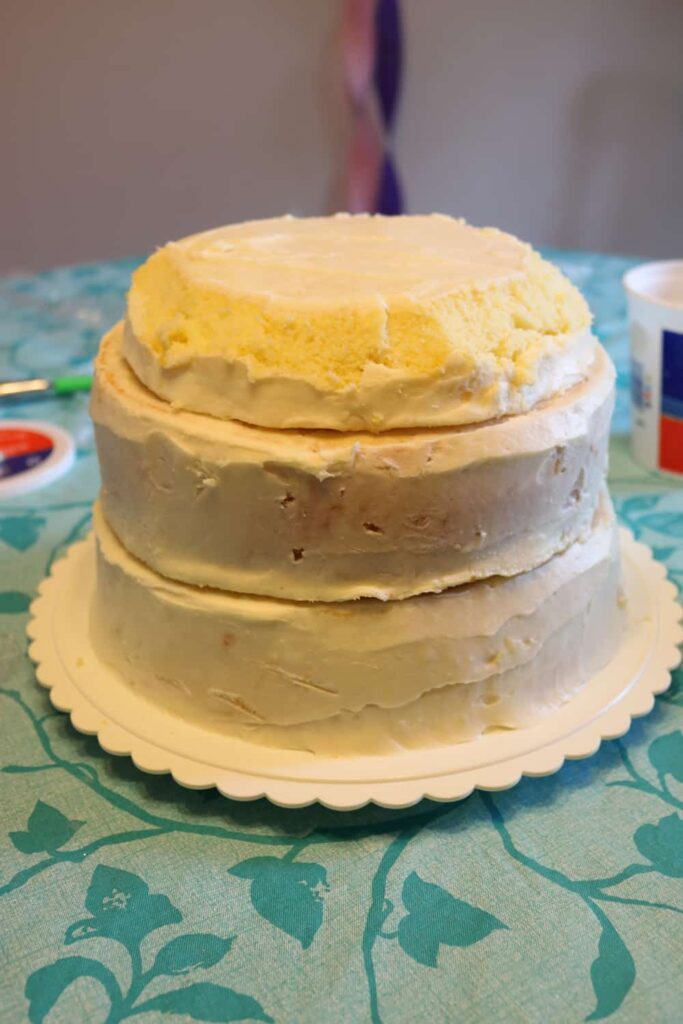
I stacked three layers and rounded the top.
I got a bunch of wooden kabob skewers ready to use as dowel supports. This was one of the hardest cakes I had made up to this point. The tricky thing was that it was going to be so tall that I couldn’t pre-assemble it and refrigerate it; so I was doing it right before my daughter’s party and of course it always takes longer than you think it will take (especially when you keep stopping to take pictures!!).
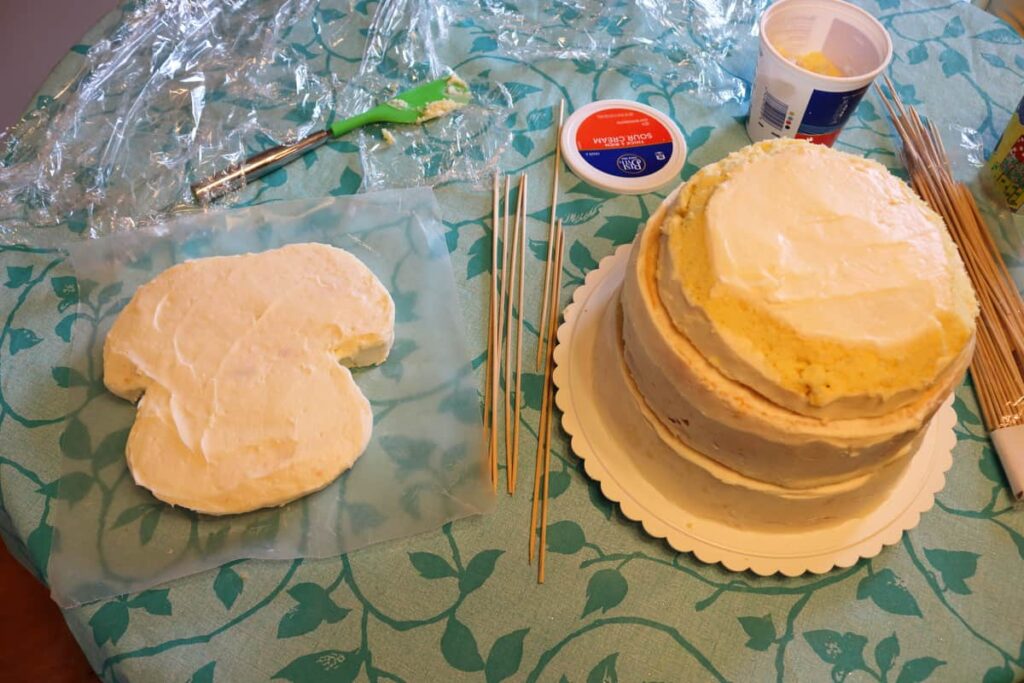
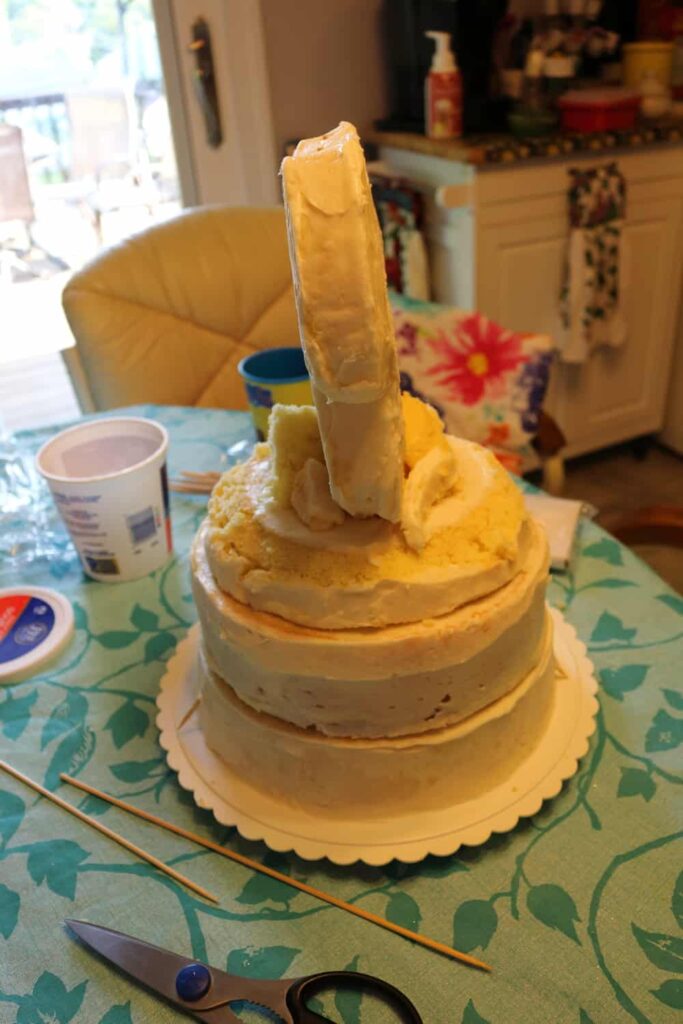
I carefully put the top half on top of the bottom half. I stuck in several skewers straight down through the top of the shoulders. I also put some in diagonally, starting near the base and going securely into the bottom half. I did not want my cake to end up on America’s Funniest Home Videos for falling apart!
I added more cake pieces at the base of the top half, to help support it and keep it from leaning forward or backward.
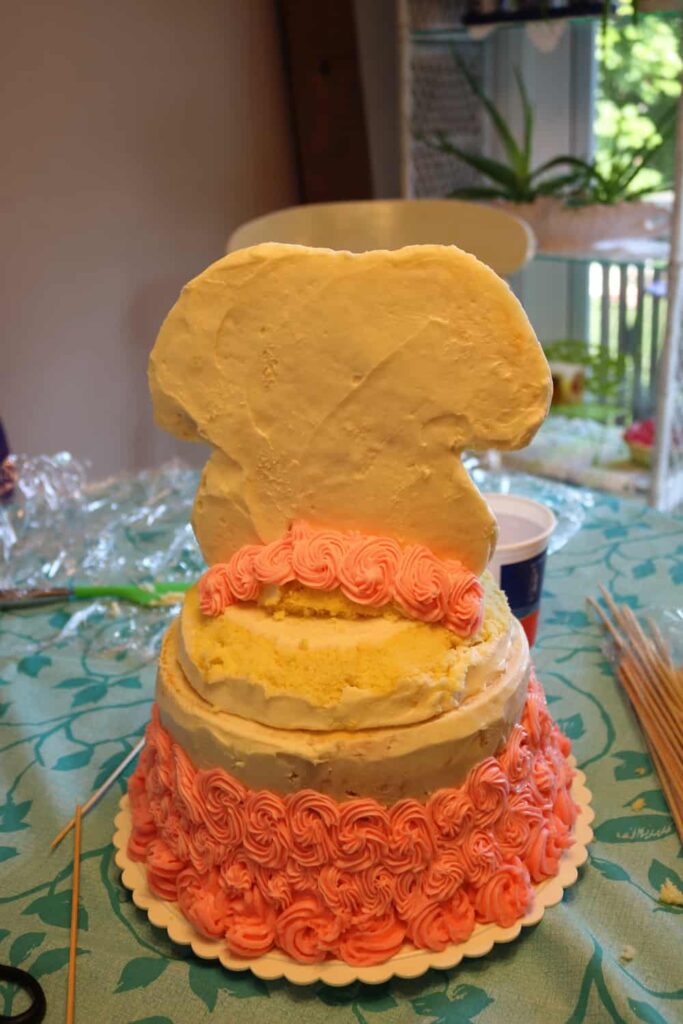
I couldn’t crumb coat it and refrigerate it since it was too tall— so I started frosting it. I made pink buttercream frosting and used the largest star tip that I had, wishing I had a larger one.
I had thought that I would decorate the top half more, with small stars, but I ended up leaving it plain white. If I had foreseen that, I would have put a thicker coat of white frosting on it– but perhaps the thinner layer kept the whole thing from being too heavy and falling over.
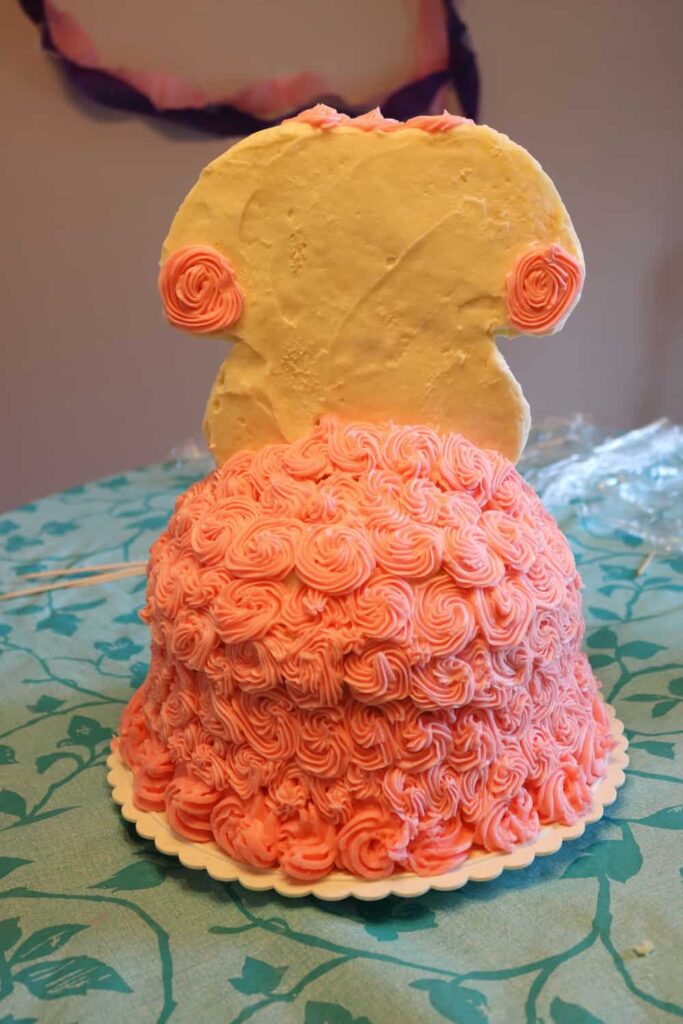
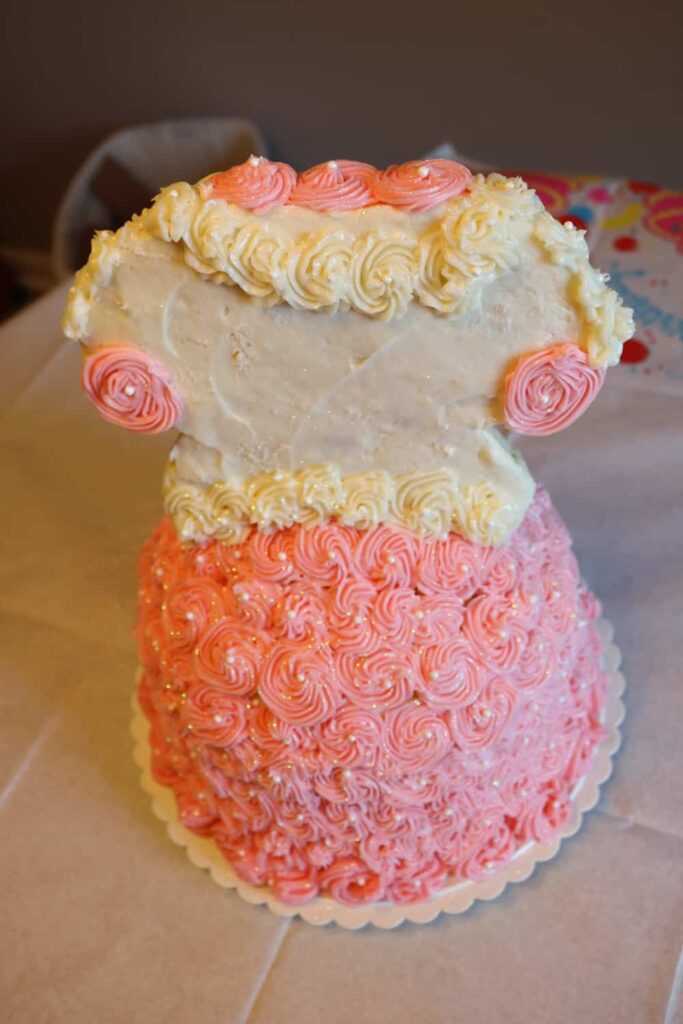
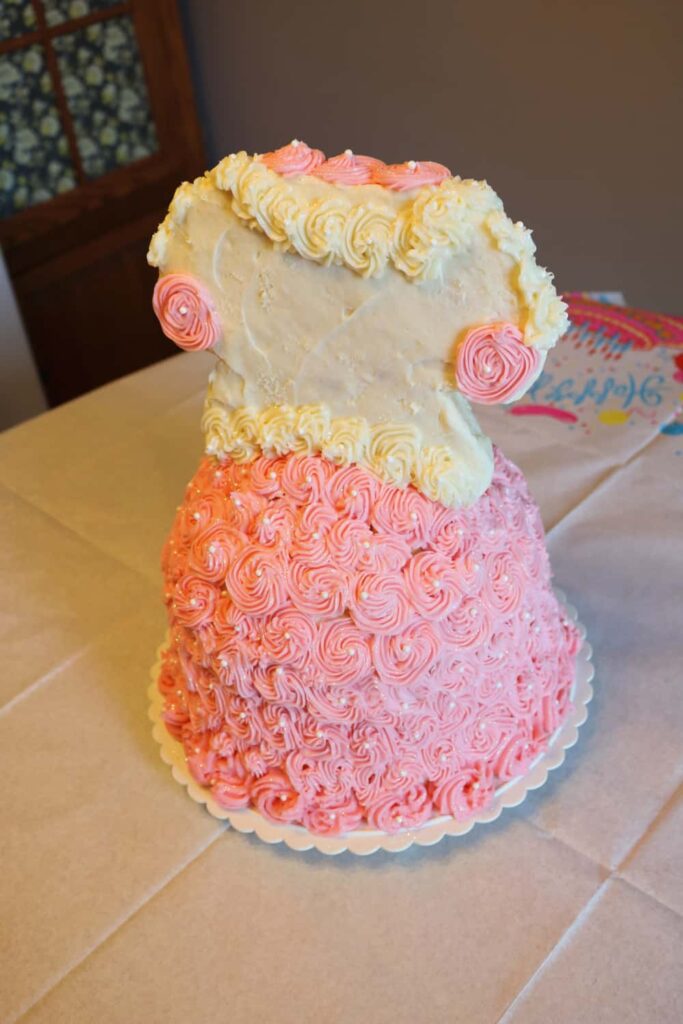
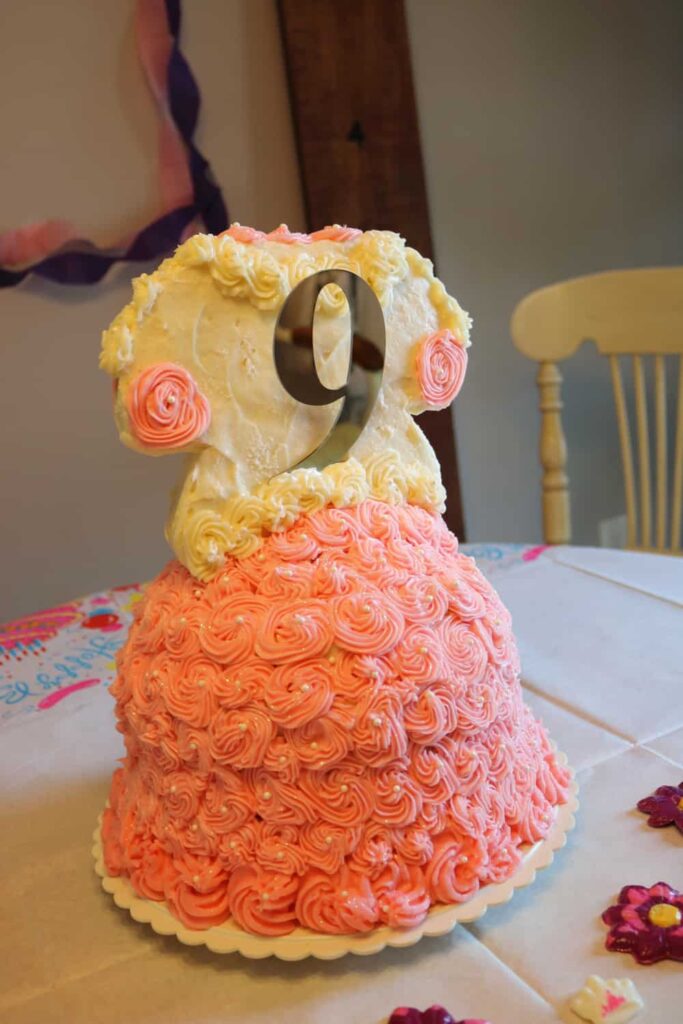
I swirled a white collar, put white rosettes down the sides of the sleeves, and added pink rosettes on the edge of the sleeves.
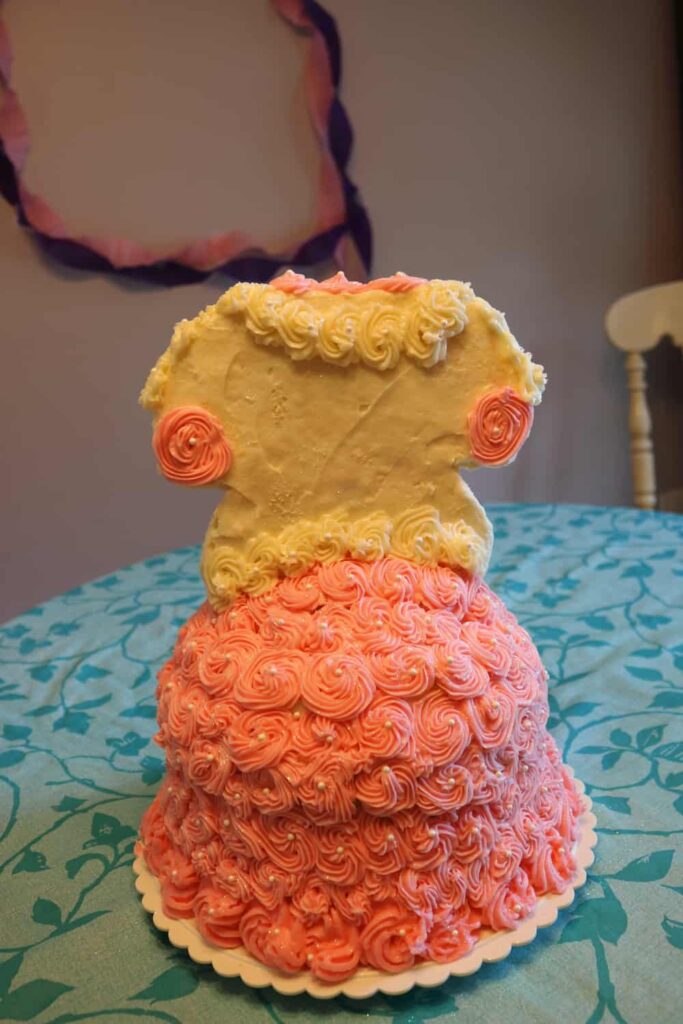
The top needed something, so I put 3 large rosettes along the top. Then I carefully added edible white pearls in the center of all of the rosettes. I finished the dress shaped cake by added pink edible glitter. That glitter was very sparkly and added just the right touch. (Do any of you know how to photograph glitter??? I’d love to know!) You can see the glitter a bit in the next few pictures. The glitter made the cake absolutely gorgeous!
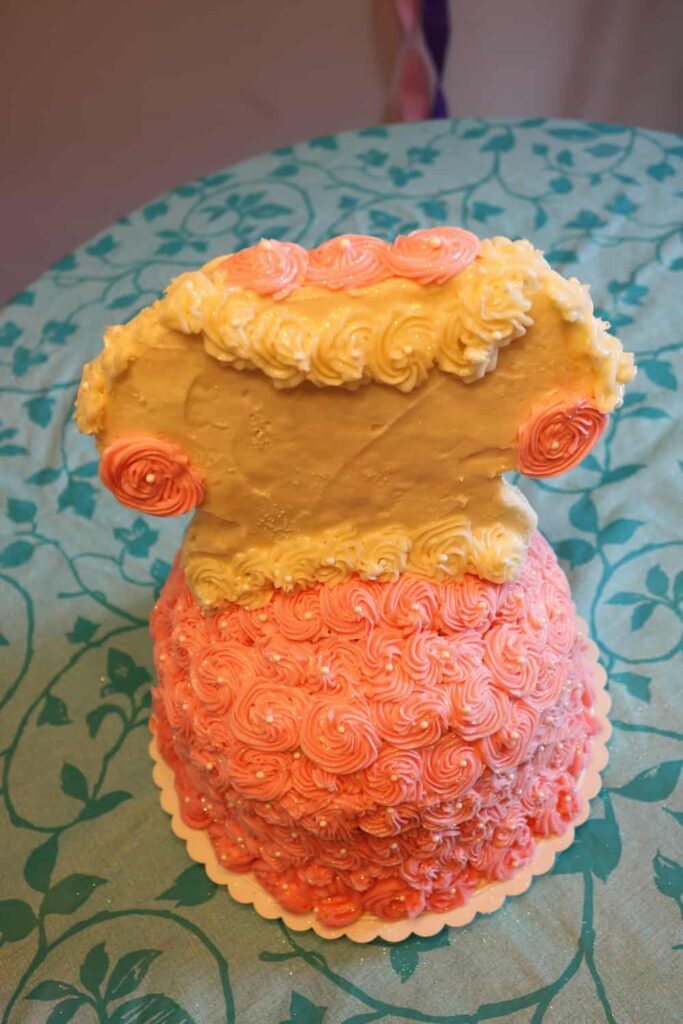
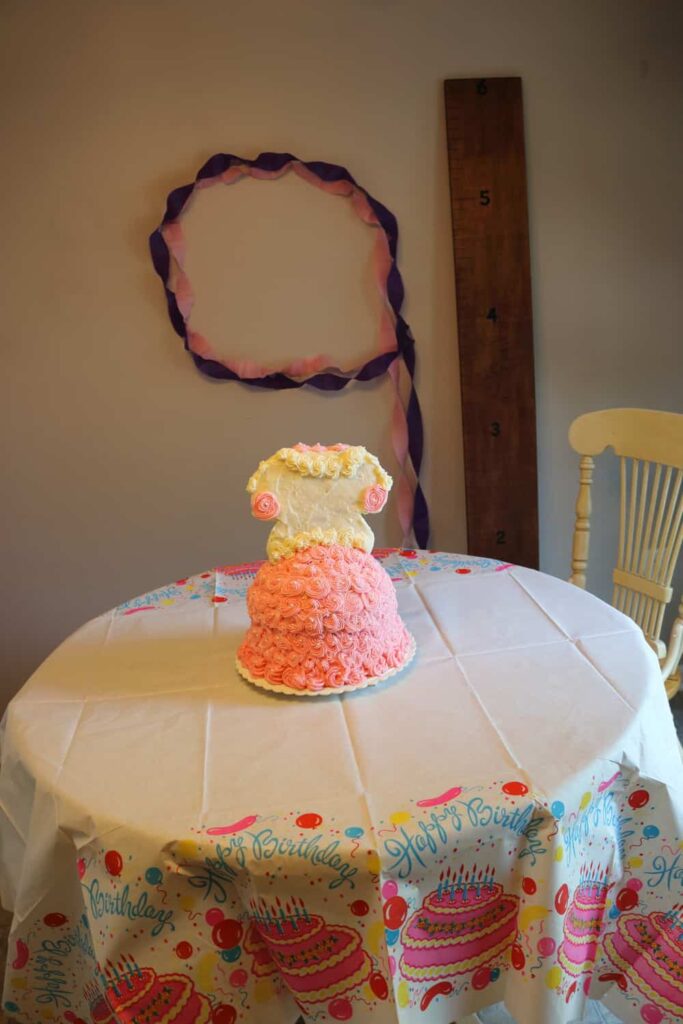
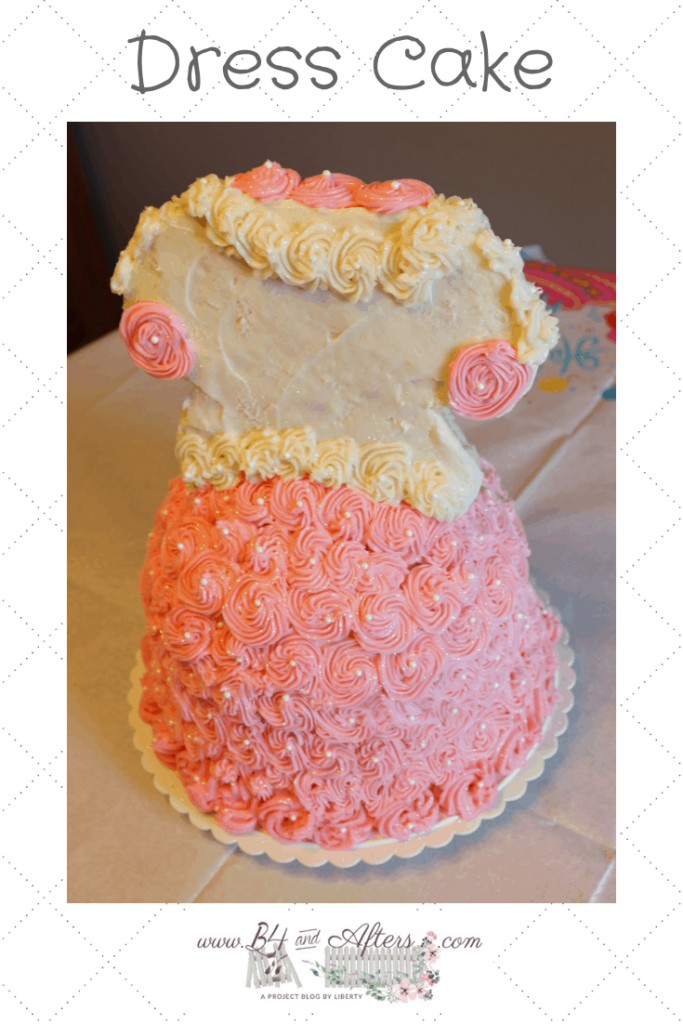
AFTER!!
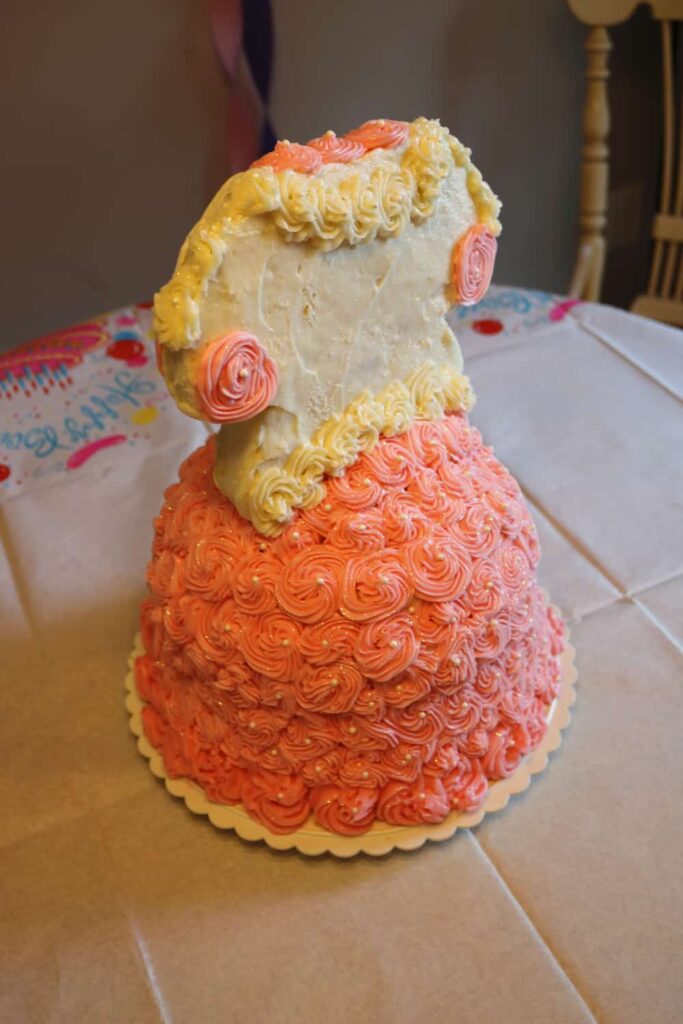
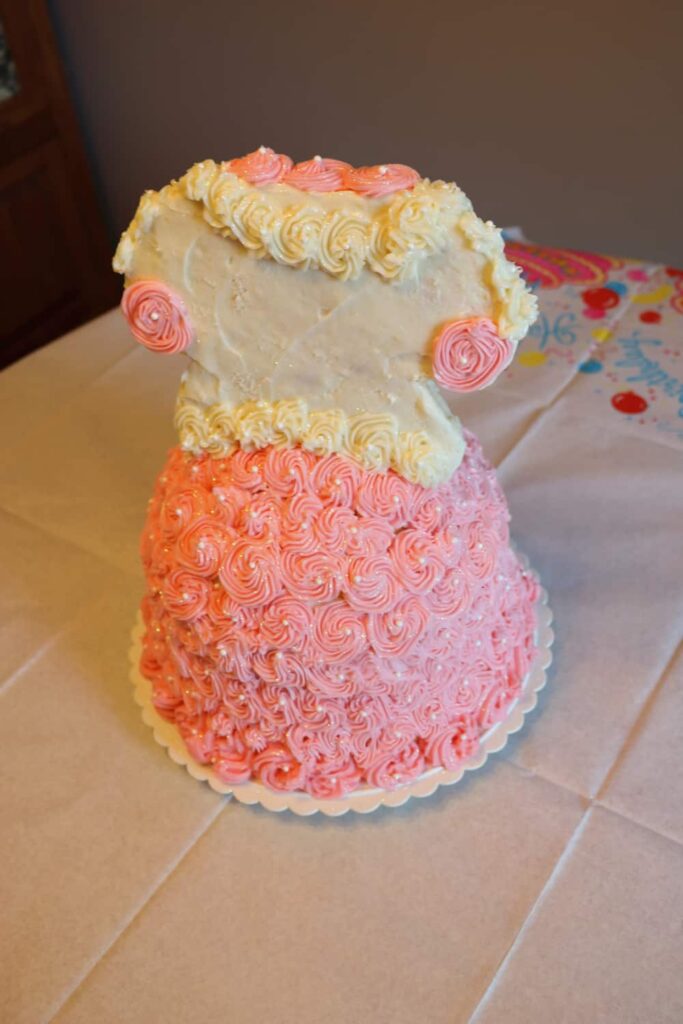
The glitter looks like extra tiny pearls in this picture.
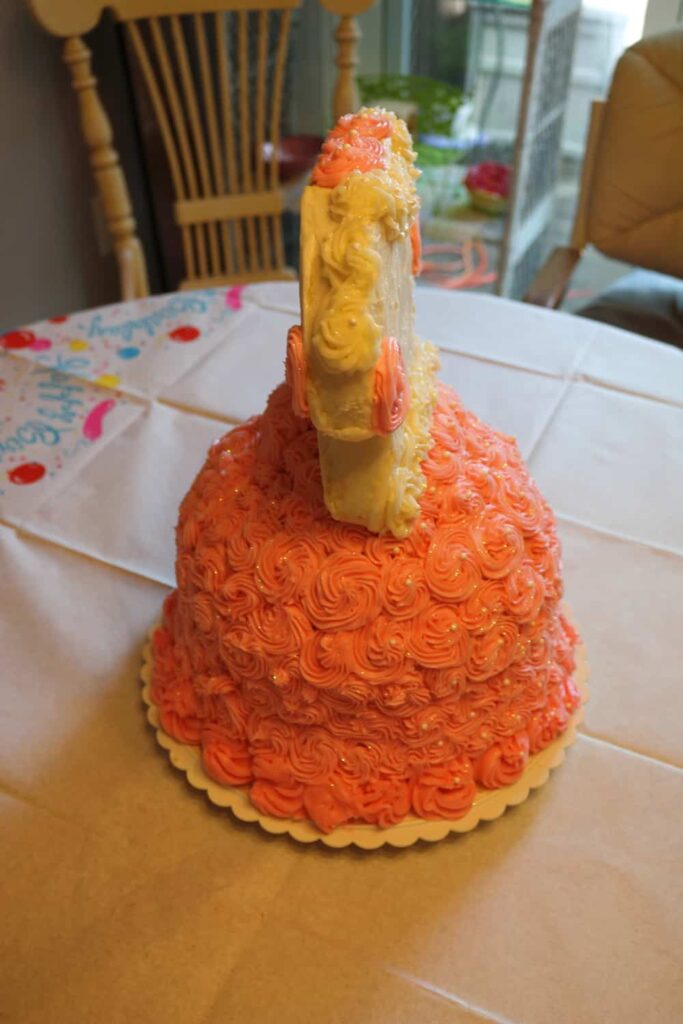
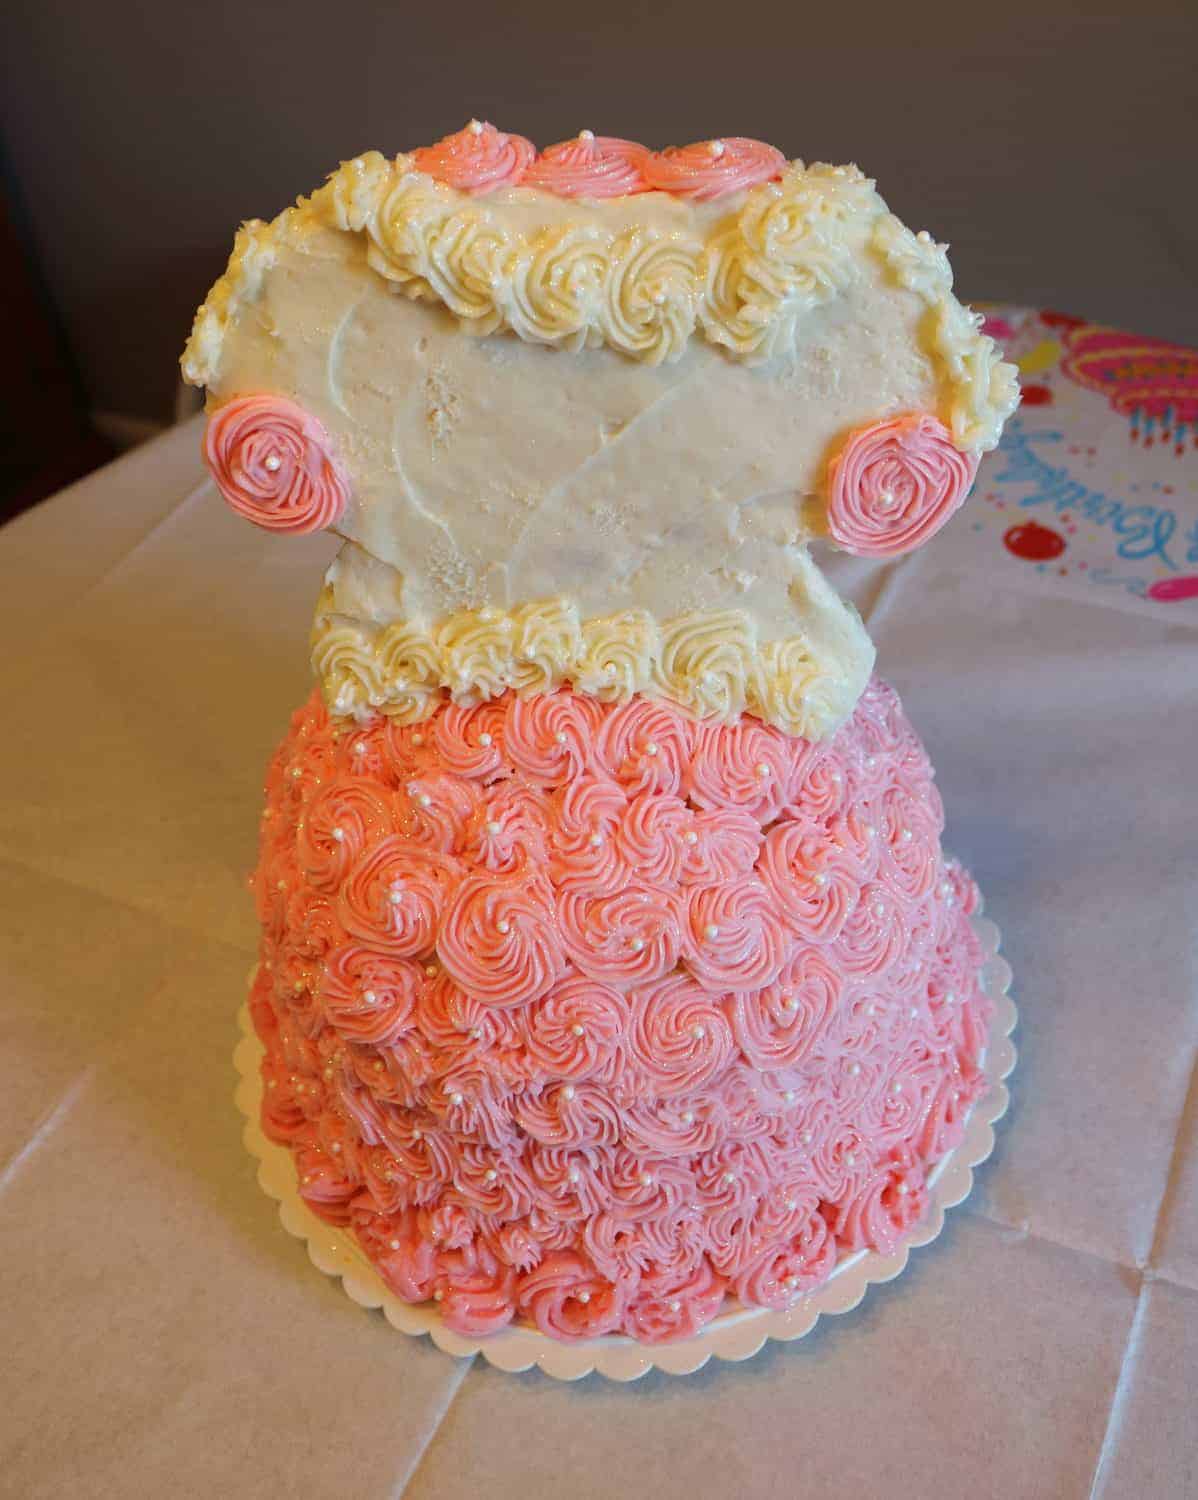
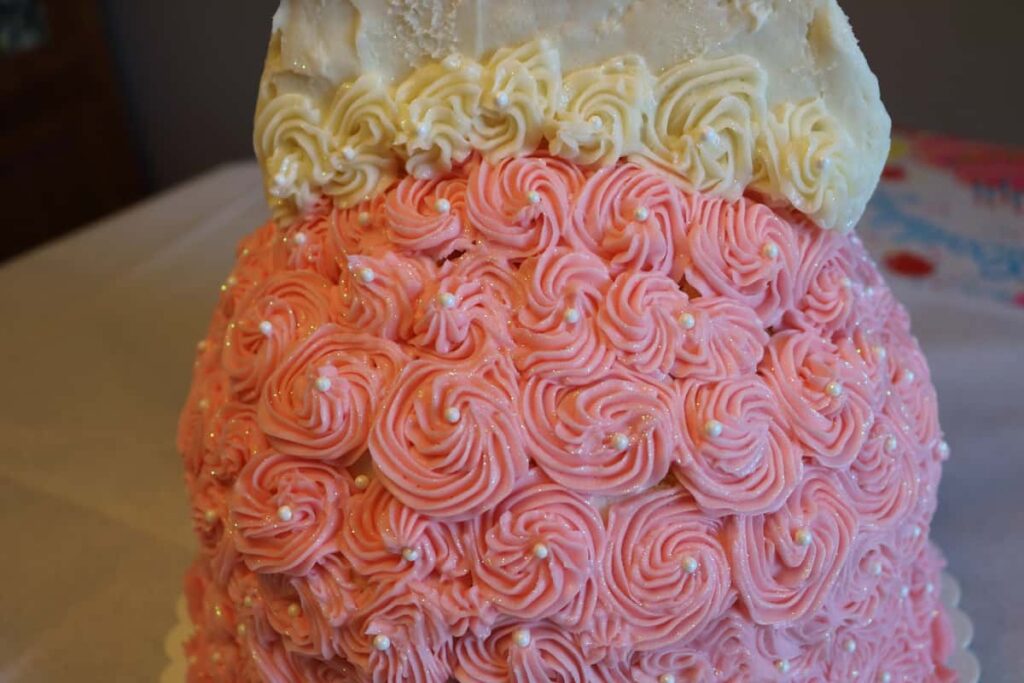
Here is the back of the cake.
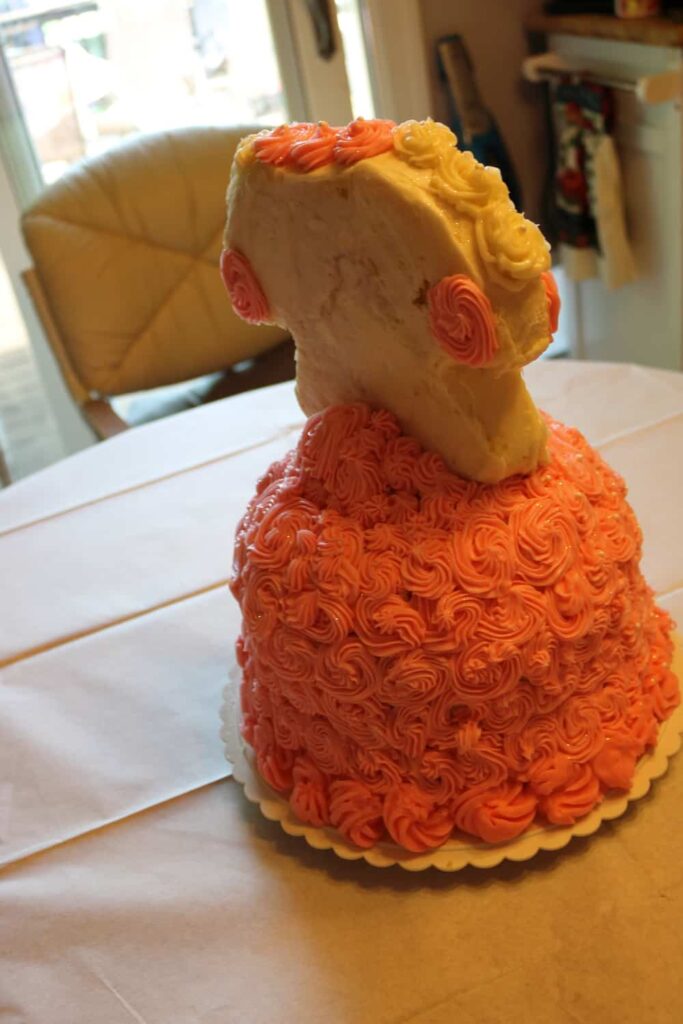
Here is another look at the edible glitter.
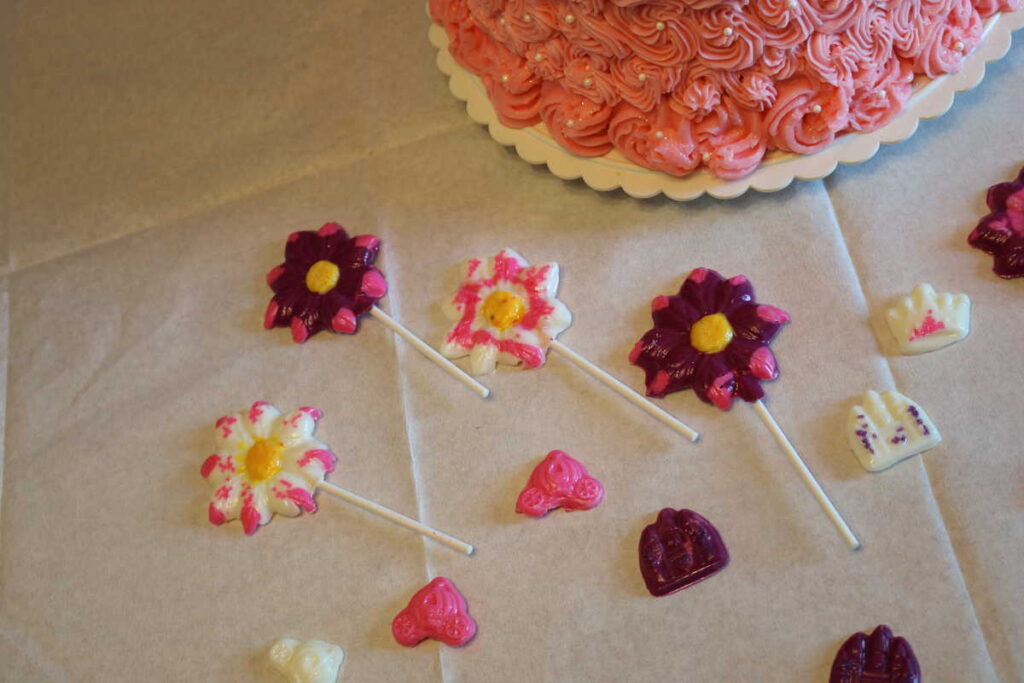
For party favors I made flowers with chocolate melting wafers. I swirled different colors around and put in colored sugar. I also made mini princess crowns and carriages.
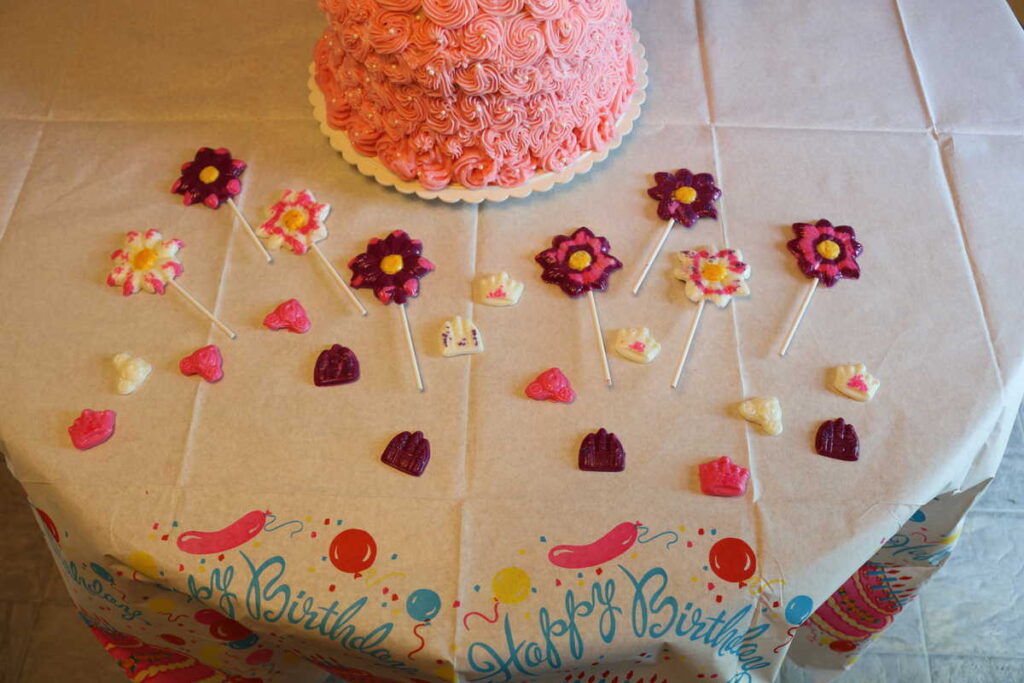
These were so fun to make.
I found a mirror number Nine somewhere and added it to the Cake.
Then came the part where you sing Happy Birthday, and cut, serve, and eat all of your hard work!
What about you? Now that you have seen how I did it, would you attempt to make a dress cake like this?
Thank you for sharing and Pinning!

What a beautiful cake! You did an amazing job!!
Thank you so much, Michelle!
Wow! That is so incredible!
Thank you, Amy. I’m glad you like it!
How fun is that!?! It sounds like your daughter had so much fun for her birthday and loved the cake. It is always fun to make a special cake for a special person. Congratulations on a success!
Thank you, Amy! It sure is.
What a lot of work, but such a lovely feeling when you create for the kids. I hope they had a great party. I remember making my little girl (long time ago) a cake in a large pudding basin with a hole cut in the middle ready to take a Barbie doll’s legs, so that the cake was the skirt. Decorated with butter icing all over and over the ”naked’ Barbie, it looked fabulous.
I made one like that five years ago— but it could use some improvement! Here’s mine: https://www.b4andafters.com/strawberry-shortcake-doll-princess-cake/