
Felt Hearts
During the last Black Friday sale, I bought a Cricut Maker from the best deal I could find. I am so glad I did! After someone gave me a legacy Cricut Expression, I was itching to upgrade.
One of the reasons that I bought the top model and not the cheaper Cricut Explore Air 2, was that the Maker has a rotary blade to cut fabric and felt. This is my first felt project with the Cricut Maker! I am sooo excited about the potential to do amazing things with this machine. I’m just getting started, remember!
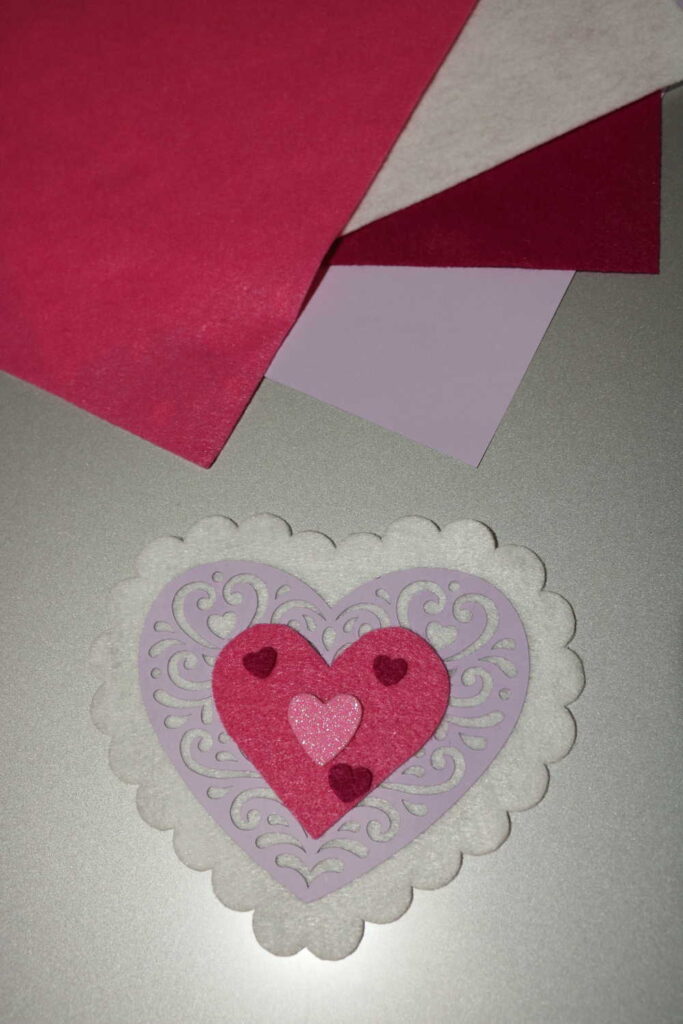
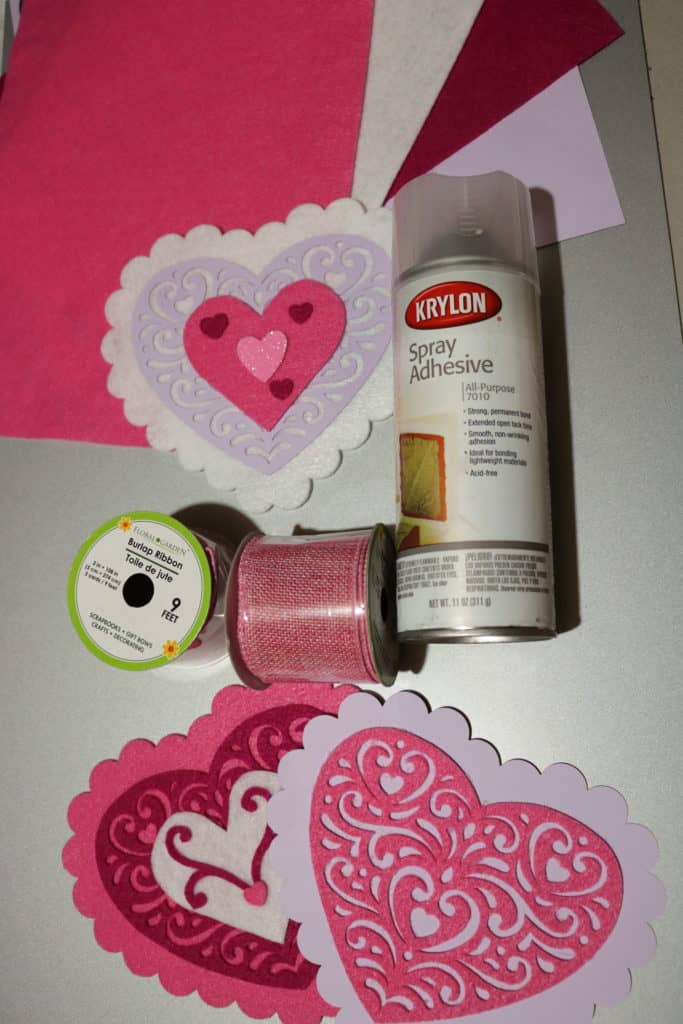
The lavender color is cardstock; the other colors are felt. Let me tell you how I did it!
Before and After
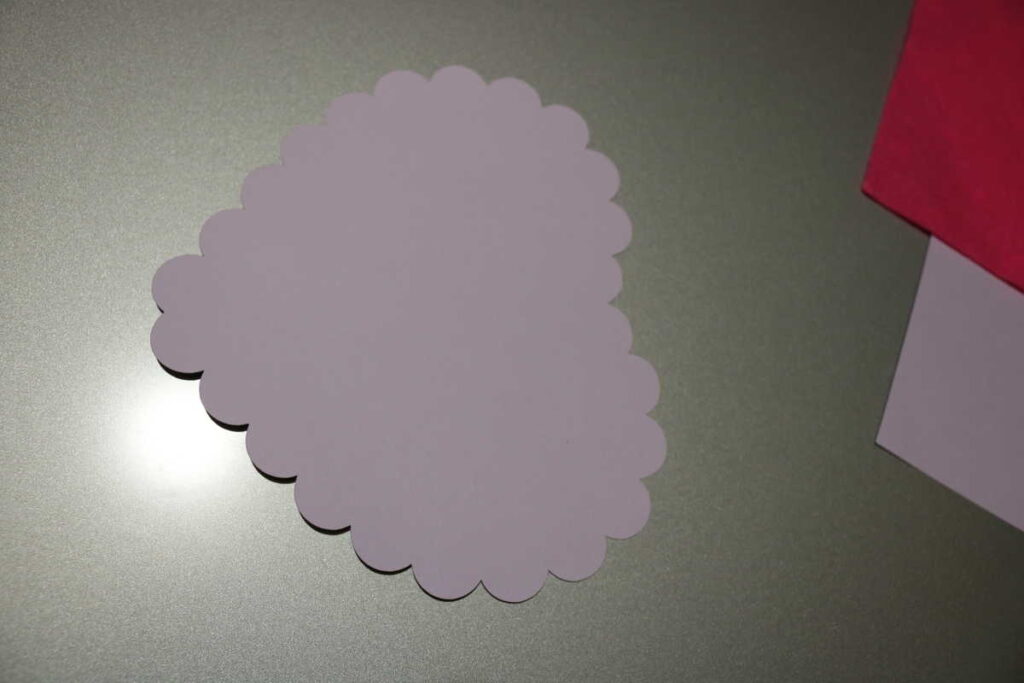
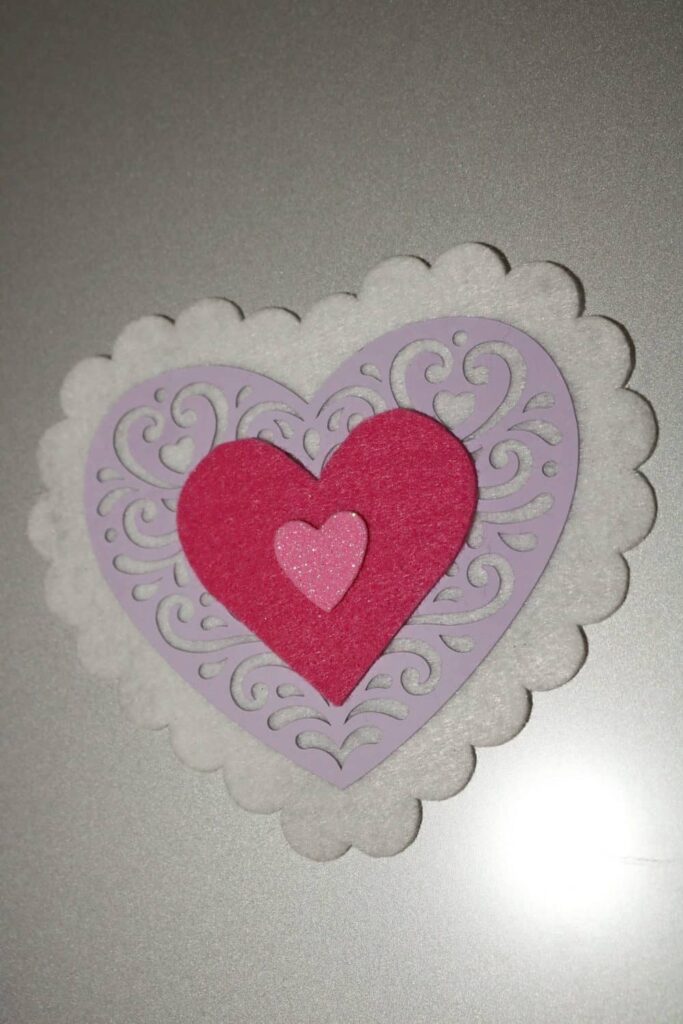
The thing about getting a Cricut machine is that there is a bit of a learning curve to learn the software that goes with it in order to make things. It is called Design Space. I knew that I just had to start small and start doing and learning along the way. So I found different kinds of hearts. First I cut them on cardstock before cutting them out on the felt. Here is the lavender cardstock heart:
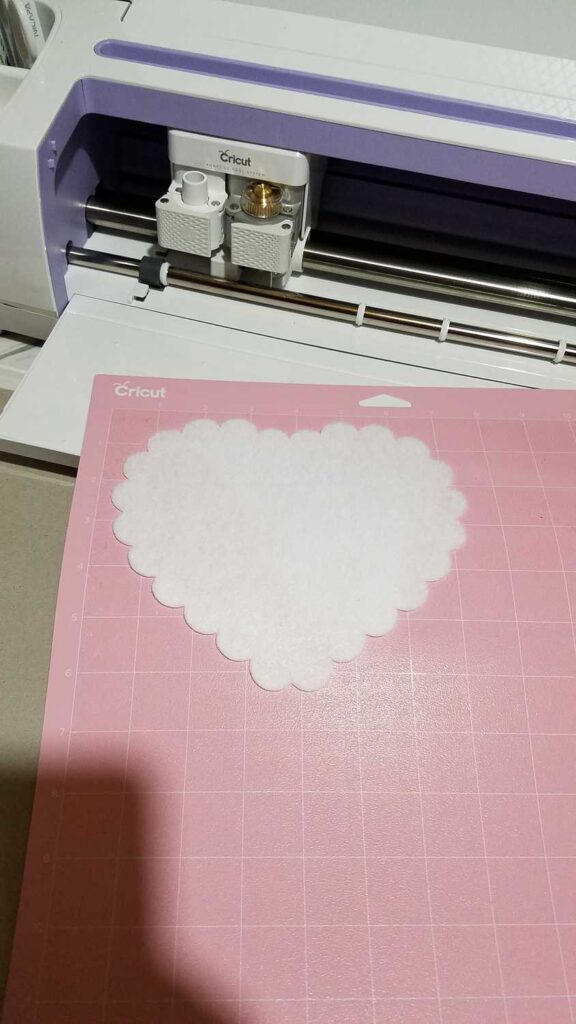
Here is the white felt heart after being cut on the Cricut mat:
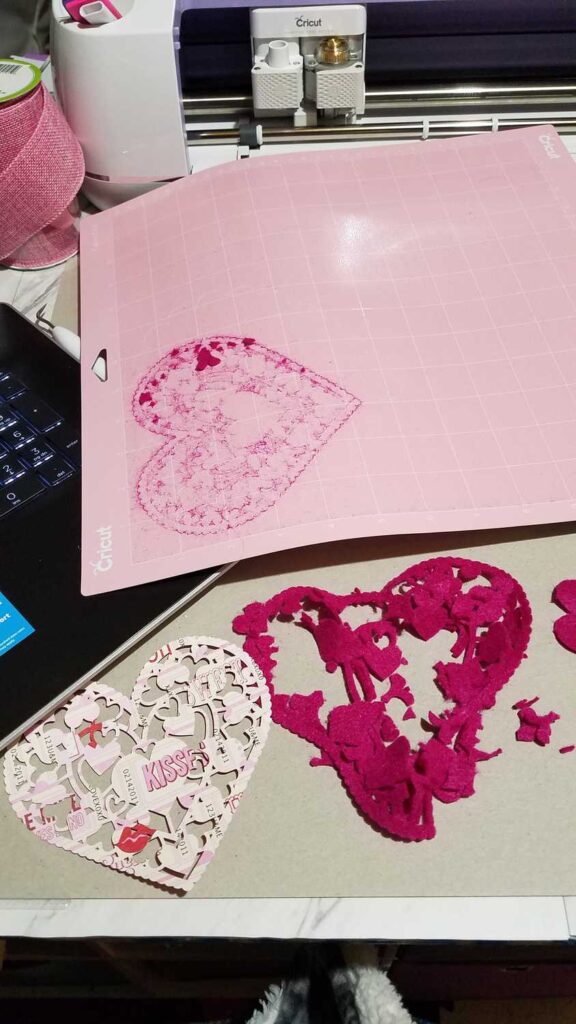
I wanted to cut out a more intricate heart design. I tested one on cardstock and it came out great. But when I tried it with felt, it fell apart. In the picture, the cardstock one is on the left, and the one that fell apart when I took it off the mat is on the right.
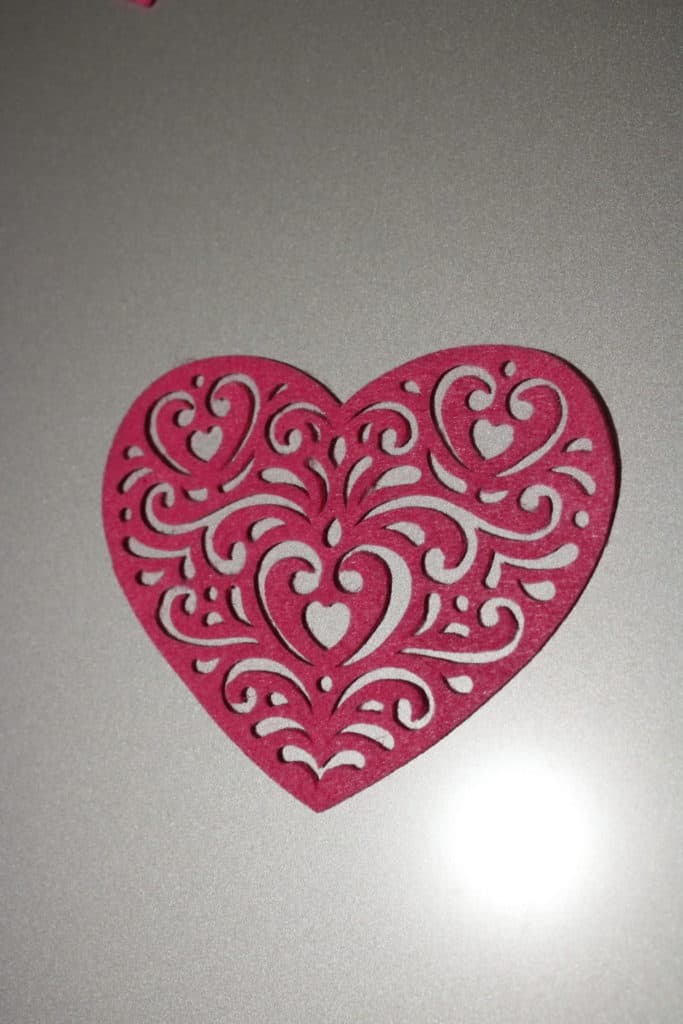
So I had to try a different design that had more thickness between the cuts. This is what I found. After cutting it on cardstock first, here is the felt version. Isn’t it pretty?
I saved some of the tiny hearts and swirly cut outs, and put them on top of this small white heart.

Then I stacked and layered hearts until I got some that I liked. How did I glue them to each other? I’m glad you asked! I had heard about Spray Adhesive but had not tried it until recently. I had bought some in the Spray Paint section, not knowing when I would need it or have a chance to try it out. I’m glad I did, because then I had it when I needed it! Spray Adhesive was the perfect glue to hold all of these hearts together. It was especially helpful for the intricately cut heart, and the tiny pieces.
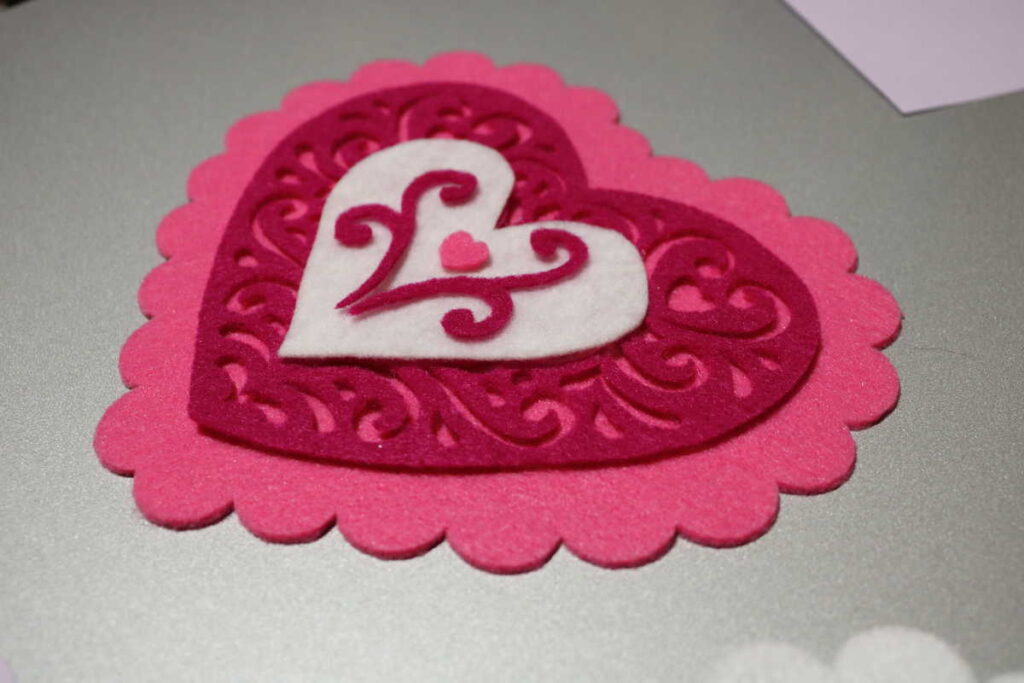
I love the dimension and texture that the felt gives. The light pink heart in the center of this combination is actually a glitter foam sticker from the Dollar Tree!
Wouldn’t these make such cute valentines? They are a little large, but if made in a smaller size they would be really cute glued to the front of a Valentine card.
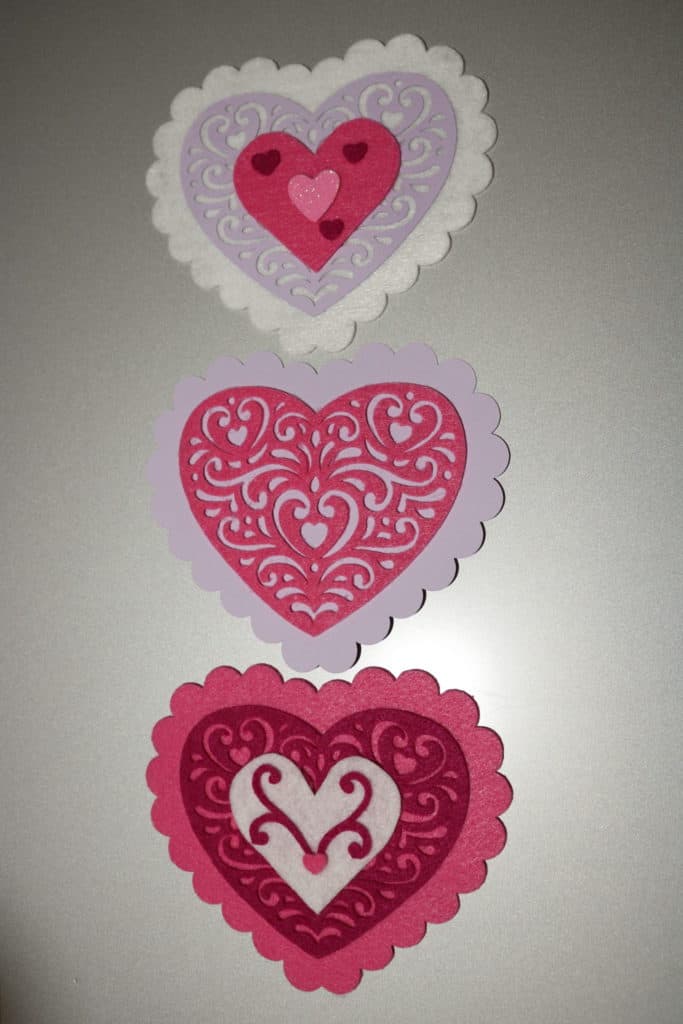
But I have a different plan for my felt hearts that involves this pink ribbon. Stay tuned to see what it will be! Or let me know what you would use them for in the comments.


What a cute project! You are going to have so much fun creating things using your new Cricut.
I sure am! Thank you, Paula!
These are so cute!! They remind me of the vintage hearts, which I love!