How to Make Laminated Stickers
Go Here for the Complete Guide to making Laminated Stickers!
First of all, What kind of stickers are you making? What do you want to do?
Do you want to:
- Learn how to make stickers on a Cricut in just One Minute?
- Use a Cricut to make laminated stickers ?
- Make laminated stickers using just a printer ?
- Make laminated stickers without a printer or any other gadget ?
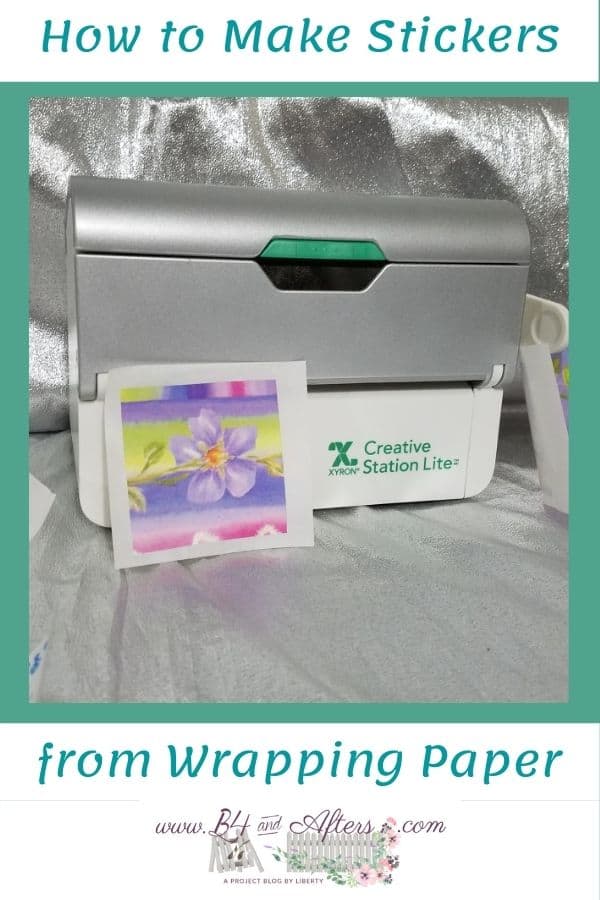
- Use a Xyron Creative Station to make laminated stickers ?
Are you looking for:
- Sticker templates ?
- Self laminating Sticker Supplies ?
- How to Design your own stickers with Cricut Design Space ?
- How to Design stickers on your computer?
- Ways to use Vinyl Stickers around your home?
Or something else? Let me know in the comments so I can create a tutorial for you!
Read on to learn about two ways NOT to make a laminated sticker. I will also tell you how I succeeded in making a laminated sticker the size of a bumper sticker.
P.S. You might want to read my new post on How to Make a Sticker using NO ELECTRICITY!
Our local ice cream store wanted to decorate their outdoor tables with all sorts of stickers. They offered a trade deal: if you gave them a sticker, they would give you a sticker. Seeing pictures of other people’s stickers, I decided to make my own laminated sticker, so that it would be durable outdoors. (I am not sure, however, of the fading possibilities due to sun exposure, so that’s my disclaimer about that!) You could make laminated stickers for storage bins or any type of container that needs a durable label. You can also adhere the sticker to a magnet to make a more durable laminated magnet.
Laminated Sticker, AFTER!
[sc name=”This Post May Contain Affiliate Links”]
The supplies you will need are:
- laminator
- 8×11 laminating sheets
- retractable knife
- printable sticker paper
- wax paper
- scissors
- paper cutter (optional)
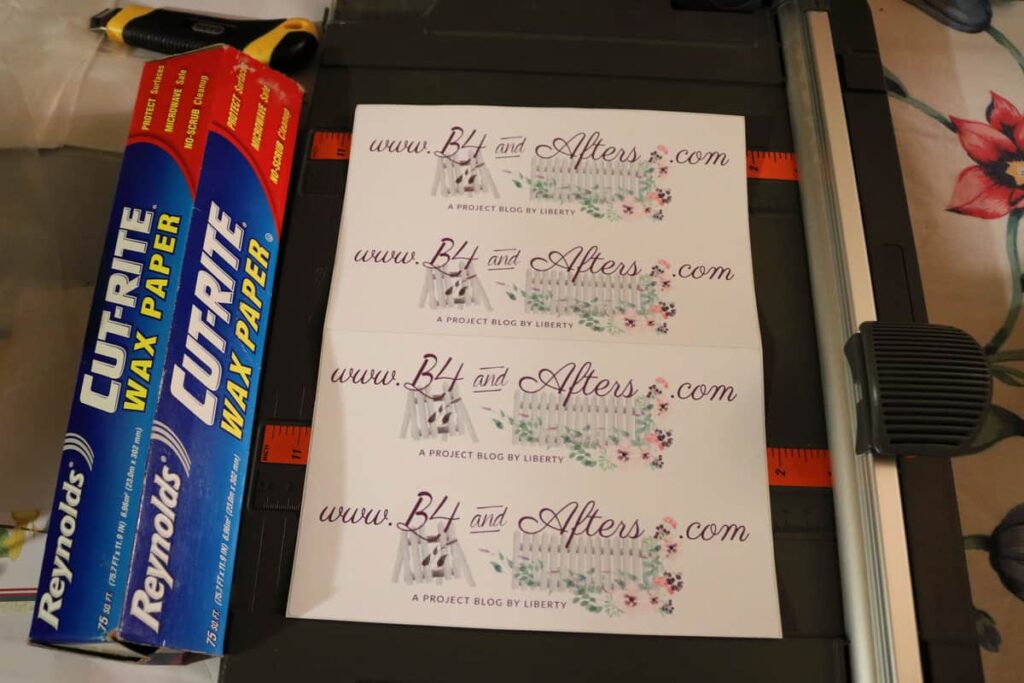
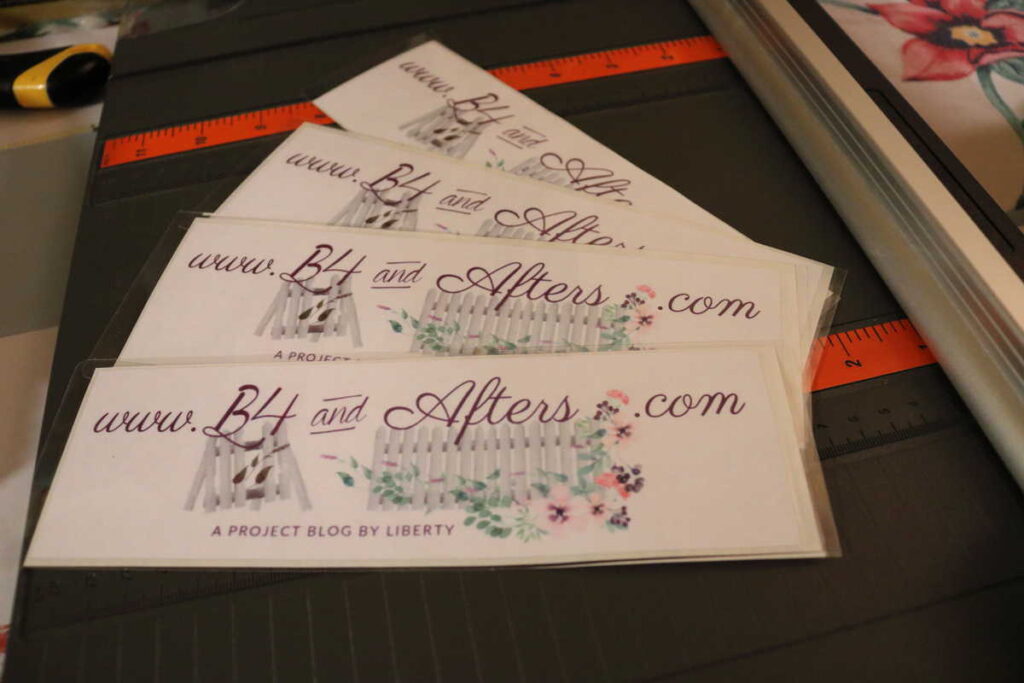
I wanted to make a large sticker about the size of a bumper sticker. To do that, I bought mailing label size printable sticker paper. I created my design so that 4 copies would print on one sheet, as shown below.
Sticker, Before laminating
I’m so glad that you’re here! Would you like an email reminder once a week about new ideas that I share? You may Sign Up Right Here. Now back to this tale of another Before and After project…
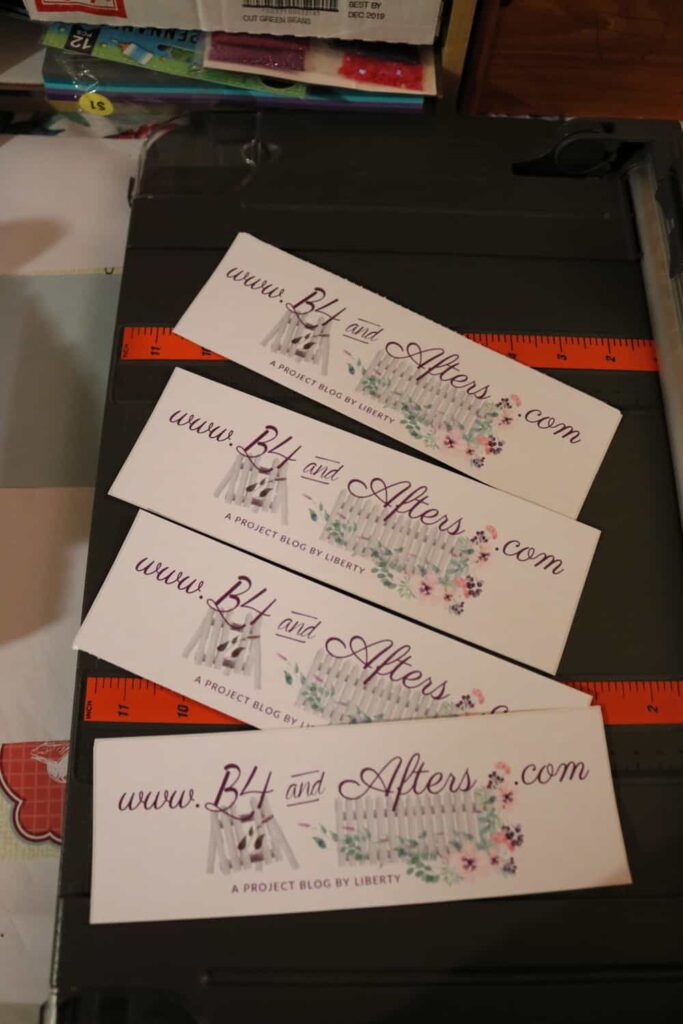
I used my paper cutter to cut the labels apart. You could use scissors, but the paper cutter made it easier for me. I got mine for $2 at a yard sale.
This is where my experimenting began…. let me tell you what NOT to do, first. First, do NOT take apart the laminating sheets and try to just laminated the top side of your sticker. Please, don’t do it. I tried it, and the entire sheet rolled up into the laminator. I had to dissect the laminator (I unplugged it) and cut out the ruined sheet. I did not take pictures for several reasons— one being that I was focused on reviving my laminator, which took quite some time, and taking pictures slows down every process. Another reason was that I do not want to encourage anyone else to take theirs apart! I hope I never need to do it again….
The second thing that you should NOT try is—laminating the sticker directly onto wax paper. That won’t work either. Ask me how I know….
Now let me proceed to tell you exactly how I succeeded in making a laminated sticker.
Take the sticker off of the backing and put it on a piece of wax paper that is bigger than the sticker. Save the backing for later.
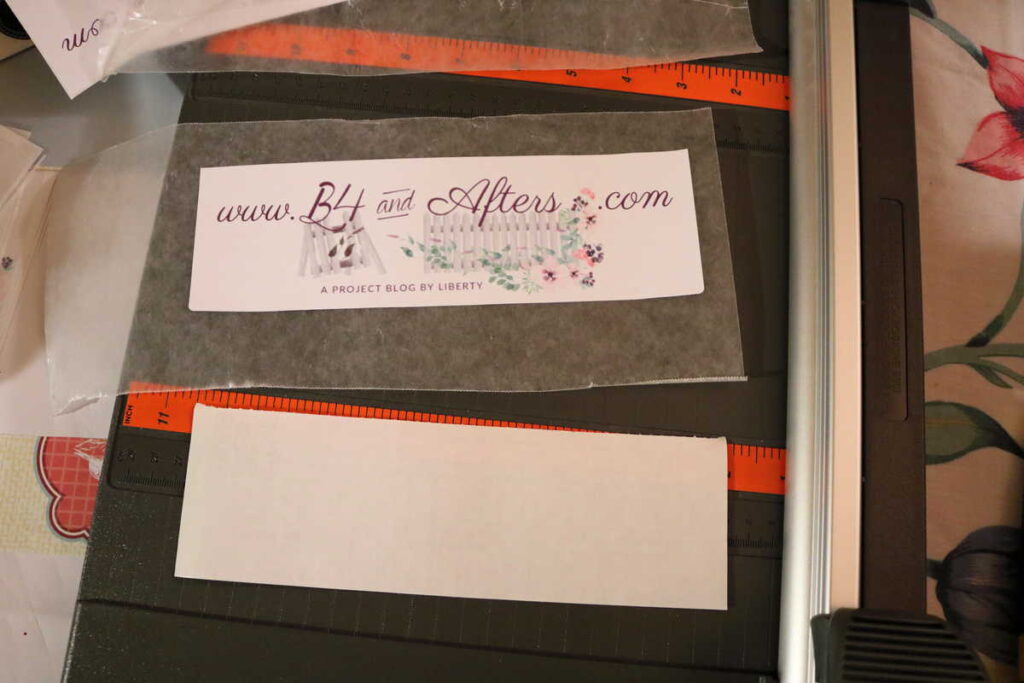
While the sticker is on the wax paper, trim the sticker on two or three sides. My paper cutter made this process easy. You could also use scissors. Your goal is to make your sticker smaller than the original sticker backing.
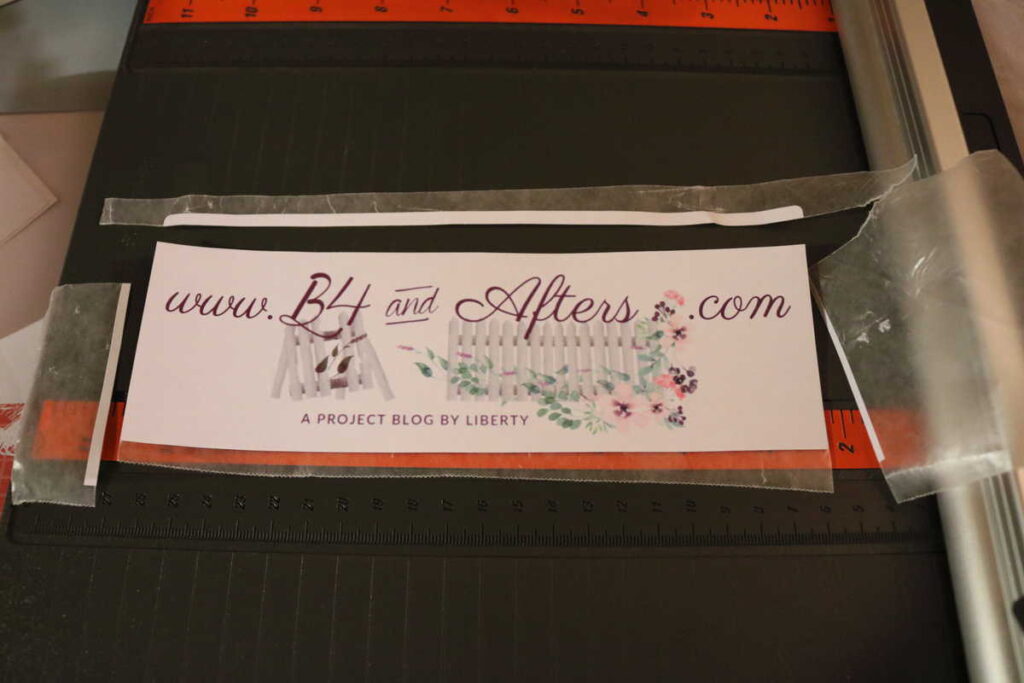
After your sticker is trimmed, peel it off of the wax paper and stick it onto the original sticker backing. (If you trimmed the sticker on all four sides, just use the corner edge of your retractable craft knife to separate the sticker from the wax paper.)
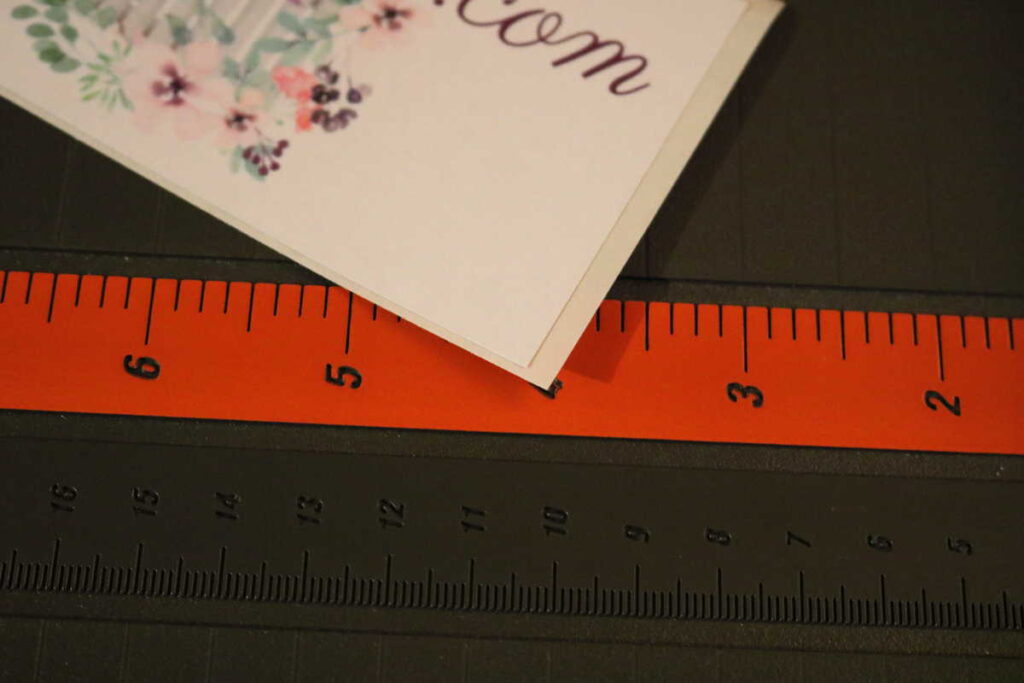
Here is the sticker placed back onto the original backing.
After you have made each sticker smaller than the backing by trimming it while it was on the wax paper, line up your stickers to be laminated and laminate them.
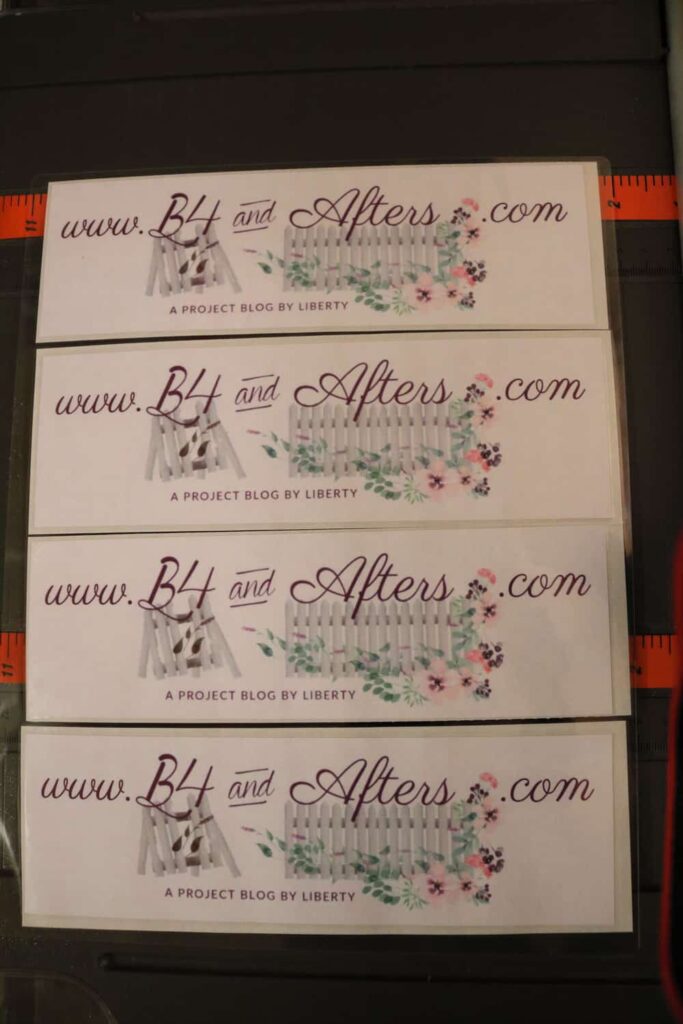
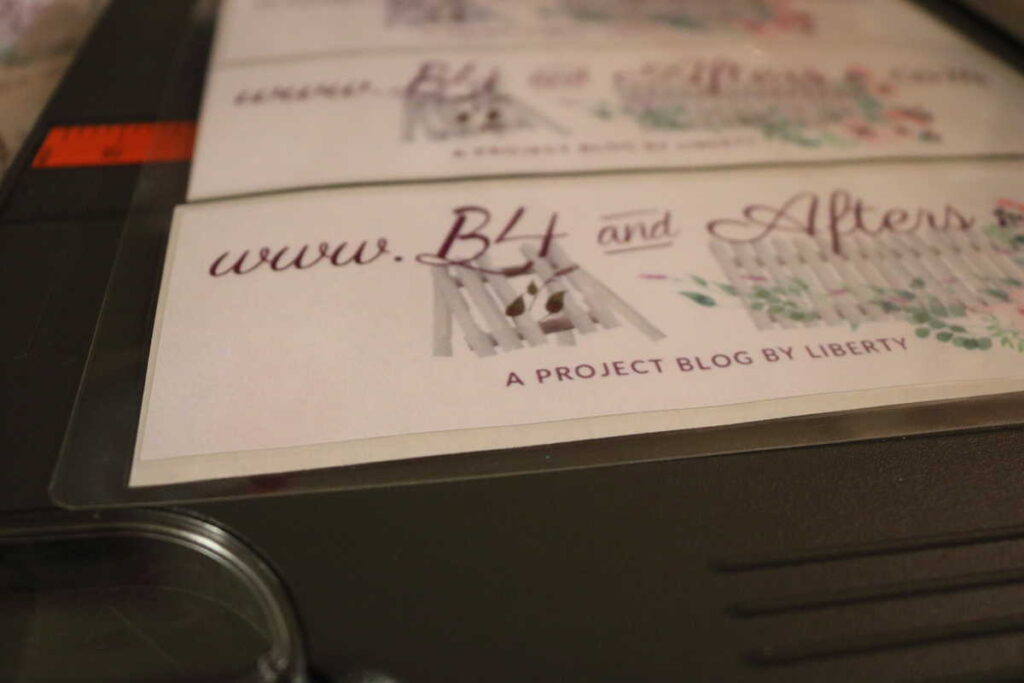
Use your scissors or paper cutter to separate each sticker.
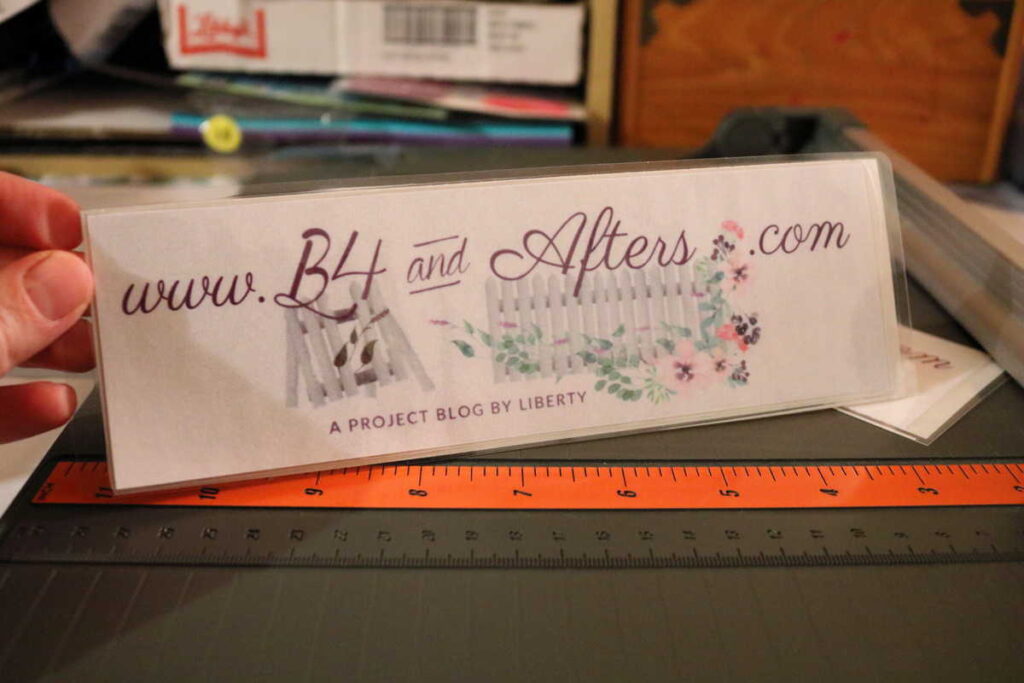
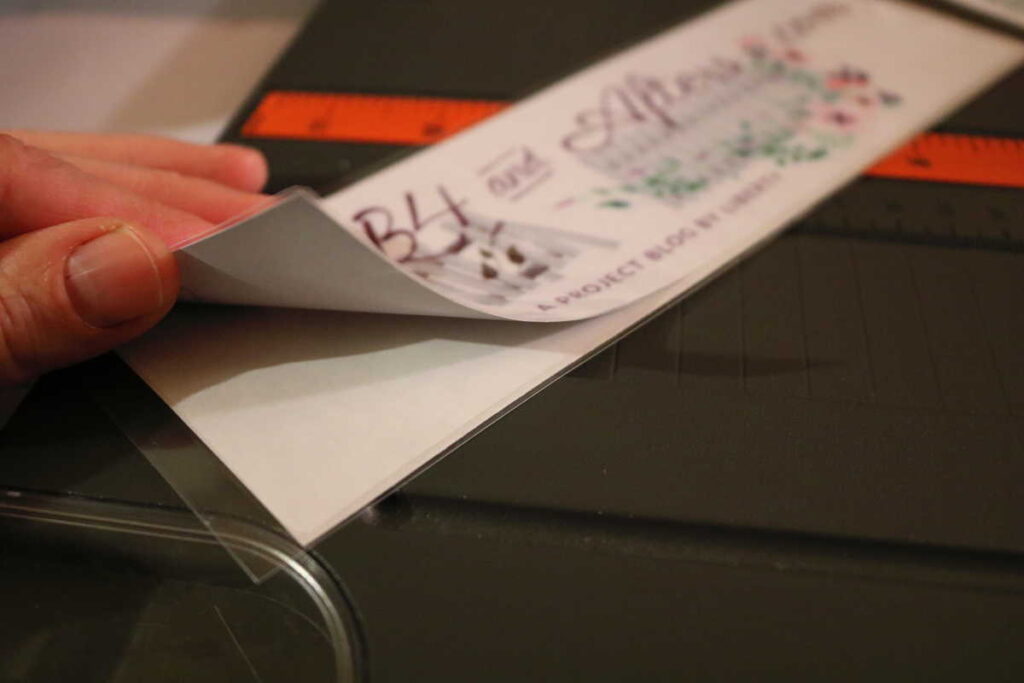
Then, use your retractable craft knife to cut the top laminating sheet above the extra margin of sticker backing, as shown below. I just held my knife like a pen, and lightly went all around the sticker. I found it worked best to not lift the knife up– just hold it down, and swivel your paper with your other hand when you come to a corner.
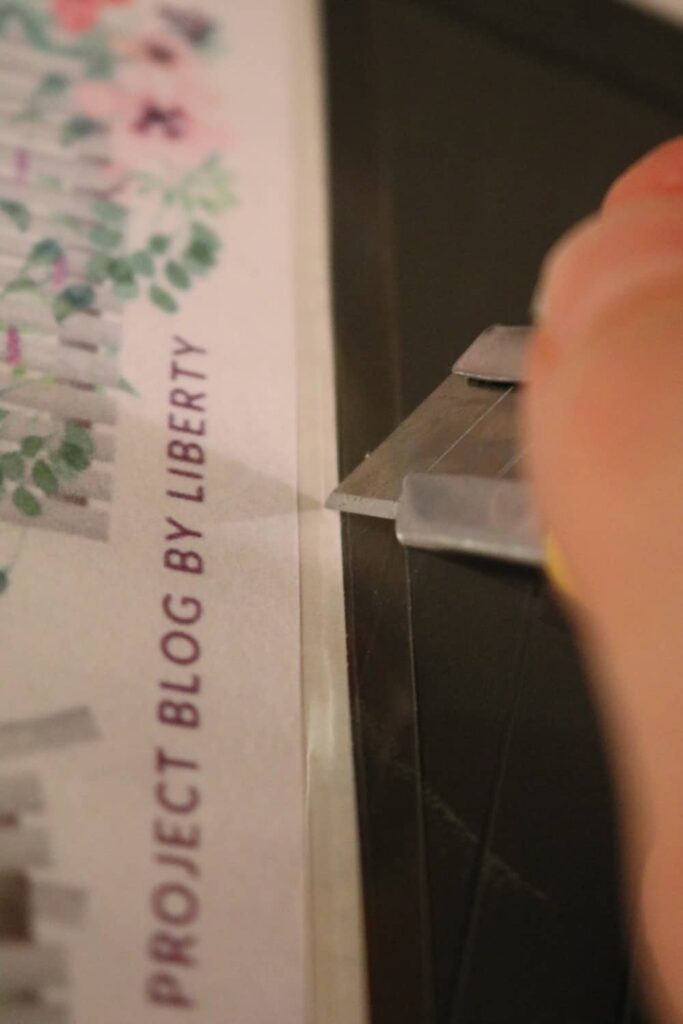
You will discover that the laminate does not stick to the sticker backing! After slitting it all the way around with your knife, run your finger all around the edges to be sure the sticker will separate from the original backing. Then leave it on the backing until you are going to stick it onto something else.
My stickers are just about the size of a bumper sticker. Later, I attached the sticker to a magnet to put on my car, but it did not survive the rain. I would recommend completely laminating your image and then attaching it to a magnet if you want to use it for a bumper sticker. (At least, that is what I’m going to try next.)
Laminated Sticker, AFTER!

p.s. I recently found this way to make a laminated sticker using clear packing tape. I haven’t tried it yet– let me know in the comments if it works for you!
https://www.pinterest.com/pin/94153448448982904/


would these work in a hydro flask without being ruined by water???
Hi Sammie,
I don’t think it would be water tight. What you could do, is laminate your image completely, and then use clear packing tape that is cut just a little bigger— for example, if your image is a circle, cut out a circle of clear packing tape that is half an inch larger on all sides, and then adhere the laminated image to the flask with the packing tape. If it looks bad after awhile, just retape it. I hope that helps!
Thank you for sharing at #ThursdayFavoriteThings. Pinned and shared.
I love these thank you for sharing them. I know now what not to do should I ever want to make stickers.
You’re welcome, Alice. Do you have a laminater?
THIS IS SO COOL!!! This would be such a great thing to do for a business, too. Pinning!!
#wonderfulwednesdaybloghop
I’m glad that you like these– thanks so much for Pinning!