
Laminated Placemat Souvenirs
In order to preserve memories from our travels, I began making laminated placemat souvenirs with various items. When my son was younger he was fascinated with maps. So I collected the maps from amusement parks and other places that we had recently visited. Then I took them to Staples or Office Max and had them laminated. We still have those maps.
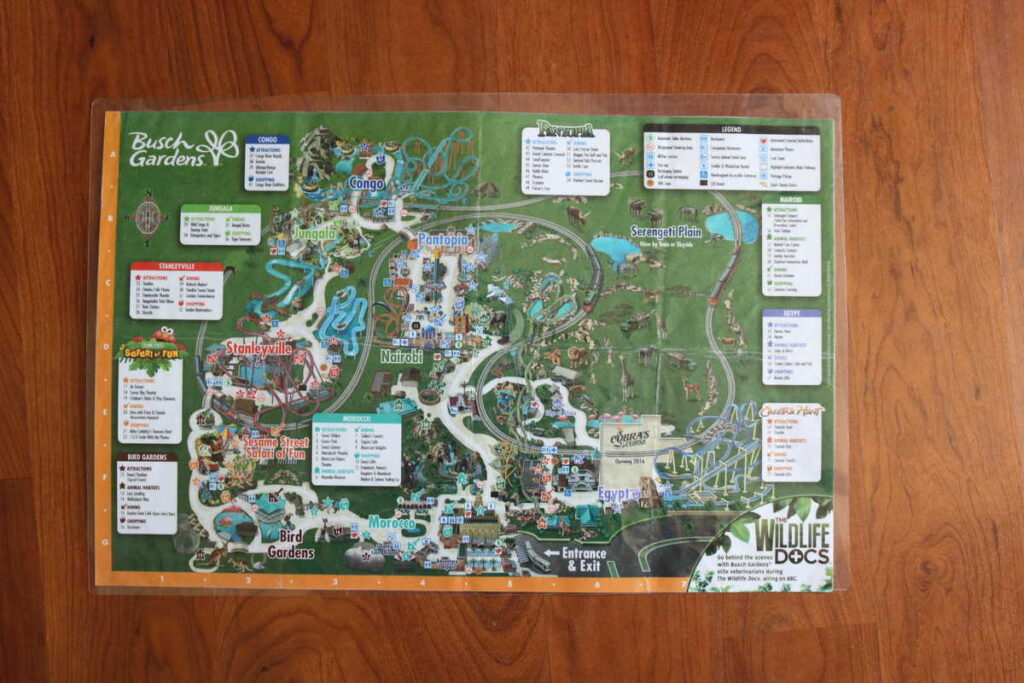
But last Christmas I received my own laminator. It is an oversized one. That means that I can use 11 x 17 inch pouches— the perfect size for placemats!
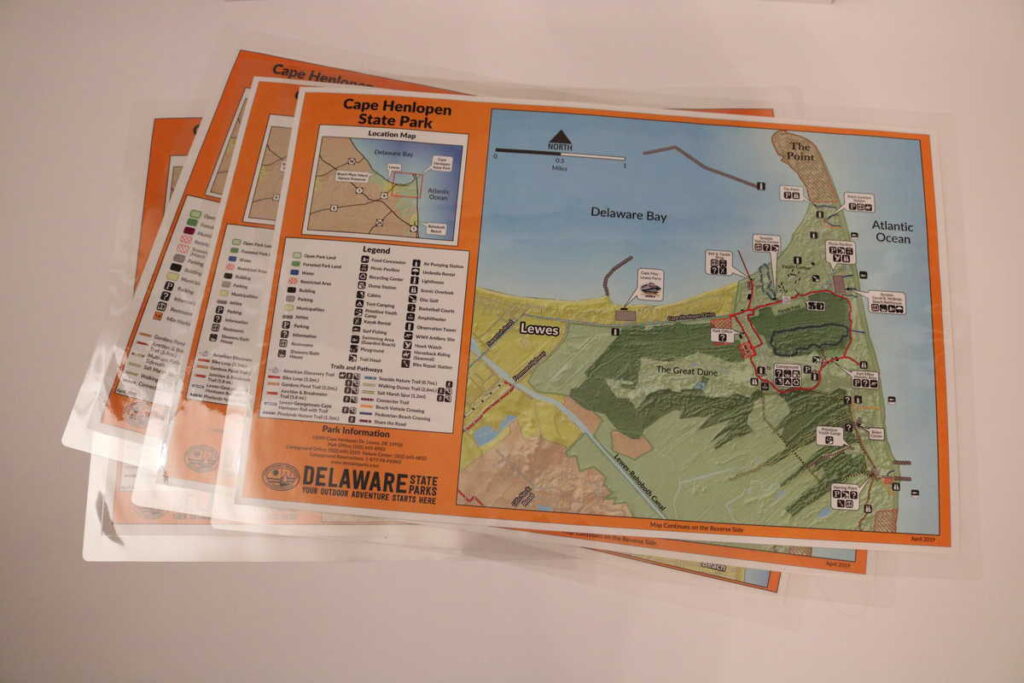
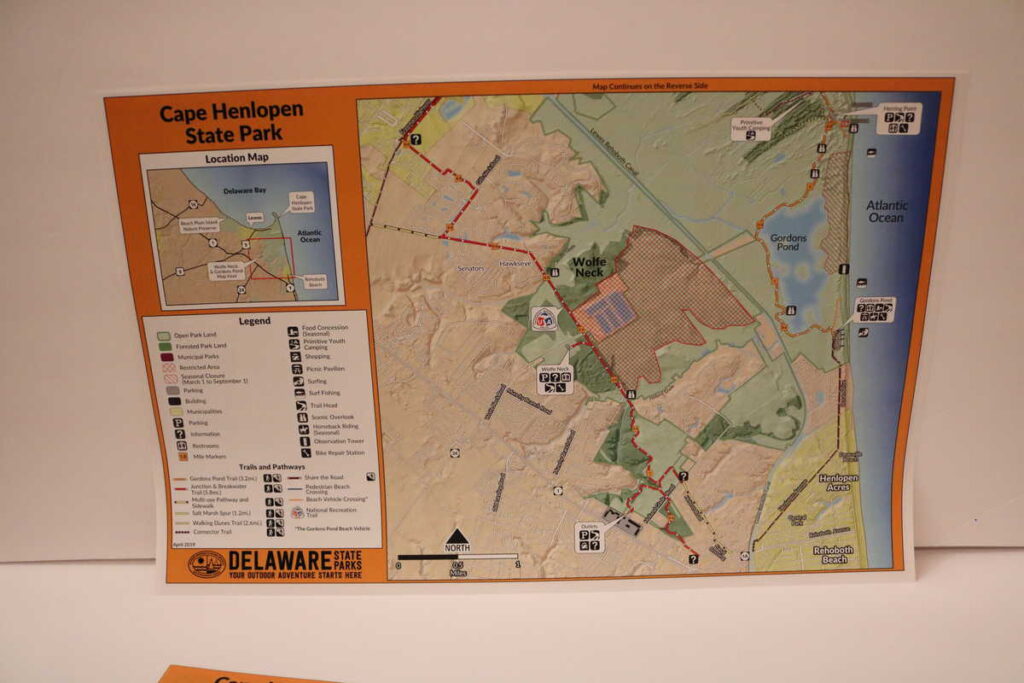
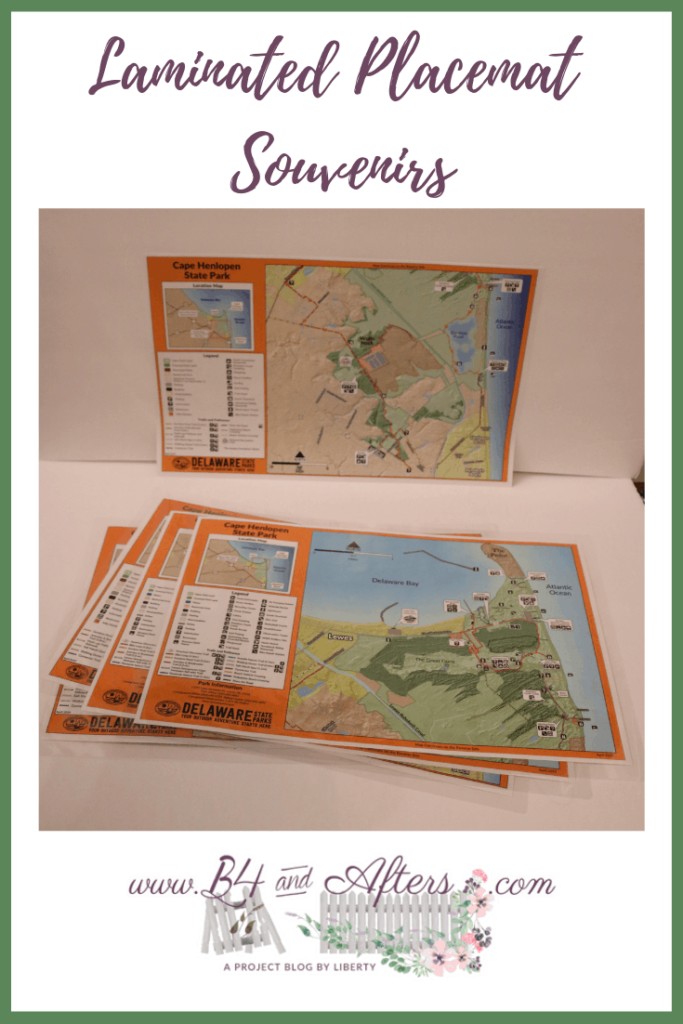
When we went to Cape Henlopen, they gave out these FREE maps. I carefully brought them home so that they would still be new and flat, and not wrinkled. I laminated some for myself, and some for a friend who enjoys going to Cape Henlopen every year.
I’m so glad that you’re here! Would you like an email reminder once a week about new ideas that I share? You may Sign Up Right Here. Now back to this tale of another Before and After project…
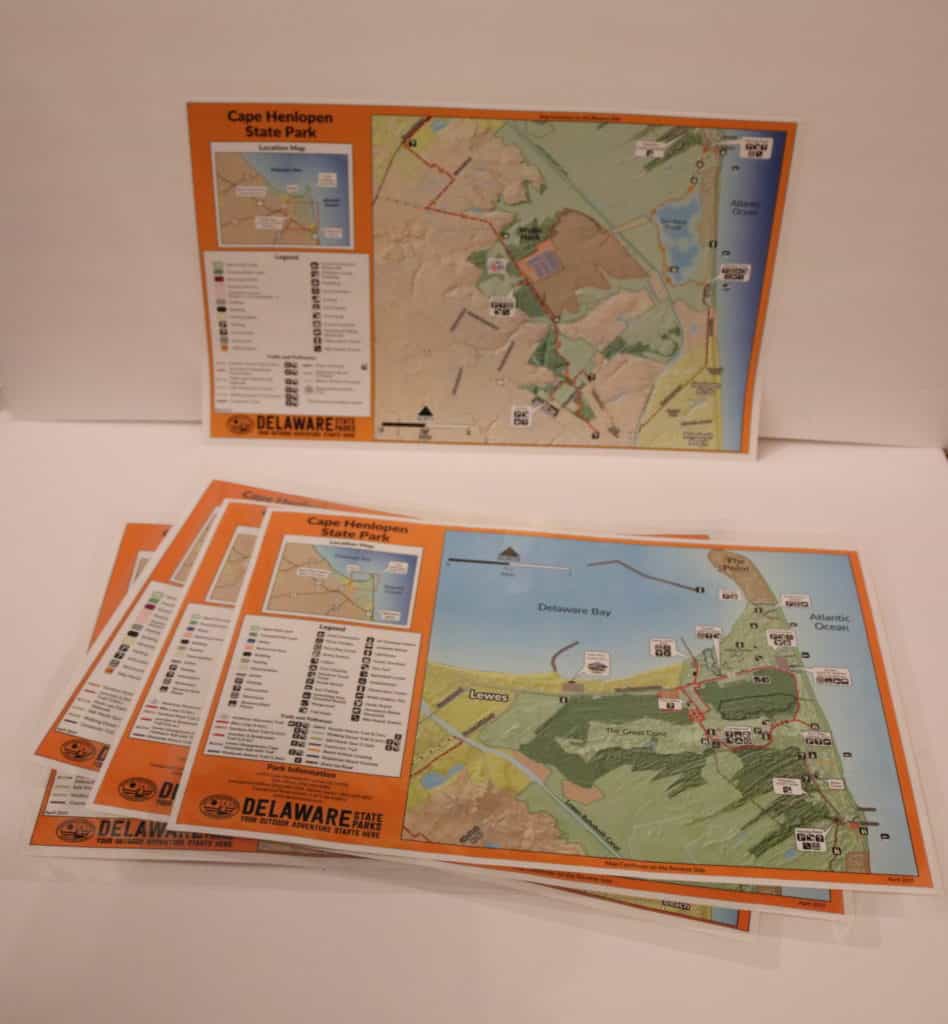
Both sides of the map are different, and laminating them lets me see whichever side I want to see or display. Because they are lightweight, I can display them in my camper for some neat travel decor (to see a quick video of our Camper and where I put my laminated maps, Click Here.)
I LOVE making these maps for CHEAP. I love having a useful memory of our visit to a place like this. These laminated placemats are a great souvenir in my opinion. We can look at where we went, and where we want to go the next time we visit.
Do you know what else you can laminate for a neat souvenir? You can laminate the plastic (or paper) bag that comes with an item that you purchased! Talk about a fun, free souvenir!
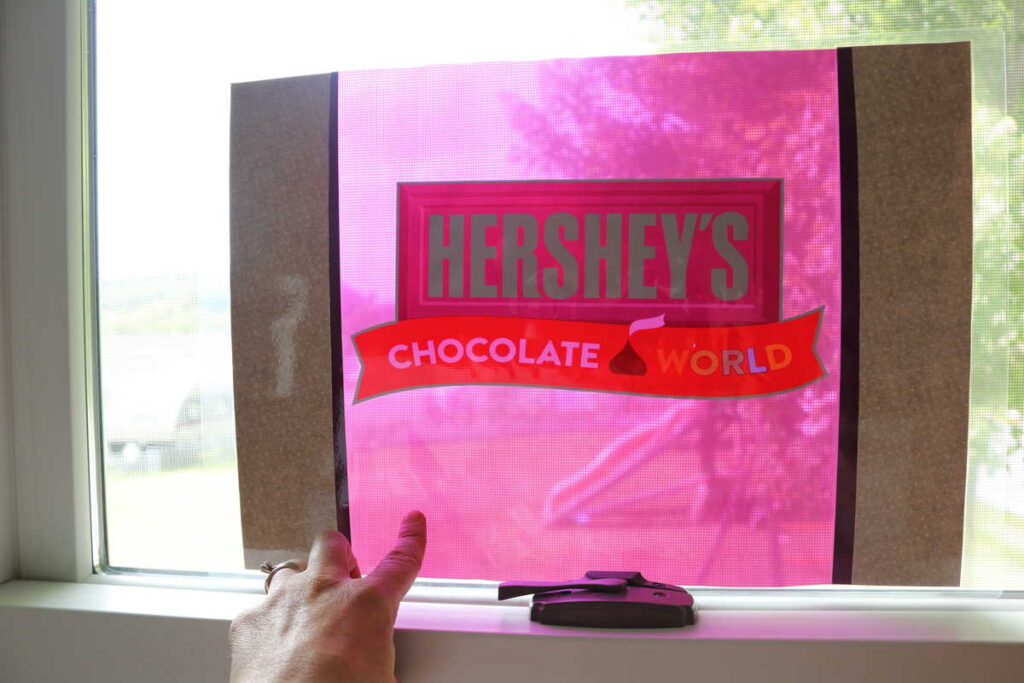
Here is one I made from Hershey Park/ Hershey’s Chocolate World. Did you know that there is an amusement park themed all around Chocolate?! (I also have a bag or two from the Crayola Factory that I have been saving. I plan to make a placemat with that and when I do, I will update this post.)
For mine, I added scrapbook paper along each side.

The neat thing about this plastic shopping bag is that it is see through. See?! And when separated into one layer, you can tell that it is actually purple, not brown.
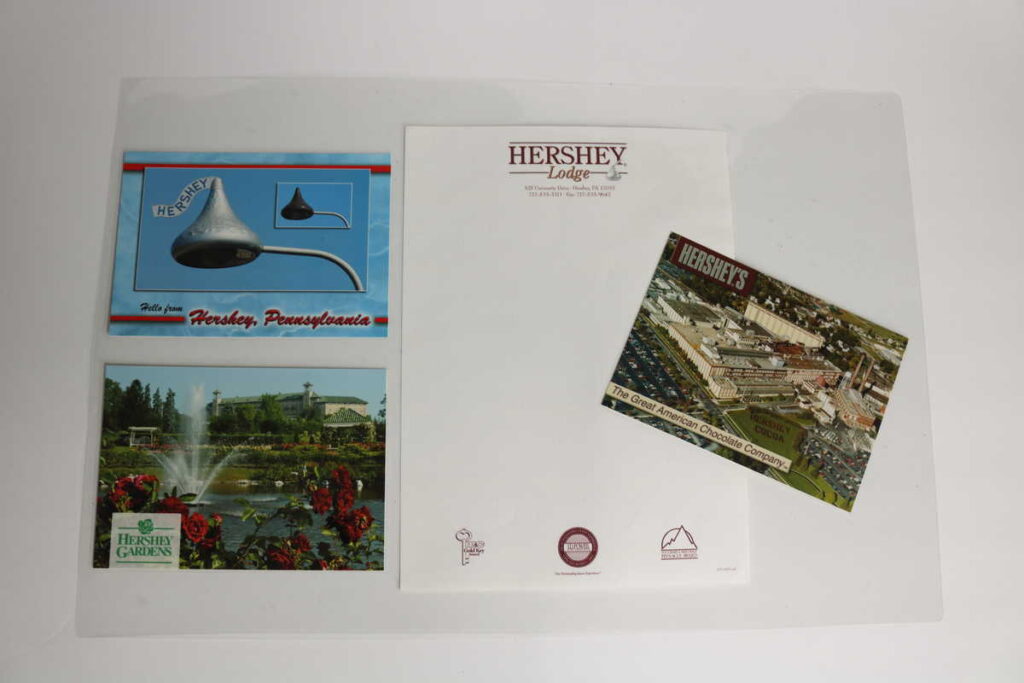
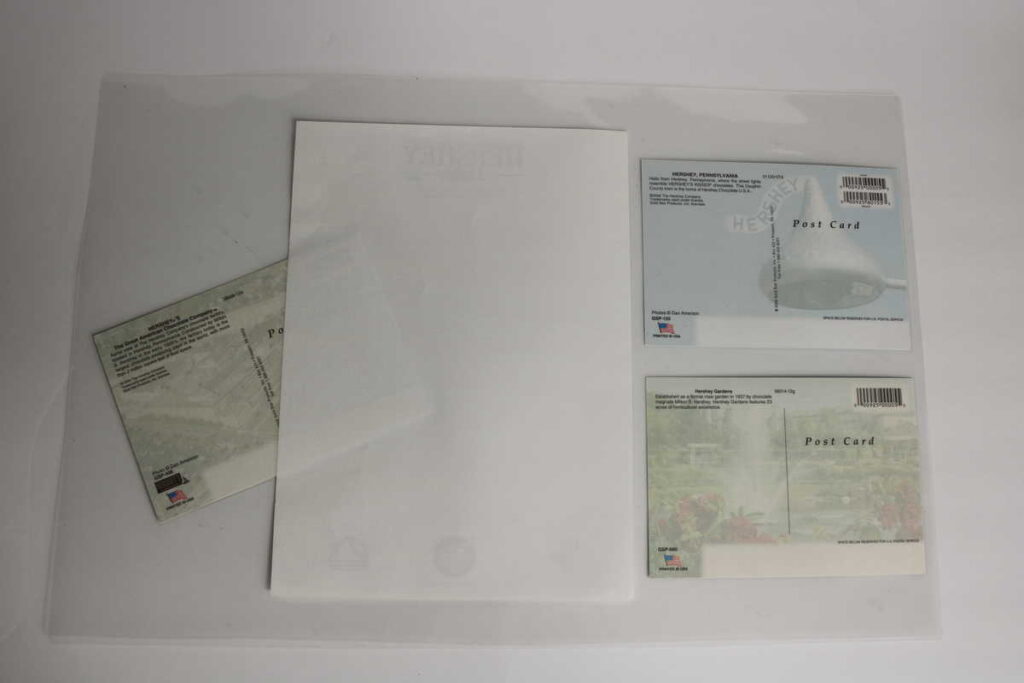
You can also laminate postcards. Just like maps, you can see both sides of the postcard. I added a piece of stationery. *Just remember, once something is laminated, you can not take it apart again. So use caution if laminating a vintage postcard or an item that would lose value if laminated. Otherwise, laminating can be a great way to preserve things that are fragile and will get handled often.
I have some paper placemats that I found at a yard sale or a thrift store. By laminating them, now I can use them over and over!

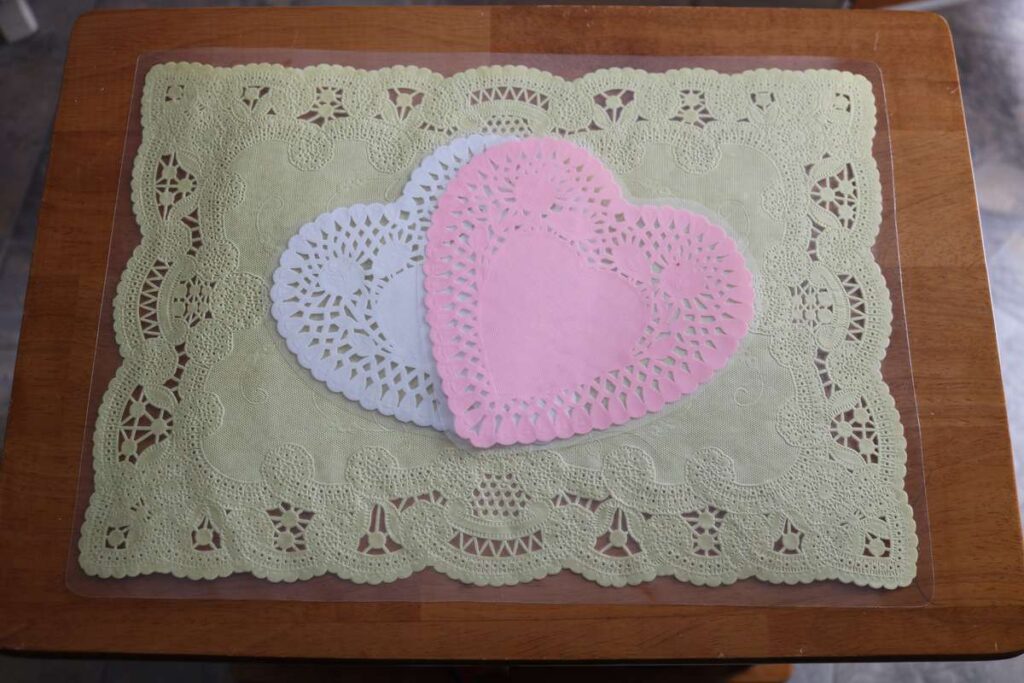
You can also laminate paper doilies if you wish them to be more durable and reusable.
Do you like these ideas? Please feel free to share them! Leave me a comment if you do…. (your email will not be shown and is only used to send a reply to you).


These are fantastic! Thanks for sharing! I’m co-hosting Oh My Heartsie Girl’s Wonderful Wednesday and am super excited to find you!
I’m glad that you like them, Kaycee!
These are stink’n adorable. It’s perfect to keep memories of your trips.
Cindy
I’m glad you like them, Cindy!
What a great idea! I like to add a lot of those kinds of things to scrapbooks, but this way you get to enjoy them every day.