How To Make Laminated Stickers without a Printer or a Cricut Maker
Have you ever wanted to create your own stickers but you didn’t have a fancy machine like a Cricut? Or maybe you don’t even have a printer that works very well? Today I have GREAT news for you! I am going to show you how to make laminated stickers without any sort of machine. Yes, you will need a few supplies– probably only TWO main things you might not already have: Sticker paper and cold laminate.
First of all, What kind of stickers are you making? What do you want to do?
Do you want to:
- Learn how to make stickers on a Cricut in just One Minute?
- Use a Cricut to make laminated stickers ?
- Make laminated stickers using just a printer ?
- Make laminated stickers without a printer or any other gadget ?
- Use a Xyron Creative Station to make laminated stickers ?
Are you looking for:
- Sticker templates ?
- Self laminating Sticker Supplies ?
- How to Design your own stickers with Cricut Design Space ?
- How to Design stickers on your computer?
- Ways to use Vinyl Stickers around your home?
Or something else? Let me know in the comments so I can create a tutorial for you!
You may be familiar with a machine that laminates using heat, called a thermal laminator. That is usually what I think of when I think “laminated.” However, did you know that there is such a thing as cold lamination?! You can read about one method of cold lamination in my post on making stickers with a Xyron station.
And now, rest your mouse scrolling hand or fingers, and relax (sound on) while I show you exactly how to make laminated stickers without a machine, printer, or gadget of any kind!!
1
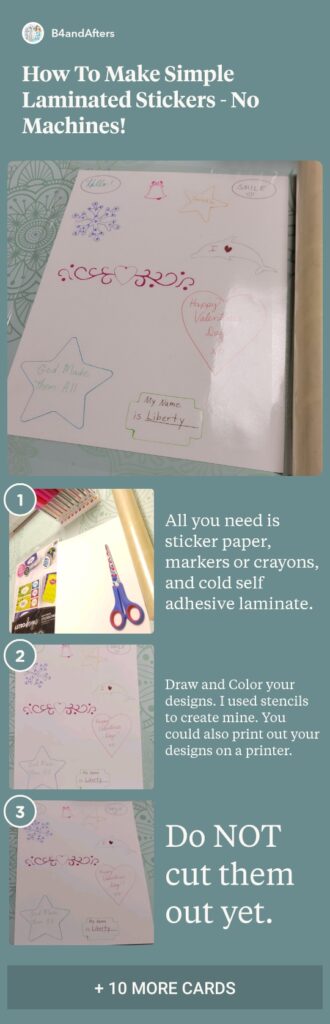
All you need is sticker paper, markers or crayons, and cold self adhesive laminate.
2
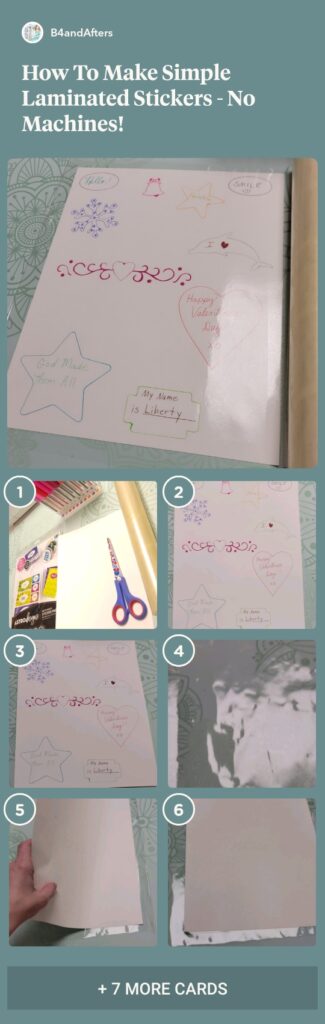
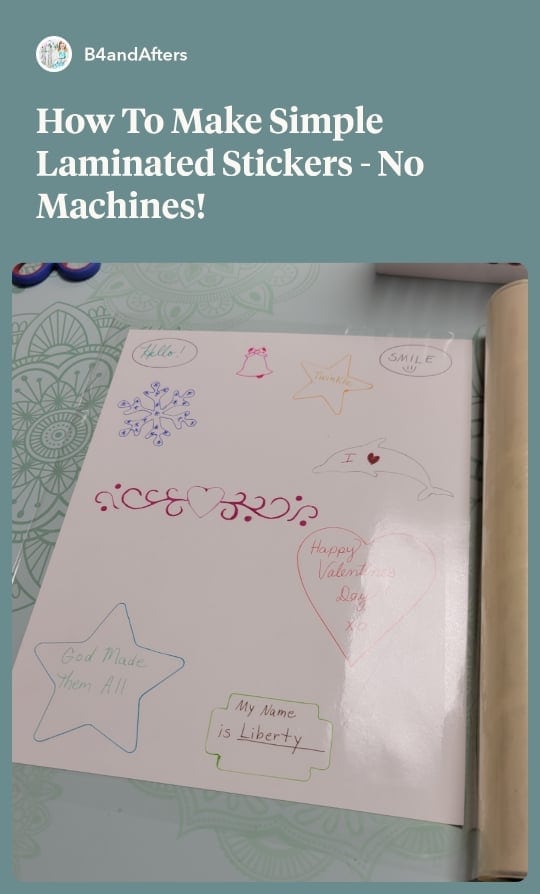
Draw and Color your designs. I used stencils to create mine. You could also print out your designs on a printer.
3
Do NOT cut them out yet.
4
Roll out the laminate sticky side up. Lay the sticker page carefully upside down on the laminate.
5
Start from one side, and very carefully smooth and continue to lay the sticker page down.
6
After smoothing it, you can cut off the excess.
7
I like using my Cricut Brayer to smooth out the laminate, but you can use a credit card or just your hand.
See how smooth it is?
8
Lastly, cut out your stickers!
9
Sticker paper has creases on the back, so you can take the backing off easily and use the sticker.
10
Some sticker paper has fewer creases on the back… I like this brand because it has plenty of creases.
11
I used Fiskars scissors for fancy edges.