
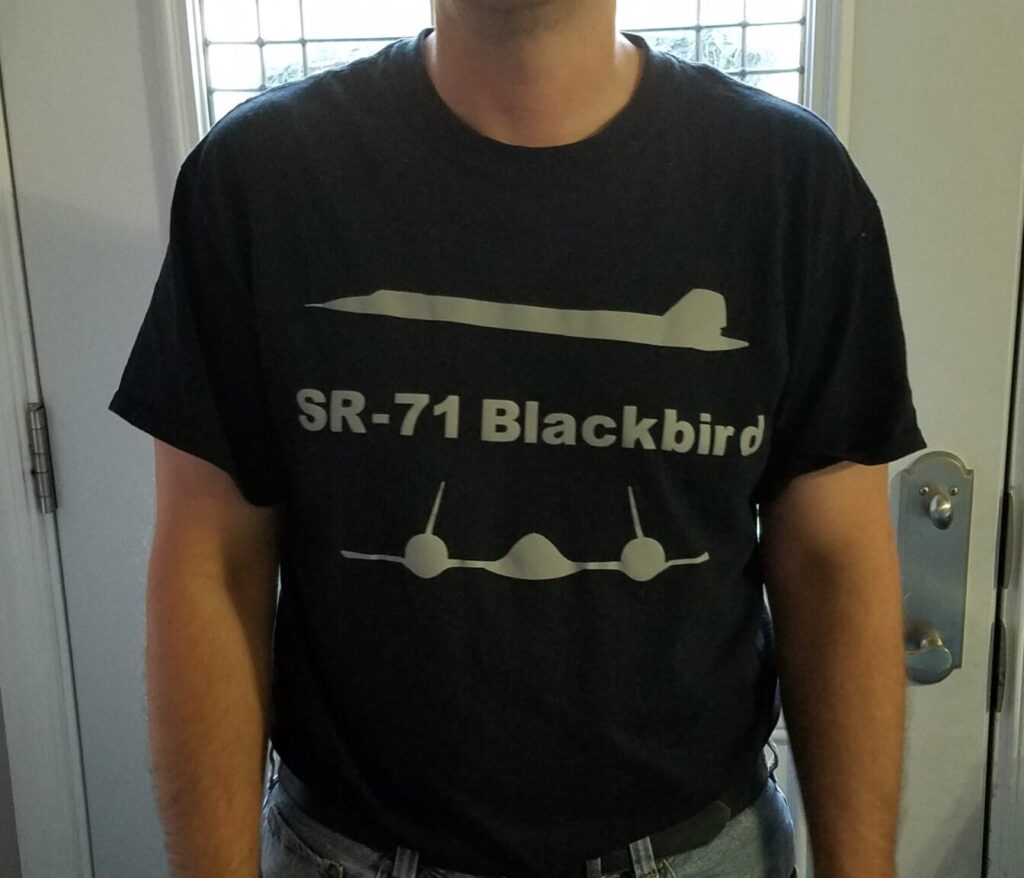
How I made this Cricut Airplane Tshirt SR71 Blackbird
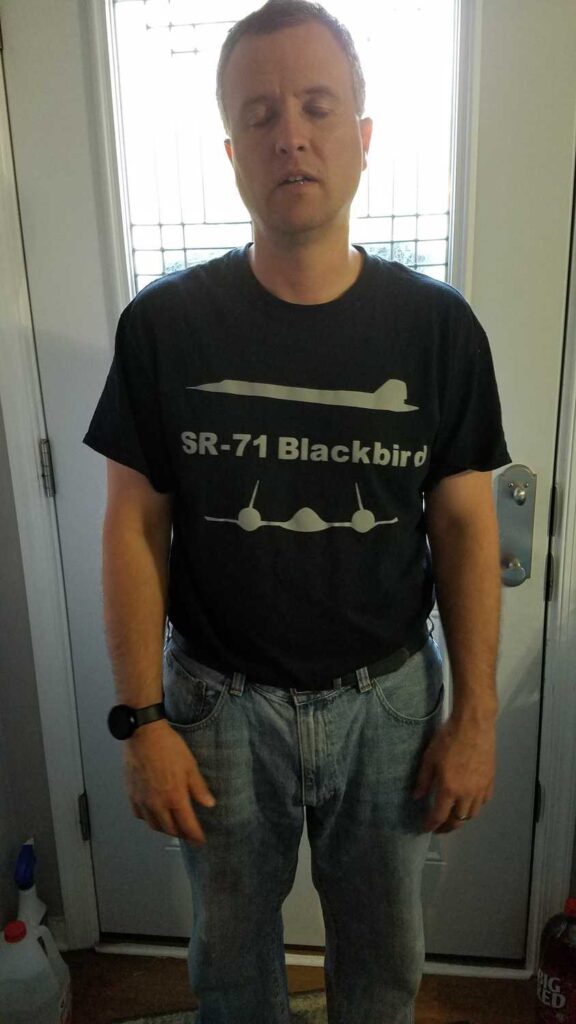
One Valentine’s Day I decided to give tshirts to my family, so I made this custom Airplane tshirt for my husband!
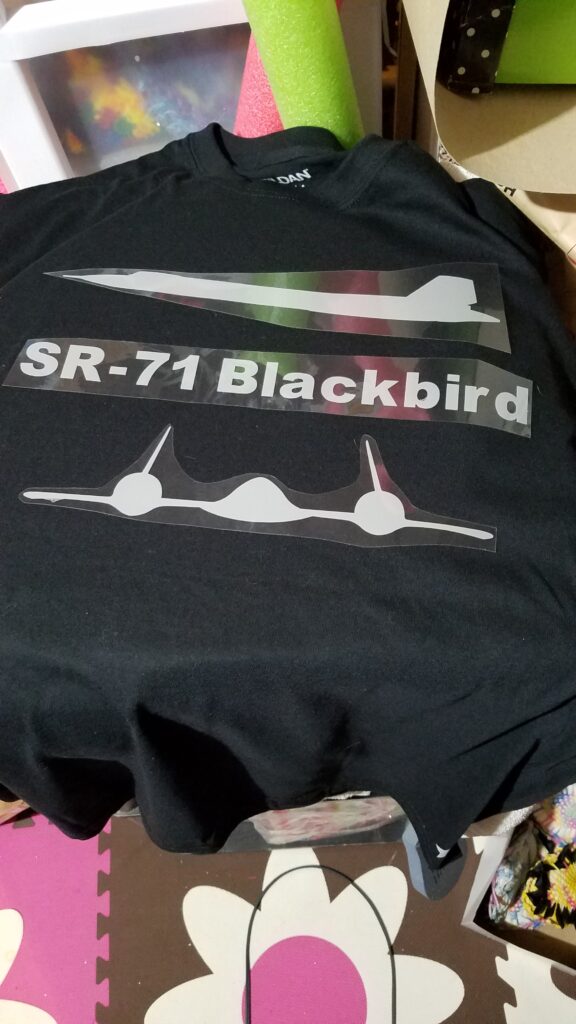
He is fascinated with Lockheed Martin’s SR71 Blackbird stealth airplane. We have been to see it at a museum, and he has read the book on how they made it, called “Skunkworks.”
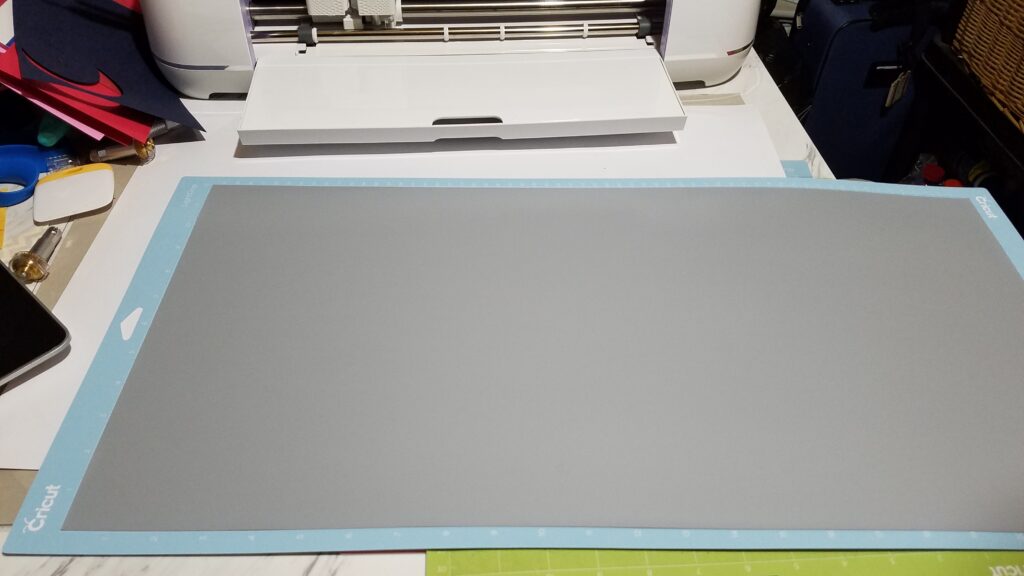
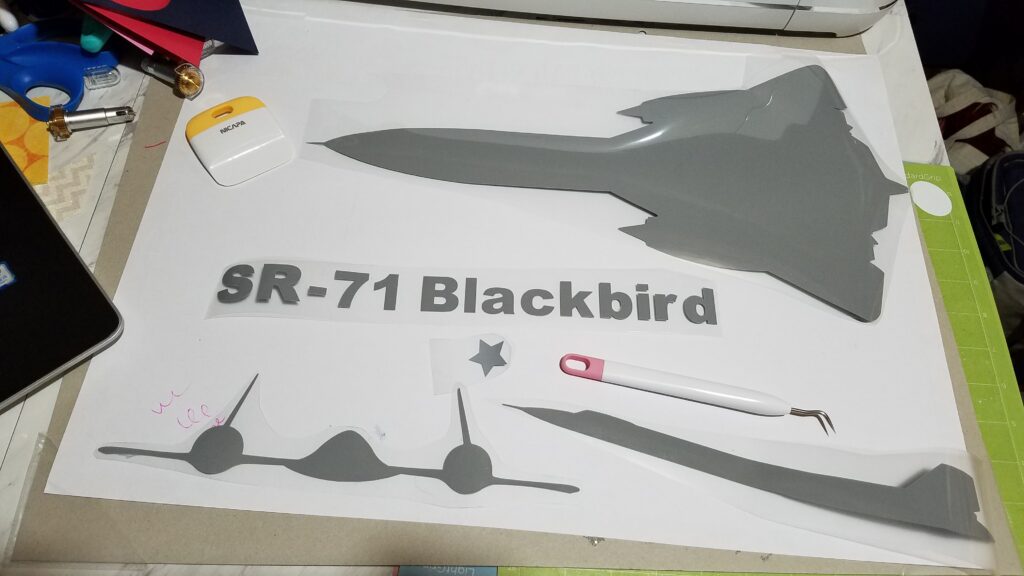
This was my second iron-on project with my Cricut Maker, and one of the images was so large that I used the 24×12 mat for it.
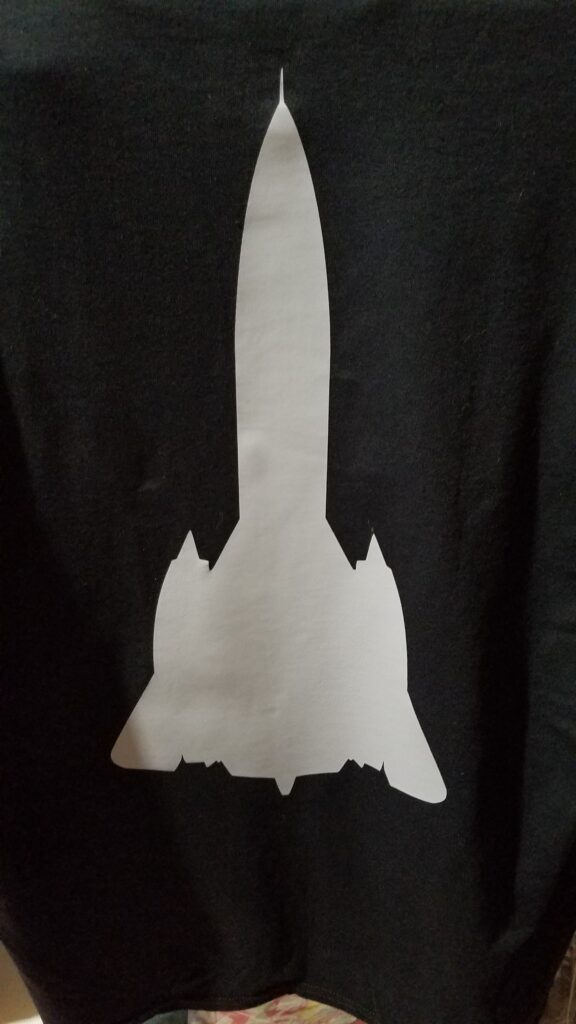
Before making the tshirt I had to design it. I found some images and put them into Design Space. I made some for the front of the tshirt, and some for the back. There is a tshirt template you can use to decide how big to make the images, so that was very helpful. *You can use my design right in Cricut’s Design Space.
More Cricut Projects
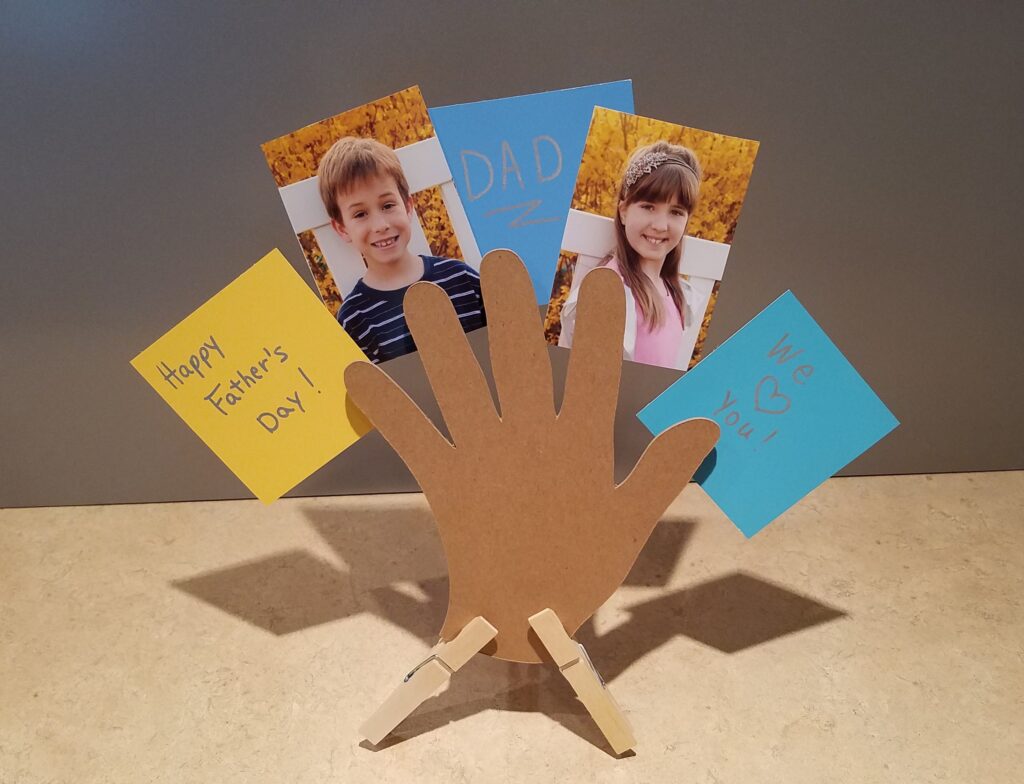
- Clothespin Hand
- Reverse Stencil
- Faux Bookshelf Decor
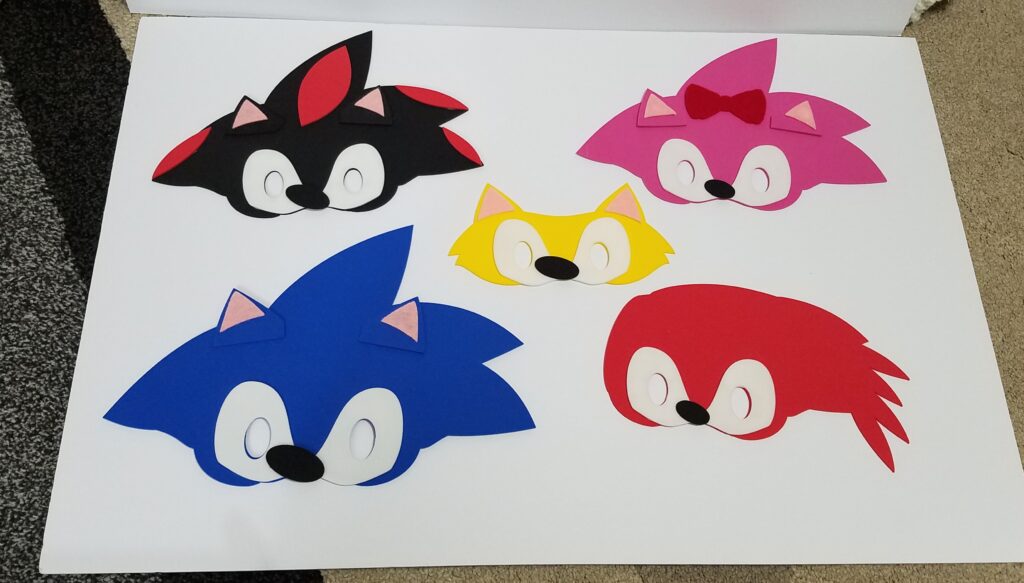
- Sonic Face Masks
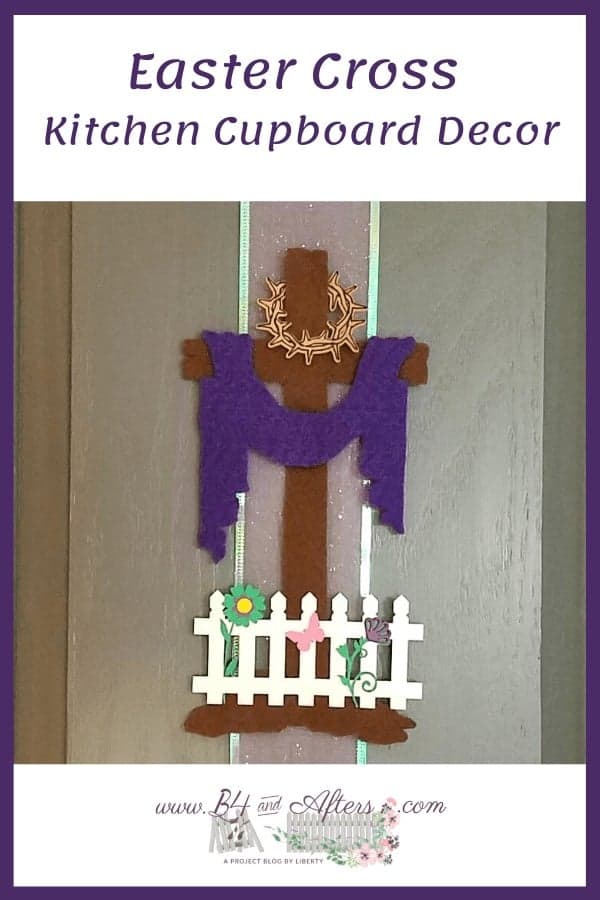
- Easter Cross
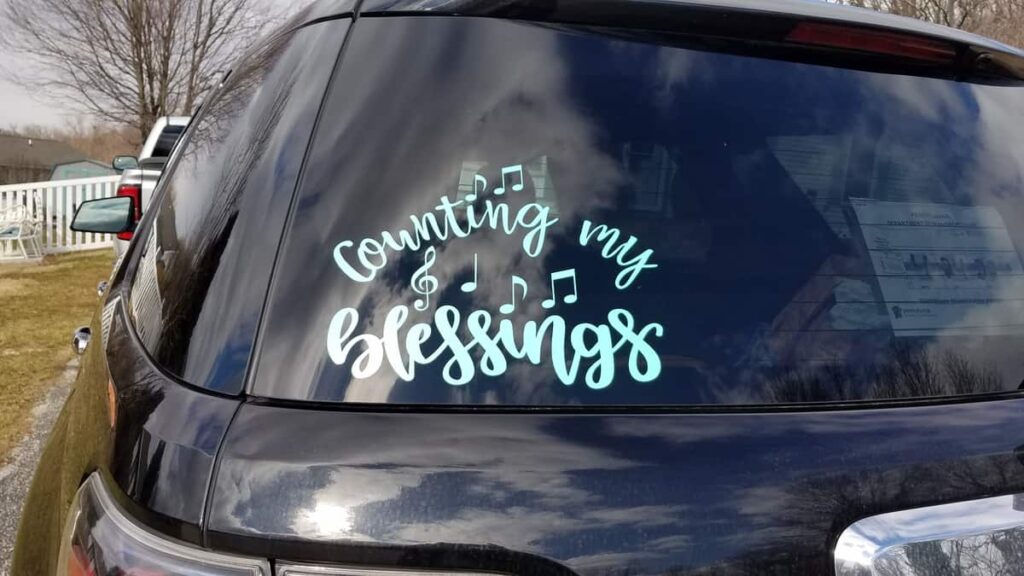
- Window Decal
- Airplane Tshirt
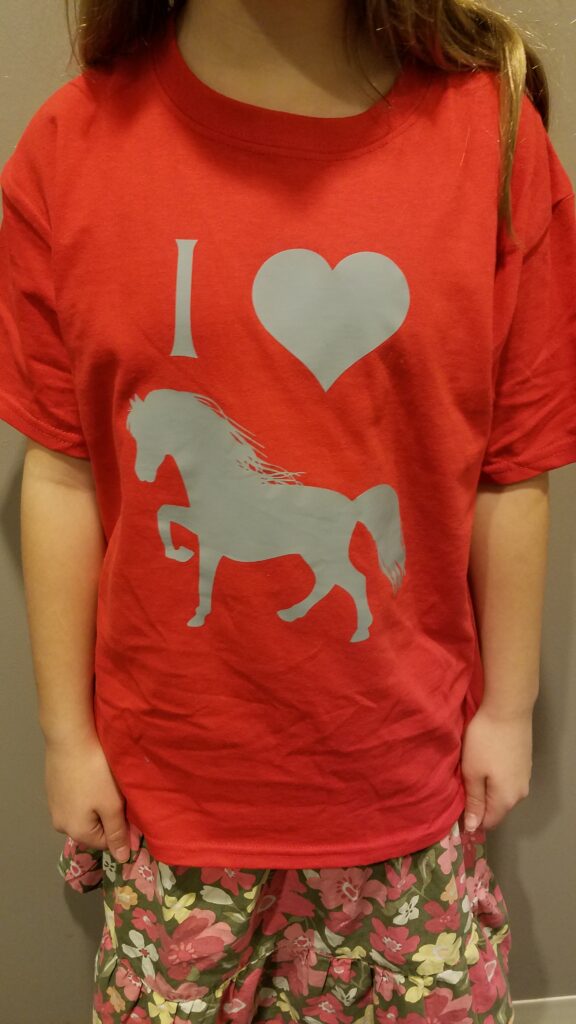
- Horse Tshirt
- Valentine Cupboard Decor

First, you have to lay the iron on material on the mat upside down (above). If you have any text or non-symmetrical images, you need to mirror them. They will look like they cut out backwards, but it’s okay because you will be turning it over to iron it on.
See the clear plastic? That is the shiny side that you would have laid on the mat, upside down.
The main TWO THINGS to remember when you are making an iron on design is:
1: MIRROR your image when you go to cut it out and
2: Lay the material SHINY side DOWN on the cutting mat.
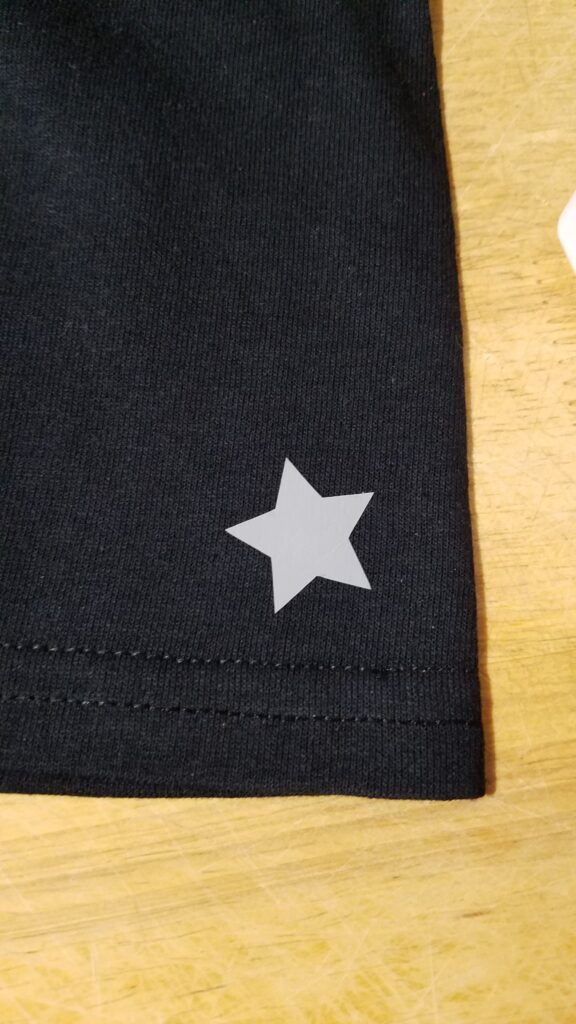
The star is an extra test piece. I do not have a Cricut Easy Press, so I just used my iron. I have seen someone use a heavy duty non-Cricut iron press. It is expensive, but it would be worth it if you made a lot of iron-on projects, like tshirts or tote bags. Anyway, I ironed on the star and it adhered to the tshirt just fine. However, I did end up ironing on the larger pieces for longer than it took to attach the star.
This iron on mat from Cricut reminds me of a silicone baking mat. I don’t know if they are the same or not– but of course both must be able to withstand high temperatures for long periods of time, so they are probably very similar! You could also use a towel or parchment paper. I wouldn’t put the iron directly on the plastic.
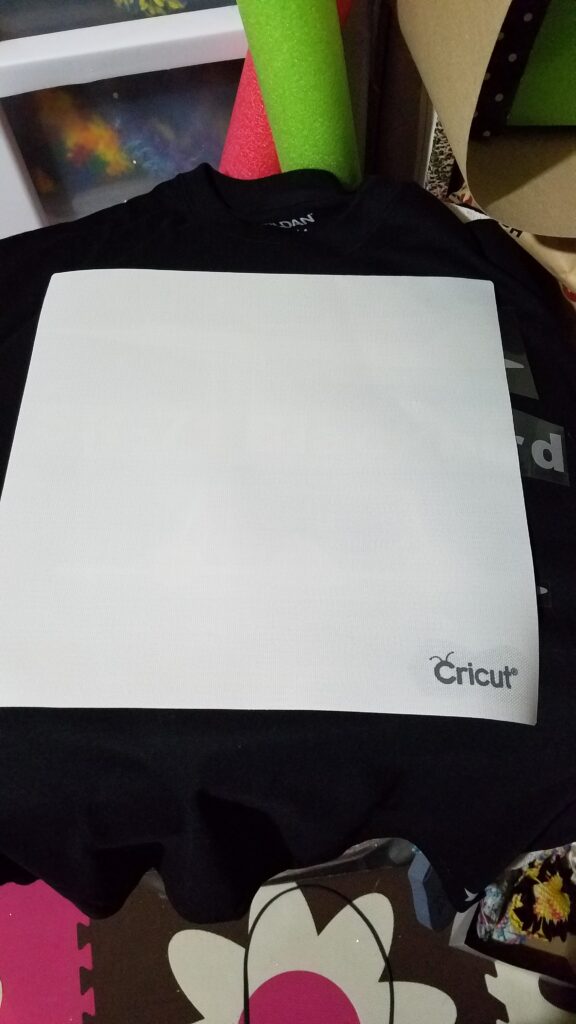
After I pulled the plastic off, and decided that it needed more ironing, it was very handy to have that iron-on mat– because then I needed it! You CANNOT iron directly onto the transfer.
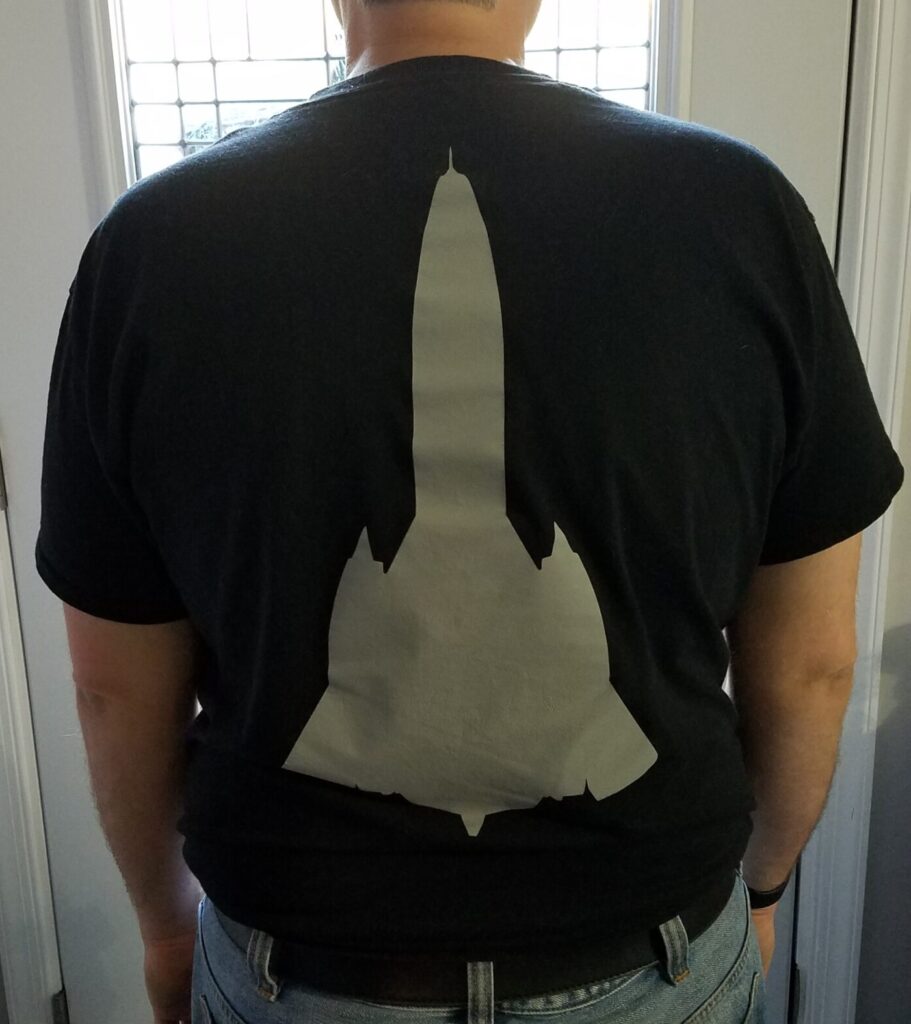
My husband was pretty surprised to get this tshirt, made just for him. He wears it to work.

Tshirts are not my favorite things to make with my Cricut, because it was very hard for me to make sure I was centering the design on the shirt. Maybe I just need a better workspace? I’m not sure….. It would also probably help if I could lock the cat out of my workspace, but I can’t do that unless I lock her up in a room, because my craft area doesn’t have a door….
It could also have something to do with the fact that I have never been a fan of ironing, period. Haha!
AFTER!
Now that I’ve admitted that I don’t care for iron on Cricut projects, guess what I’m working on right now? Yes…. another iron on Cricut project. I will have to let you know how it turns out….


Would you be willing to share the image you have on the back of the SR-71 shirt?