
Solar Light DIY Challenge
What is the best creative solar light idea that you have ever seen?
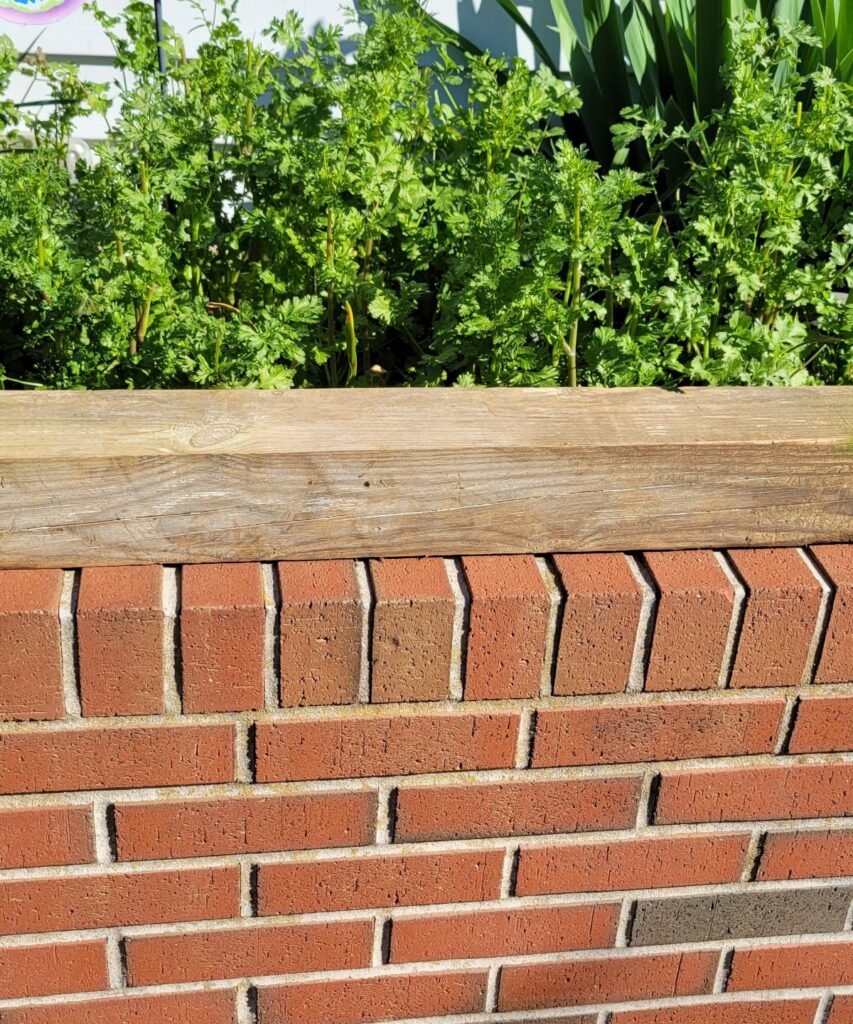
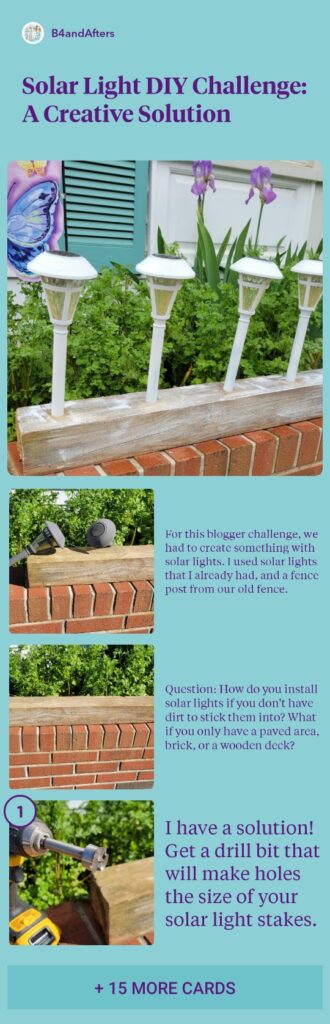
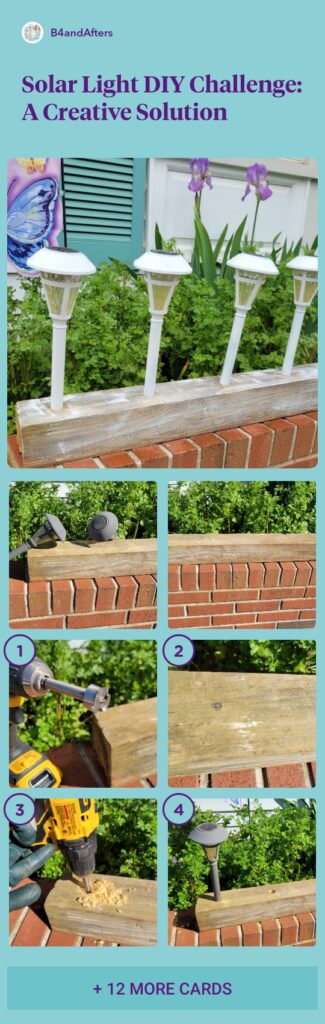
How do you install solar lights if you don’t have dirt to stick them into? What if you only have a paved area, brick, or a wooden deck?
Today’s DIY Challenge from Terrie at Decorate and More with Tip was to use Solar Lights. At the end of this post, you will get to see 7 more great creative solar light ideas! Paula’s Handmade Space made a solar chandelier, and that is a project that I would like to do someday!
I really enjoy these challenges. Sometimes I am really inspired. Sometimes I feel like I don’t have a great idea— and it ends up being a great idea anyway!
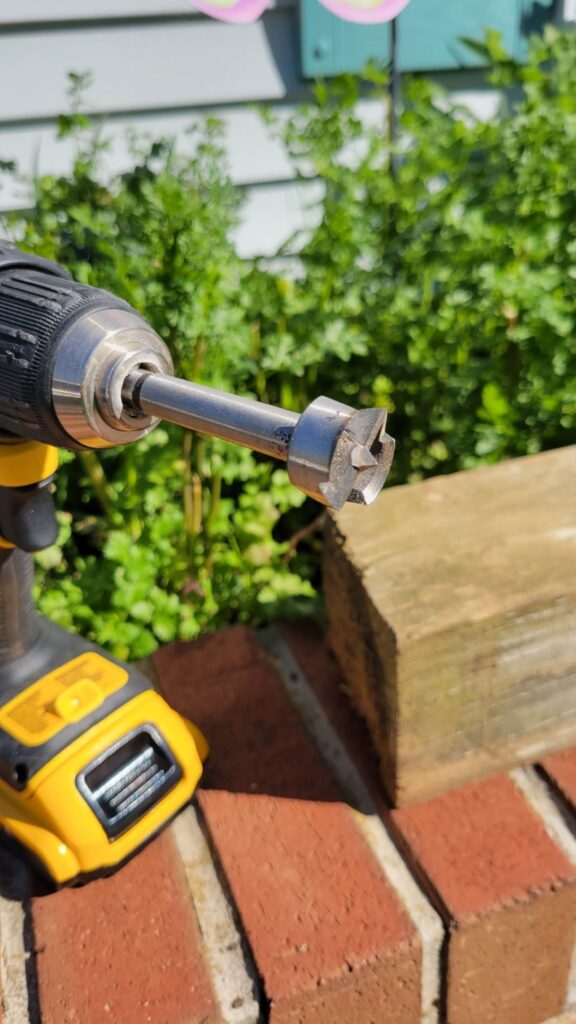
Forstner drill bit
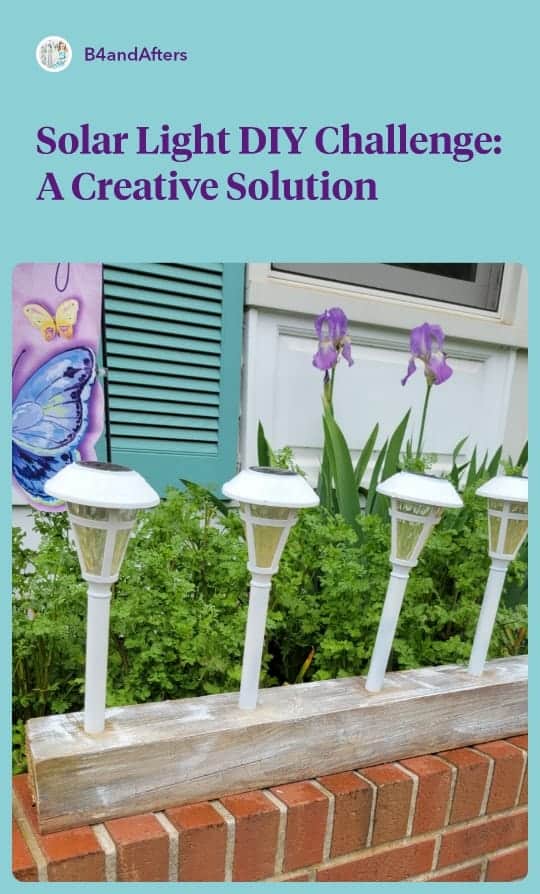
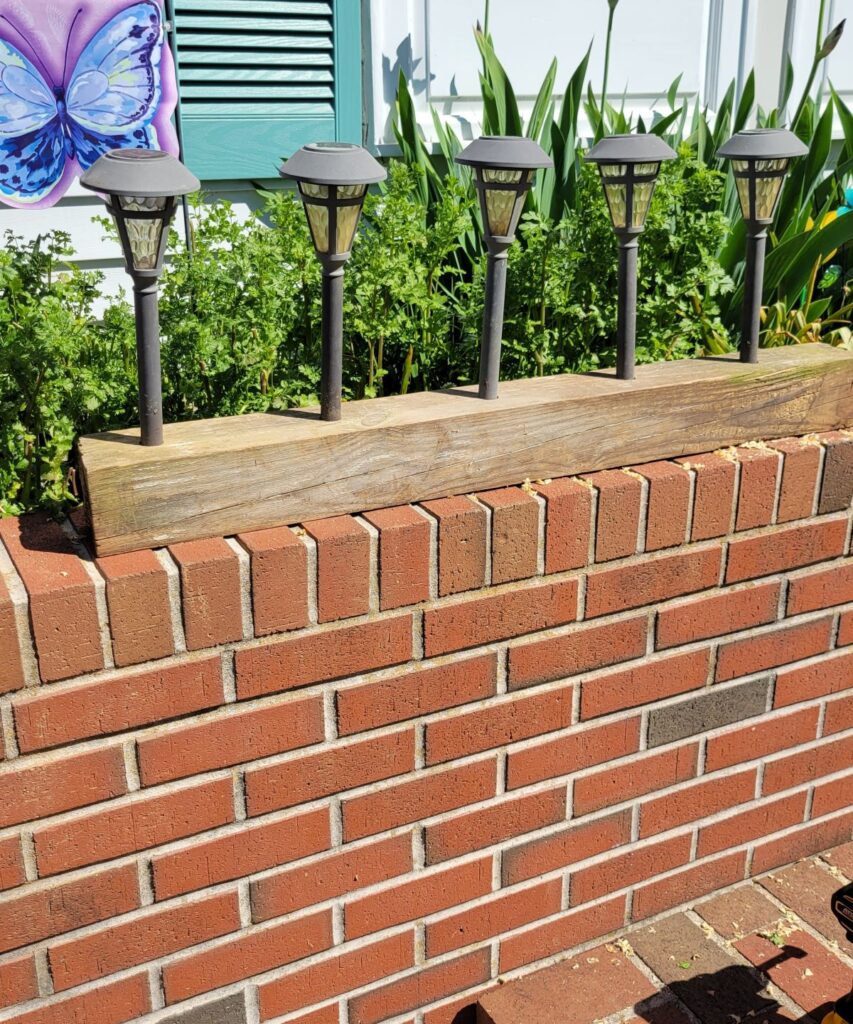
For this blogger challenge, we had to create something with solar lights. I used solar lights that I already had, and a fence post from our old fence.
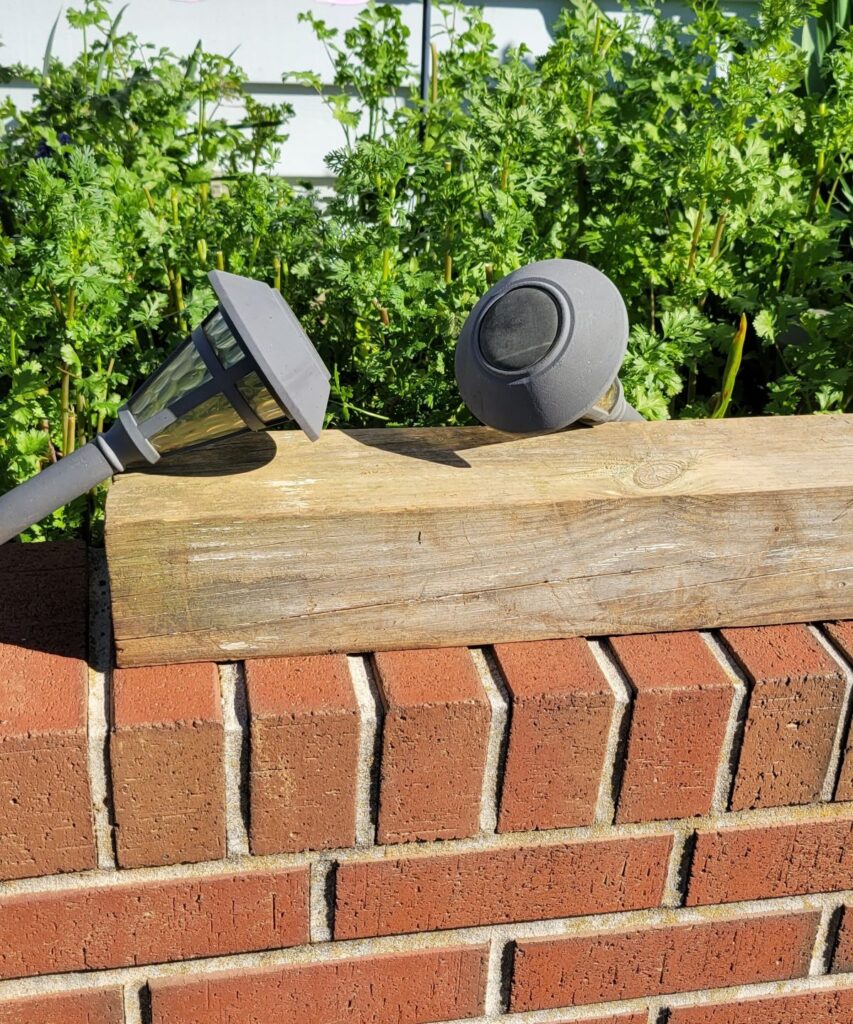
Question: How do you install solar lights if you don’t have dirt to stick them into? What if you only have a paved area, brick, or a wooden deck?
I have a solution! Get a drill bit that will make holes the size of your solar light stakes.
Use a yardstick to mark evenly spaced holes.
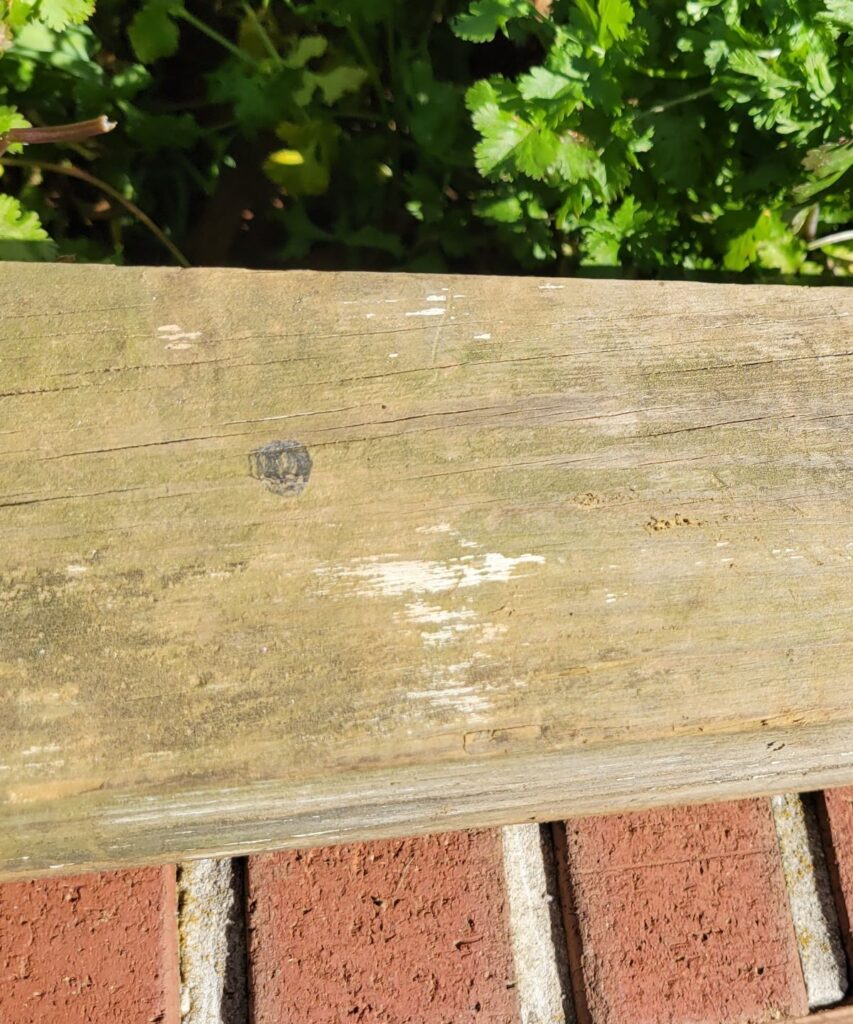
Drill the holes.
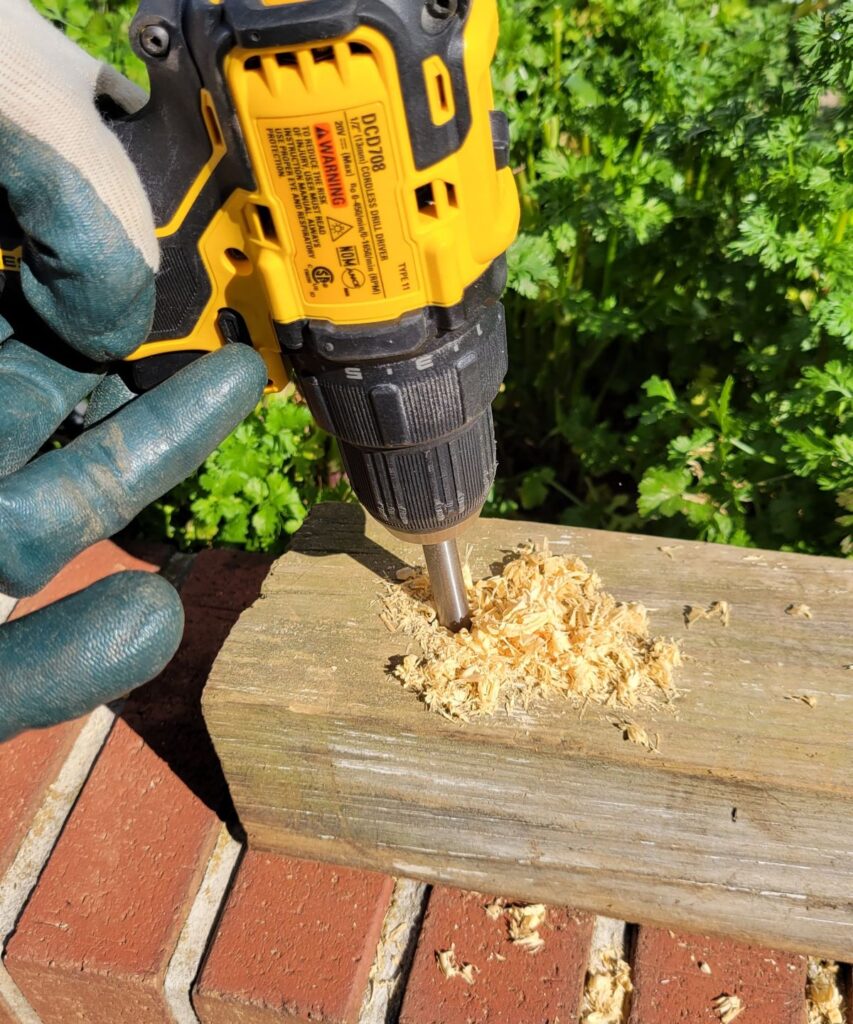
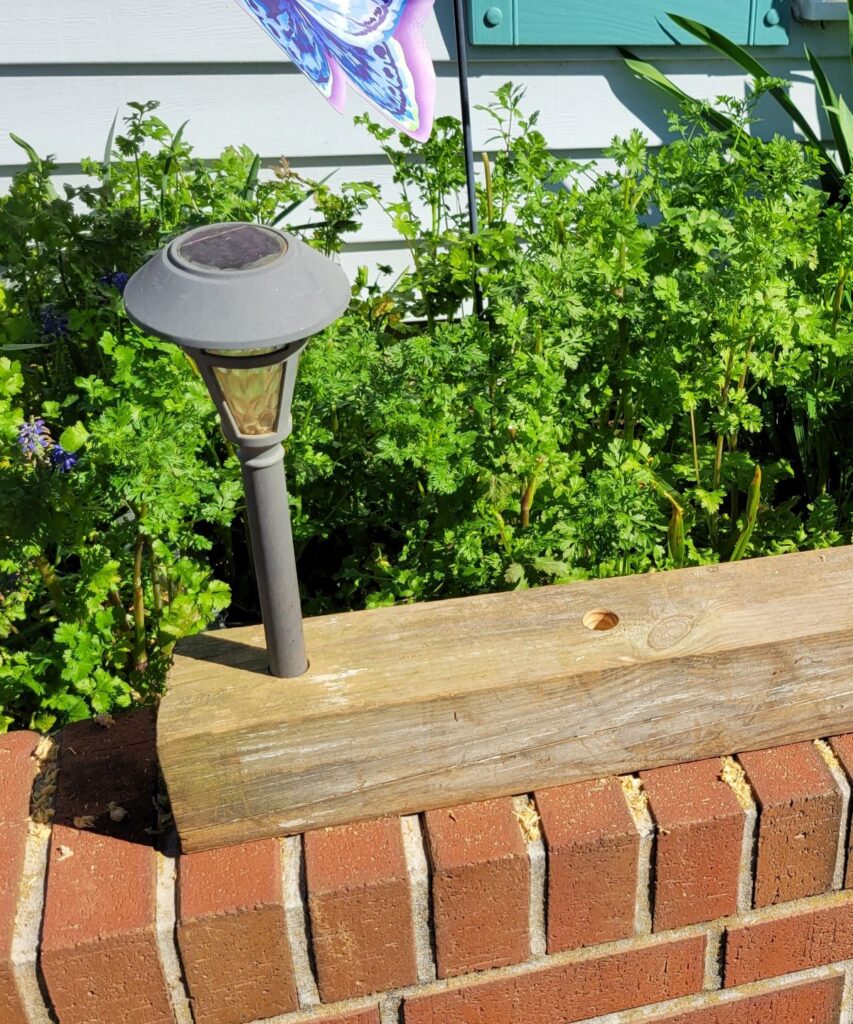
Check that the stake fits. Continue drilling holes…
(My daughter videoed this for me on a Very windy day!)
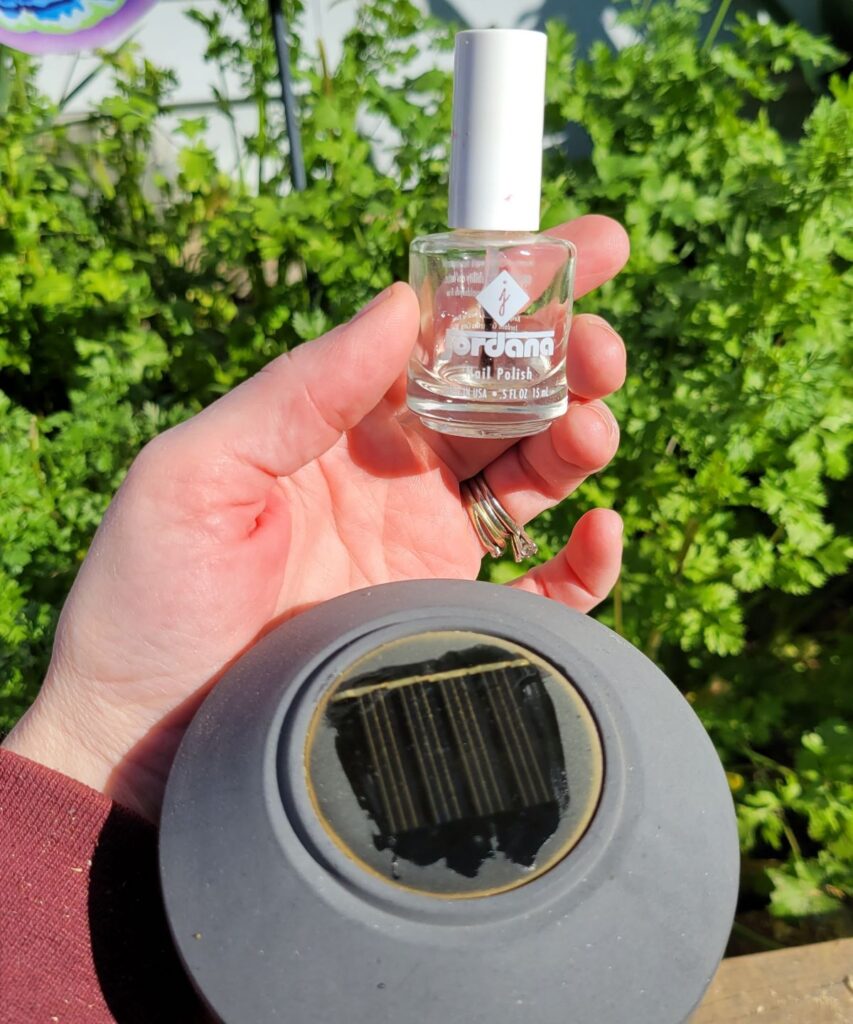
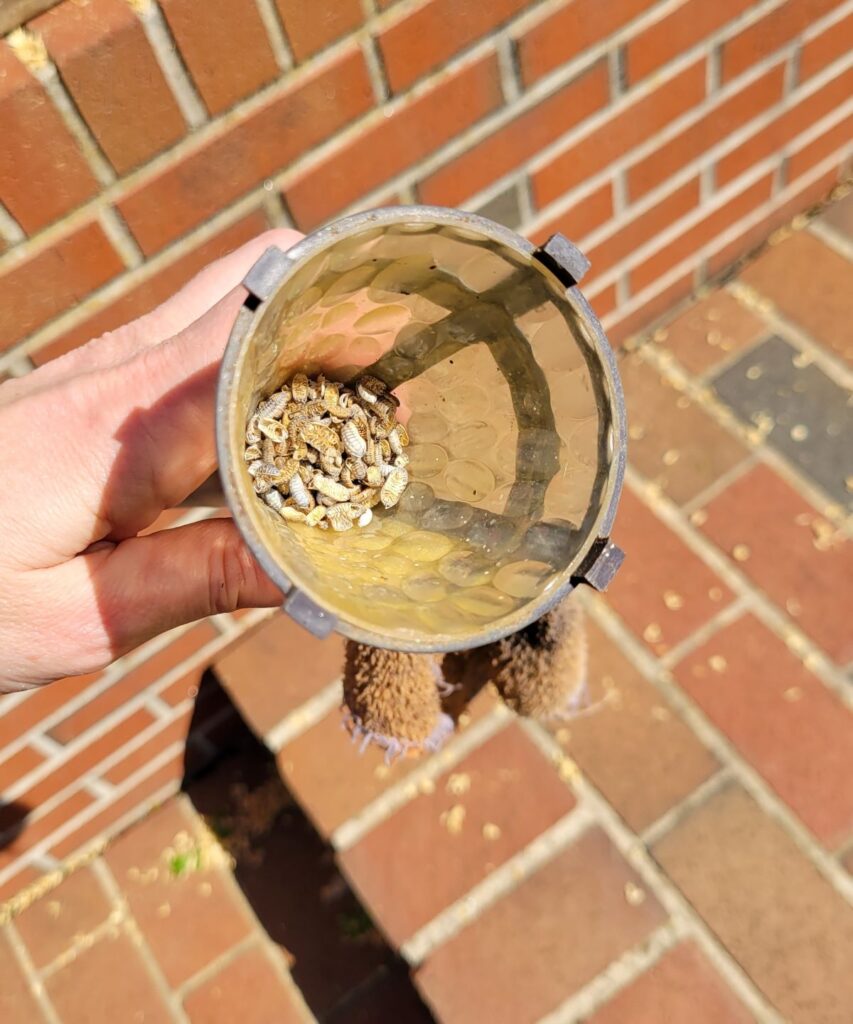
Another problem: my solar lights weren’t charging any more because they are cloudy. Cleaning didn’t help.
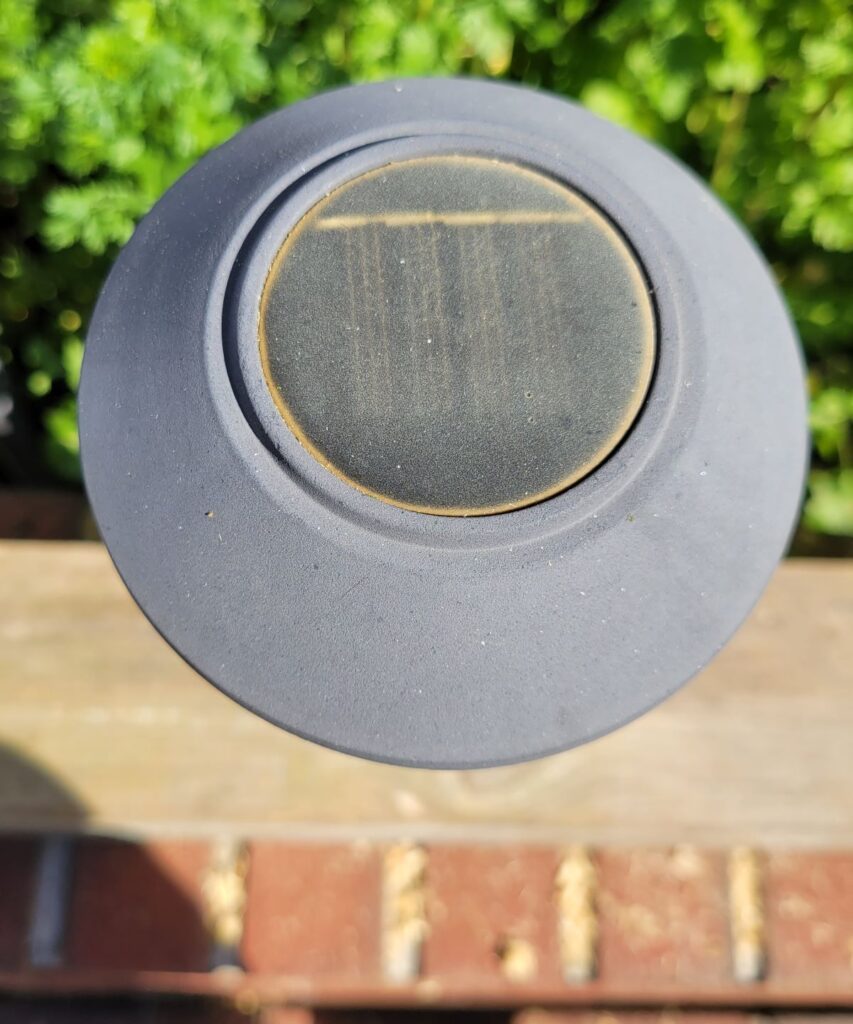
Use clear nail polish to make the plastic clear again!
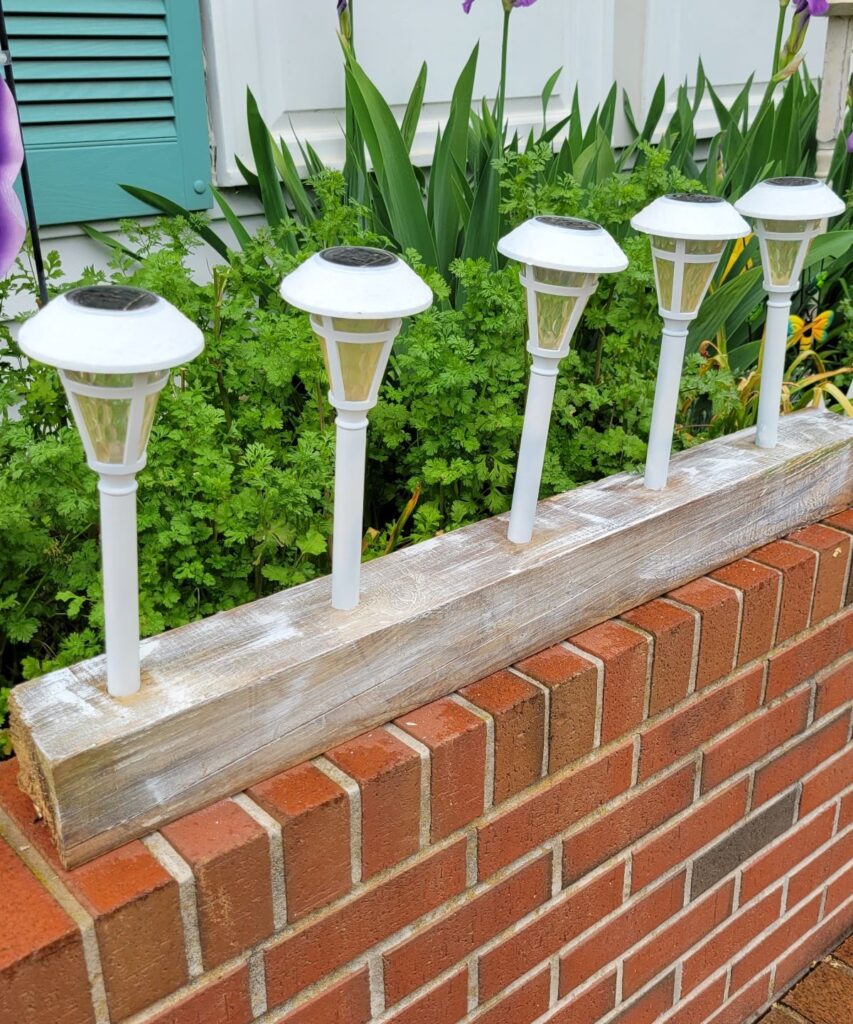
I fit five lights into my 4×4. I can set these lights anywhere now! Even as a centerpiece on a picnic or patio table! But I wanted to make it pretty.
Did you know you can twist off the top?
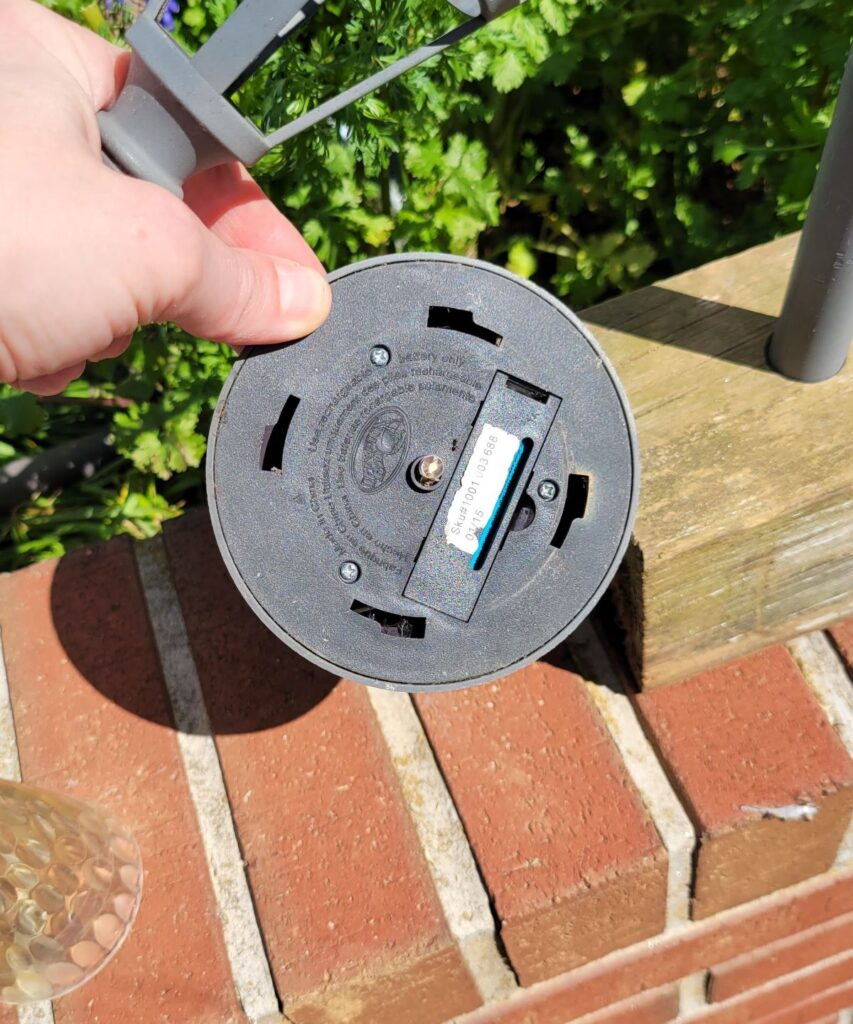
There were lots of dead bugs in my lights! I washed the clear plastic inserts.
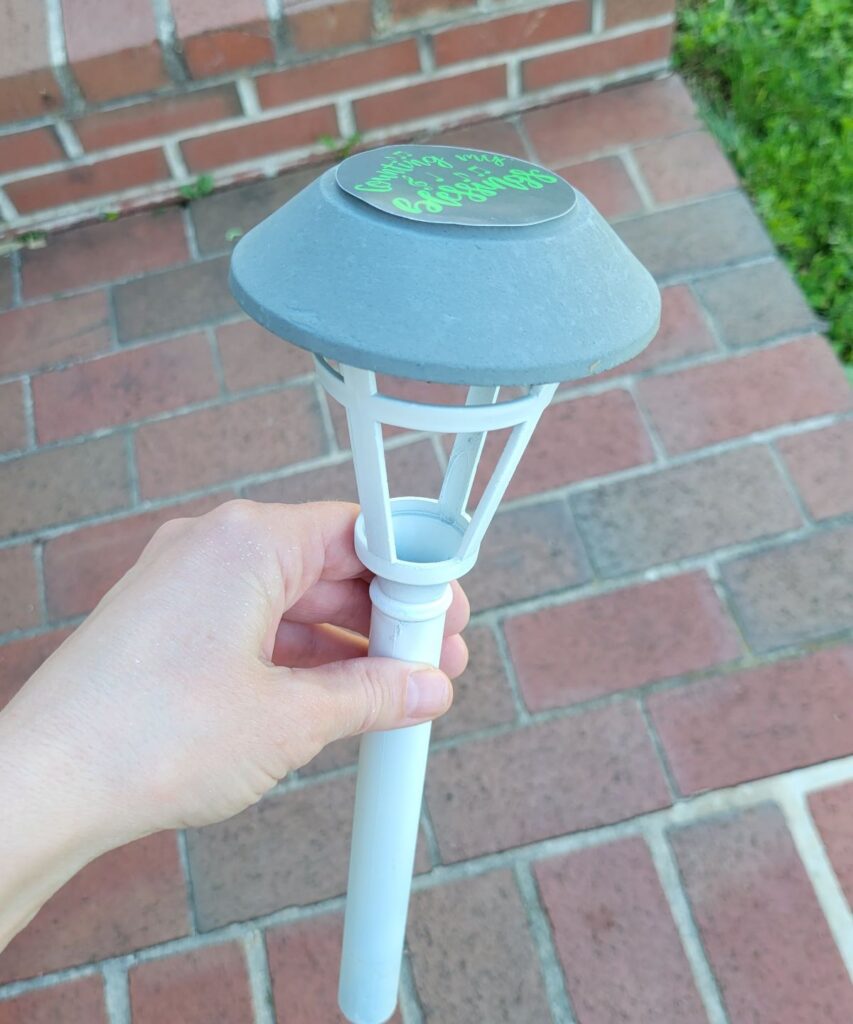
I used a round sticker to protect the solar charging spot.
Then I spray painted them white.
It was so nice that the plastic part came out so I could easily spray paint it.
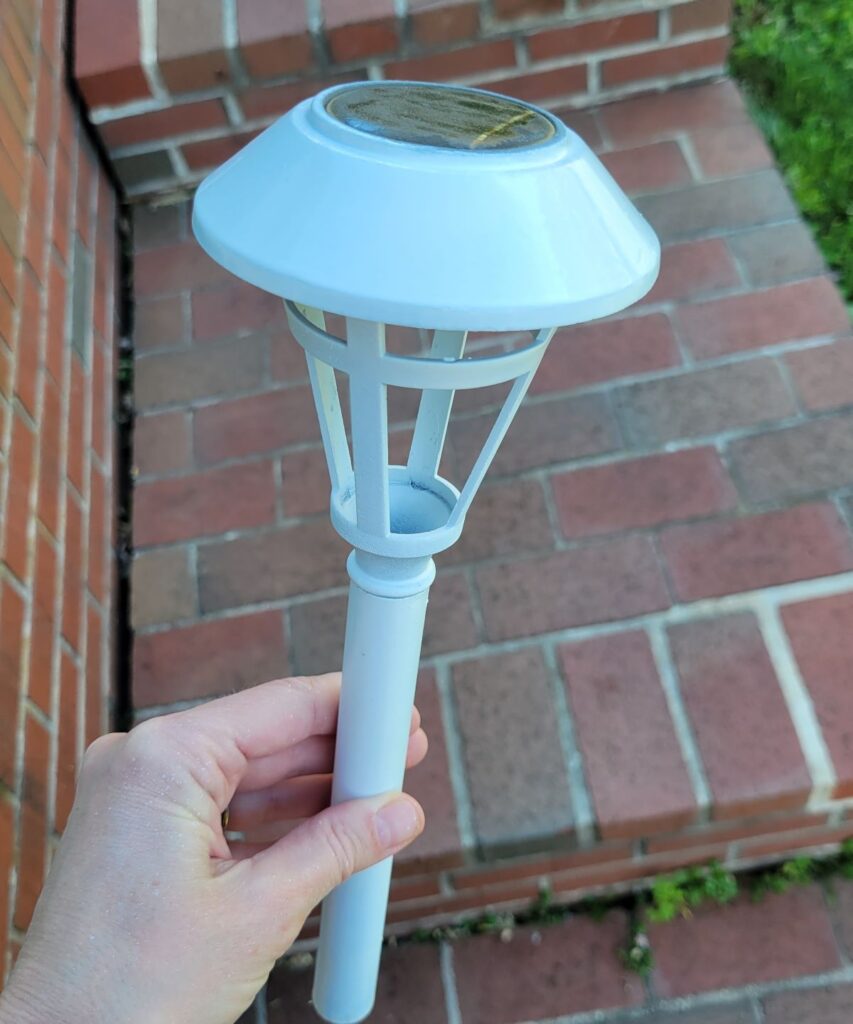
Don’t they look so much better?
The last thing I did was dry brush a little white paint on the post so the wood grain would show a little better.
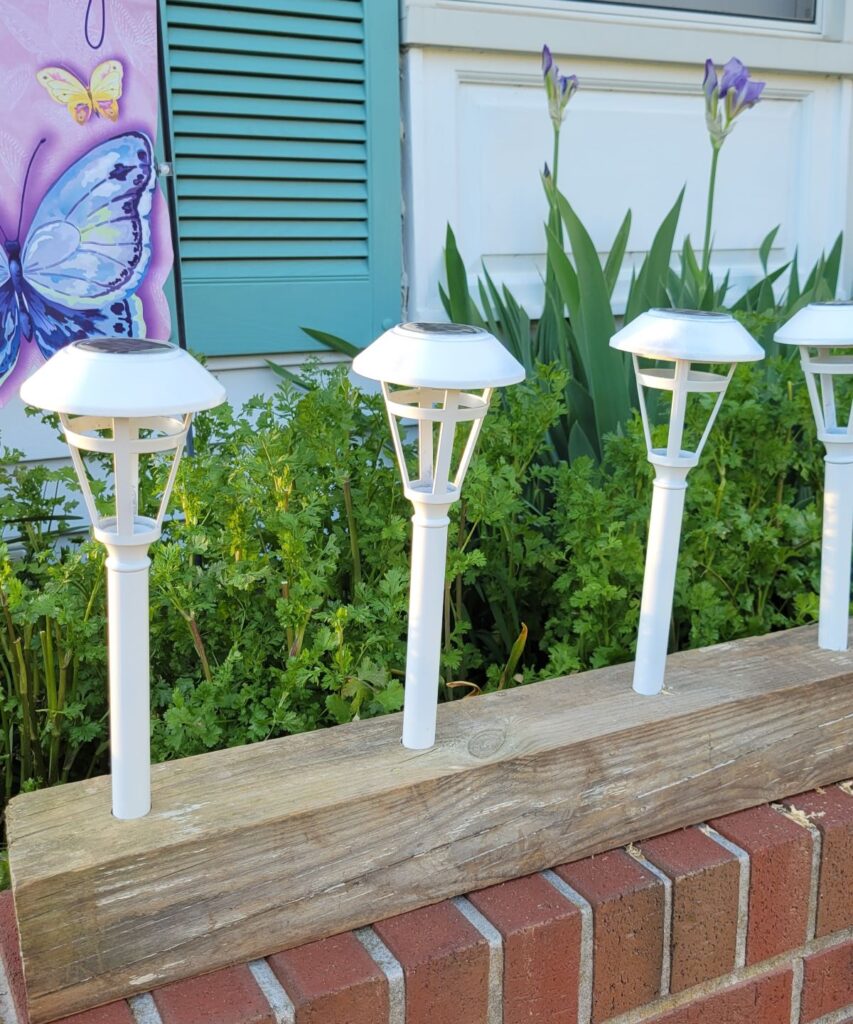
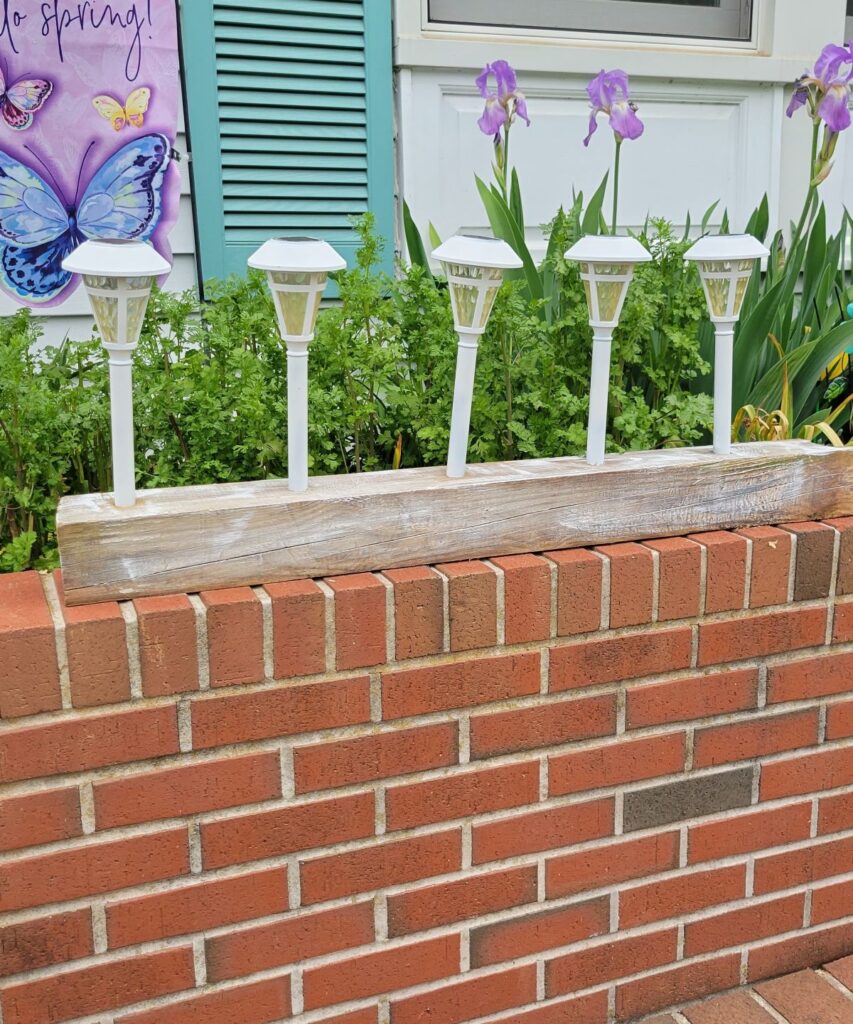
I’m so happy that I can use these pretty lights anywhere I want to now!
More Information
I have used spade bits and hole saw bits. But I really, really liked the bit I used for this project. It was very easy— in fact, it couldn’t have been easier to use! This bit has a fancy name– a Forstner bit. They come in different styles– with serrated edges like a saw, or smooth. The one I used was smooth. We are borrowing a very nice set. It is possible that we won’t need to return it– and I will like that!
My Garden Flag
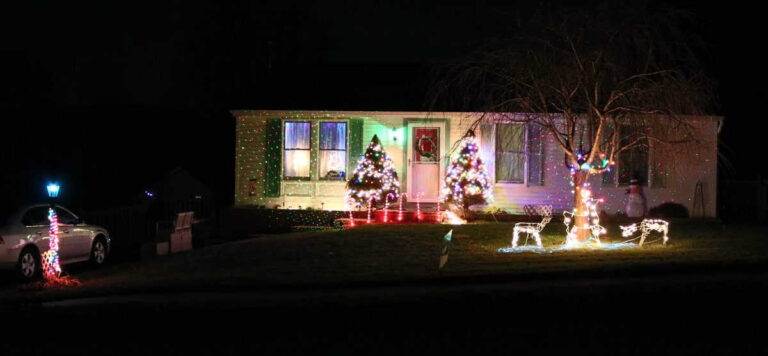
I’m sorry that I don’t remember where I got my butterfly shaped Hello Spring garden flag that you can see in the pictures. I love it! I like finding different garden flags, and I like receiving them as gifts. Perhaps you will find one you like at this link.

And now for everyone else’s fabulous ideas! Shae from Sweet Southern Grace is up next. She always has something stylish to share. Enjoy!


DECORATEANDMOREWITHTIP | PURPLEHUESANDME | PATINAANDPAINT | THEHOUSEHOUSE


PAULASHANDMADESPACE | B4ANDAFTERS | SWEETSOUTHERNGRACE | KSOLYMPICNEST


I am loving this project!!!
I love that you created something so versatile. You are right, would make a perfect centerpiece for an evening outdoor meal. This would fit my home style to a T.
What a good idea. This came out awesome!
I love this challenge and the result! These things always fall over and end up broken so this seems like a practical way to add an interesting lighting fixture plus get more life out of your purchase.
This is such a great idea! The lights can be moved wherever you need them! Thanks for sharing!
I have some old solar lights that are dingy, great idea to give them a new look. Thanks for the tip on the clear fingernail polish, I am going to give it a whirl. Love the idea of the solar light arrangement. Would look so nice on an outdoor coffee table or ledge. You are so creative!
Liberty, you really did some thinking outside the box creating this lovely portable solar lights piece! It’s amazing what you can come up with using a little bit of spray paint and an awesome idea of using solar lights anywhere! Looks great!
Liberty what a great idea. My sister has a wooden deck that takes up most of her backyard and this would be a perfect solution for her. Thanks for the tip about putting clear nail polish on the plastic. Genius! Thanks for sharing!