Painted Tin Ceiling Tiles
Do you ever wonder what you can use instead of a drop ceiling? Do you wish you really had a better drop ceiling alternative? I certainly have!! On more than one occasion, too.
In case you didn’t know– I hate drop ceilings for a living area. They’re fine for basements and schools and hospitals…. but in my house?!


*This post is sponsored by Black Dog Salvage Furniture Paint, and in part by American Tin Ceilings.
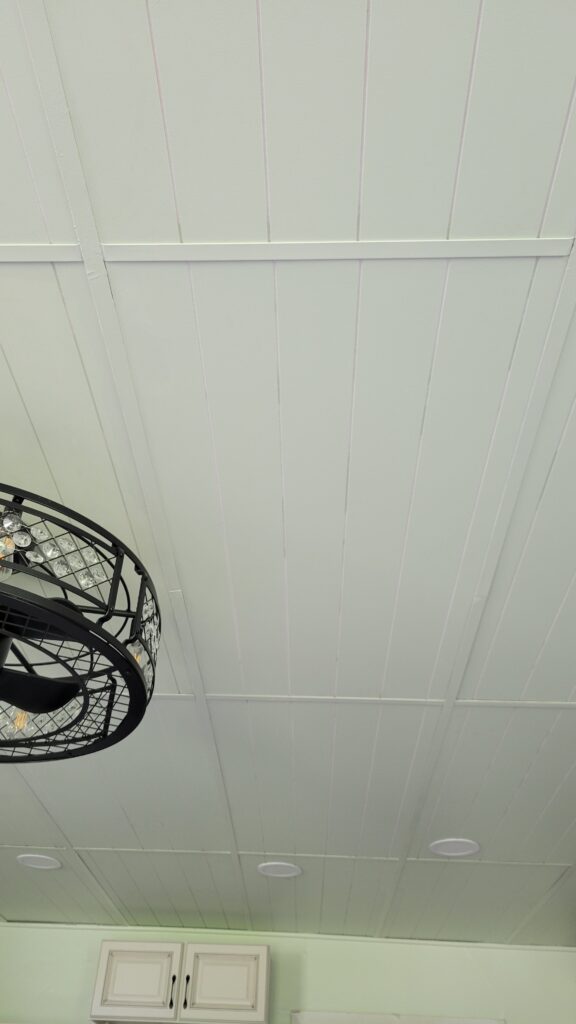
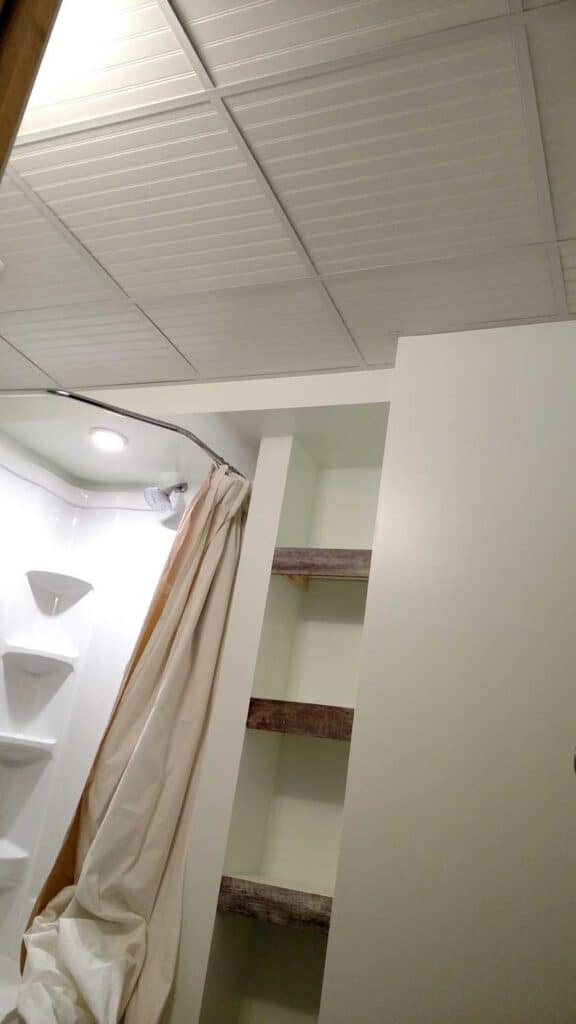
In the past I’ve used a beadboard ceiling in my Basement Bathroom. But after I used it in my entire basement I decided it was too many stripes.
Then we bought a house that was full of drop ceilings in nearly every room. Oh, they were so ugly! I was determined to find something that would not just disguise my drop ceilings, but make them look outstandingly beautiful.
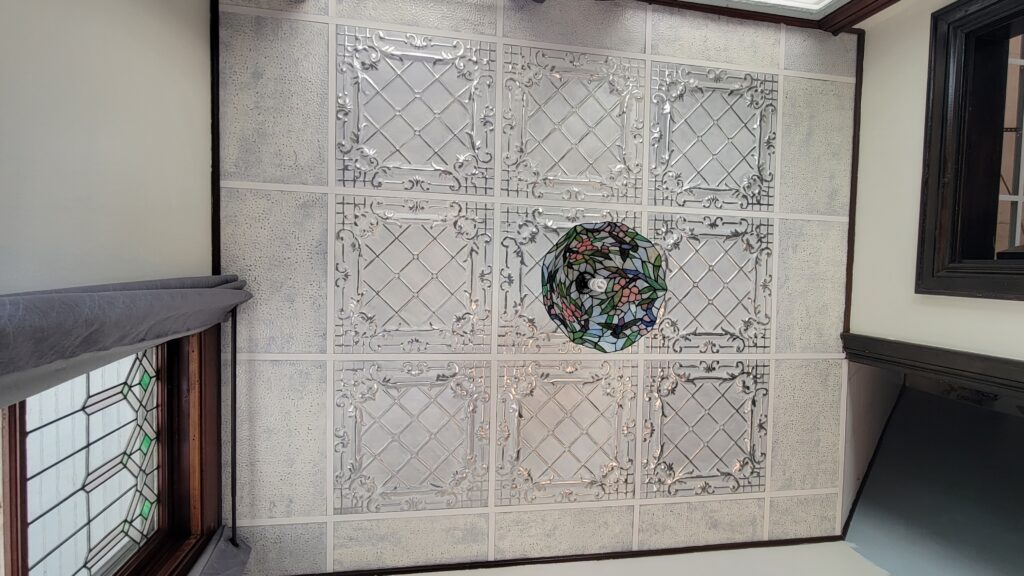
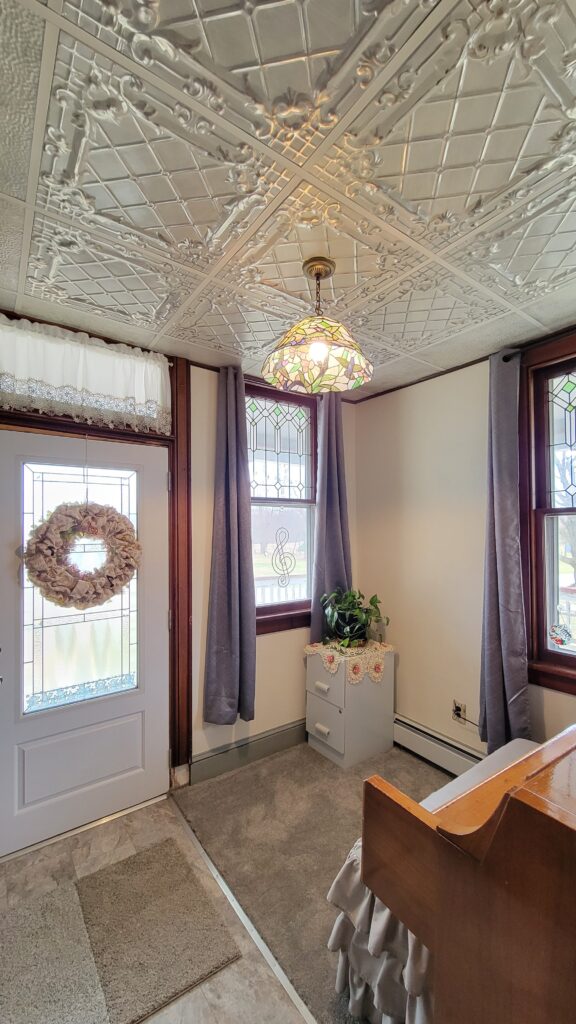
I did this in Two Ways. First, I found gorgeous light fixtures. Secondly, I hand painted unfinished tin ceiling tiles that I bought from American Tin Ceilings. The first ceiling I painted was in a distressed artistic style for my Piano Room. It was a LOT of work– partly because of the thyroid issues I was having.
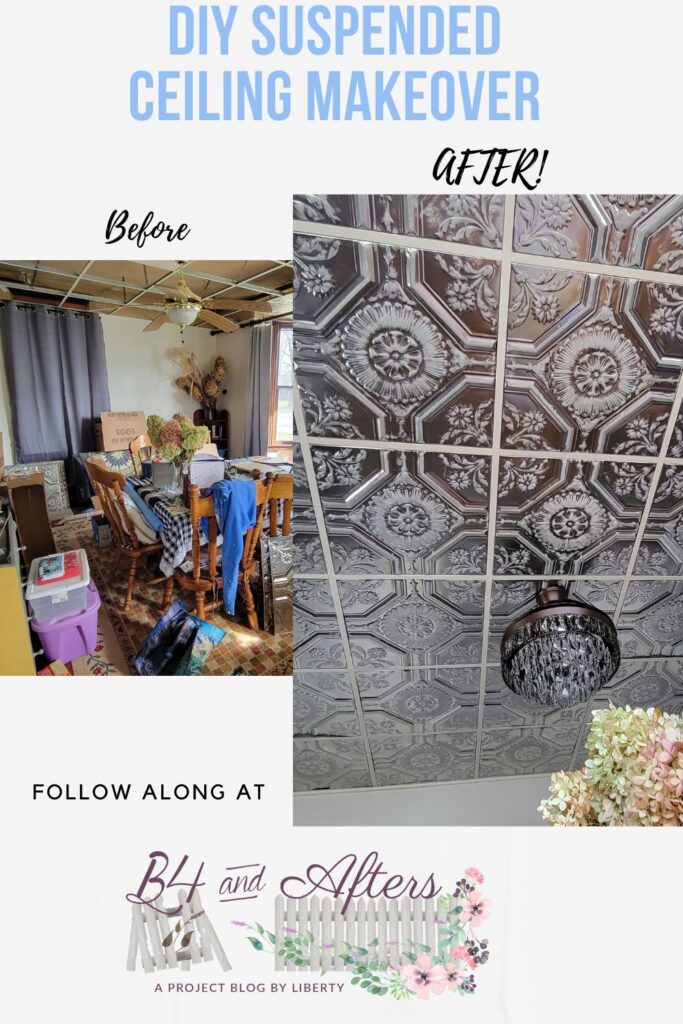
The second one was for my dining room, and that is the one I want to tell you about today. This time I used an easier method. I can hardly wait to tell you how I painted my drop ceiling the easy way!

My Planter has a secret….. of how it manages to stay lightweight!!!!
Pick a Tin Ceiling Tile Pattern
American Tin Ceilings company has a lot of variety to choose from. They also have small samples you can order. I really recommend getting some of those unfinished samples because you can practice painting them to decide on which technique you want to use.
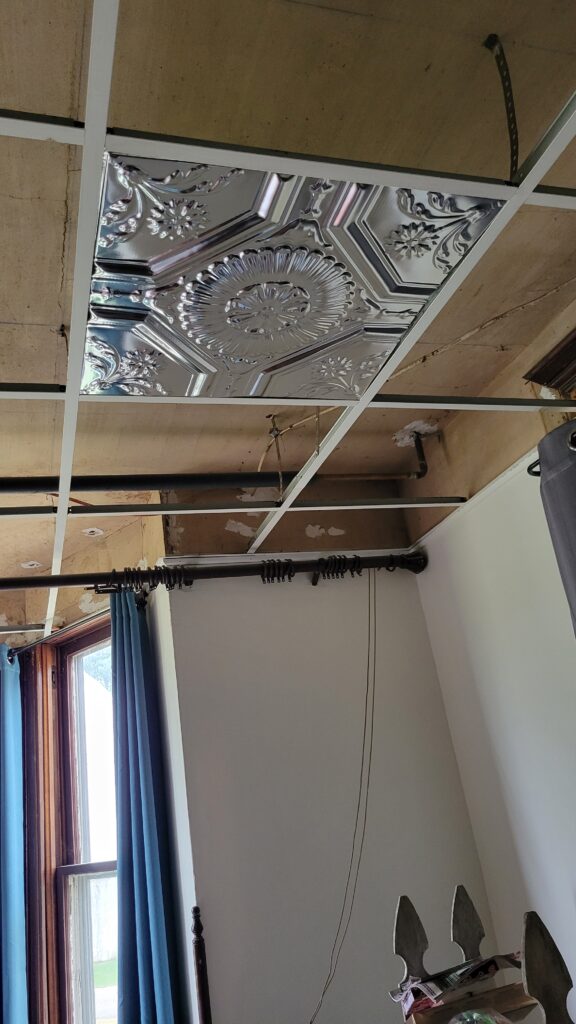
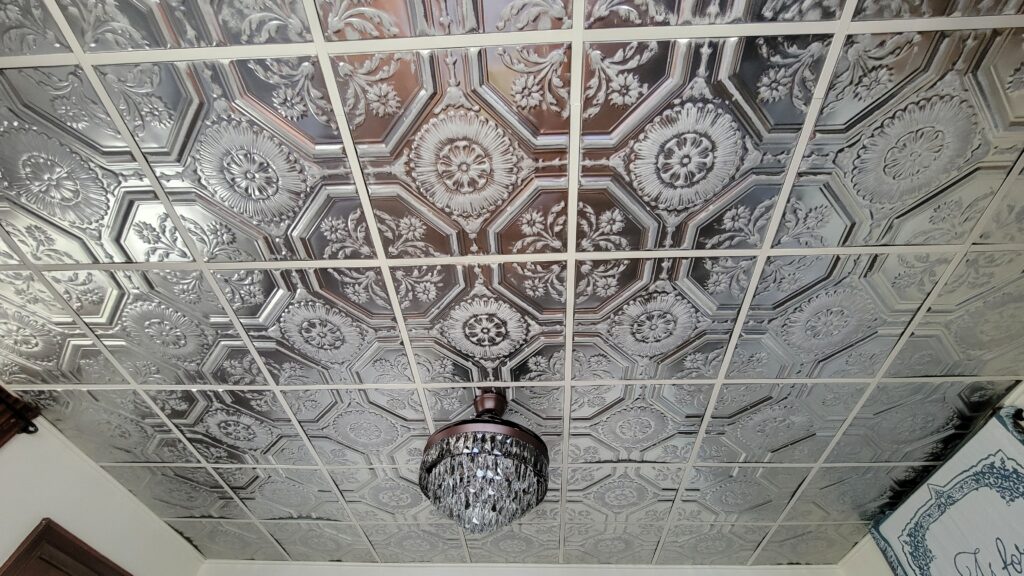
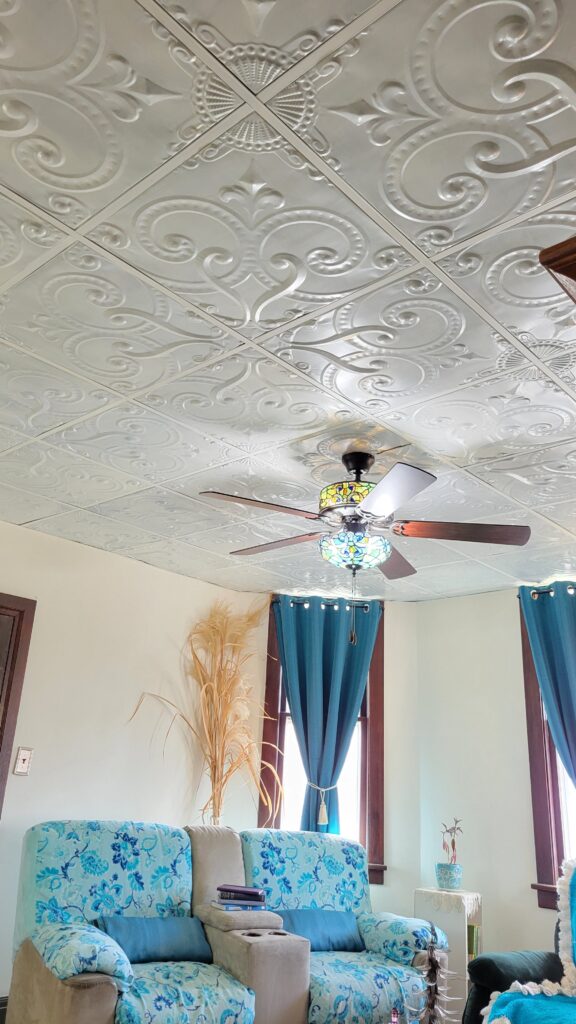
I used a sunflower pattern (#23). It’s neat because when they are put next to each other in the ceiling, they make an octagon pattern.
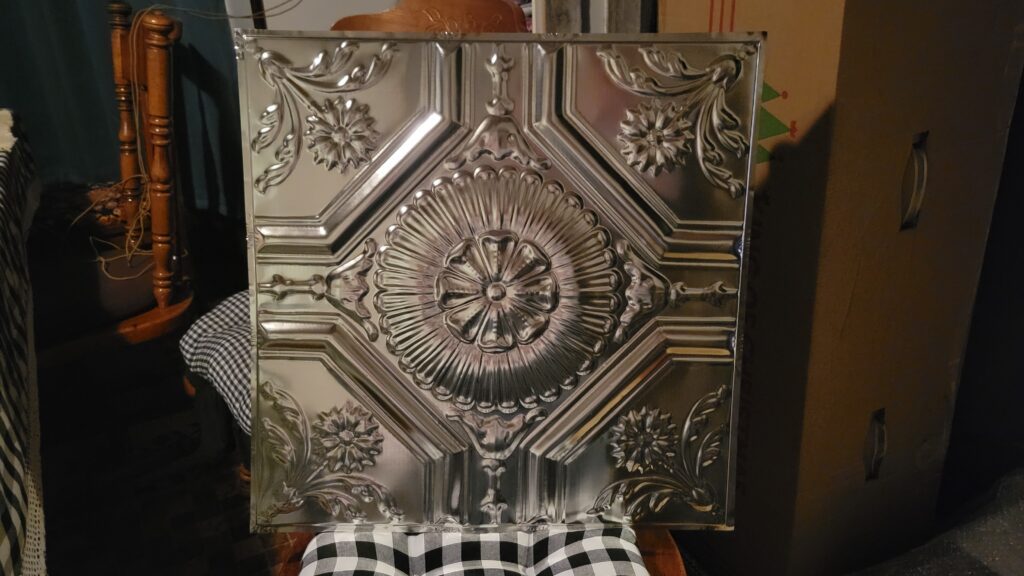
Before I painted them, I put one up in the ceiling so that I could try to picture how it was going to look.
Choose the Paint
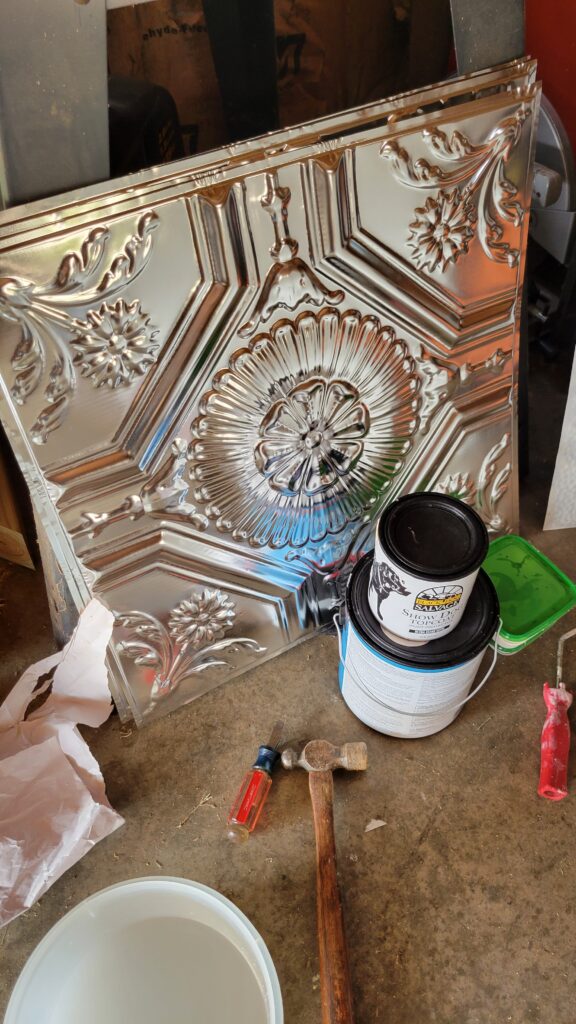
The tin manufacturer recommends either an oil based paint, or one recommended for tin. Black Dog Salvage paint works very well, and it’s all I needed! It’s furniture paint, so you will need to seal it.
When you’re testing your technique, you can rub off this paint if you don’t like it, as long as you rub it off the same day. The longer it sits, the more it will adhere. So that is a good thing that will cause a durable finish after you put on the clear coat.
Use my code B420 to get 20% off of Black Dog Salvage paint, if you want to try it.
Choose a Painting Technique
On the piano room ceiling, I had rubbed off the high spots to make a distressed look. I used a different technique for these hand painted tin ceiling tiles. Before painting the fronts, I finished the backs with a clear coat of polyeurathane. [I used a water based kind for floors that I had bought and hadn’t used.]
Brush the Paint
or….
Roll the Paint
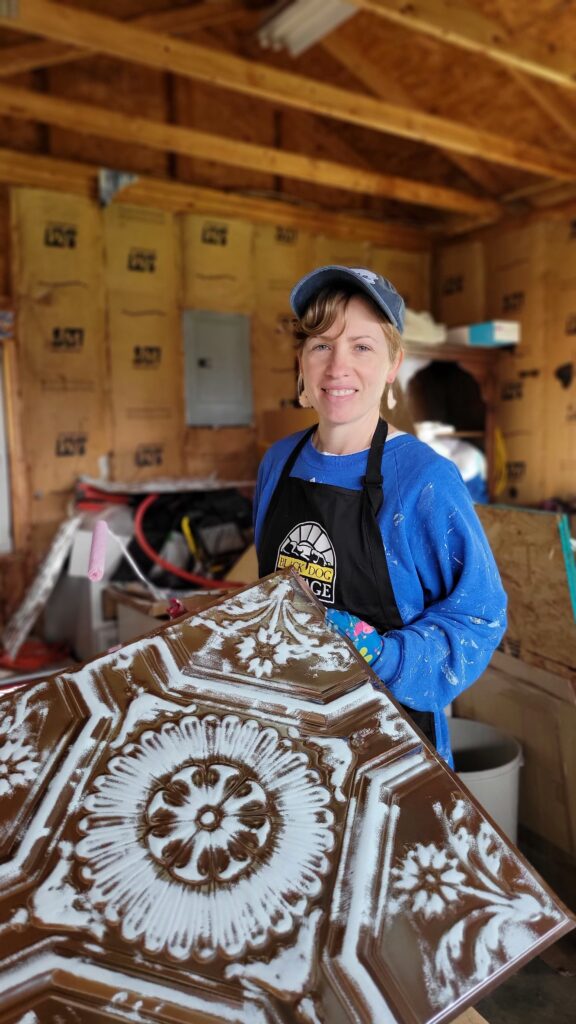
I used a special purple velour roller by Whizz to highlight the high spots with Black Dog Salvage Furniture Paint. (I will list everything I used at the end of this post.)
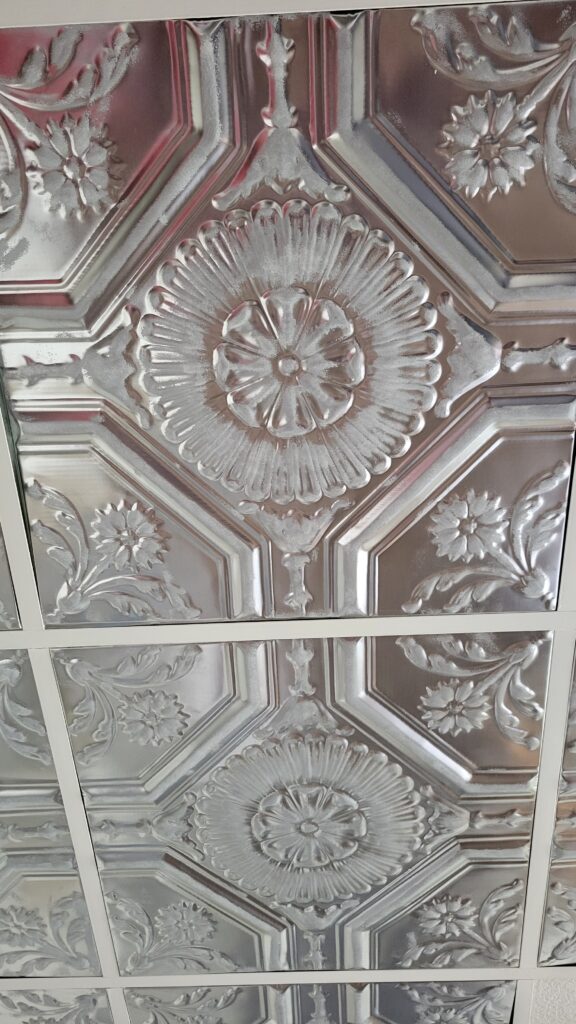
Put on a topcoat
This step may be optional, depending on which kind of paint or sealer you are using. On the backs I used only a sealer. On the fronts after I rolled the high spots, I brushed on Black Dog Salvage Show Dog satin clear finish in two coats. This dulled the shininess of the unfinished tin— which is what I wanted because I didn’t want the ceiling to look like chrome.
To see how I painted the tin ceiling tiles, the best way to describe it is to show you in this video.
Install the tiles
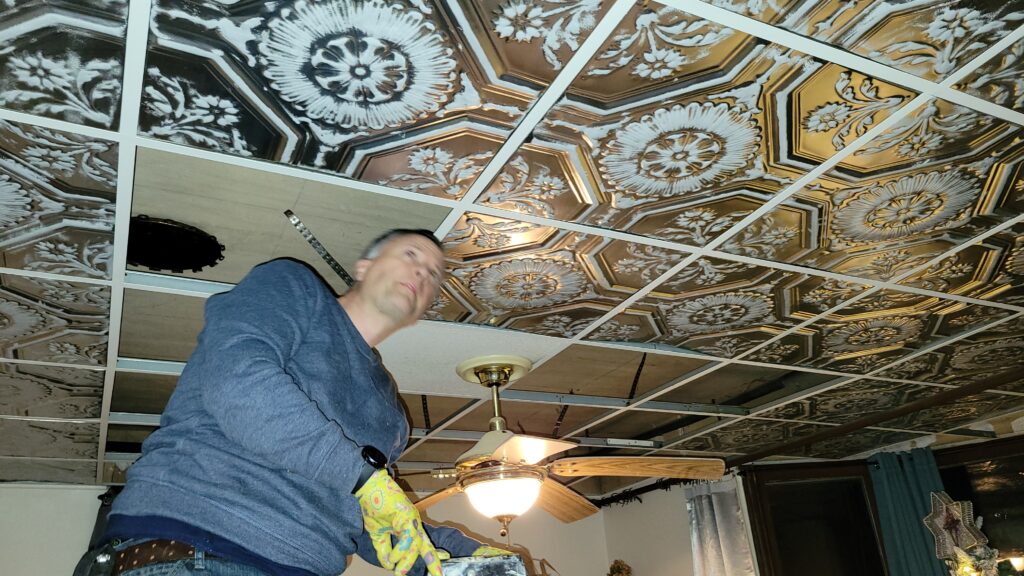
Whether you paint your own tiles, or order finished tiles, you will still need to get them installed. They will need trimmed wherever there is an odd size. Then they will need to be re-bent to sit down in the ceiling grid. Again, the video shows these details.
Well, after I had them all painted, we installed them. Remember how I said my plan was two fold? I had purchased a new light, but as you can see, the old one is still there, and boy is it ugly!! I could hardly wait to get the new one installed!!!
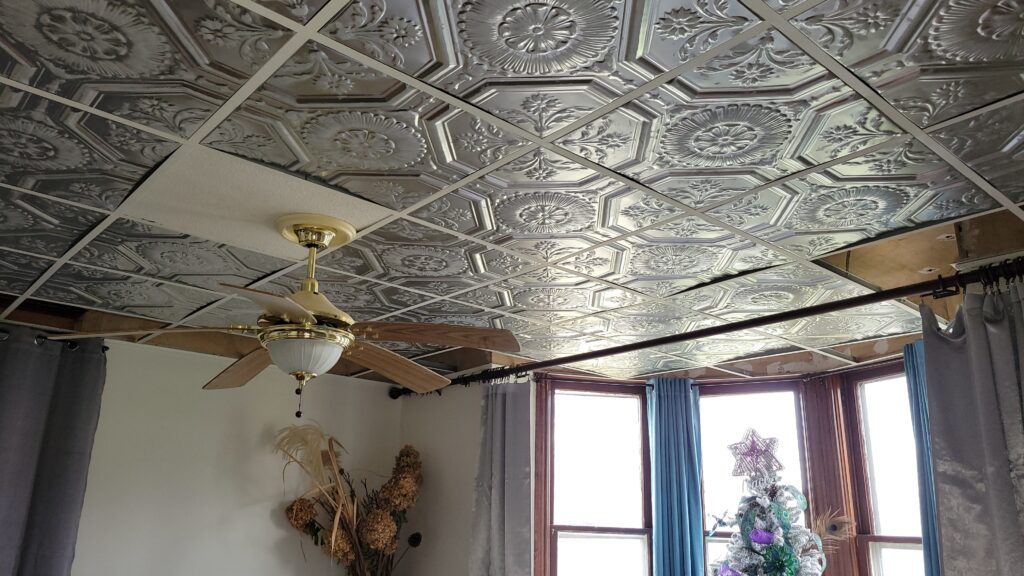
Drop Ceiling Ideas
Christmas came, and I decorated my tree in Peacock Colors.
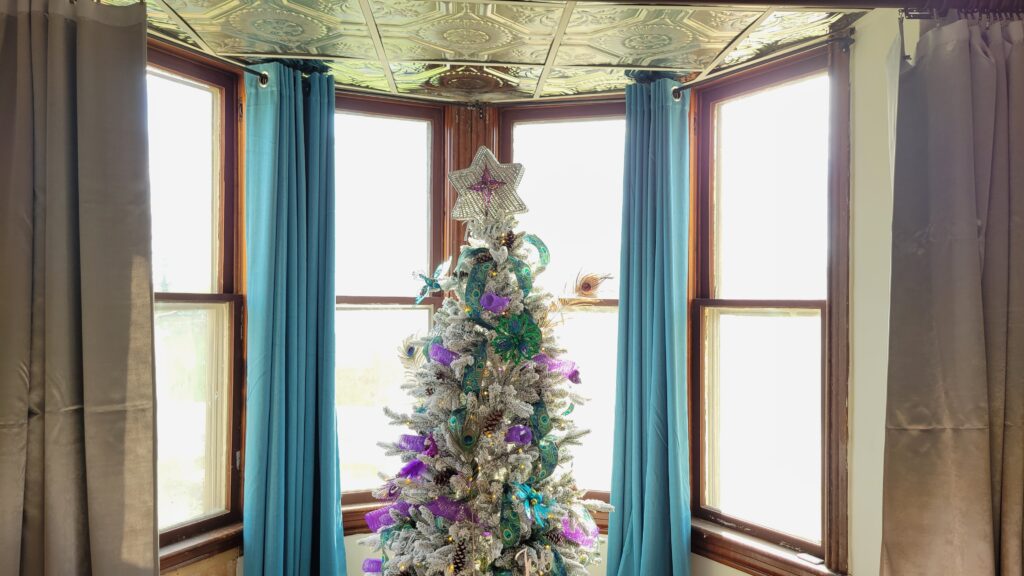
Then I took it apart so my daughter could decorate it with our traditional ornaments. I loved how the lights softly glowed on the tin ceiling!! I didn’t know that would happen. It really helps to brighten up the room.
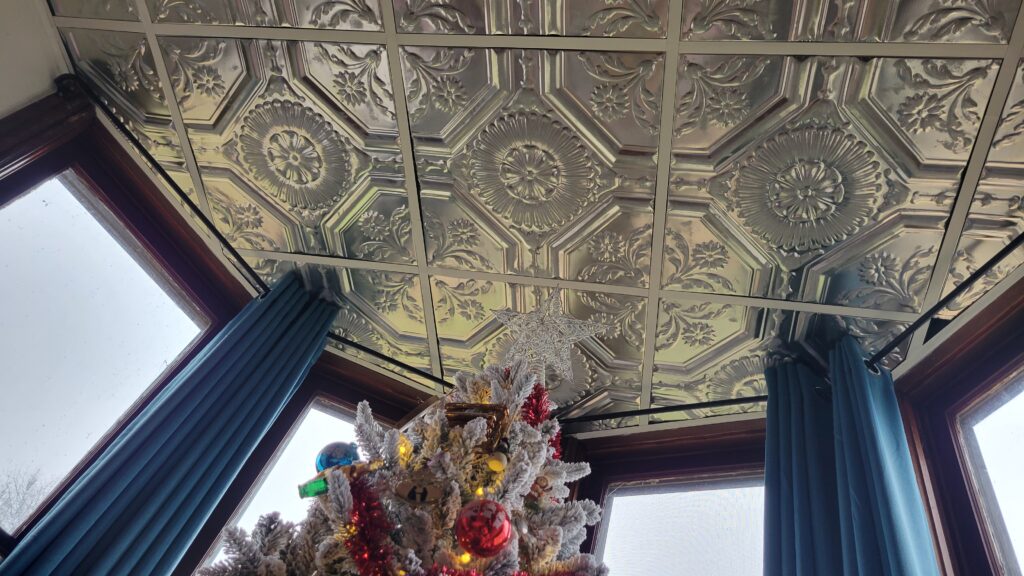
The dining room doubles for a waiting room for my piano parents during piano lessons for their child. So I added castors to my table to make it easy to roll around at least once a week.
This is how the dining room looked as a waiting room. But then….. the new light got installed…..
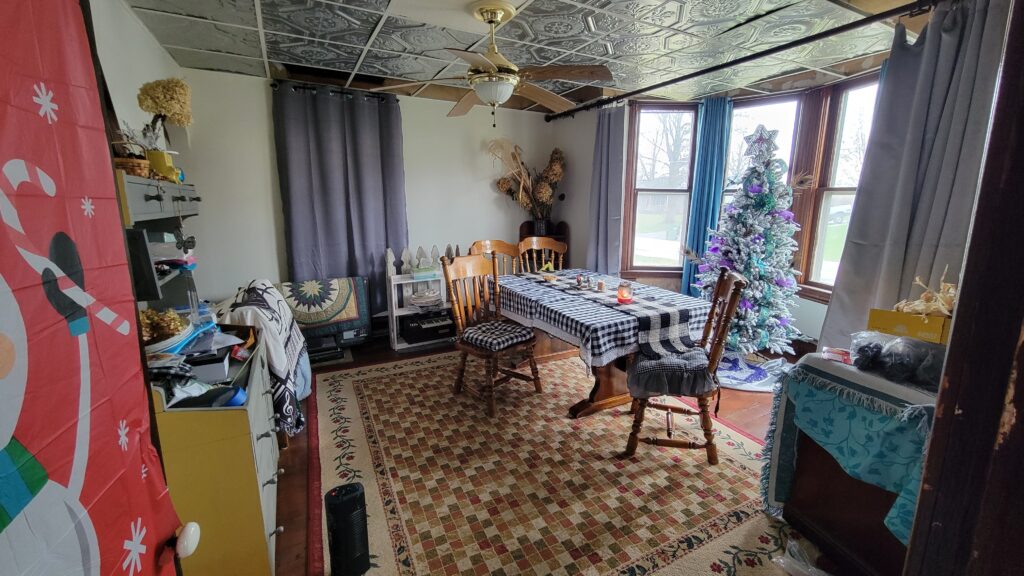
And Christmas was put away….
Install a new light
Believe me– you will want a new light. When you are deciding which pattern to put in your ceiling, remember to coordinate it with your light fixture. In my case, I bought the light fixture first. But you could do it either way. I recommend choosing them together if at all possible.
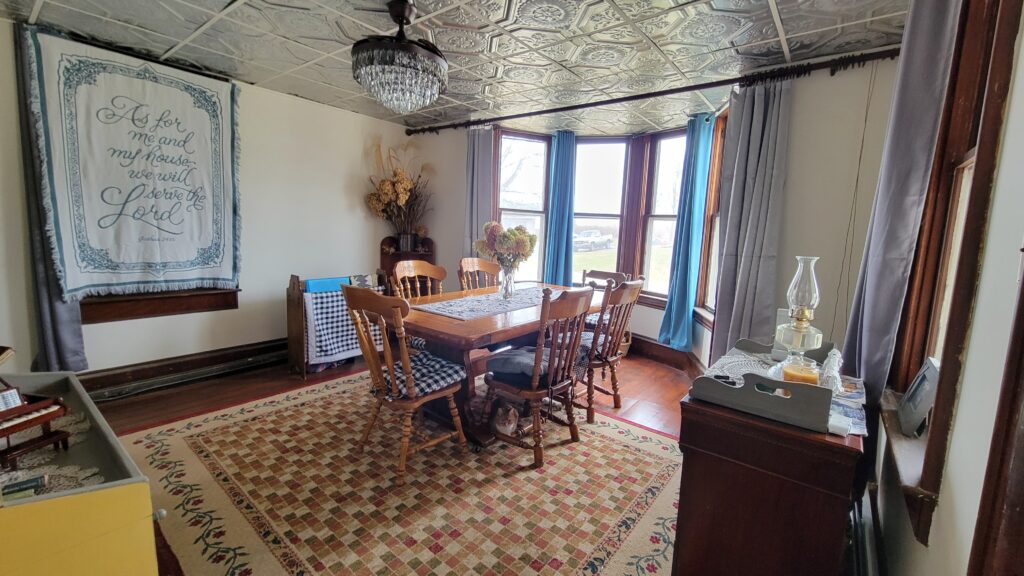
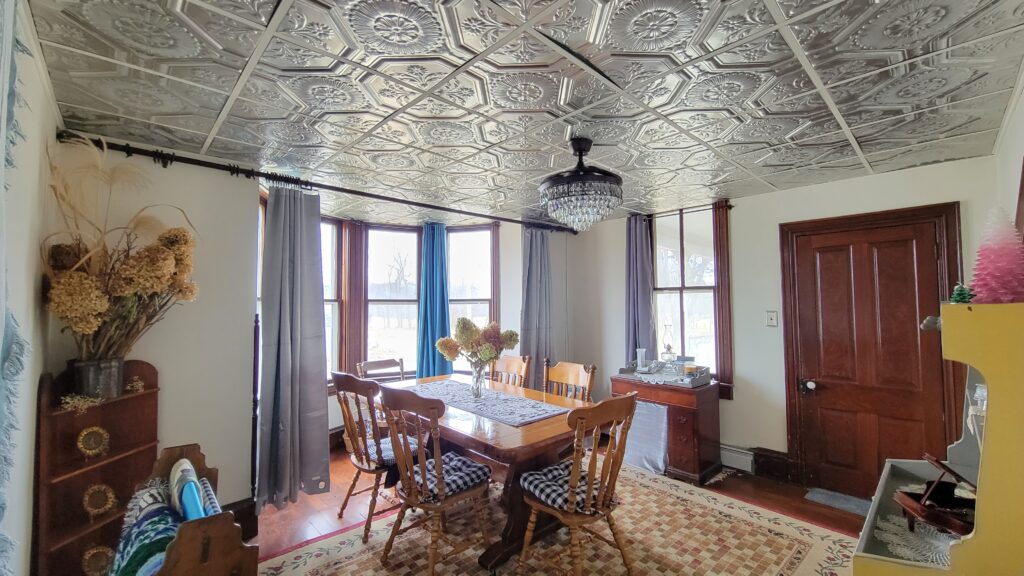
And now this room feels like a million dollars!
Remember how I said I hated drop ceilings?…… well….
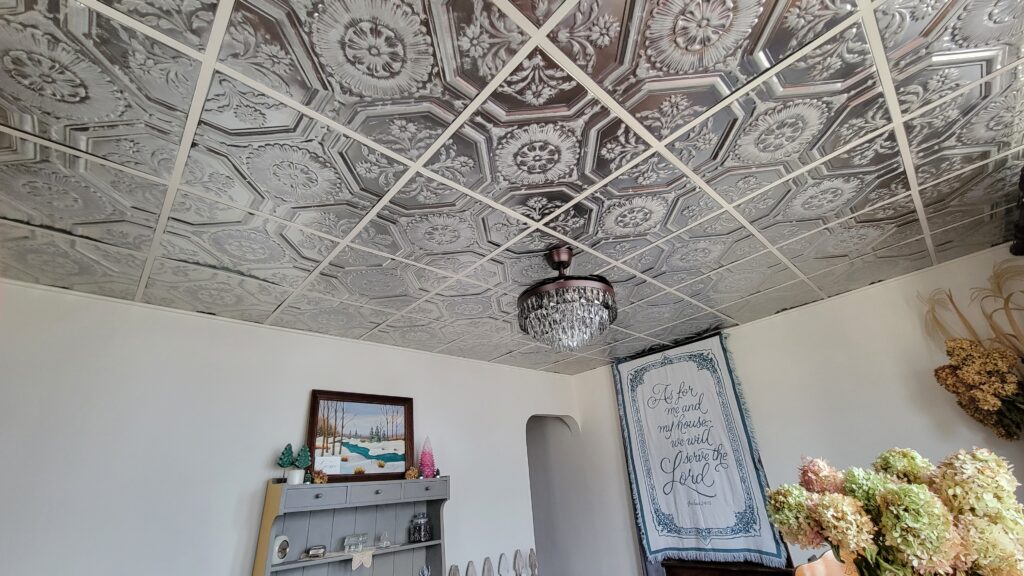
If you can make a drop ceiling look as gorgeous as this, then I guess I don’t mind.
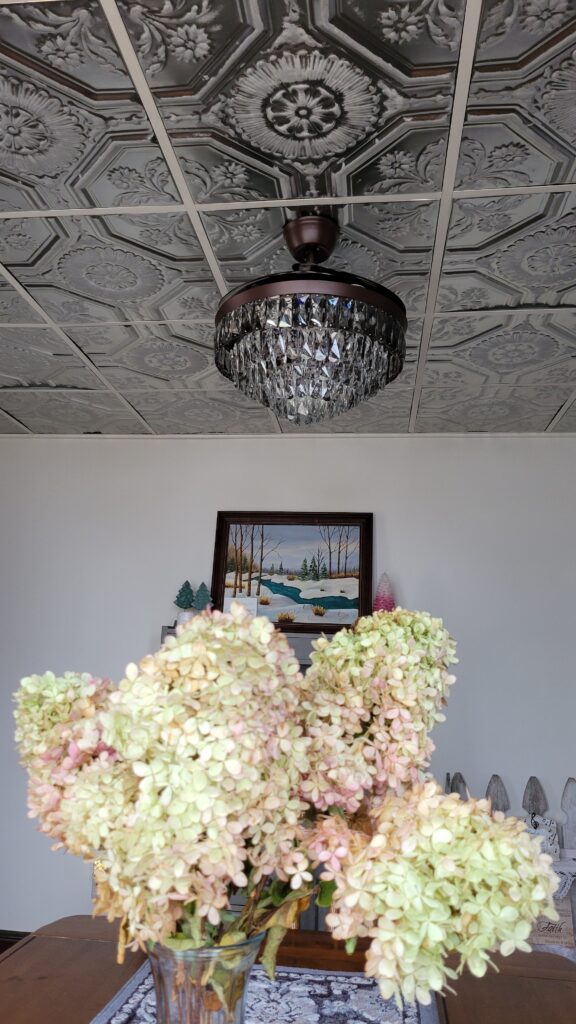
Having it all finished, with the new light (which happens to be a retractable fandelier)…. makes such a big difference!
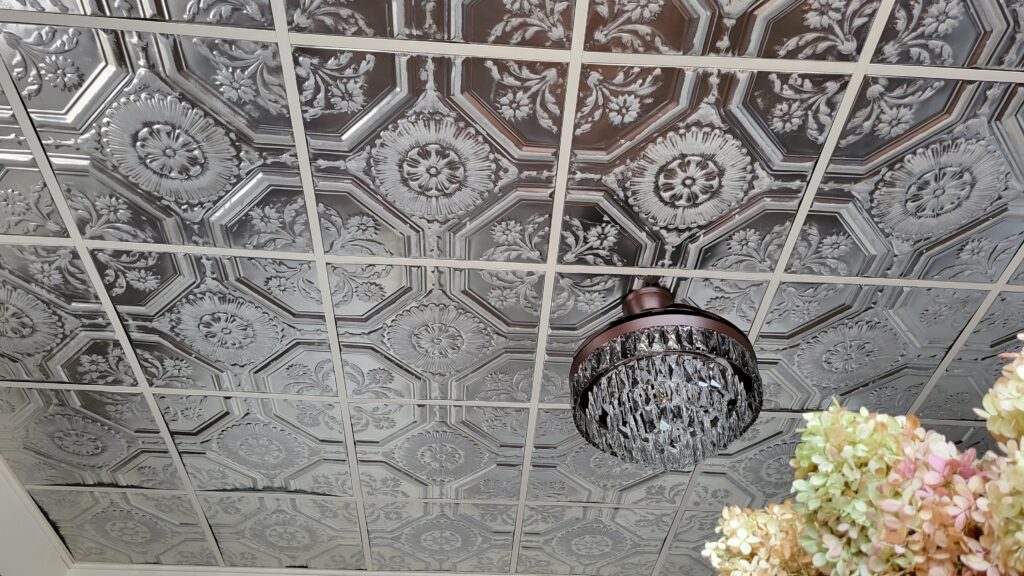
Have you ever thought of putting painted tin ceiling tiles in your drop ceiling? What other drop ceiling alternatives have you tried?
(By the way– I’ve replaced that small hutch with a bigger one that I painted!)
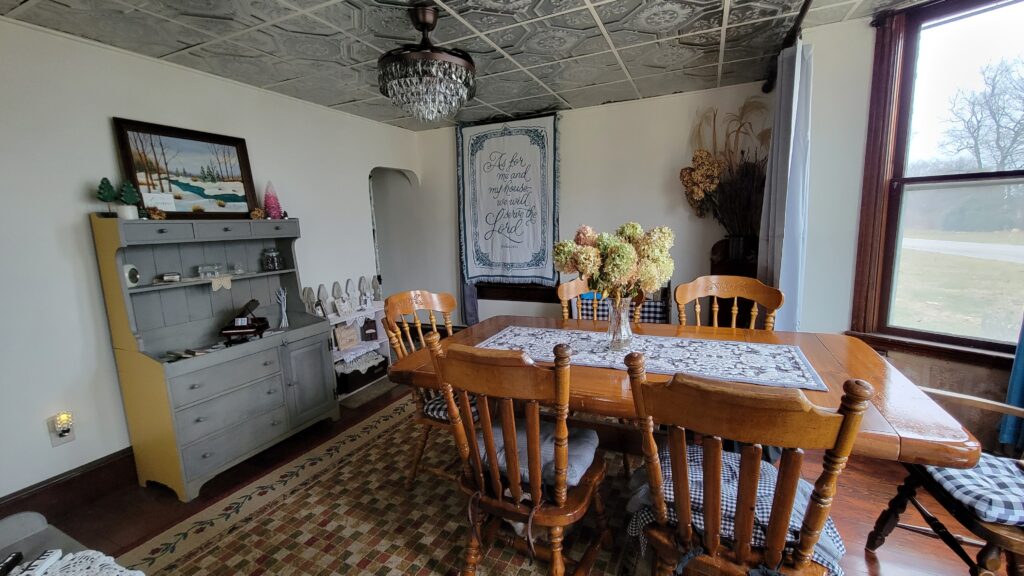
I’m so glad that I rolled the paint on these tin tiles. It was so much easier than brushing the paint on. And the Whizz velour roller was perfect for the job.
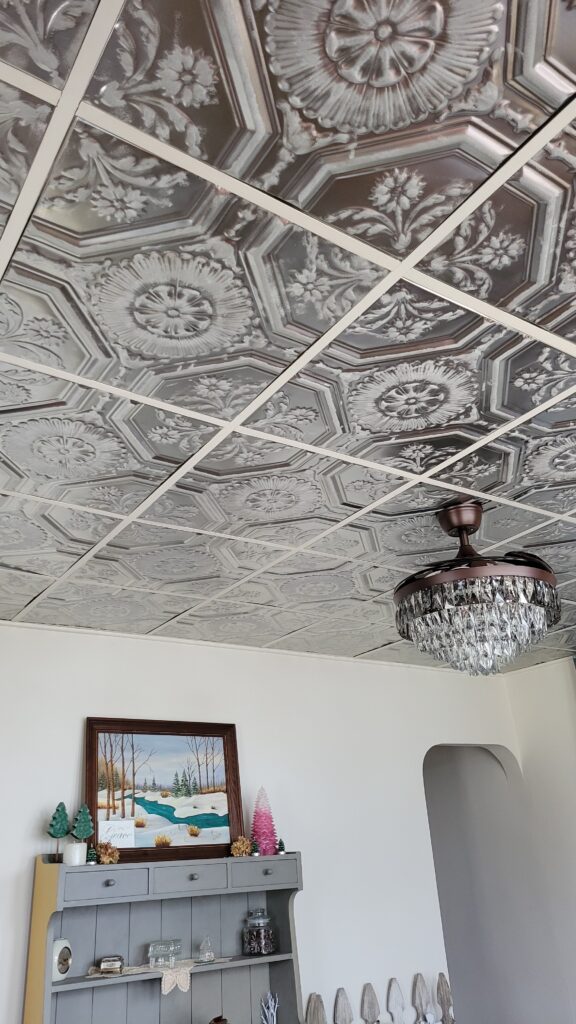
By the way, you know how I like to get stuff for free curbside? I only bought two of the pieces of furniture in my dining room. I bought my sewing machine cabinet for $2 from an auction, and I bought the corner shelf about 20 years ago. It was also from an auction but I didn’t get a good deal on it because 1.) it was exactly what I was looking for for my space at the time, and 2.) I couldn’t stay and had to leave my highest bid— so of course they just took my highest bid instead of bidding for me like I expected.
Maybe I will upgrade my table someday– but I really like it! So maybe I will just paint it….. or put a tablecloth on it. That’s what I usually do– who cares what your table looks like if it always has a tablecloth on it?!

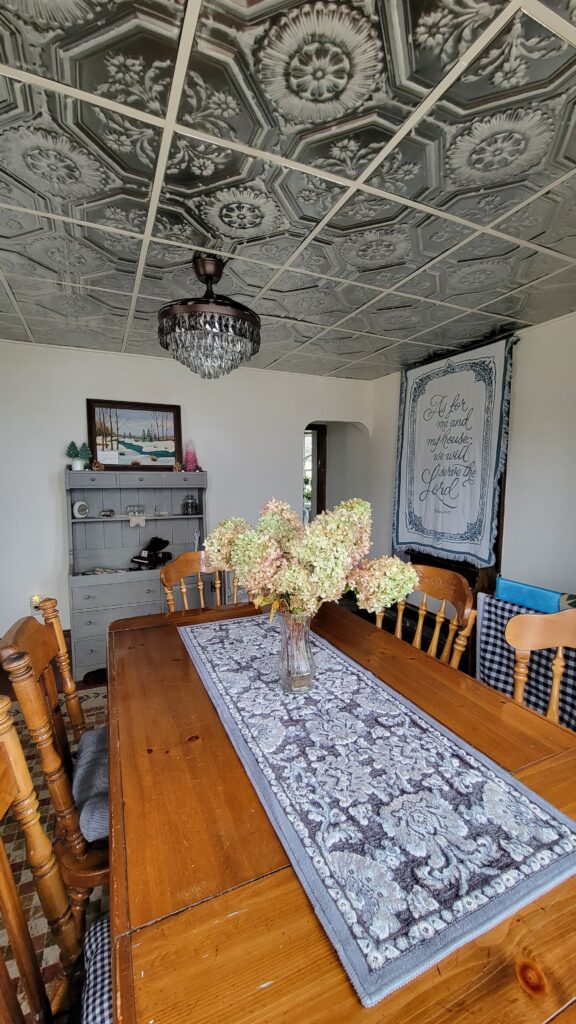
Even though the painting is a winter scene, I think I am going to leave it up year round.
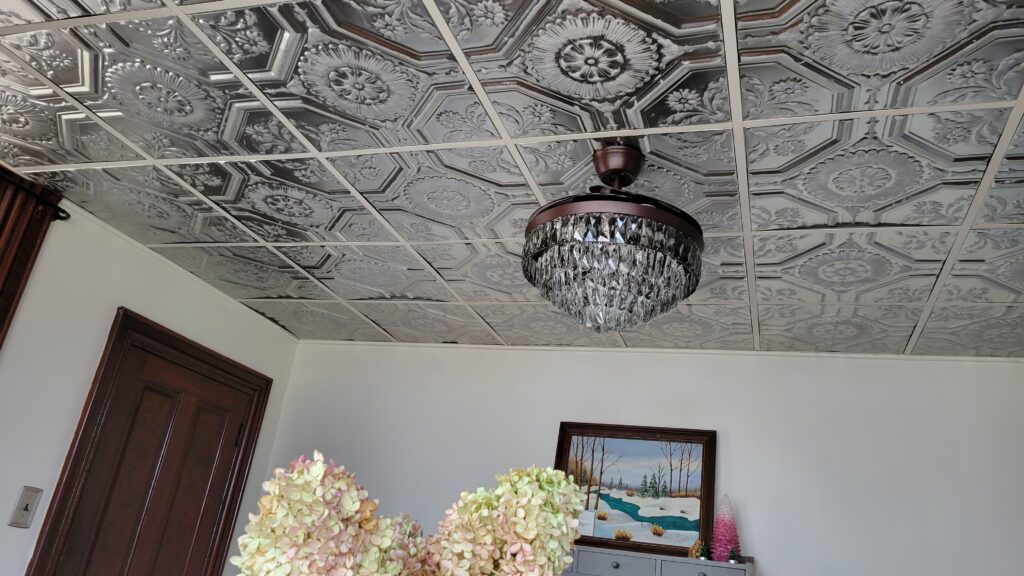
The chandelier was not very expensive. You assemble it as you install it– I put all of the crystals on one by one. I can share that process with you later if you are interested.
Dining
Angle Curtains
Room
Castors on Table
Projects
Painted Ceilings
This one is my favorite.
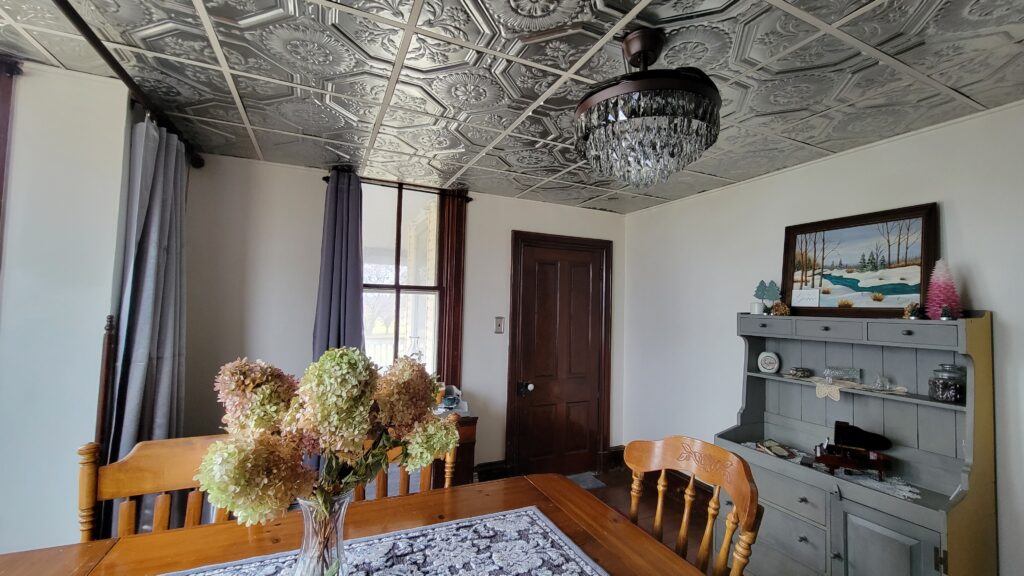
I painted the hutch— (but was disappointed in how the finish turned out….shh.) I wish I had had Black Dog Salvage furniture paint to work with back then! So check out the new hutch that I painted that has replaced this one!
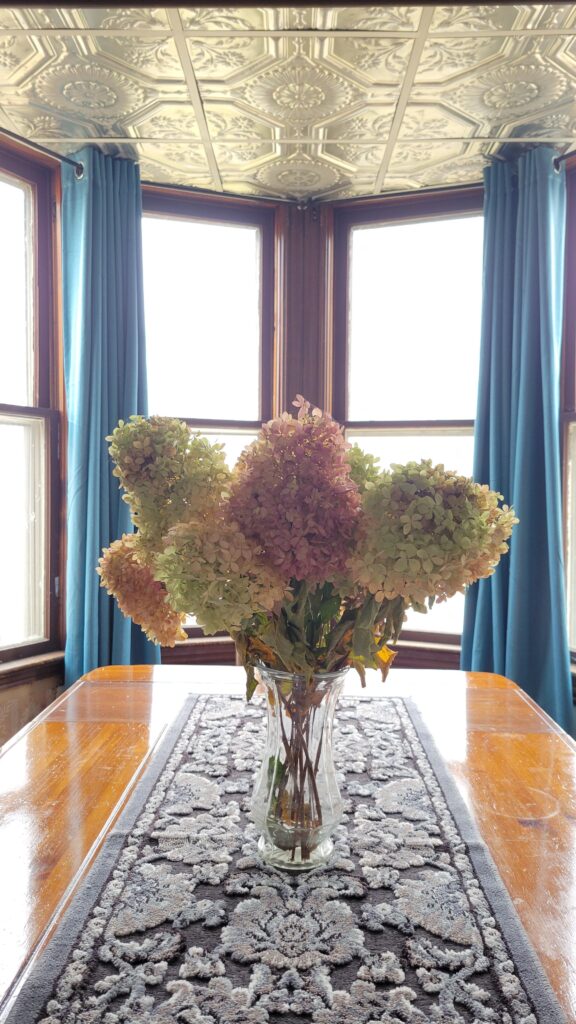
The flowers in the vase are dried hydrangeas. They just dried like that in the water; then I dumped the water out. So easy!
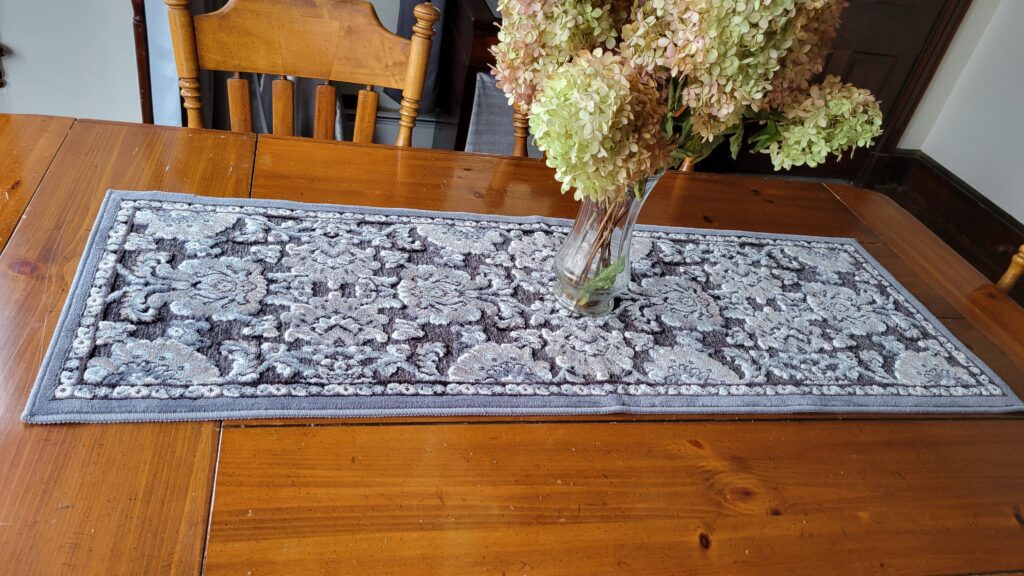
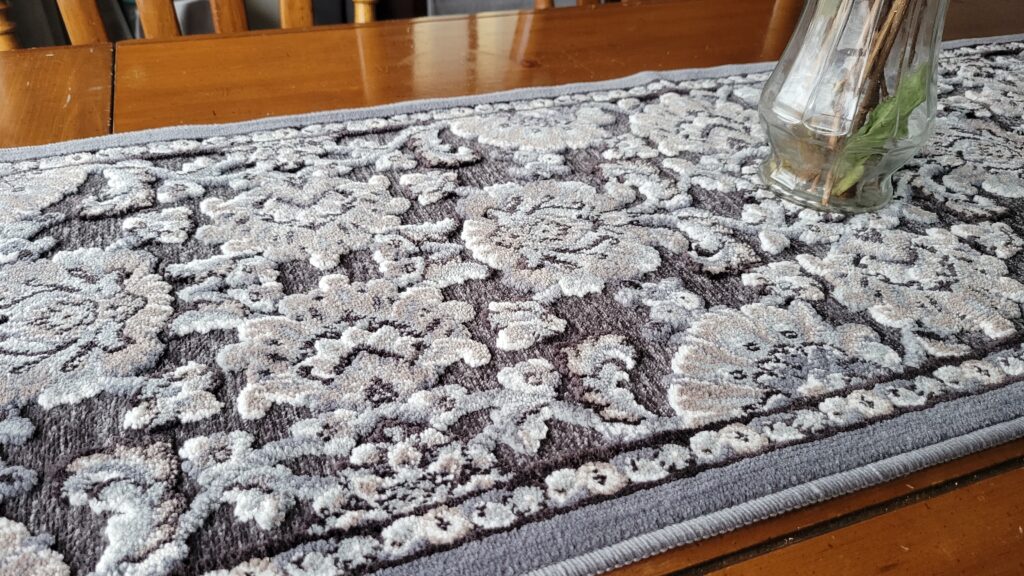
Do you like the table runner that I used? Guess what it is?…… a new carpet runner! I don’t want to put it on the floor and ruin it! : ) It has raised areas and it is so soft.
I wish you could see my ceiling in person and just feel the richness of it. Be sure to watch the video because that’s the closest to in person that I can get! You will also be able to see the fan in action.
Materials I Used to Paint Tin Ceiling Tiles the Easy Way
Use the links for more details!
- American Tin Ceilings pattern #23, unfinished or pattern of your choice. Order a sample to practice on first.
- Black Dog Salvage Furniture Paint in Clean Canvas, Dog Bone, and Baby I’m Amaized (use code B420 for 20% off!!)
- BDSFP smooth Clear Satin finish in Show Dog (use code B420 for 20% off!!)
- Whizz purple velour roller (you’ll need the frame/ handle part separately, this is just the roller part)
- Floor clear sealer (for the backs)
- The retractable Fandelier








I love your tile ceiling, I have plans to do the same. What is the purpose for painting the back side of the tin tiles if they’re not gonna be seen?
Thank you Laura! Because they can rust if they aren’t sealed.
You worked so hard on those ceilings! A true labor of love! It must be so satisfying every time you look at them to know you DID it!
Yes, it is extremely satisfying. Yesterday when trying to style my living room I realized…. I need Plants again. It feels like Progress when I realized that I’m ready to pay attention to houseplants again! 😄😄
Gorgeous!!!!
Thank you Debbie!
Looks beautiful!! Love the tile and the new light!
Thank you Cheryl!