
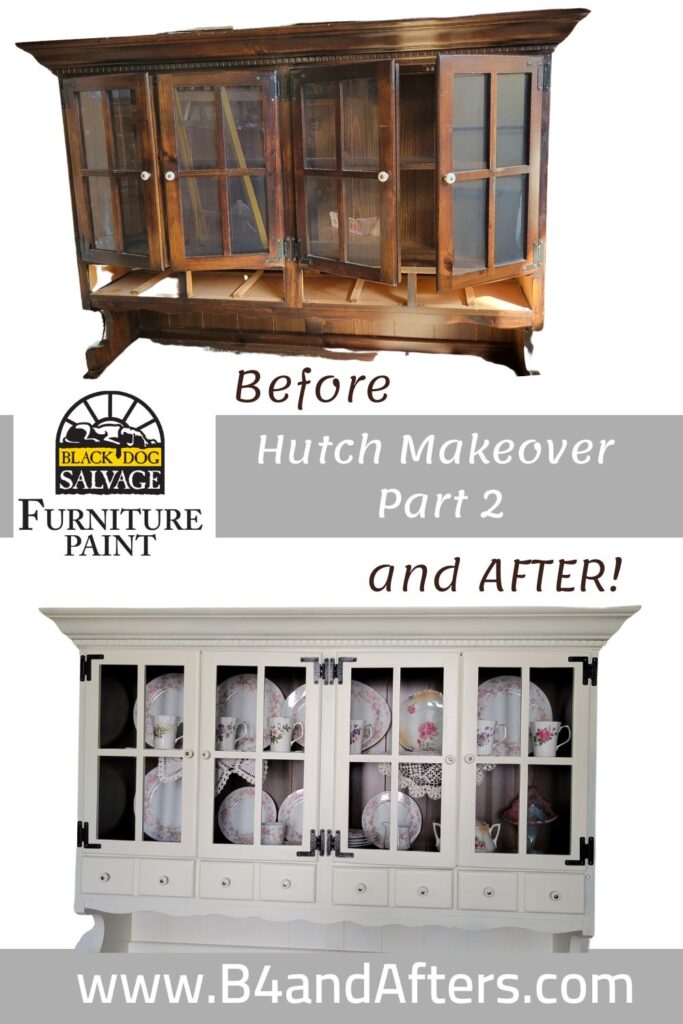
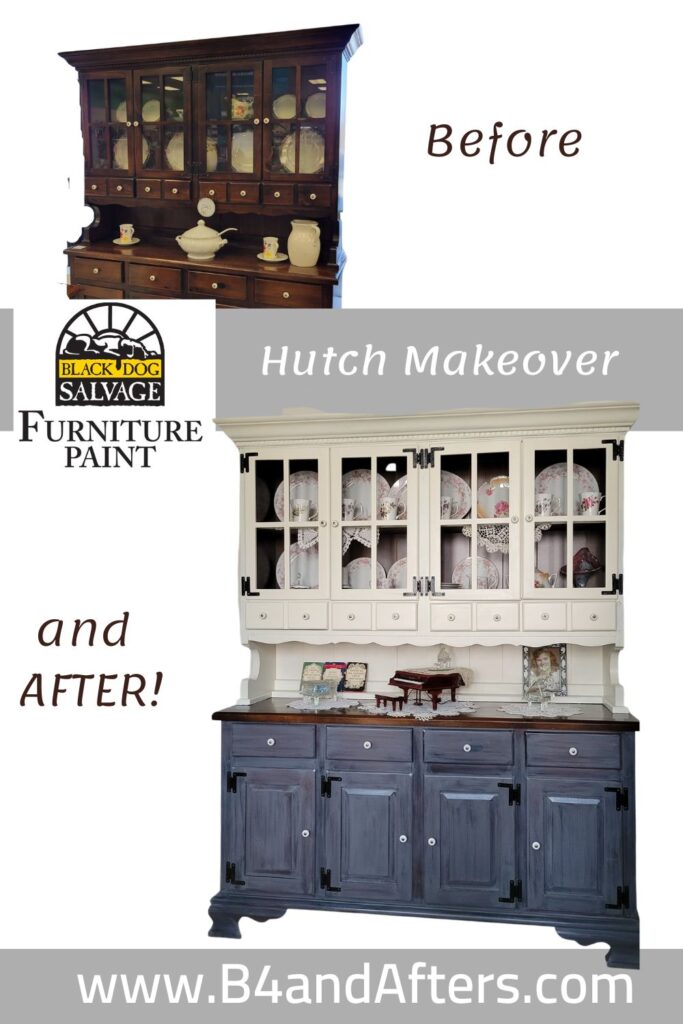
How I Painted a Hutch with Black Dog Salvage Paint Part 2
*This post was generously sponsored by Black Dog Salvage Furniture Paint.
Have I ever told you how Black Dog Salvage Paint began? Black Dog Salvage is an architectural salvage company in Roanoke, VA. You may recognize them from their tv show, Salvage Dawgs (and hence why you might sometimes see this paint referred to as black dawg salvage paint).
They do custom builds for people, and Swooz needed a paint that would stick to anything, whether it was metal, wood, bare wood, painted wood, old wood, plastic,– you get the picture! So after loads of formulating and testing, Black Dog Salvage Furniture Paint began.
I have not been to their store, but I first heard about it from one of my blogger friends who lived near there and had been there with her own black dog, Sherman. (Paula has since passed away from cancer.) I hope to be able to visit someday.
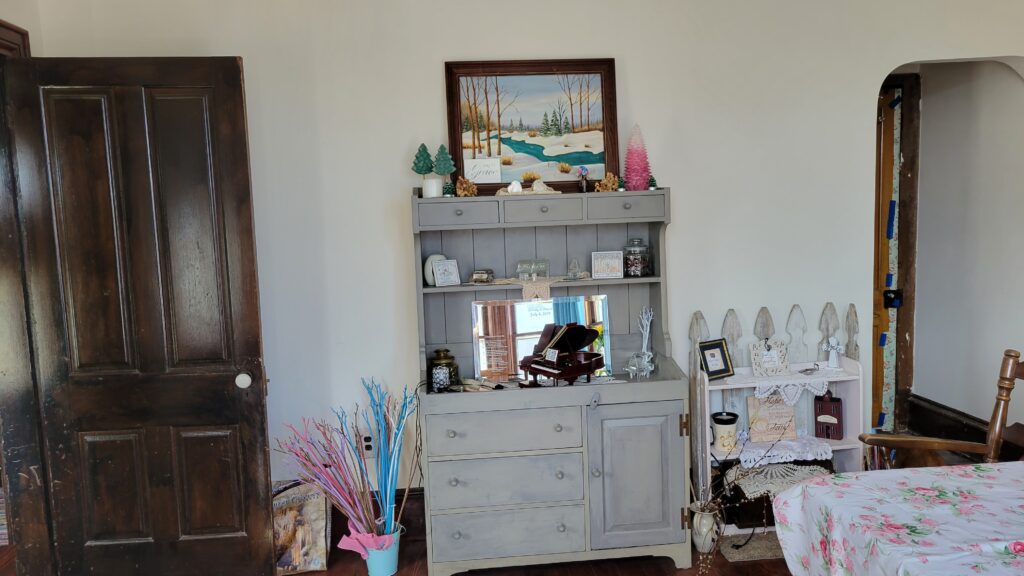
One day not long ago, I looked at this wall in my dining room and thought, hmmm. “My hutch looks kinda small. I think that wall would look better with a larger hutch.” I took a poll on Instagram, and people responded with good ideas. They suggested that I only get a larger hutch if I needed one, and if I could get one for a good price.
(I like my little hutch. It is well made and I painted it, too! I got it for free off the side of the road….)
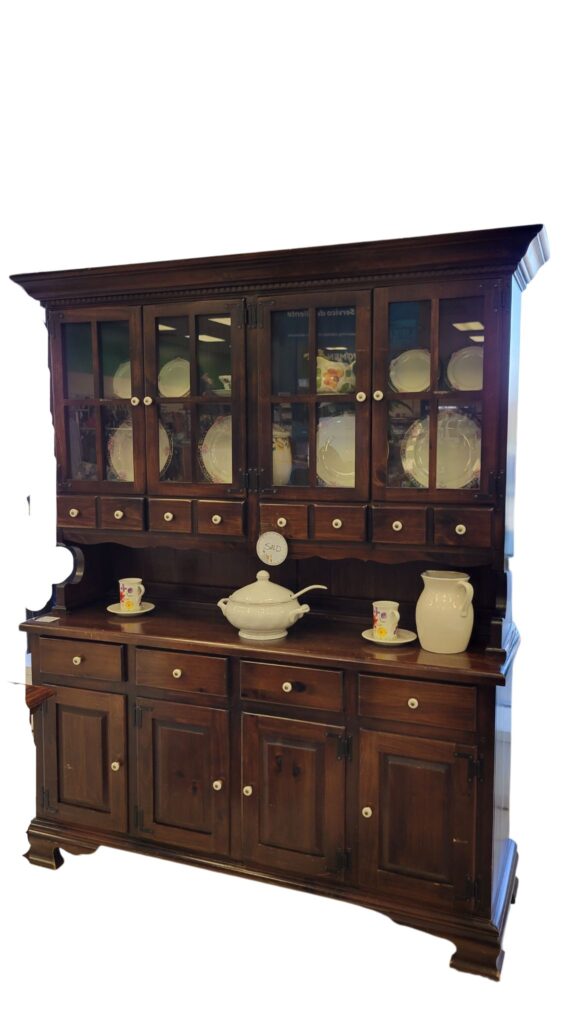
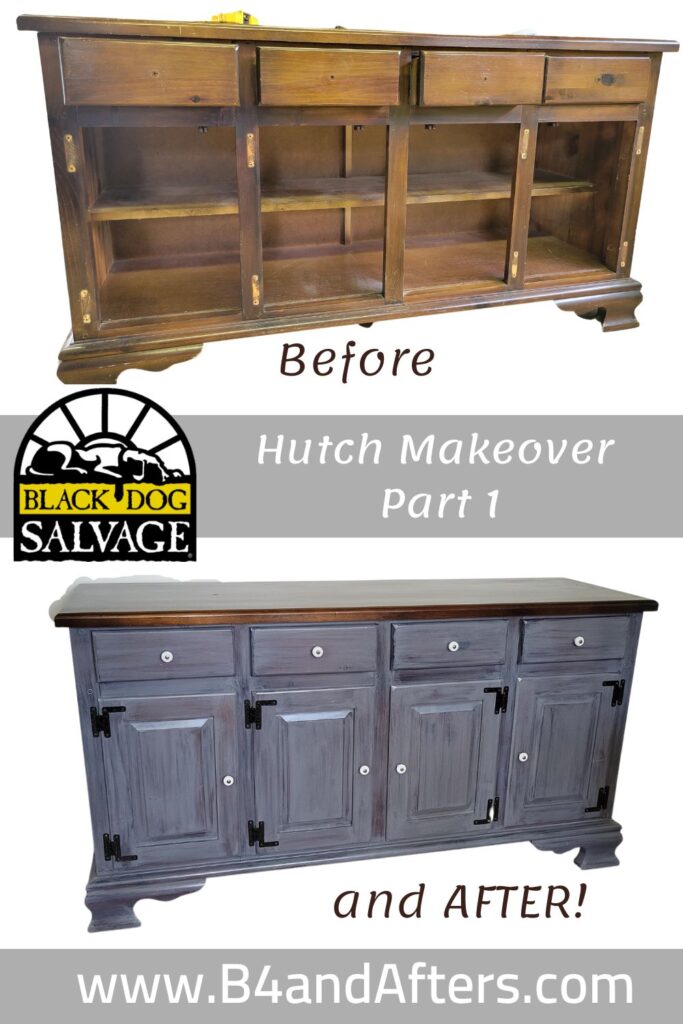
Well, I can always use more storage! And I decided to keep an eye out for another hutch. When I saw this one at a local thrift store for just over $50, I immediately began planning how I would paint it, and whether I would keep the original hardware or not.
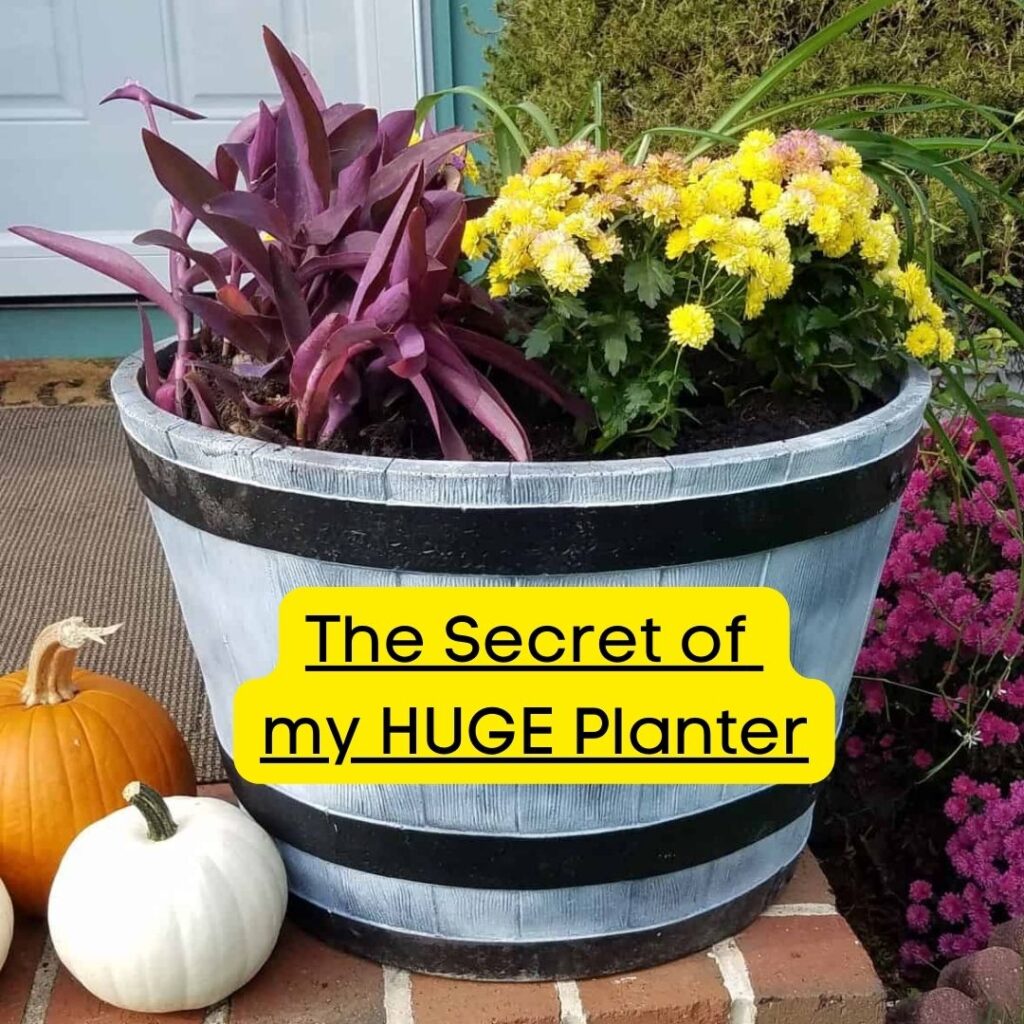
My Planter has a secret….. of how it manages to stay lightweight!!!!
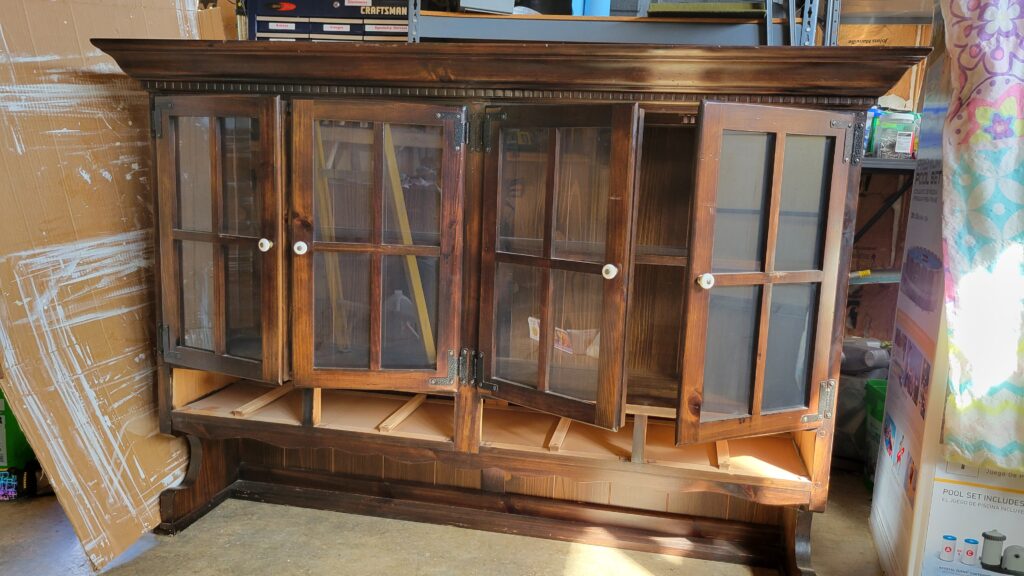
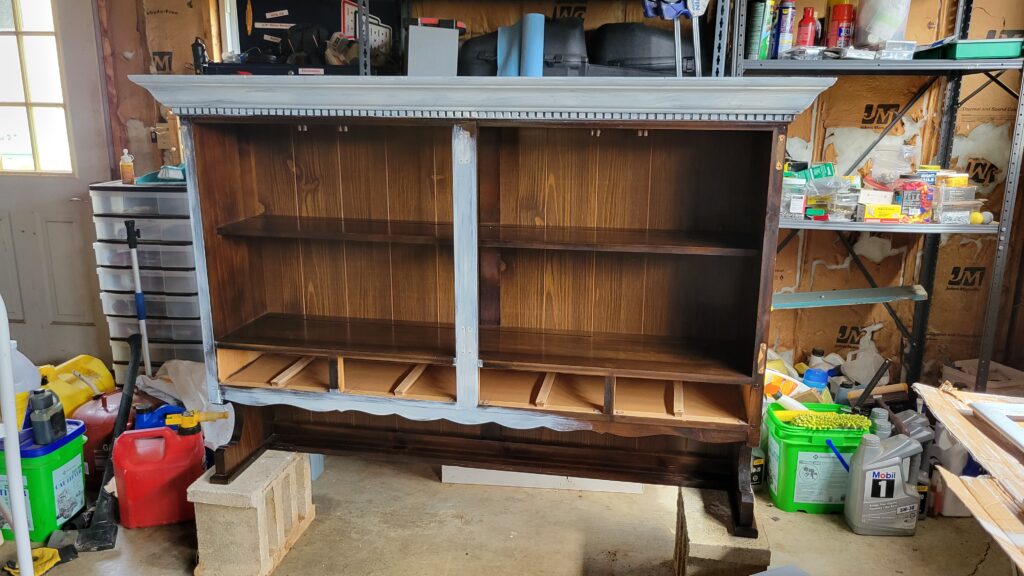
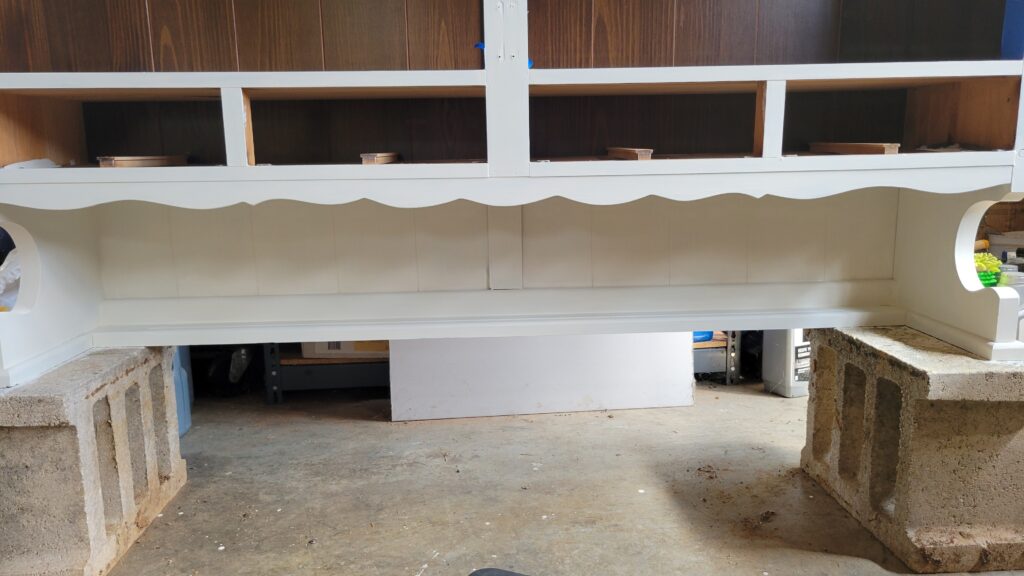
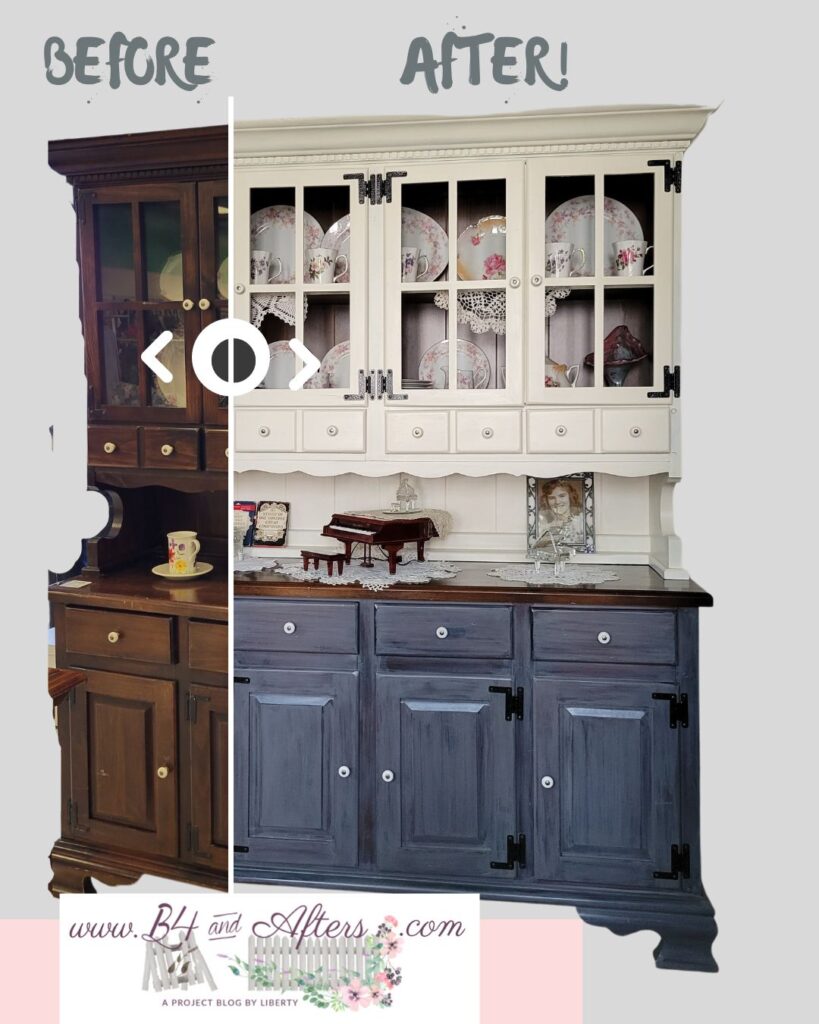
Hutch, Before
Hopefully you’ve already seen how I painted the bottom part of the hutch. (By the way, I noticed that when I watched the video on my phone, it was very fuzzy. On my computer it’s just fine. Do you ever have that problem?!)
After I started working on my hutch, I found this one at my local Amish market. You’ll have to watch the video to see what it is priced for!!!
First step to painting furniture like this hutch with Black Dawg Salvage Paint is to …. remove the hardware. That’s the easy part. Then get ready to spend a lot of time painting…
But remember to clean and sand your piece first. The cleaning is necessary– the sanding may not be because Black Dawg paint will stick to anything whether you sand it or not. The sanding is up to you, if you are happy with the smoothness of the wood or not.
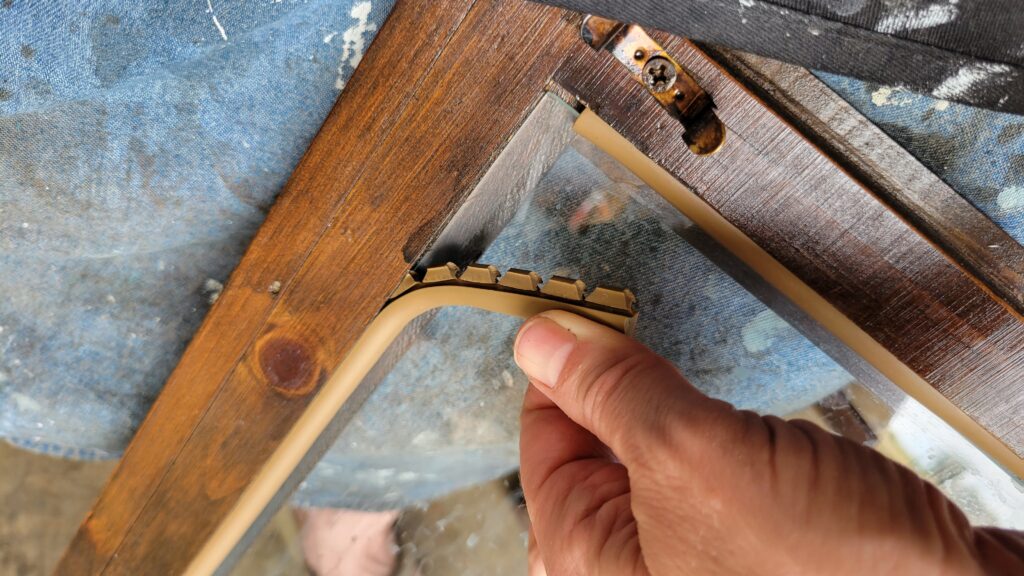
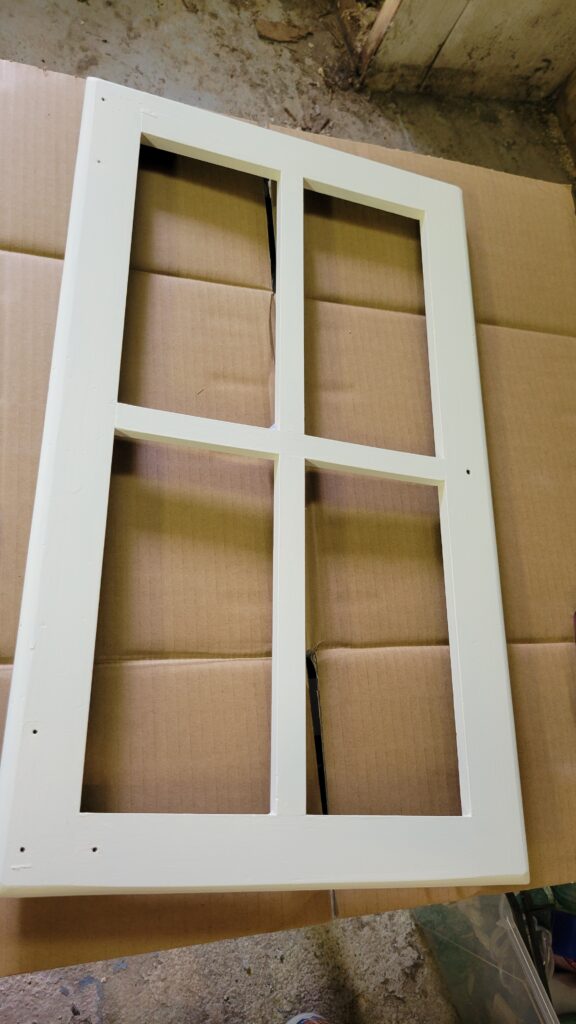
When I was washing the doors, the water ran between the wood and the glass. I realized that even if I taped it, the paint would tend to run too and I would have a royal mess.
I was so happy to realize that the rubber edging holding in the glass pane, would come right out! It wasn’t glued in.
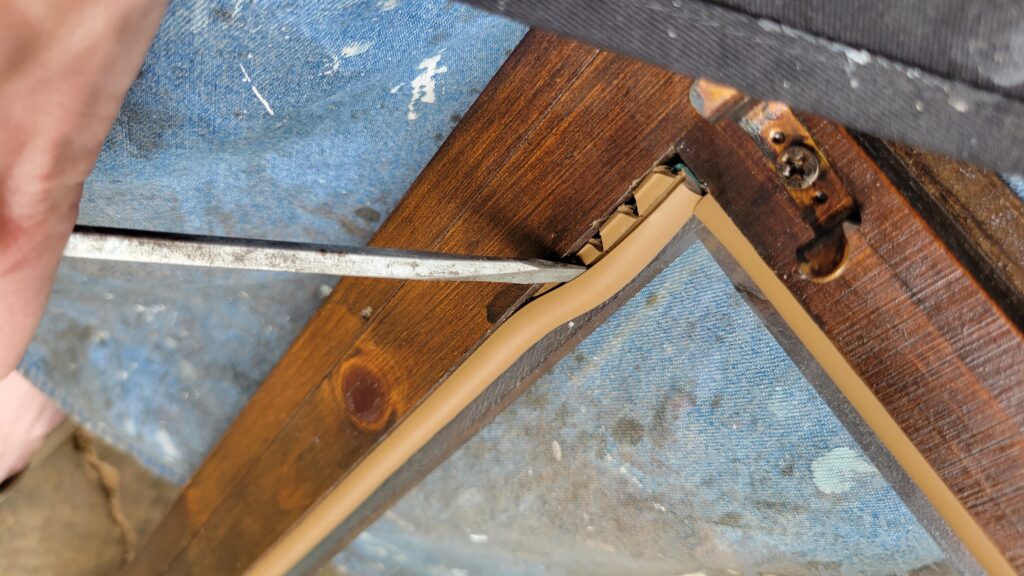
The rubber edging pulled right out. None of it broke, enabling me to reinstall it later! This was thrilling to me because it could have been very troublesome replacing it, if any of it had broken.
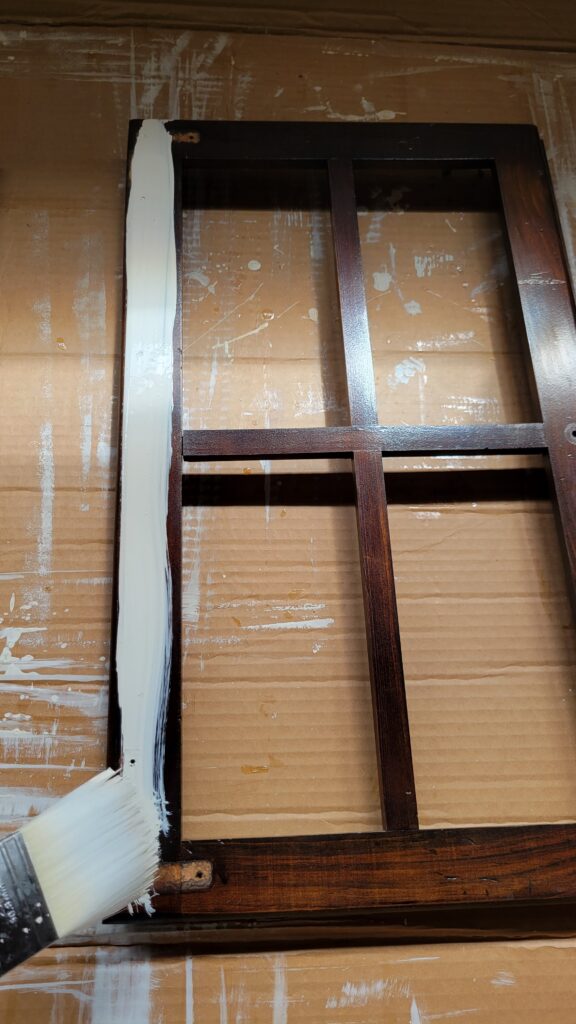
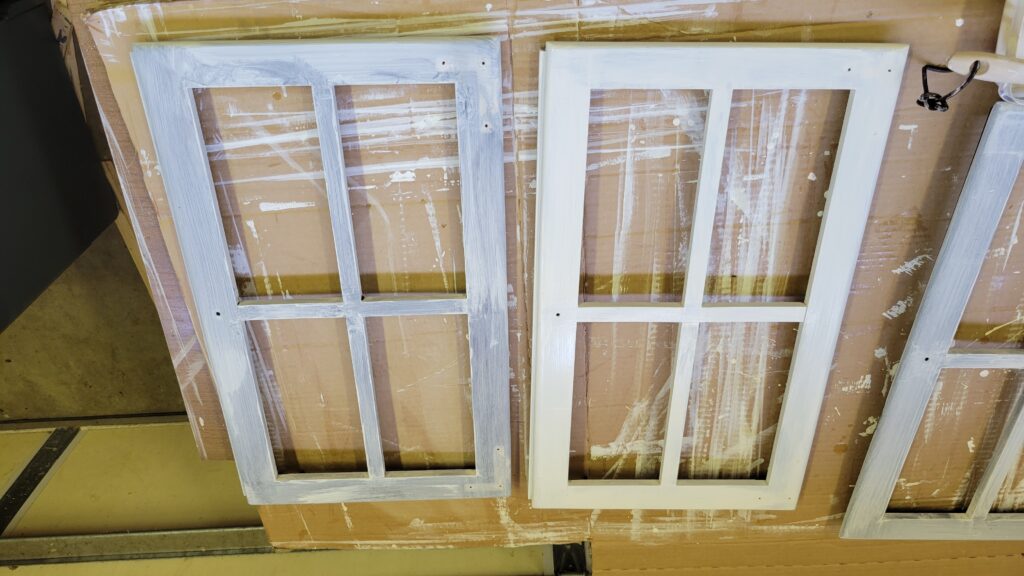
The hardest part to paint on this hutch was the doors. It took a lot of time to paint all of the insets of the 4 sections. You can see in the video how I did it— and how I downsized to a smaller brush for better application.
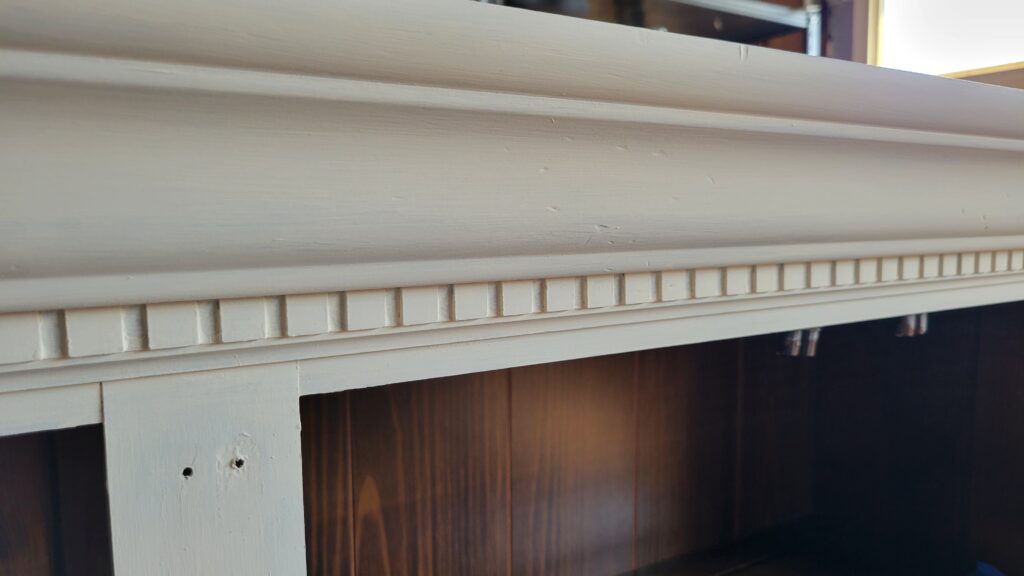
It’s so much fun to see a project transform from old to new, and from dark to light.
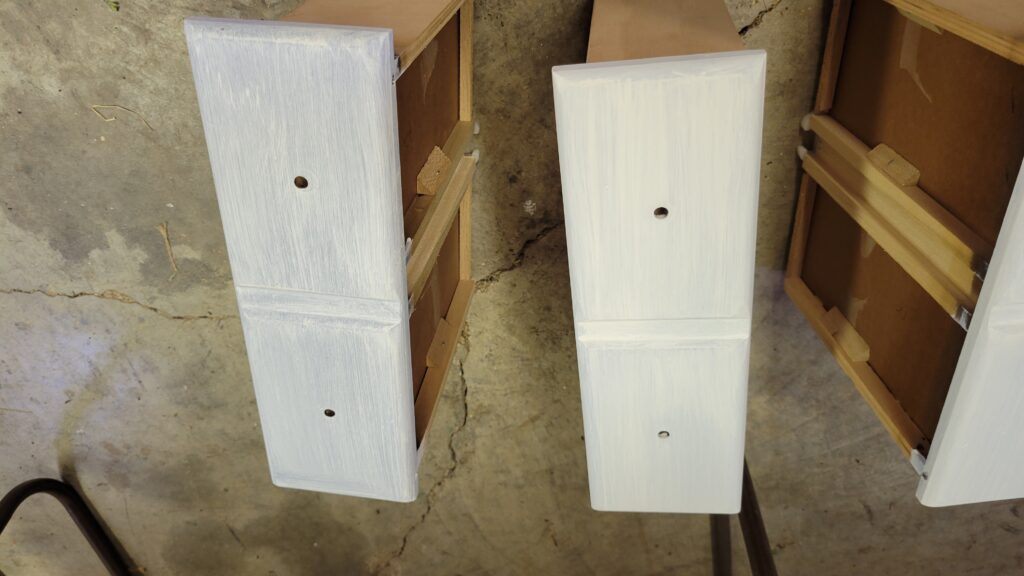
First Coat of Black Dawg Salvage Paint
Second Coat of Black Dawg Salvage Paint

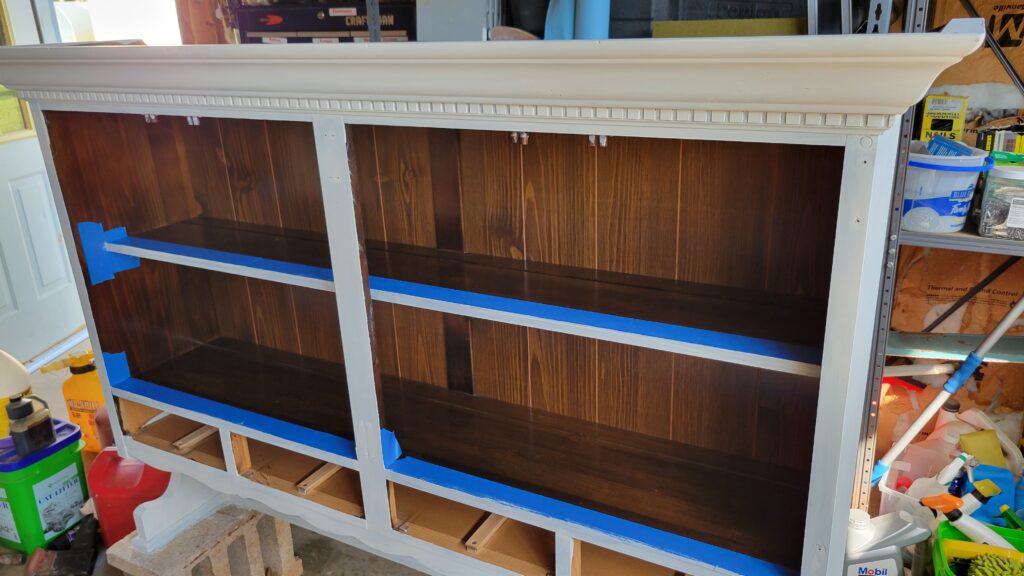
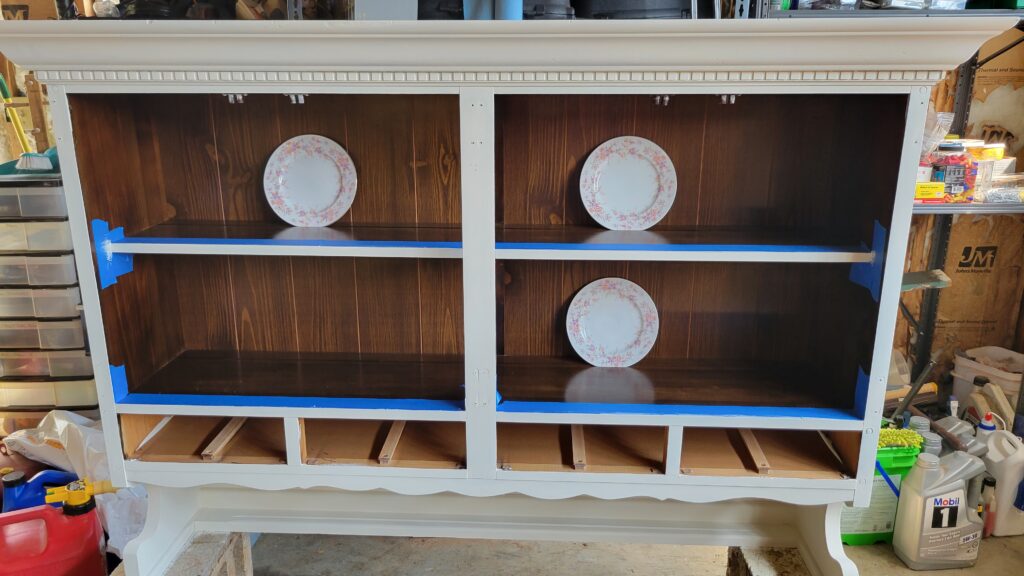
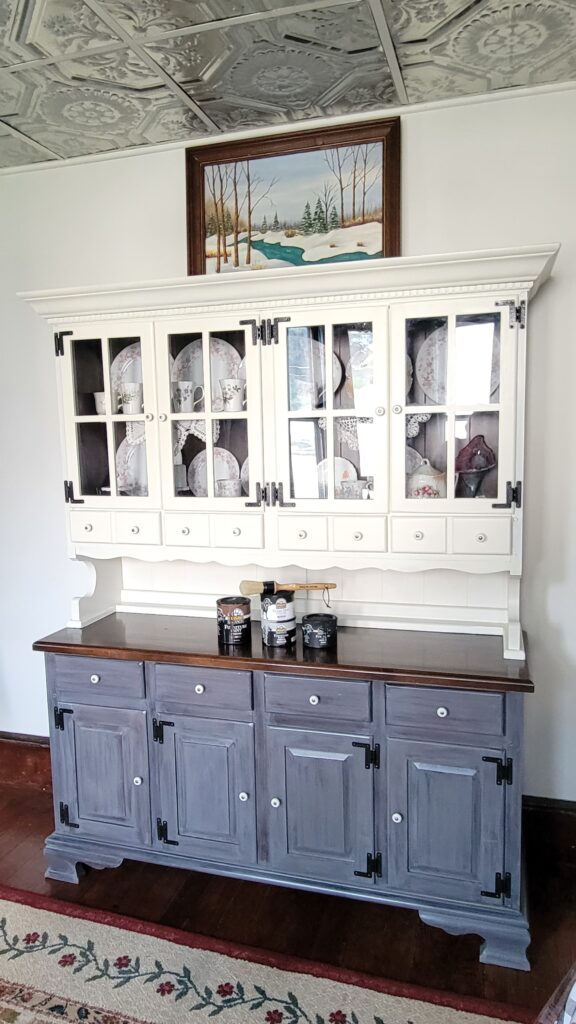
I taped the shelves and tried out my plates part way through to see if I would need to paint the inside. I’m glad I did not–I think the brown wood really pulls the two parts of the hutch together.
Here’s a comparison of the 1st coat and the 2nd coats of paint on two of the doors and the drawers. Because I was using a light color over a dark wood, it actually took about 4 coats of paint to cover the dark wood. I had also thinned the paint slightly to make it easy to apply without brush strokes.
The ivory color that I used can be achieved two different ways. You can either mix half white (Clean Canvas) with half khaki (Dog Bone), or you can add a tad of Dog Bone and a tad of Baby I’m Amaized to Clean Canvas. The Dog Bone/ Clean Canvas is a Black Dog paint recipe for the color Linen and Lace.
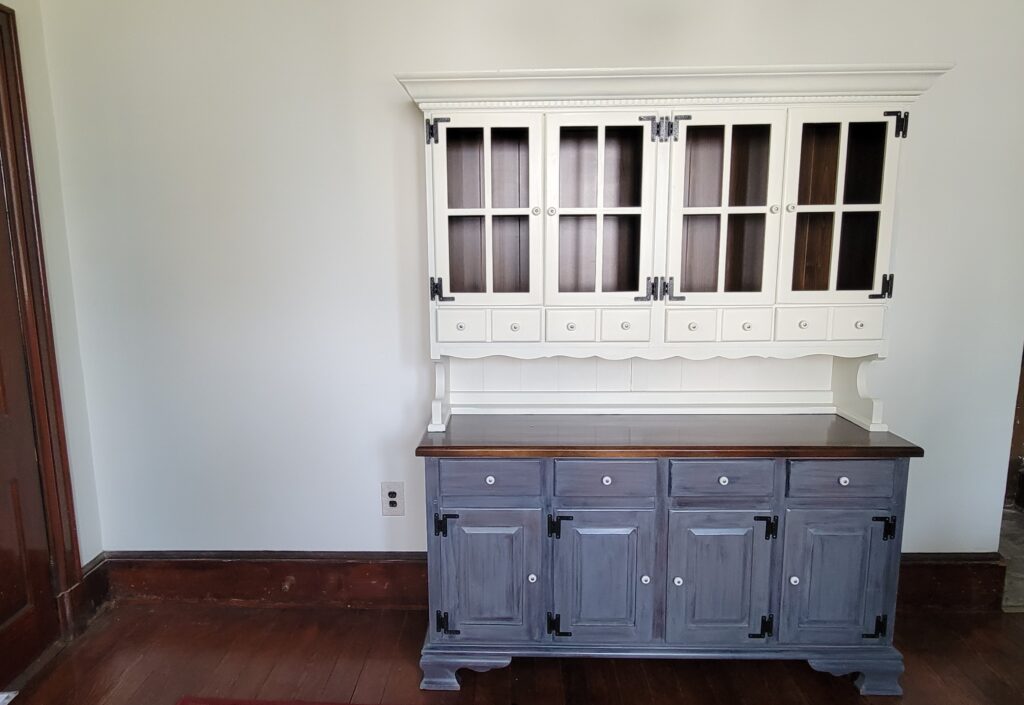
I think the dark hinges look nice over the ivory.
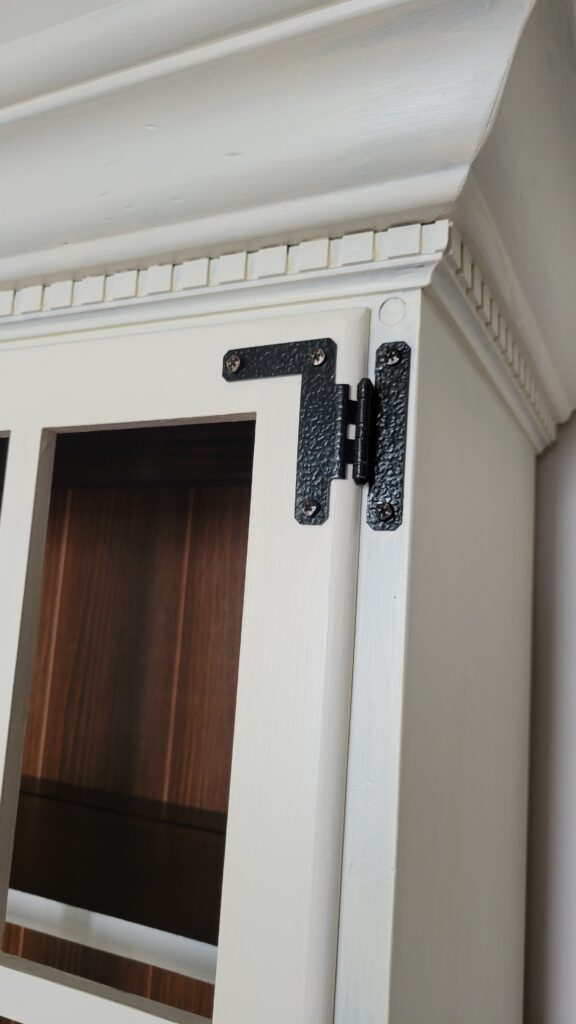
One of the reasons that I like this color combination is…. It’s very close to the cabinet color scheme in my kitchen! I have ivory/ cream colored cabinets and dark bronze handles.
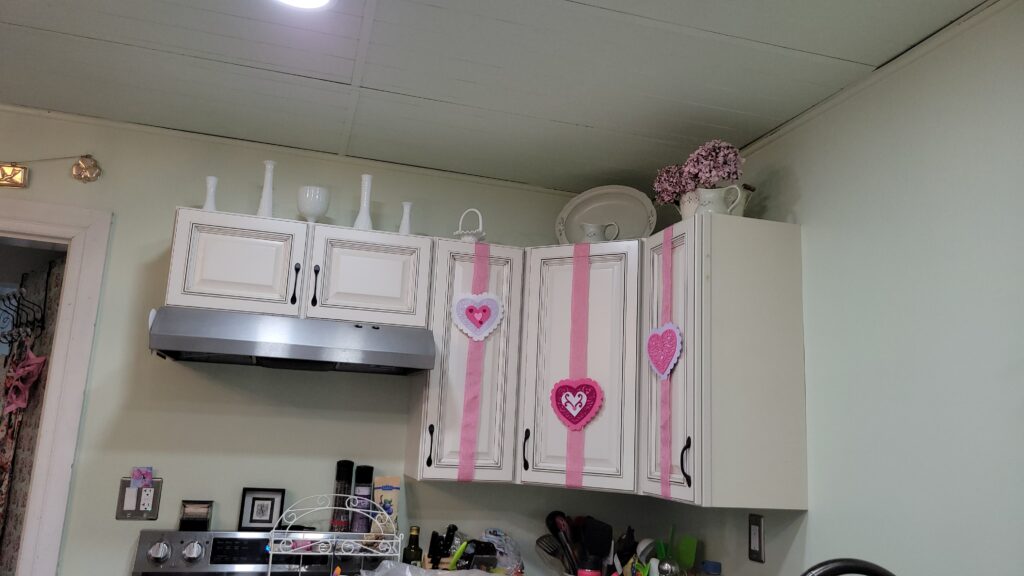
It is good to have fewer color schemes, and I have decided that ivory will be a unifying color throughout my house, including the walls and ceilings.
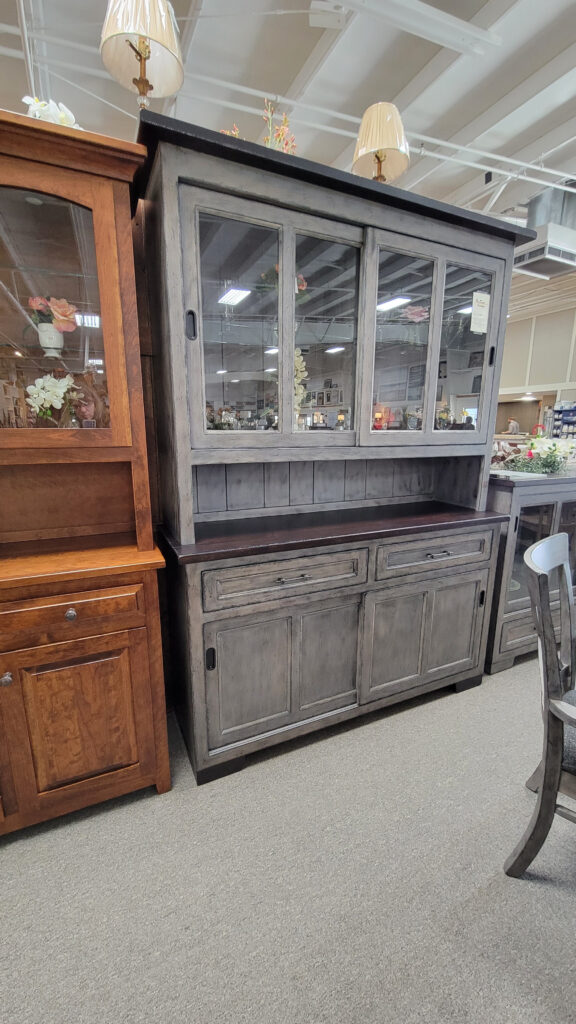
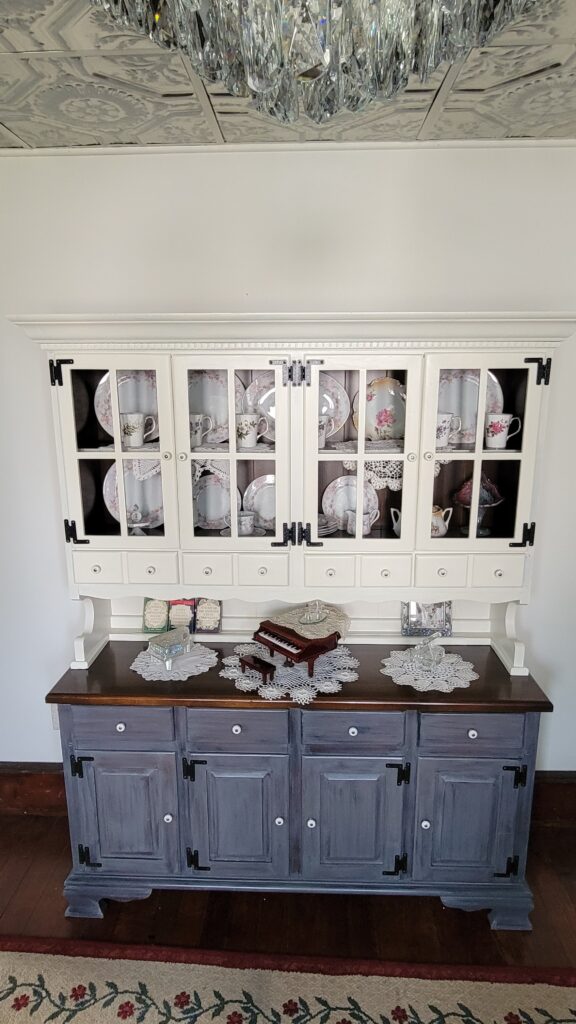
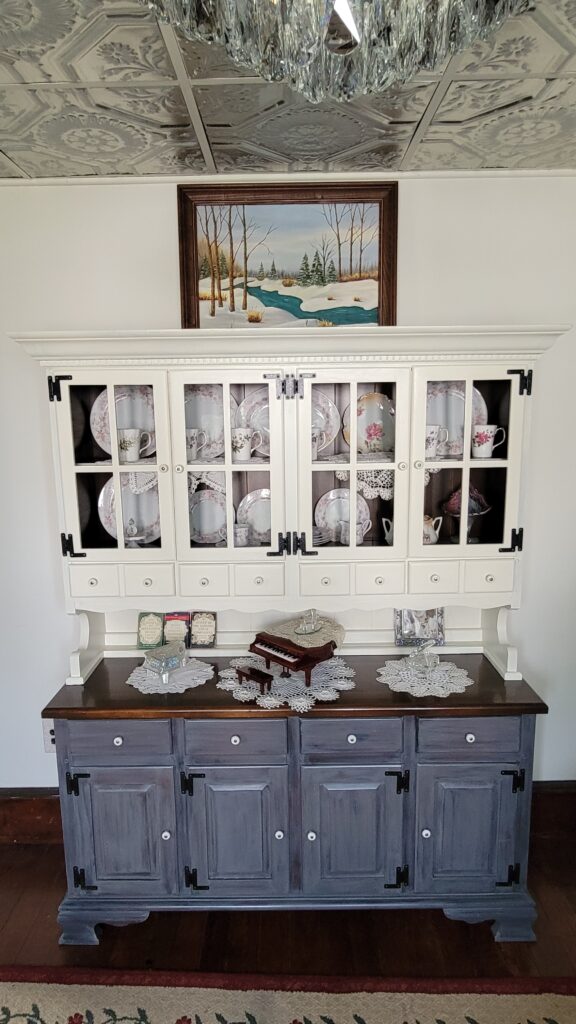
Well, here is the hutch all finished!! It is about one third wider than my original hutch, and much taller.
Hutch, AFTER
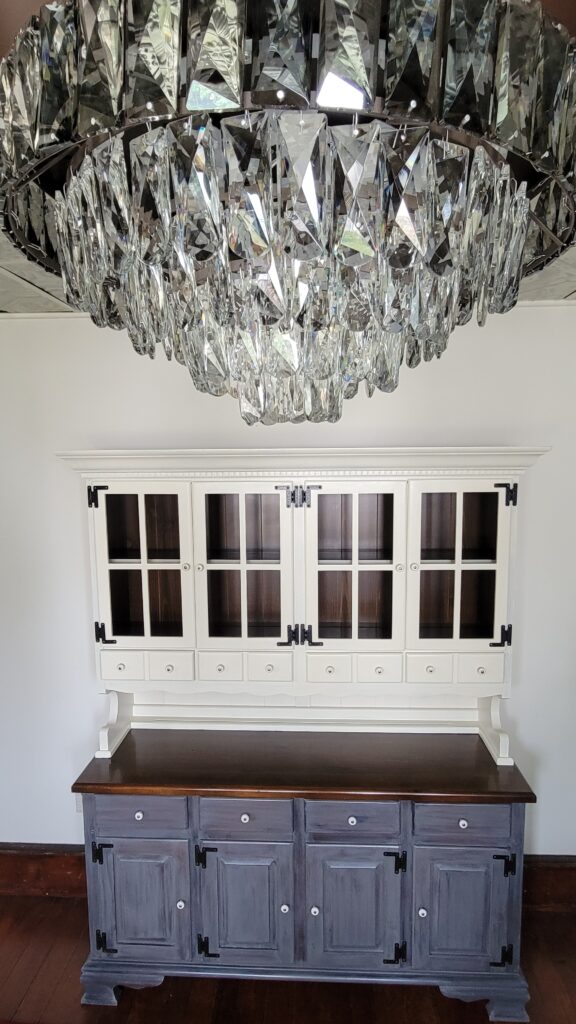
This angle makes my dining room chandelier look larger than life gigantic!!
Then came the fun of decorating the hutch! In fact, I’ve already been thinking about decorating it for Christmas!
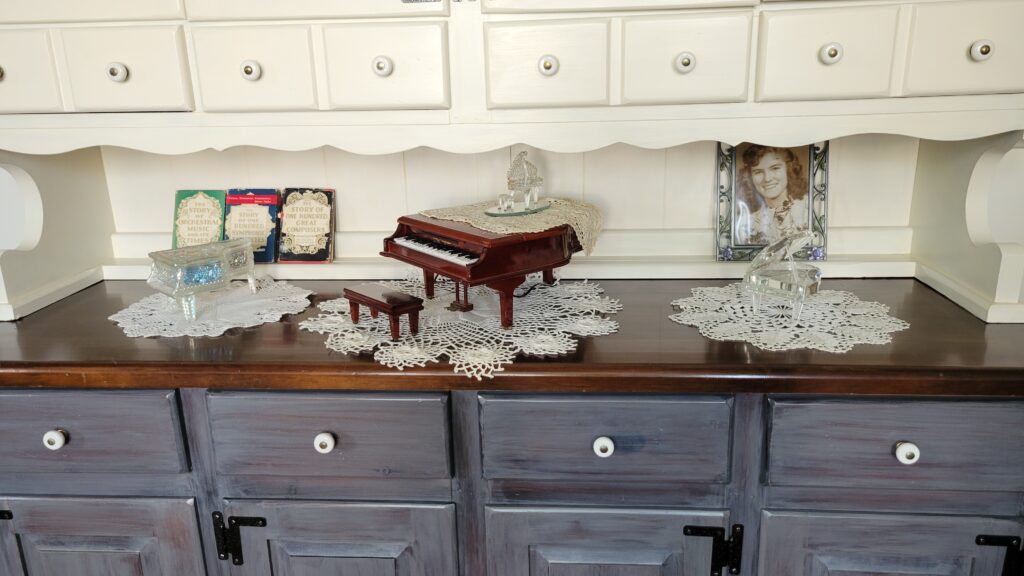
I finally have a safe place to put my special dishes.

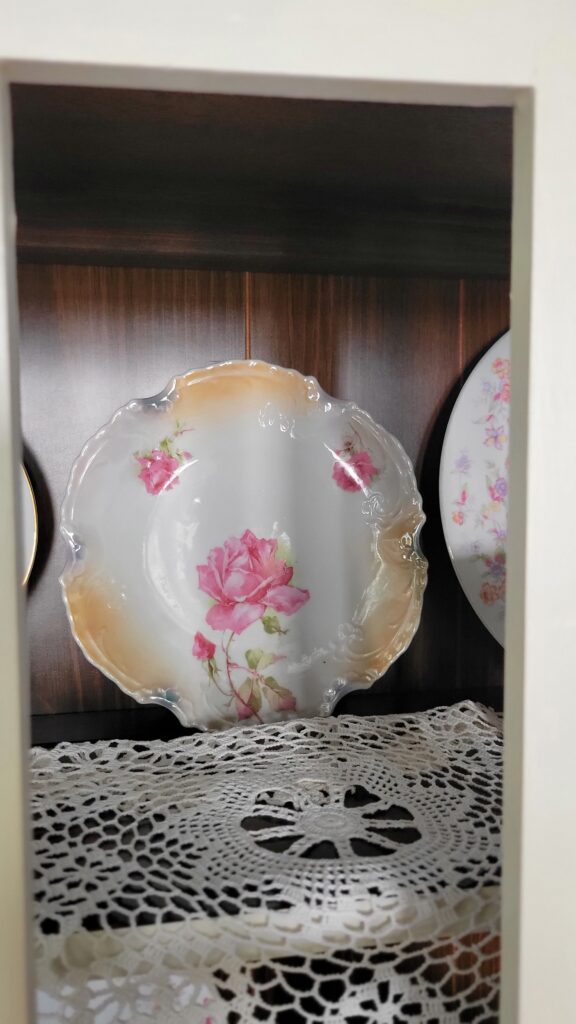
This plate and a soup tureen belonged to my grandma and were given to me by my aunt for my wedding. It is nice to have something special to remember her by.
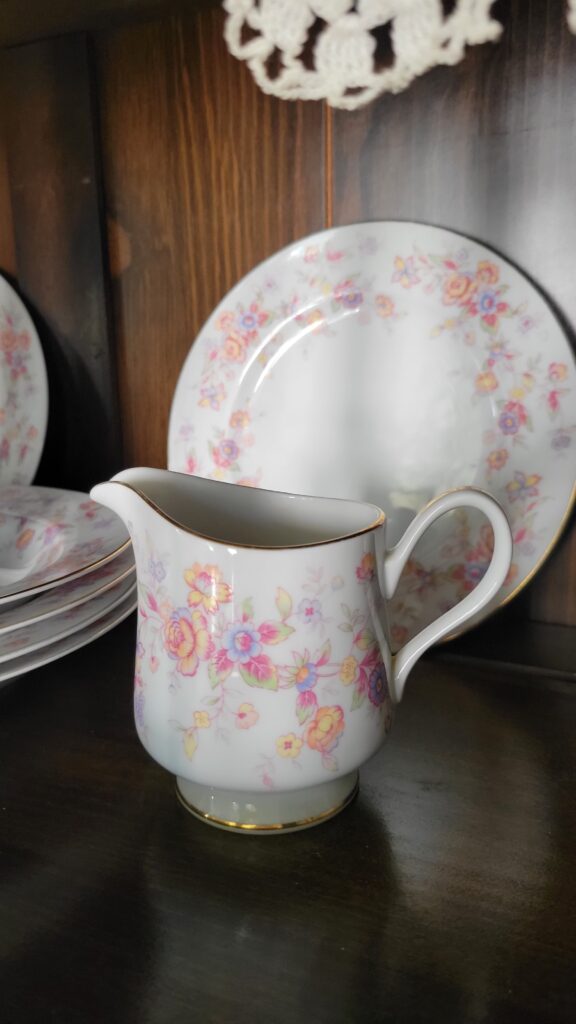
This dish set belonged to my great granny. Watch the video to hear how it came to be in my possession!
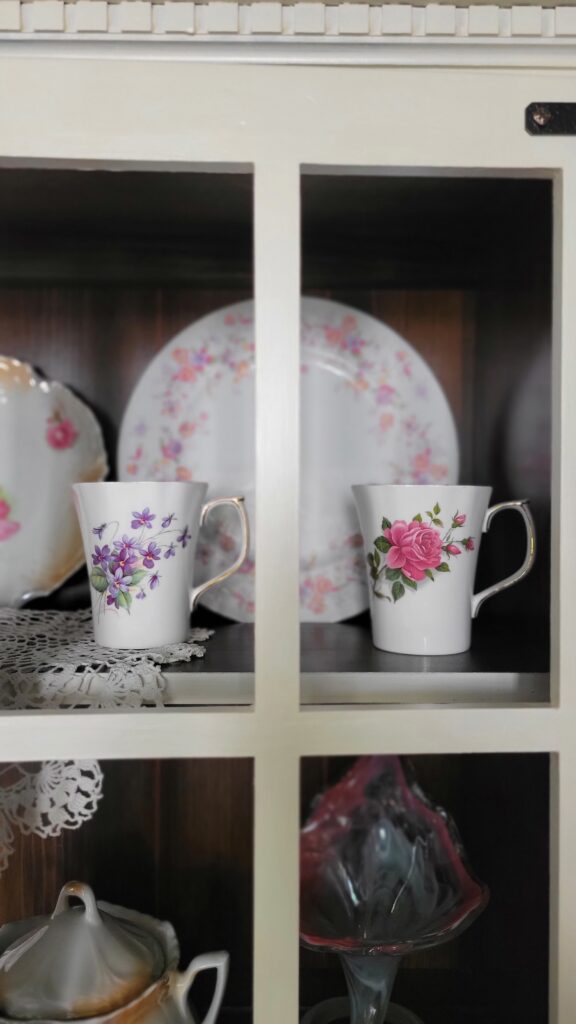
These lovely fine bone china cups from England came to my possession when they didn’t sell at a friend’s yard sale!

I’m glad my painting still fits on top! Hmm, though, I wonder if I should move it somewhere lower so that my kids can see it better….
Well, once again Black Dog Salvage paint has given me a high end look for much less than if I had to purchase the finished piece already done.
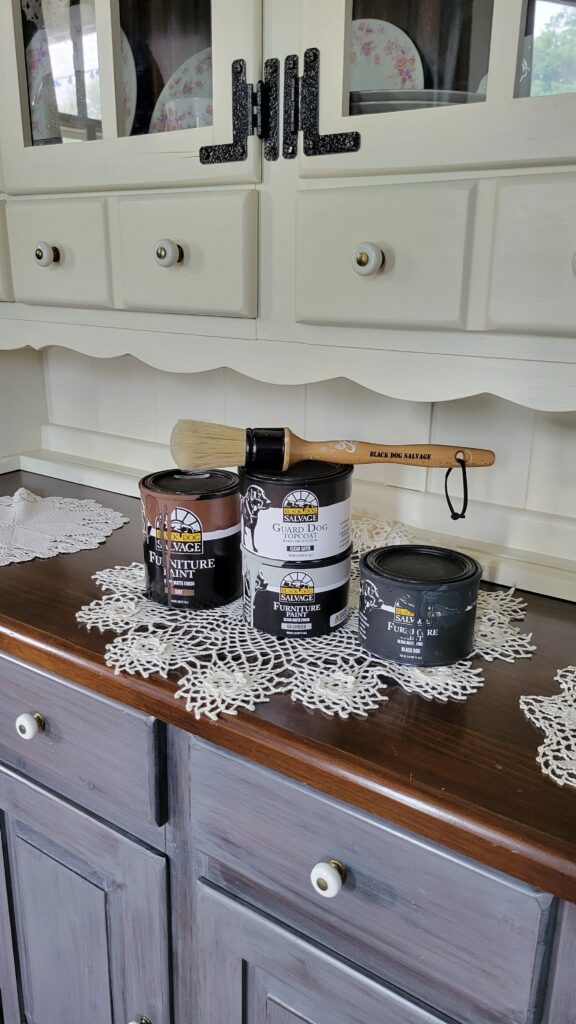
It really only takes a few supplies to do a paint project like this. (Not pictured: White and Dog Bone to mix for the top ivory color.)

Oh, what shall I paint next?!
🛒 *SUPPLIES YOU WILL NEED TO PAINT A HUTCH:
*Affiliate Links for products help us run this blog and make videos. Thank you for your support.
*Black Dog Salvage Furniture Paint:
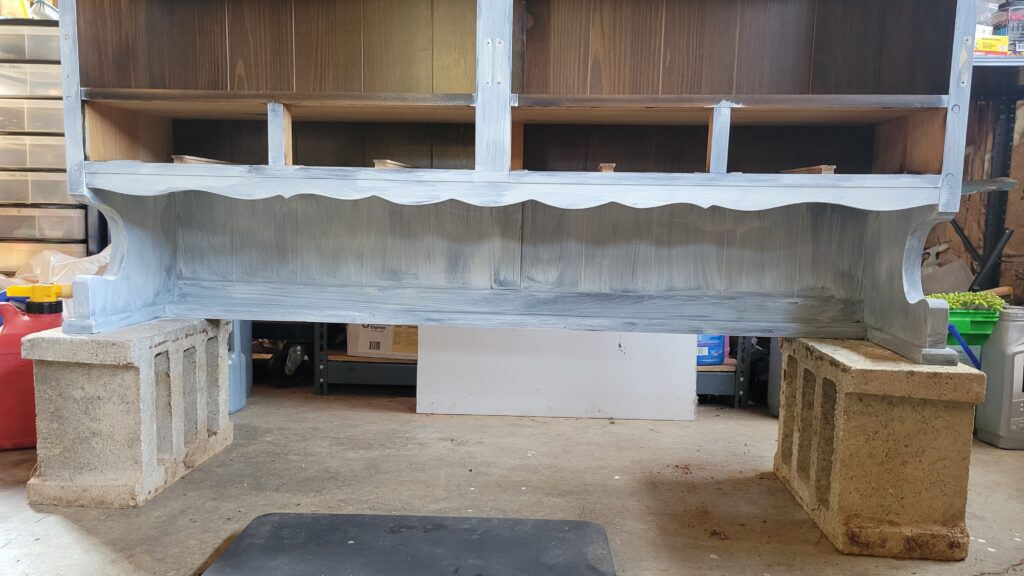
Dirt (brown) Galvanized (gray) Black Dog (black)– to make Silver Lab for the bottom
Either Dog Bone (khaki) and Clean Canvas (white) OR Clean Canvas, Dog Bone, and Baby I’m Amaized — to make Ivory for the top.
Guard Dog topcoat in Satin
*All of these can be found at the link above! Be sure to use coupon code B420 to get 20% off your order! Made in the USA!!
The brush that allows me to paint for hours without hurting my wrist:
*TSP


Wonderful job Liberty! Thanks for sharing all the steps and how you avoided the potential pitfalls.
Such a unique and beautiful piece! I love how you made it so different with the two colors.
Love the combination, it makes the piece so much more interesting!
Thank you Melba!
Such a lovely makeover. I love those colour combinations. With the dark bottom, the hutch looks “grounded” and the top makes it look light and airy. Beautiful.
Thank you Michelle! Yes, I didn’t want the hutch to crowd my room, and with my colors it doesn’t! When I decorate with garlands for Christmas, the top won’t blend in with the wall as much. I’m so glad you like it!