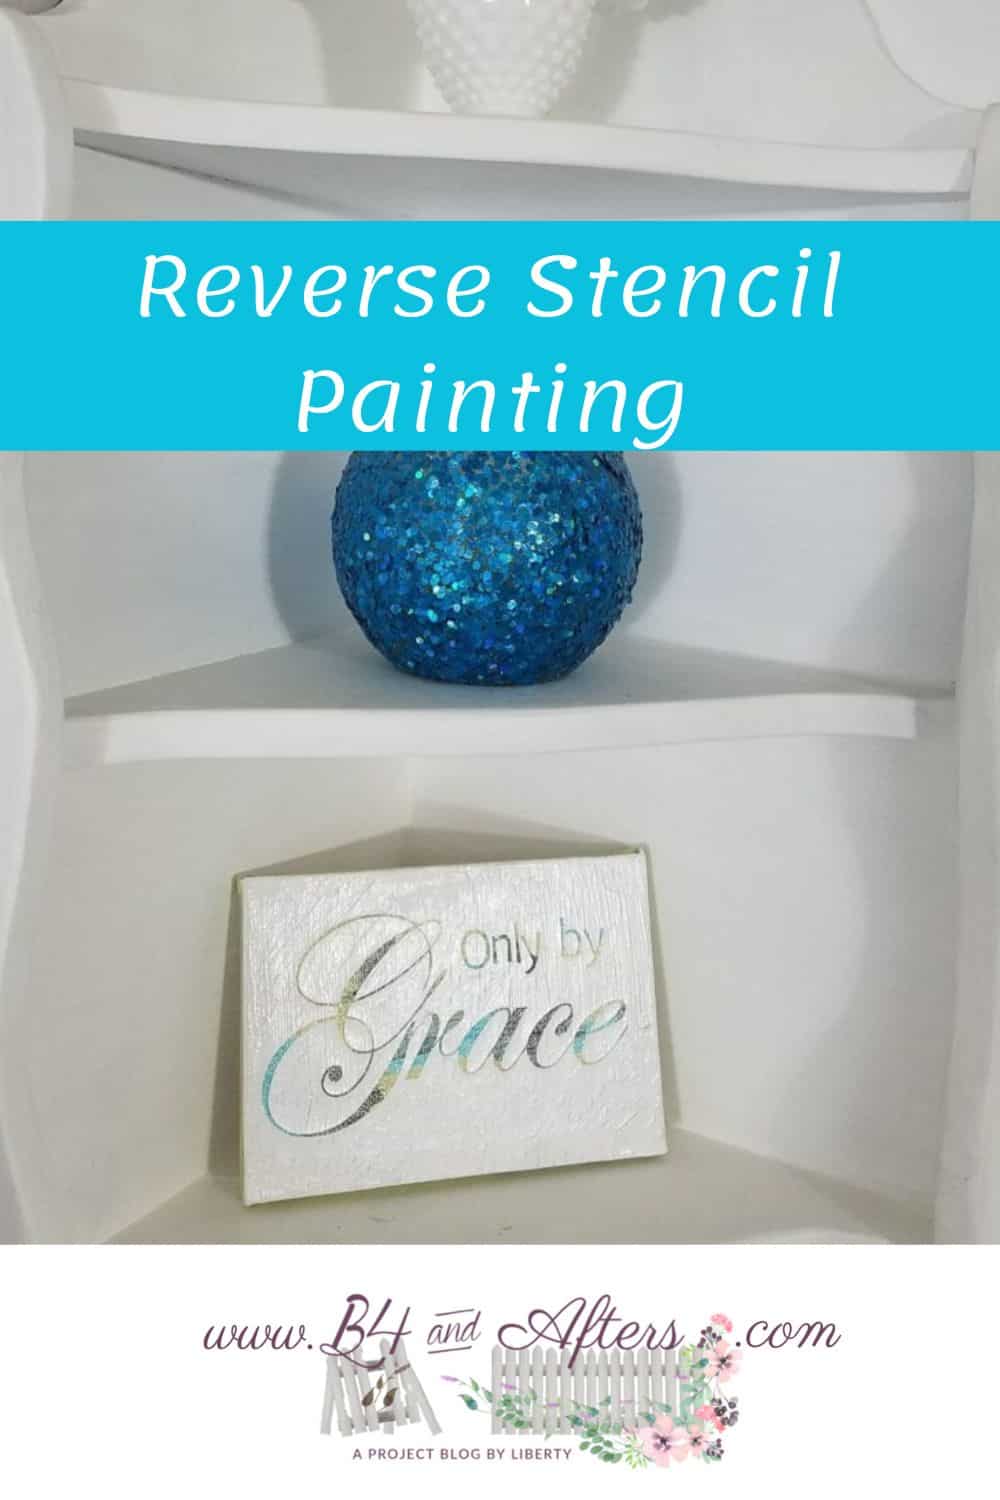
Reverse Stencil
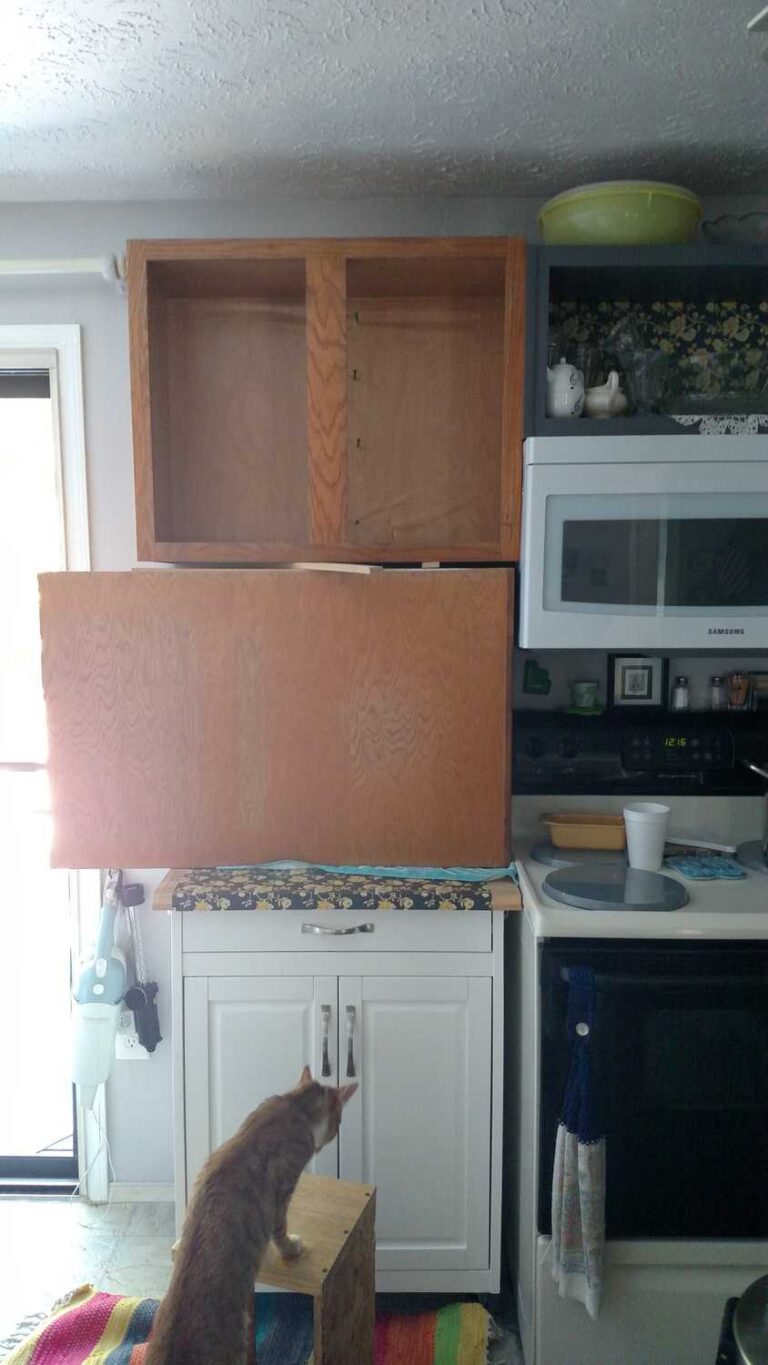
This week I showed you How I Made My Clutter Disappear around my TV. In that post I showed you a reverse stencil I had made. This is how I did it. This is my first reverse stencil. It was a lot of fun, but it did take a lot of time because you have to let all of the layers dry before you can do the next layer.
Supplies Needed:
- a stencil
- craft paint
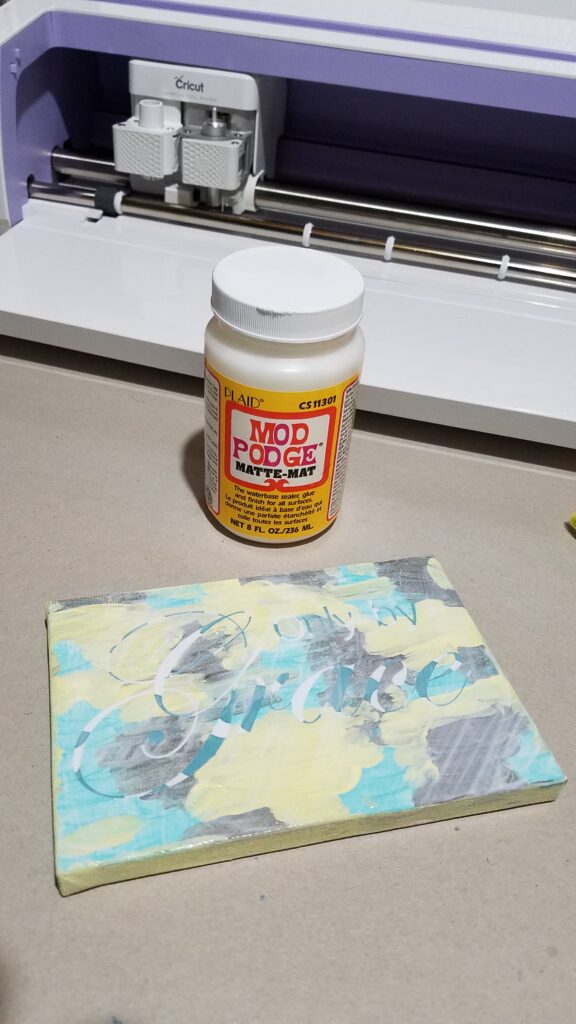
- Mod Podge
- small canvas or other surface like wood
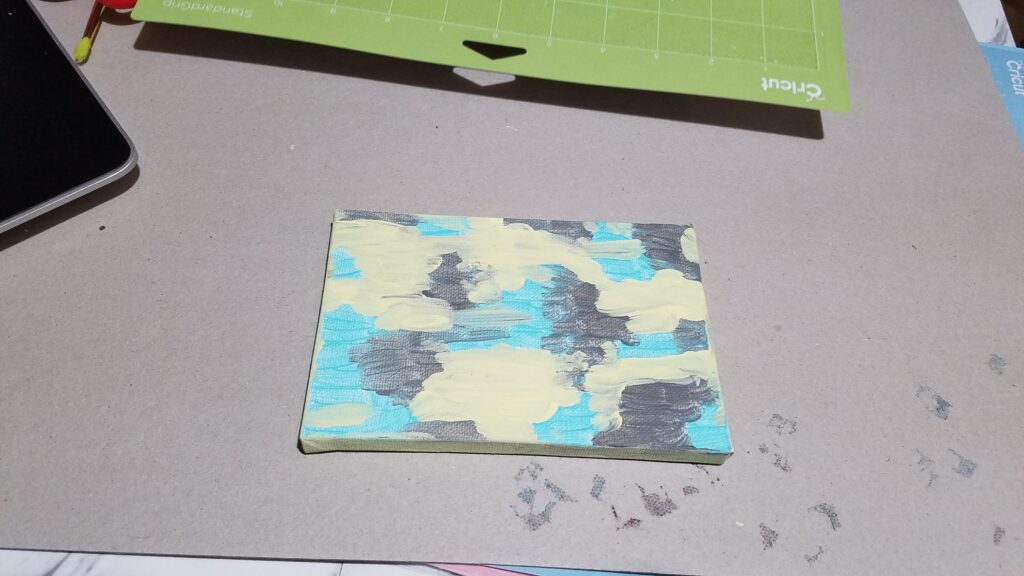
To start out I used gray, yellow, and aqua blue craft paint to color a background on my small canvas. It’s okay that the colors blend together on the edges. Don’t use white as one of your colors, if your last overall layer will be white. If you are going to use black or another color as your last layer, then white would be fine. Let the colors dry completely before the next step.
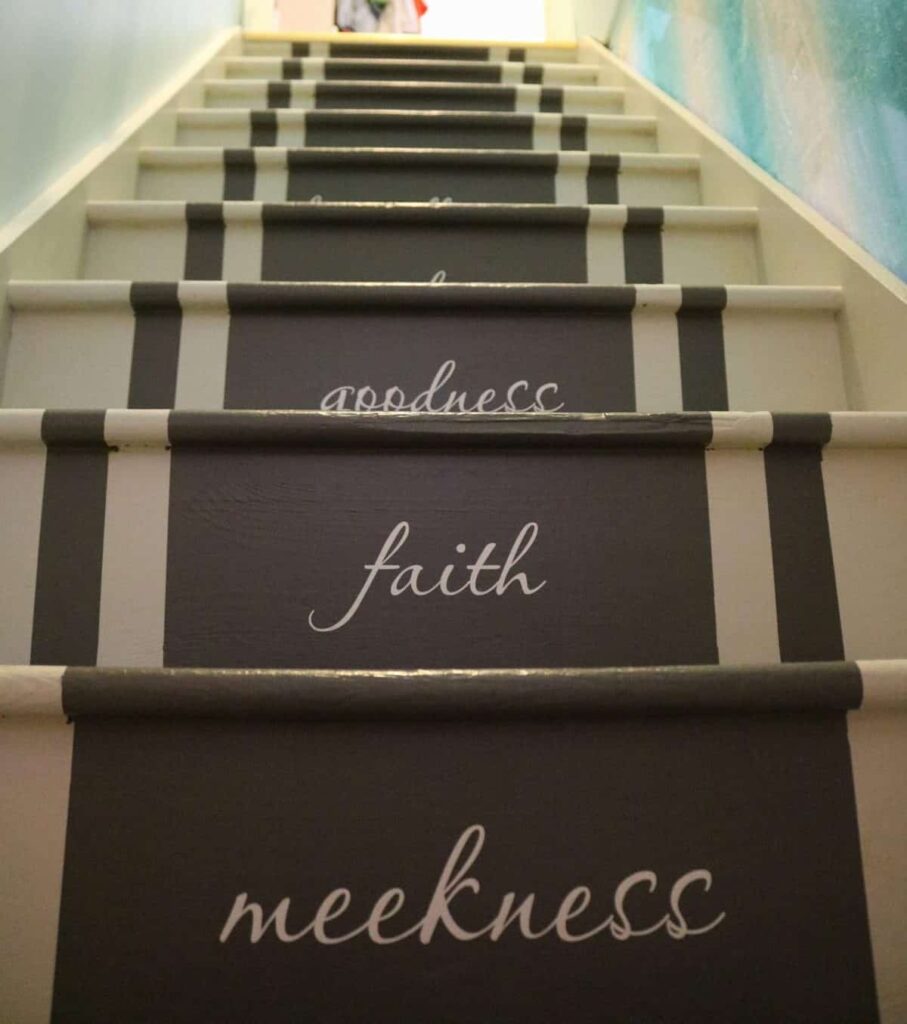
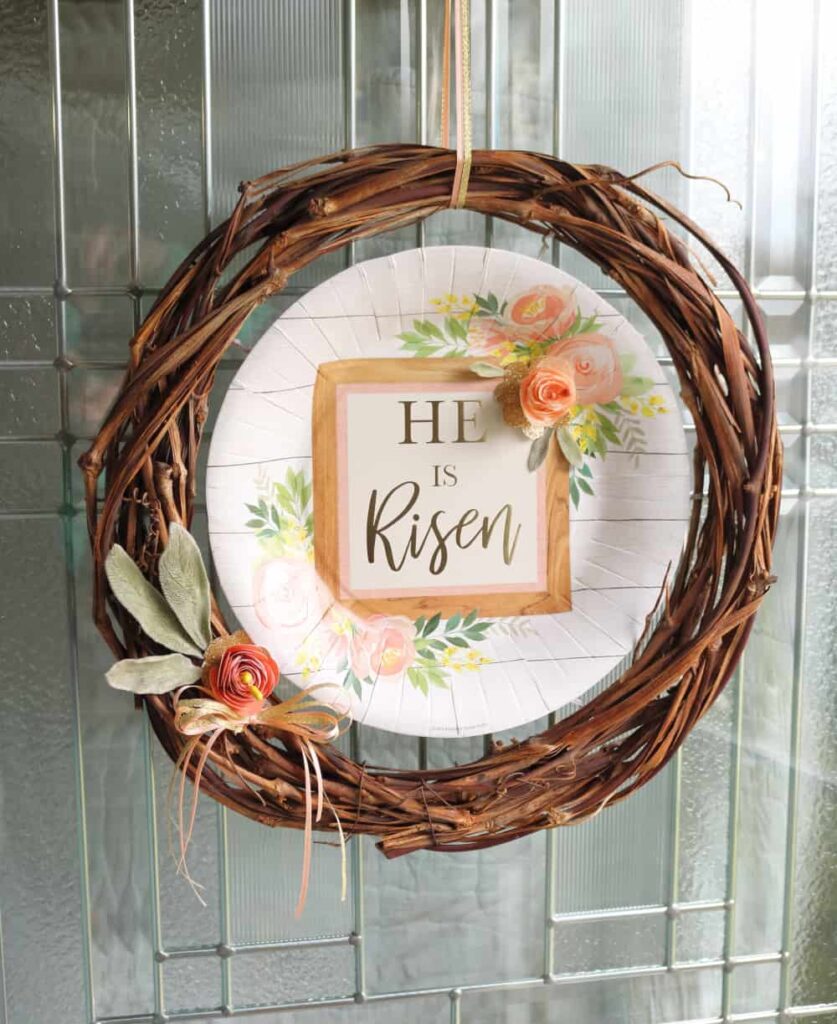
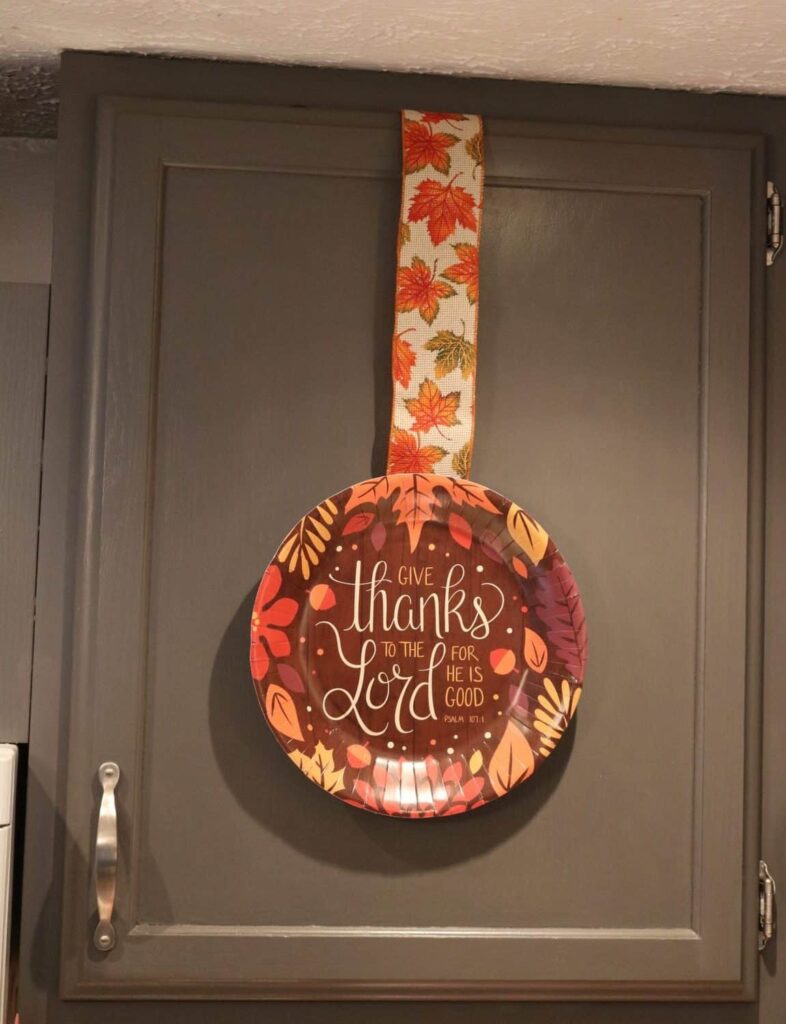
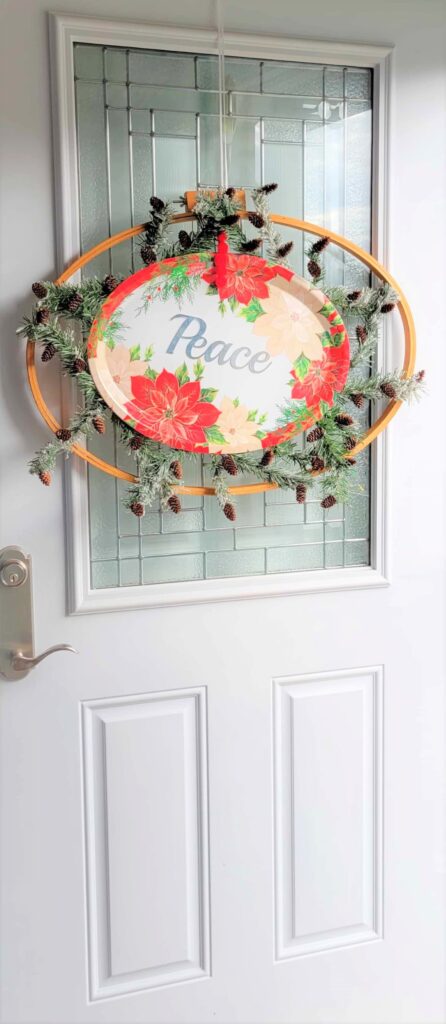
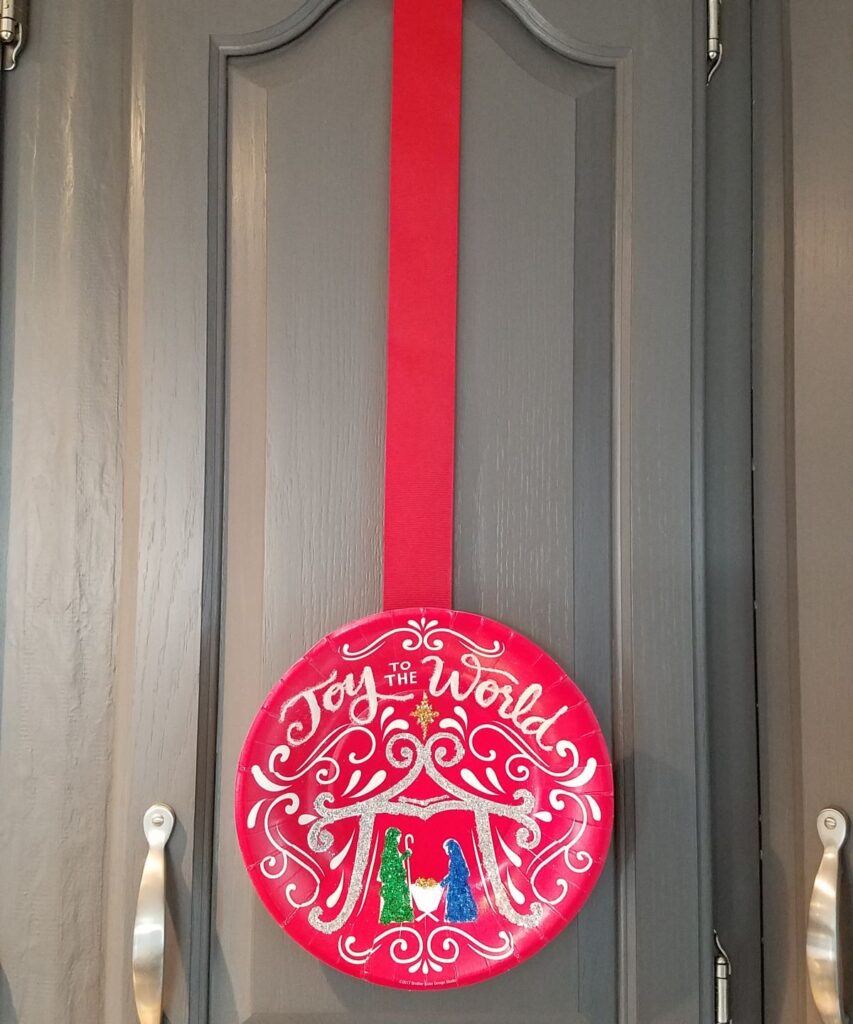
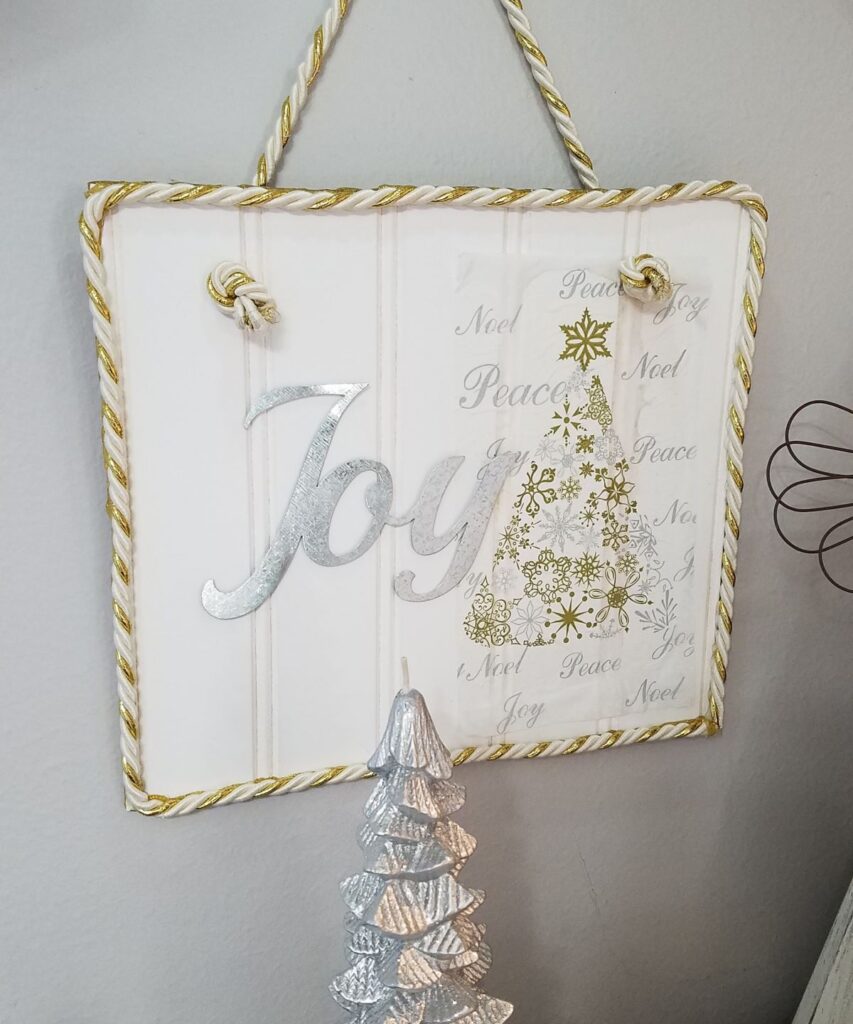
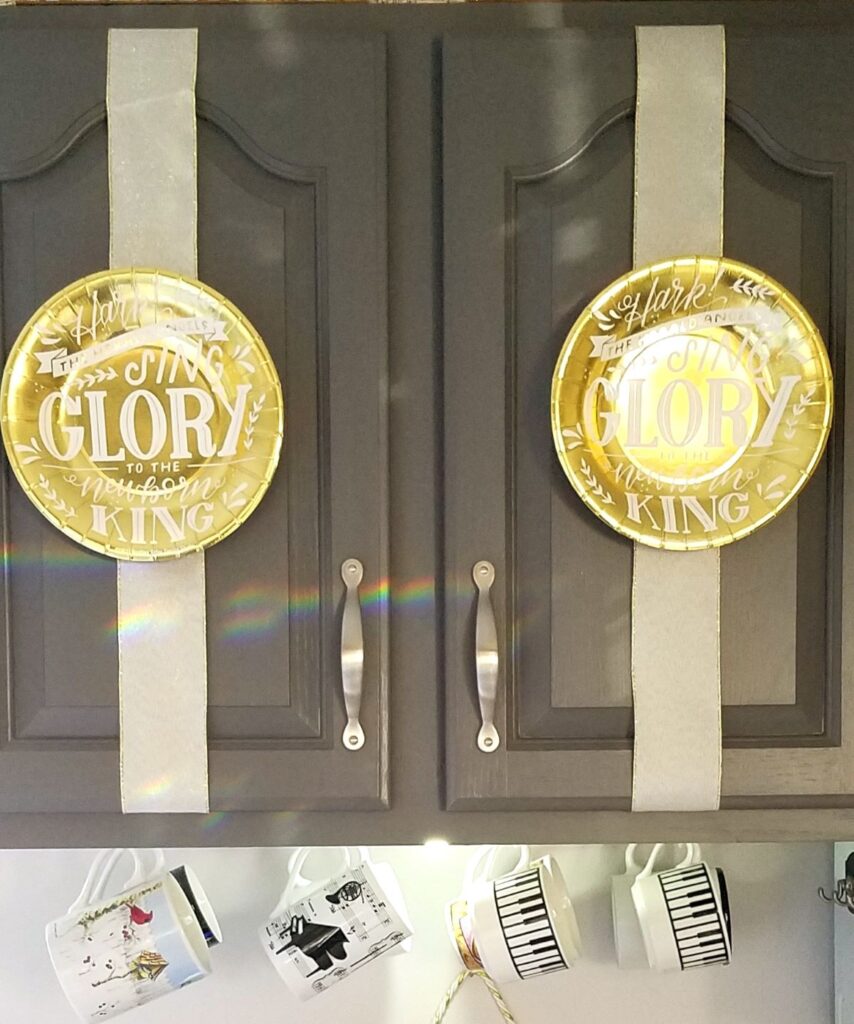
Faith Inspired Projects


I made my own stencil, but you can use any stencil you like. I made mine by using my Cricut Maker to cut out Dollar Tree Contact Paper. (To use my Cricut Design Space “Only by Grace” design, Click Here.) So my stencil was good for only one use. I could use different material to make a sturdier stencil that would last longer– or I could just make more one-use stencils.
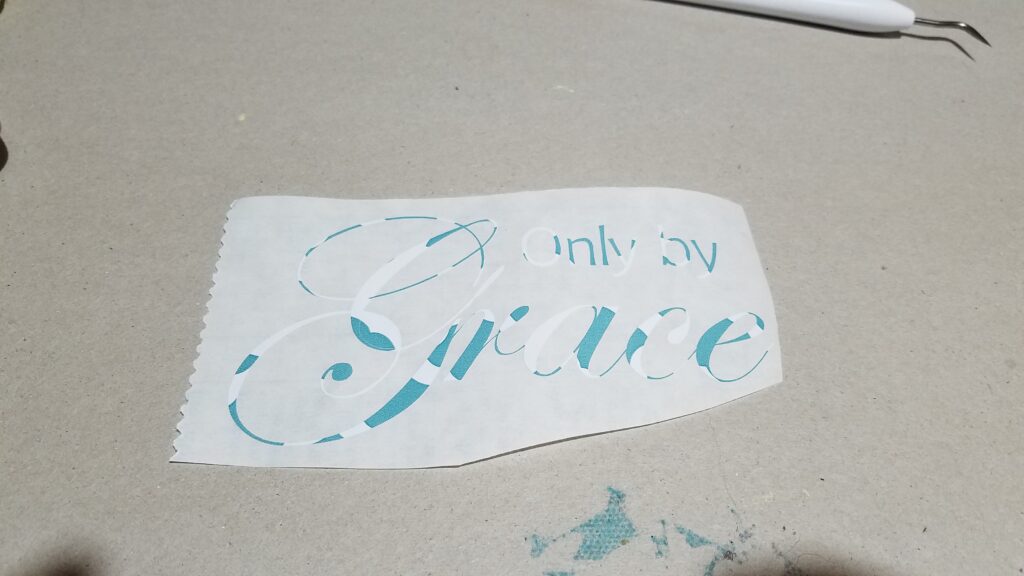
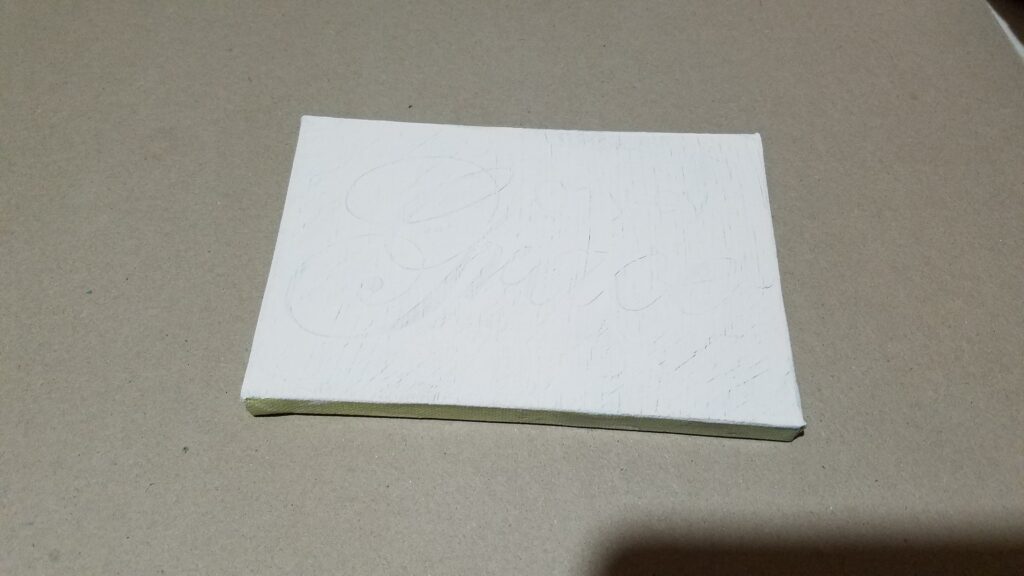
Next, adhere your stencil.
Then use clear Mod Podge to seal the stencil. This will help make sure the top overall last layer does not bleed under your stencil and ruin your design. Let the Mod Podge dry completely.
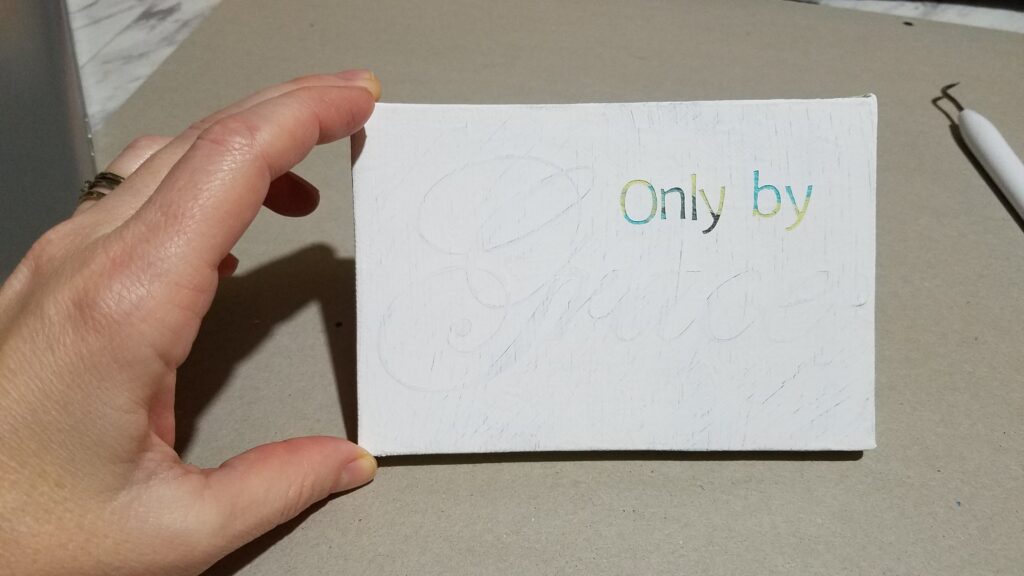
After the Mod Podge has dried completely, then paint White (or another color) over the entire thing. You may need two coats to cover it. Let dry completely between each coat.
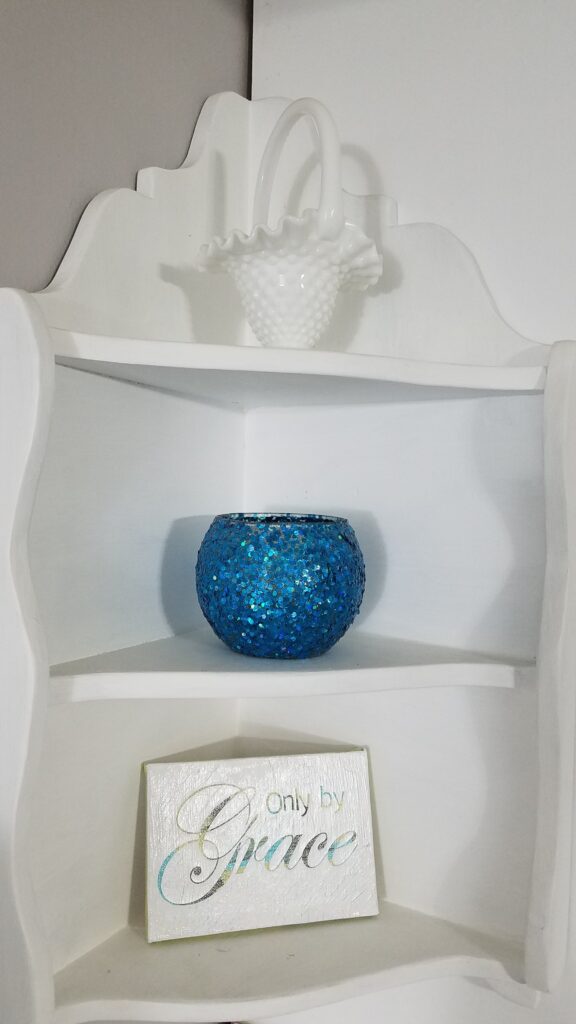
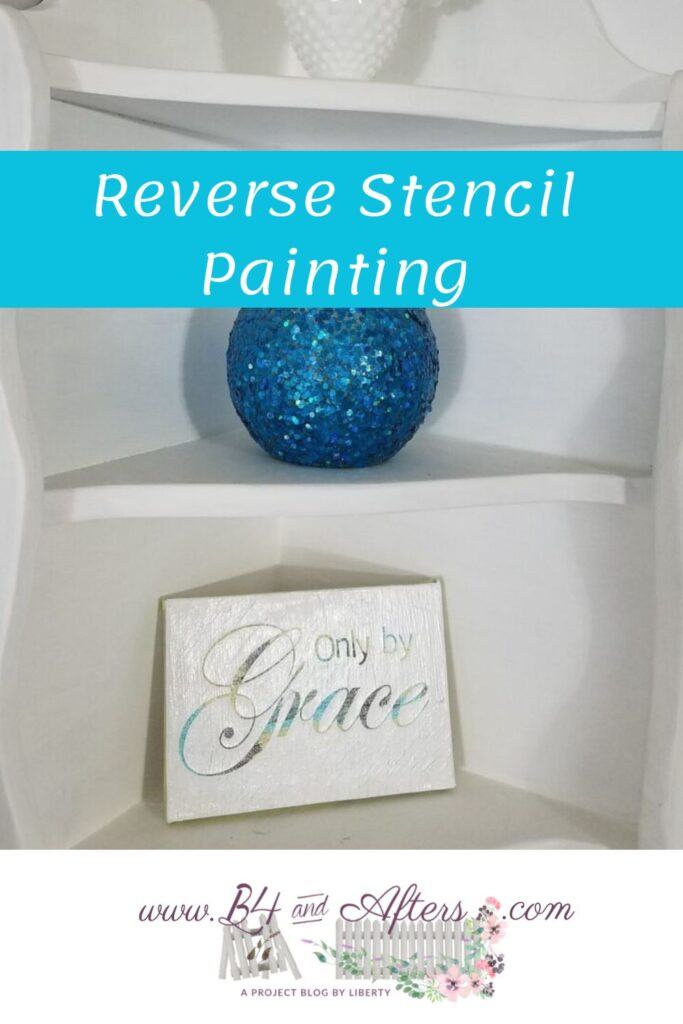
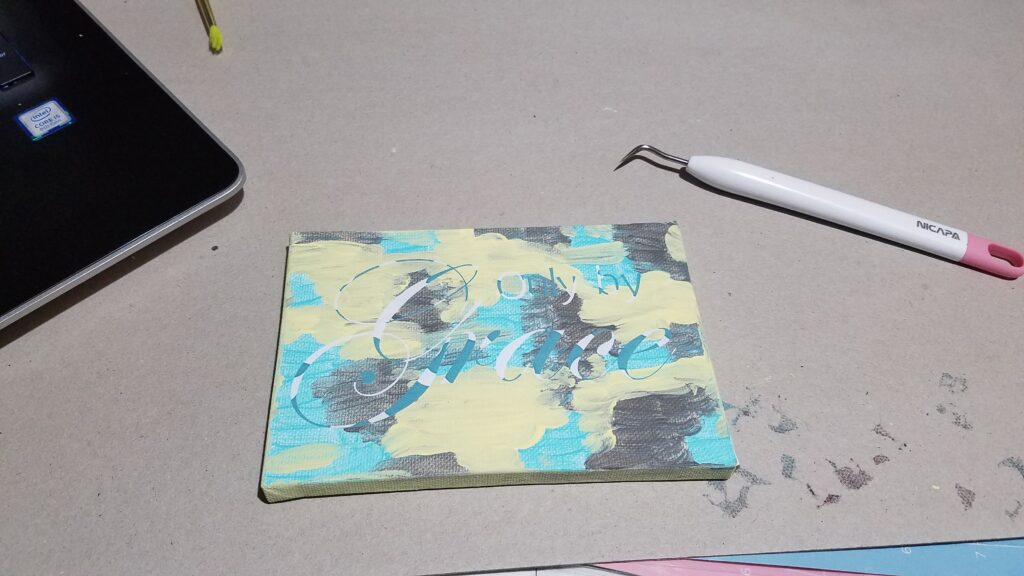
Carefully take off your stencil, revealing the colors underneath. This is the fun part!!
Use another clear coat of Mod Podge to seal the whole project. Let last coat dry completely. (Remember I said this took a long time!)
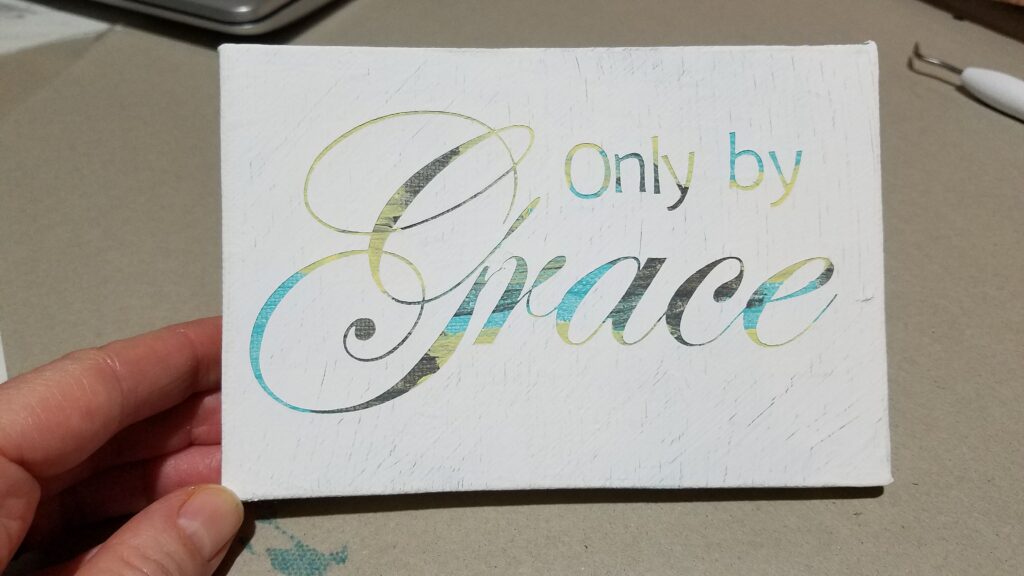
Then you are finished, and have a beautiful sign! My white coat of paint cracked a bit– I’m not sure why, but it still looks great!
I hope you have enjoyed seeing how I made my reverse stencil!