
He is Risen Outdoor Sign Restoration
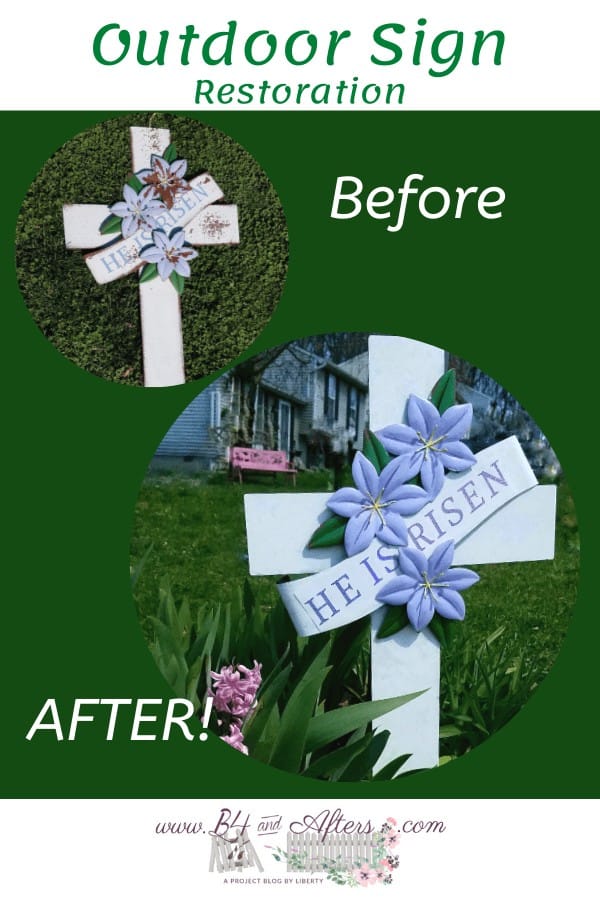
Today I want to tell you about my outdoor sign restoration. Last year I bought a new outdoor sign from At Home. They had sooo many cute things that I liked! I resisted the Easter pillow, and chose instead this “He is Risen” outdoor sign. I took this picture in March last year– when the sign was brand new (and the grass was still brown).
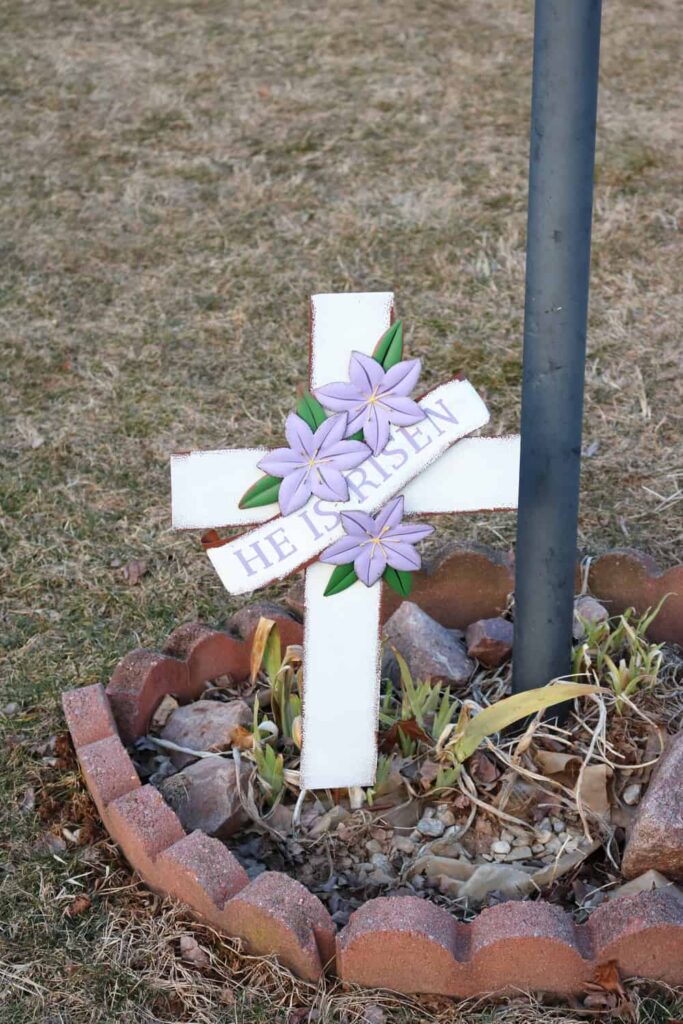
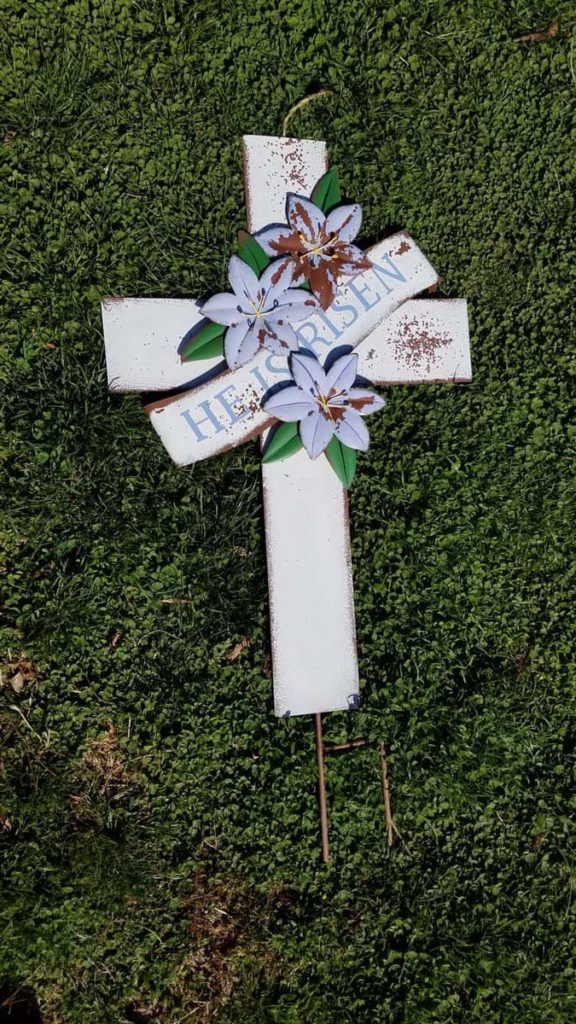
The white paint had not been painted all the way to the edges, but that was okay. However, after the end of the Easter season, my poor sign looked awful!! The paint had not stood up to the outdoor elements like rain. I was very disappointed— I had paid a good $15 for this sign, and it was supposed to last me awhile!
Since I had a little extra time at home recently, I pulled out this sign and scraped the loose paint off with a toothpick.
Sign, Before
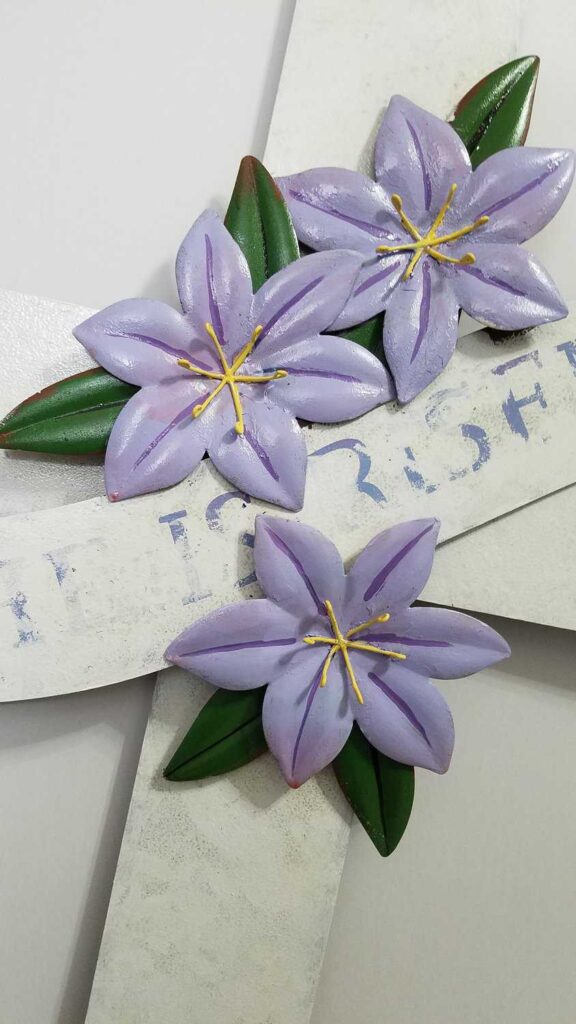
Six years ago or more I had bought several $1 paint sample pots in various colors. I pulled out the colors and had just what I needed– a light purple, a dark purple, and yellow. And I had some white. I set to work painting the flowers again. To paint the flowers, I first
- painted the lavender background and let it dry.
- Then, I painted the darker stripes on the flowers and let it dry.
- Lastly, I held a piece of paper between the stamen centers (to keep the paint from getting on the purple part) and the petals, and painted the stamens yellow again. (They had gotten a lot of purple paint on them…)
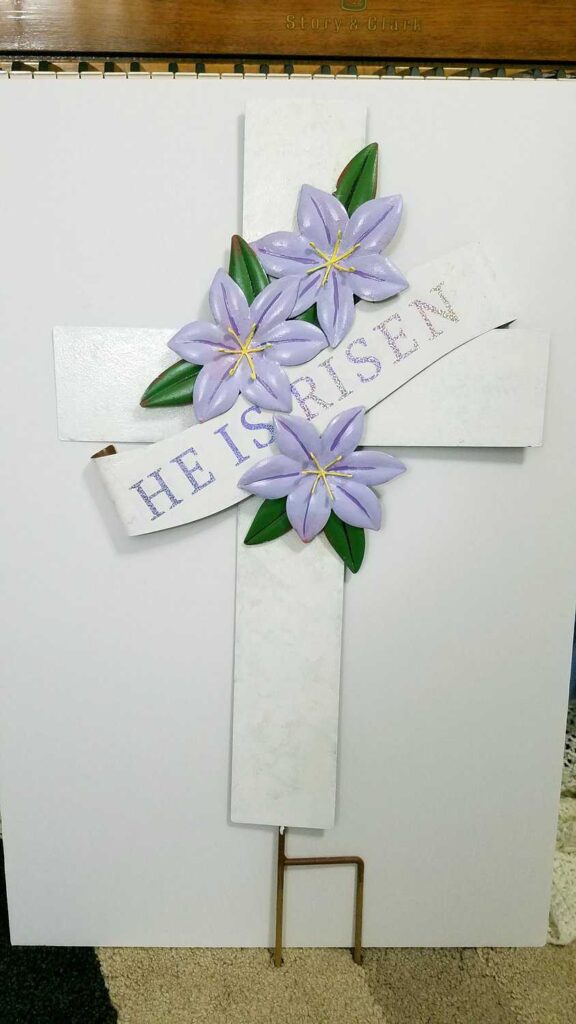
I used a craft foam brush to dab on more white paint, bringing it all the way to the edges of the cross this time. I was going to leave the part with the words alone, but then I saw the white paint needed touched up there, too. By the time I “touched up” all that white paint, it had blurred out the words!
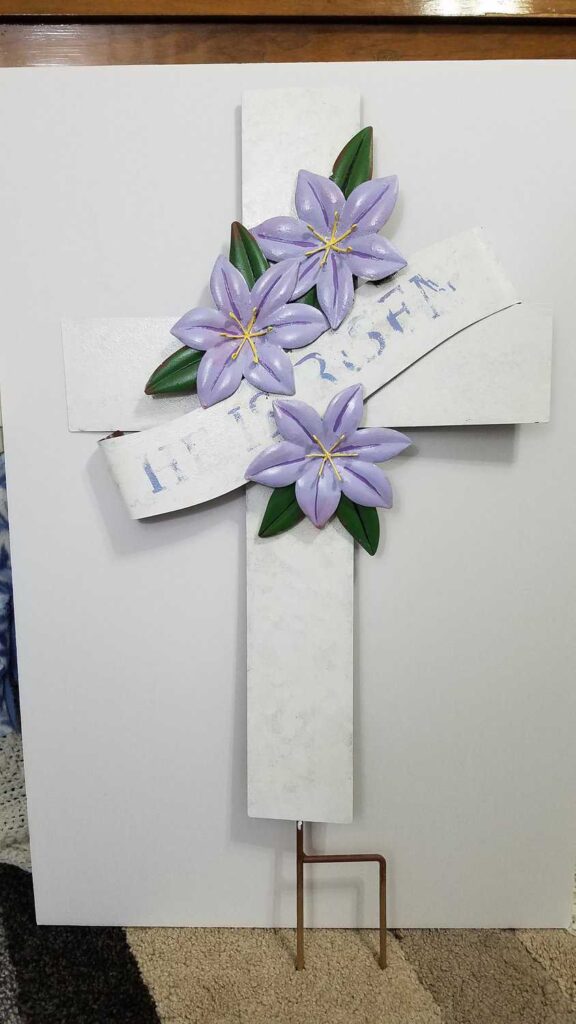
In hopes that my paint job will last longer than the store’s, I sealed my paint with a clear acrylic spray. It made my color run and turn a little pink in some places on the purple flowers, but I liked that effect, thankfully!
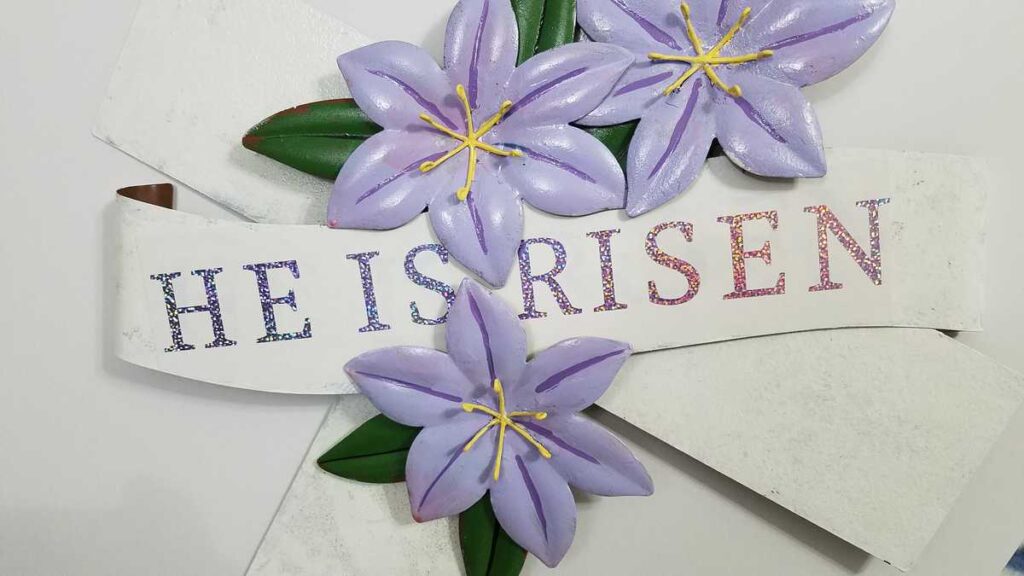
I had thought that maybe I could print out some vinyl letters with my Cricut Maker and just lay them over top of the painted letters. I found a similar font and made the letters using sparkly purple vinyl, but they were not quite the right size to match up perfectly.

So I came up with a different solution. I adhered the letters to a solid piece of white vinyl. Then I attached the entire white vinyl section to the sign. The white vinyl covered up the painted letters, and everything looks great!
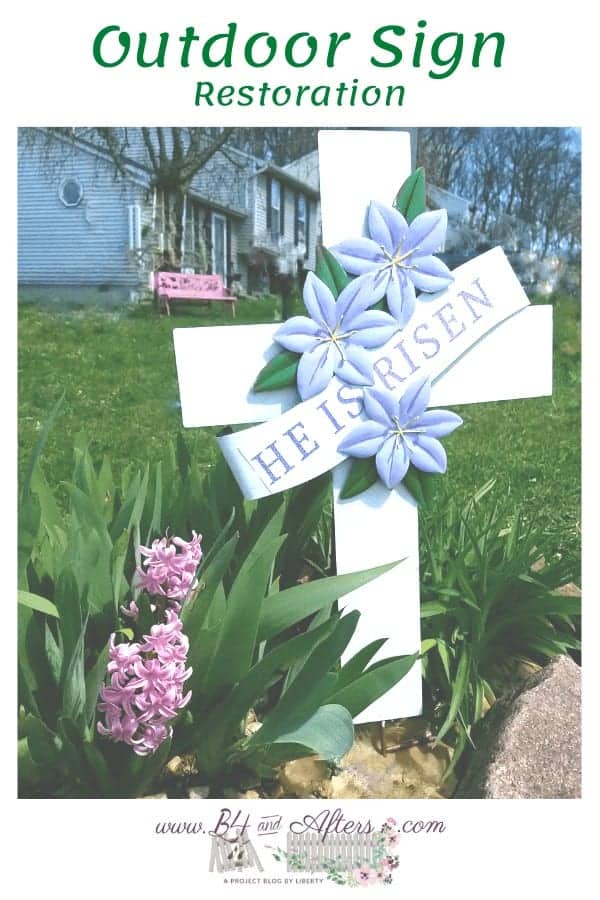
Now my sign is back outside where it belongs. I have high hopes that I won’t need to touch up this sign every year. I took this picture last week, and you can see how green the grass is, and how pink the hyacinths are!
Sign, After!
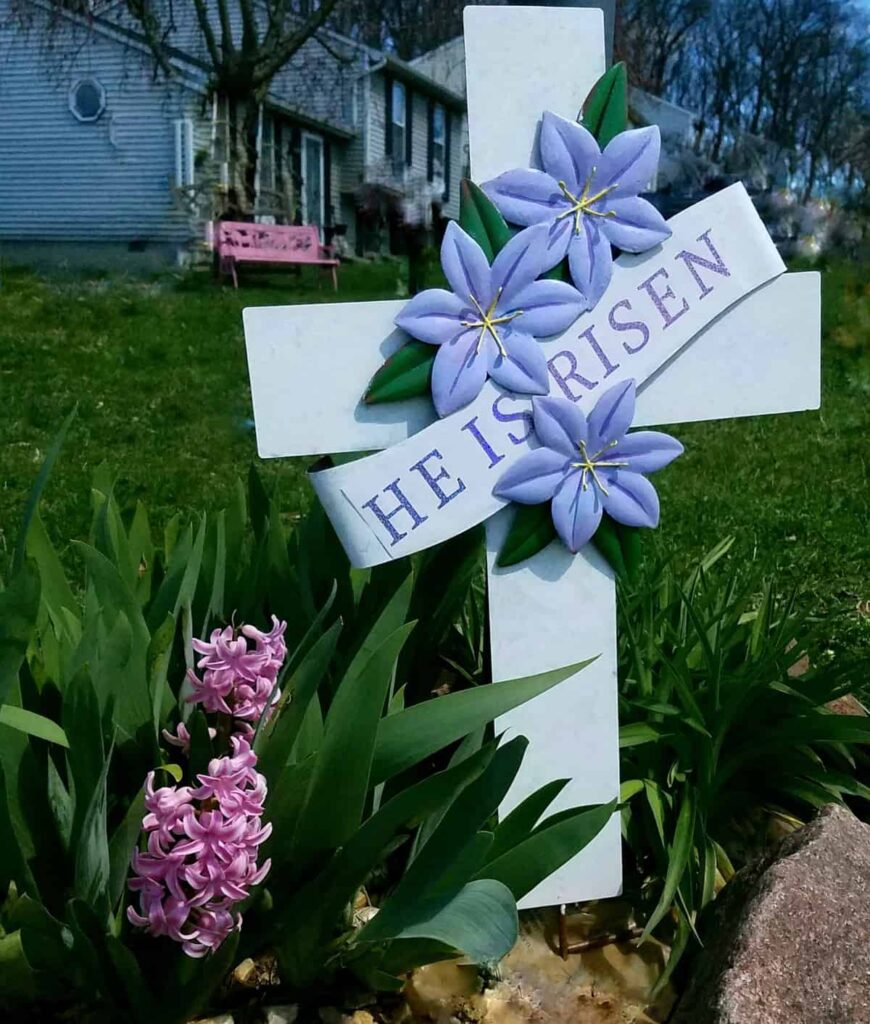
This sign is placed at my lamp post, where I see it whenever I pull into the driveway. Of course, these days I am not pulling into my driveway very often, since I am not going very many places!


Your makeover really made the sign stand out! It looks so much better and brighter. I hope you have a blessed Easter!!
Thank you, Michelle!
What a beautiful sign! It is a shame it did not last every long in the weather but you did a wonderful job restoring it, I hope it brings you many years of joy and you get to admire it a lot (even if we aren’t driving a lot right now!)
Hope that you are having a lovely Easter weekend 🙂
Thank you, Mica. Happy Easter to you, too!!