Music Stair Railing
Last year I showed you the new wall in our basement and how we had pocket doors installed. I love those doors– they are such a space saver. It gives me more freedom in arranging the rooms on both sides of the doors, since I don’t need to leave room for a swinging door or barn doors or any kind of doors.
Here is another Before picture, before the wall and doors were installed. This is also the Before picture of my new stair railing. The gray painted 2x4s were only meant to be a temporary solution when the house was built over thirty years ago! They used to run on both sides of the stairs until we had our Downstairs Bathroom built (the blue wall you see with the map on it is the bathroom).
Wall/ Stair Railing Before

I’m so glad that you’re here! Would you like an email reminder once a week about new ideas that I share? You may Sign Up Right Here. Now back to this tale of another Before and After project…
Here is this part of the wall after it was finished, but without the new railing. (I did stain the dark railing on the opposite wall that is the outside of the bathroom.) You can see that the new wall stops before reaching the bottom of the steps. It stops about two steps up, which is good because there is not a lot of room at the bottom of the steps and this gives us a bit more room.
In progress

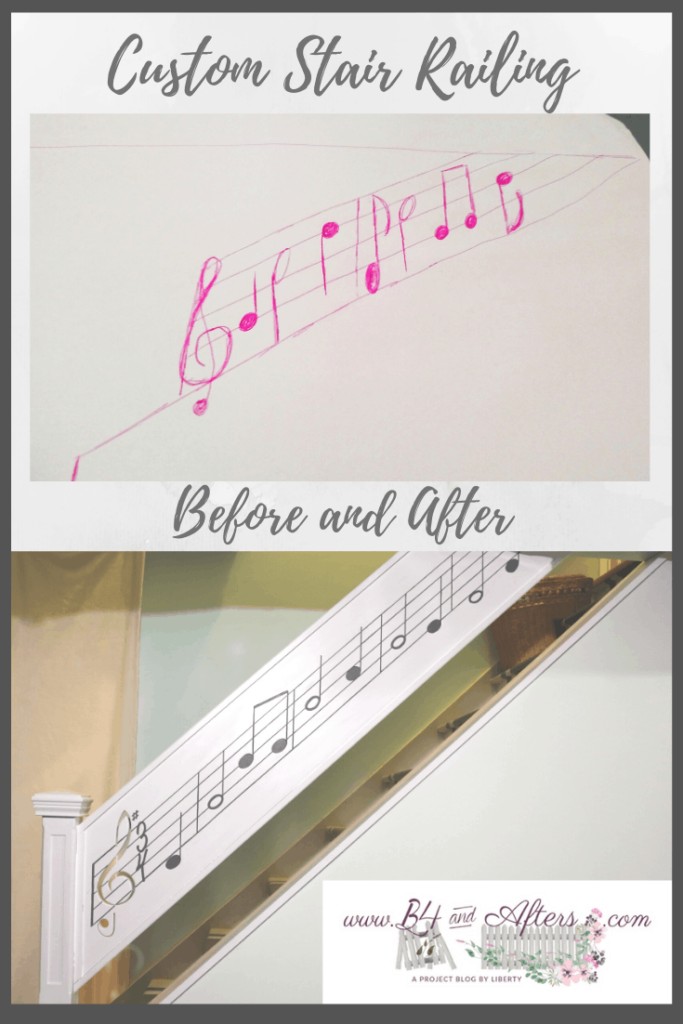
The person who built the wall was also responsible for building the railing. He said for me to design what I wanted, and that he would make it. He is very skilled, so I did not doubt that he could. It was not long before I came up with a design, and this is what I drew out:
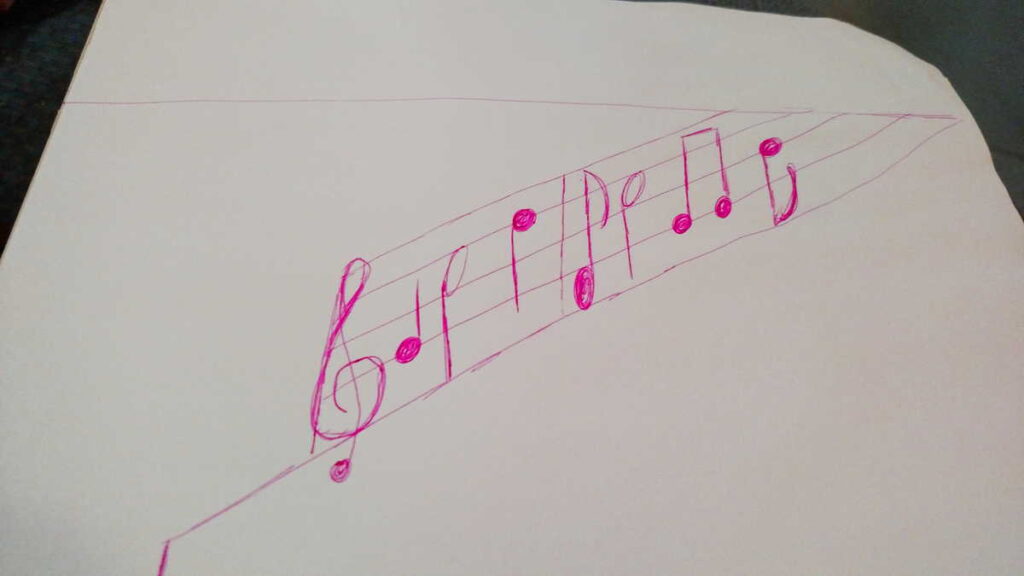
Do you like it? What kind of railing would you dream up if you could have a custom stair railing? Well, we showed my drawing to the builder and after he got over the shock of what I had designed : ), he began thinking about how to make it happen. He said that he could make it metal by welding poles together, but that was more of an industrial look that I did not really care for. We talked some more and came up with a specific wooden design that would allow the heat from our pellet stove to still flow up the stairs.
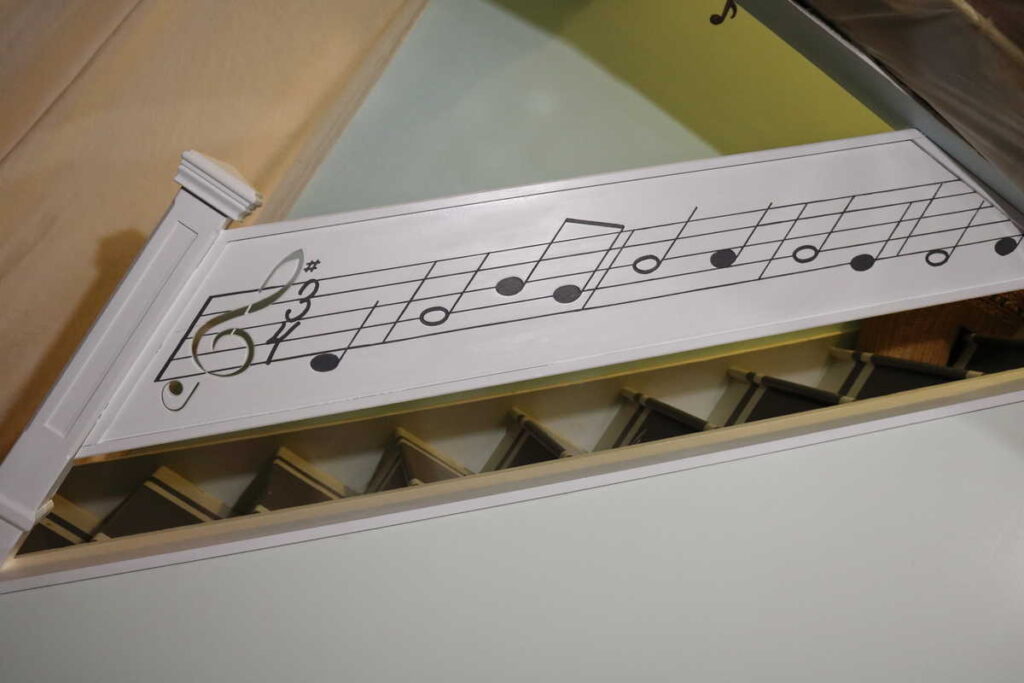
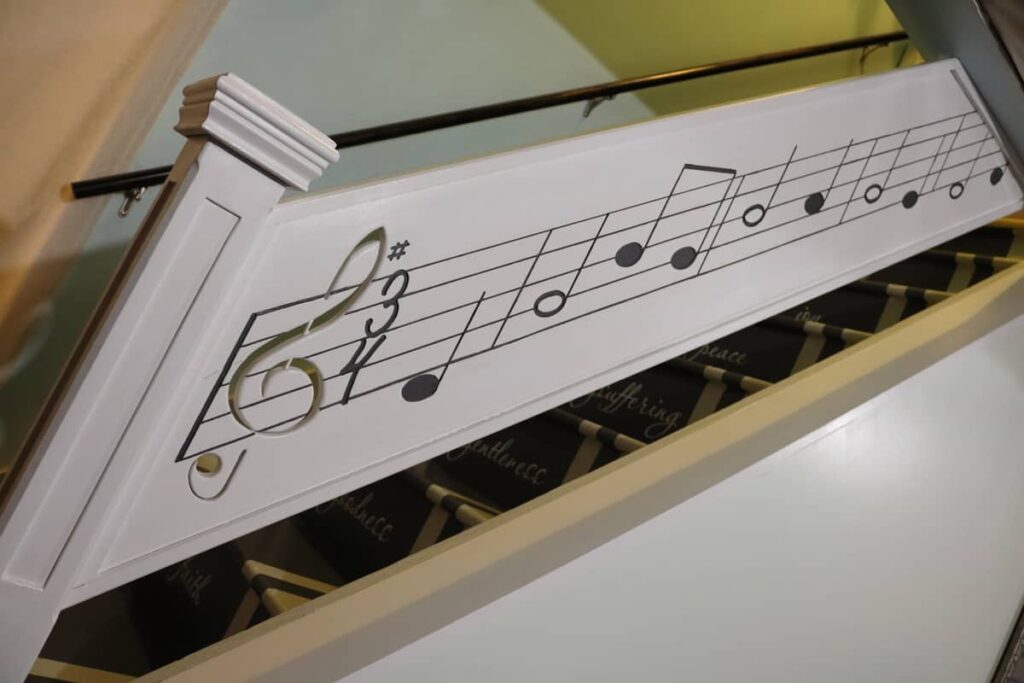
We also came up with a specific music design that the contractor could fit into the space that we had to work with . It is the first line of a well known hymn. Can you guess which one??? I’d love to see your guesses in the comments!
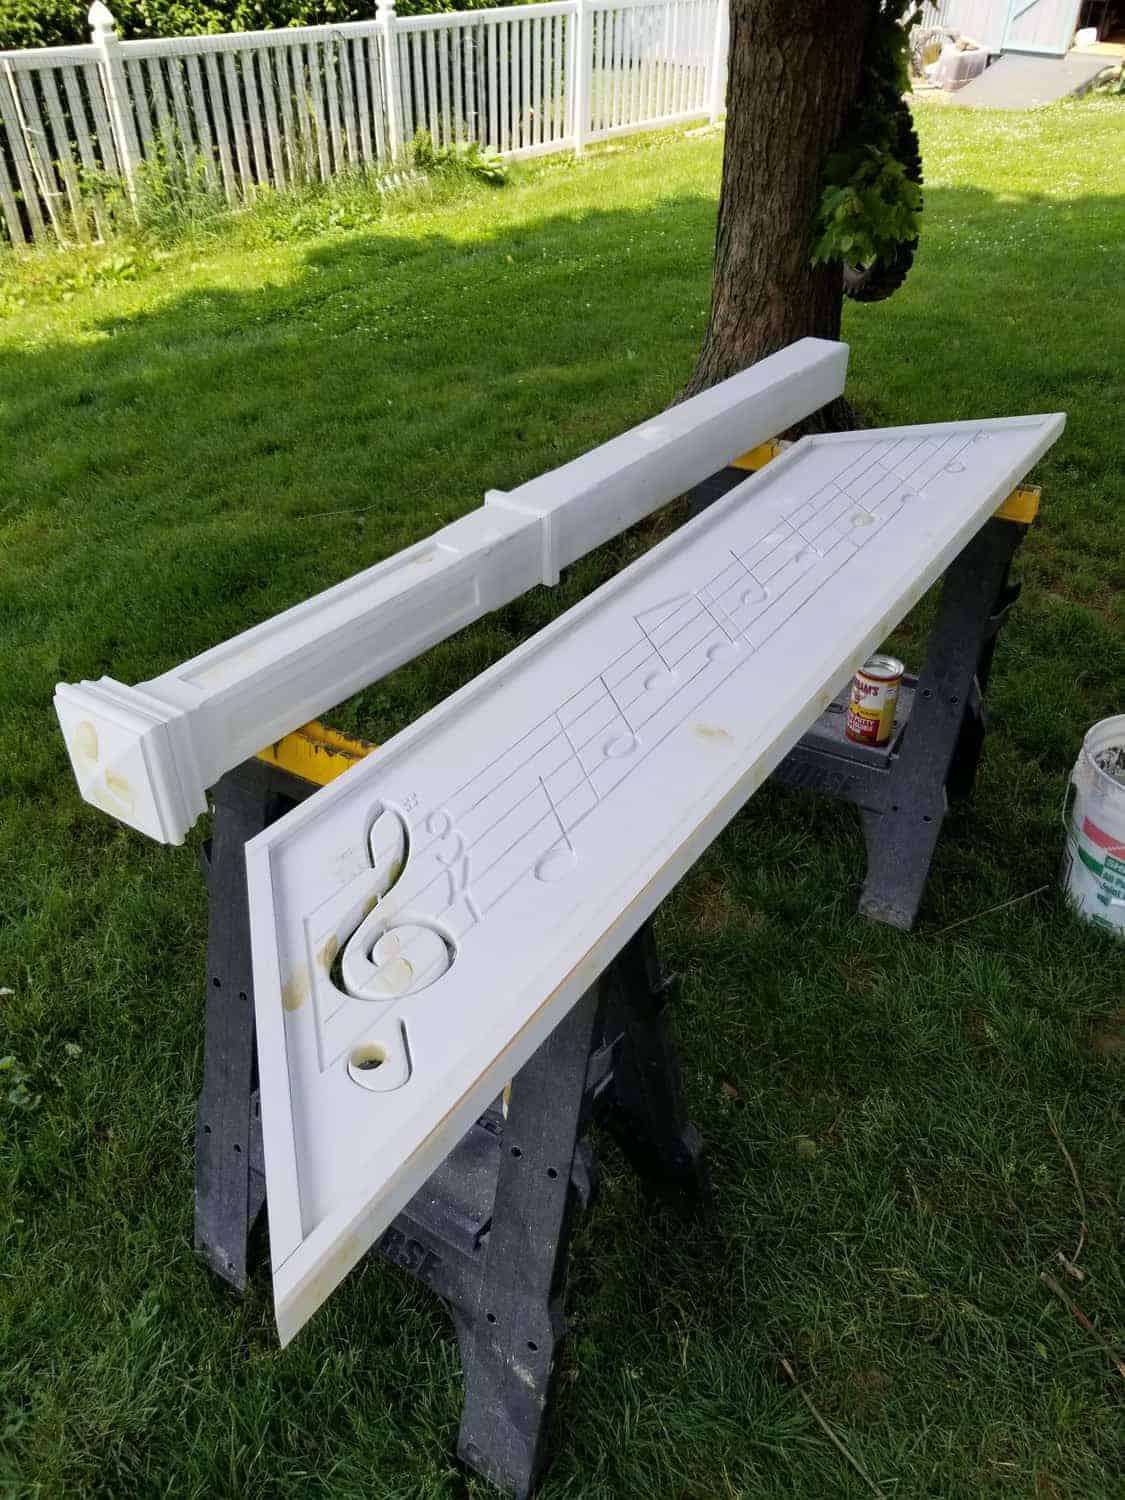
Here is my drawing come to life, before it was installed!
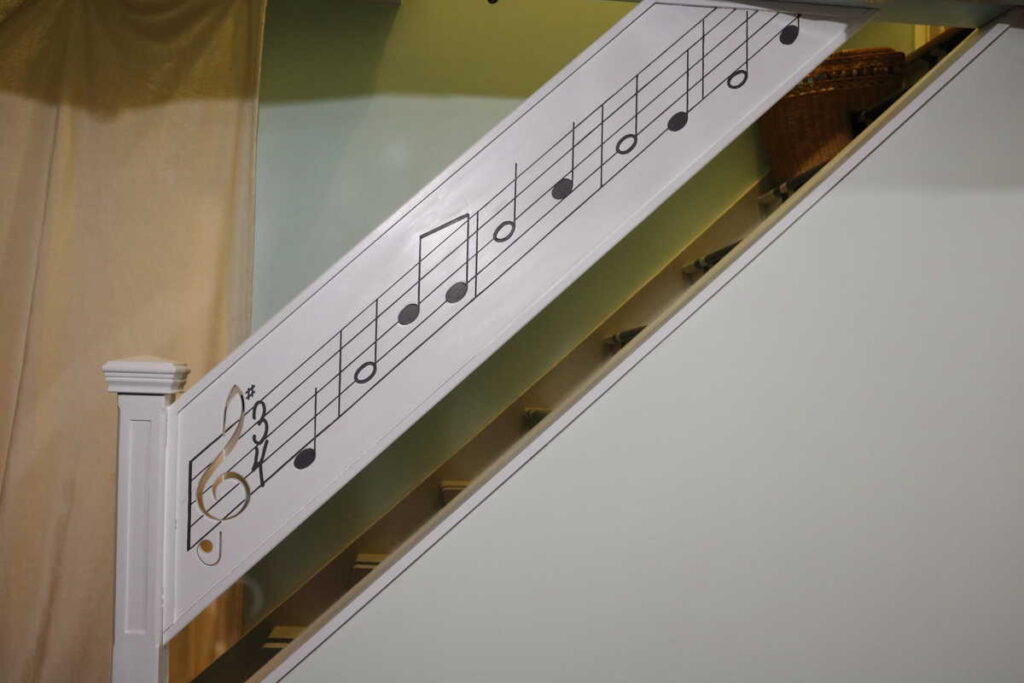
This is the music stair railing installed.
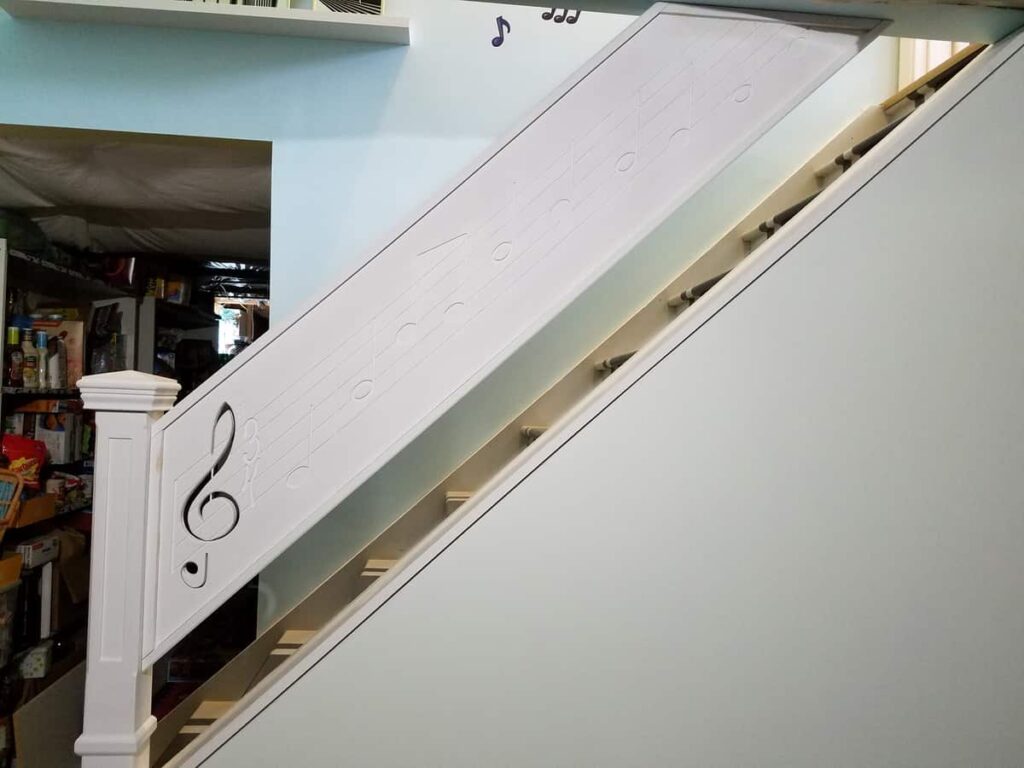
I was very pleased with my new music stair railing! It was everything that I hoped it would be. For a long time I debated how to paint it. It was installed in a primed white color. I wasn’t sure if I should use a glaze to get in the crevices…. and I had never used a glaze before. So finally I got in touch with Lindsey at Repurpose and Upcycle and she offered me her advice. That was what I needed to go ahead and finish the job!!
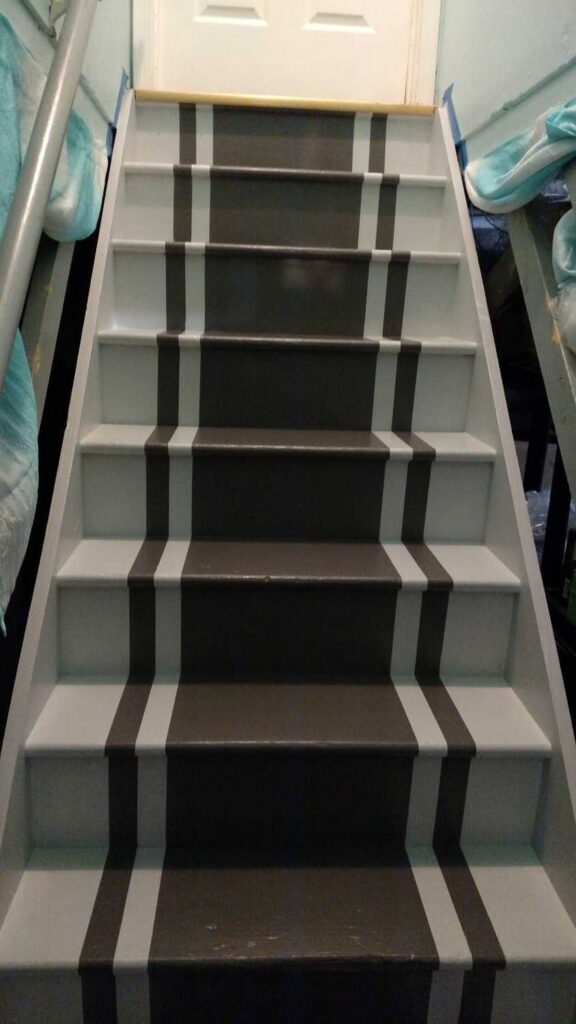
Finally, I decided to use the same dark gray paint that I had used on my kitchen cabinets, a bathroom cabinet, and my stairs. Would you believe that I only bought ONE QUART to paint my cabinets?? And I have used the leftovers to paint all of those other things?? And that I still have some paint left?? It is expensive paint, but extremely well worth the price!!! You can find it here (there are lots of other colors, too).
My kids have a poetry book by James Stevenson that says:
The Rule of Paint
“A can of paint always has more in it than you need, and it lives with you for the rest of your life.”
James Stevenson
That has certainly been true of this gray paint, and of many other cans of paint that I have!!
First, I had to clean the railing. It had been months since it had been installed and was dirty from little hands. Then I painted a semi gloss coat of white trim paint over all of it.
Lastly, I bought a tiny paint brush. On a quiet day when my husband had taken the kids somewhere, I painted the grooves of the music, and wiped the excess with a wet cloth over and over and over. Even though I used a tiny brush, I still had paint everywhere. Eventually I finished. I decided not to do a clear topcoat because of the white paint. With the light color there is always a chance that the clear coat could yellow.
Here is the finished railing!
Stair Railing, AFTER!
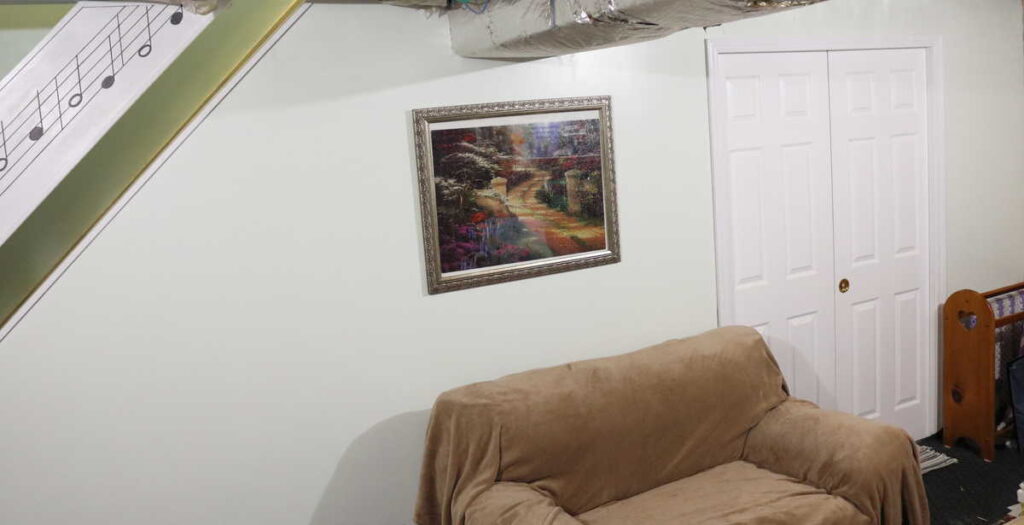
Here is the entire basement wall. Well, as much of it as I could fit into the picture. You can see our ceiling is not finished. That is somewhere on the bottom of our list. But we have done a ton of projects in six years, so we should soon reach the bottom of that list!!
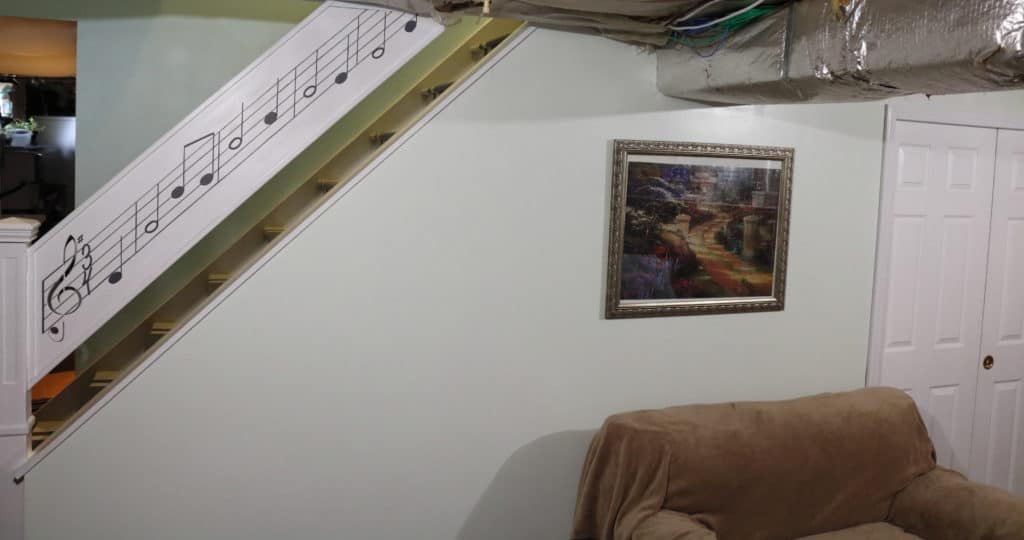
Let’s take another look at the Before picture. Quite a lot of progress, right?! And yes, all of that stuff my Christmas decor is still on the other side of the wall. It is wonderful what a wall can hide!

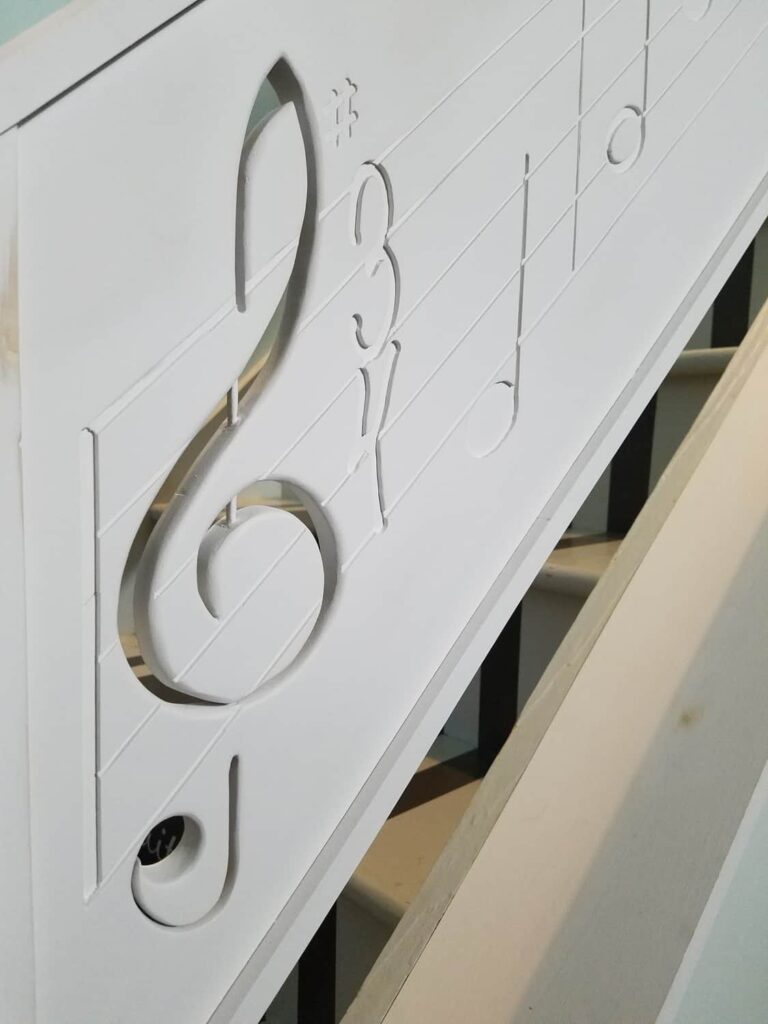
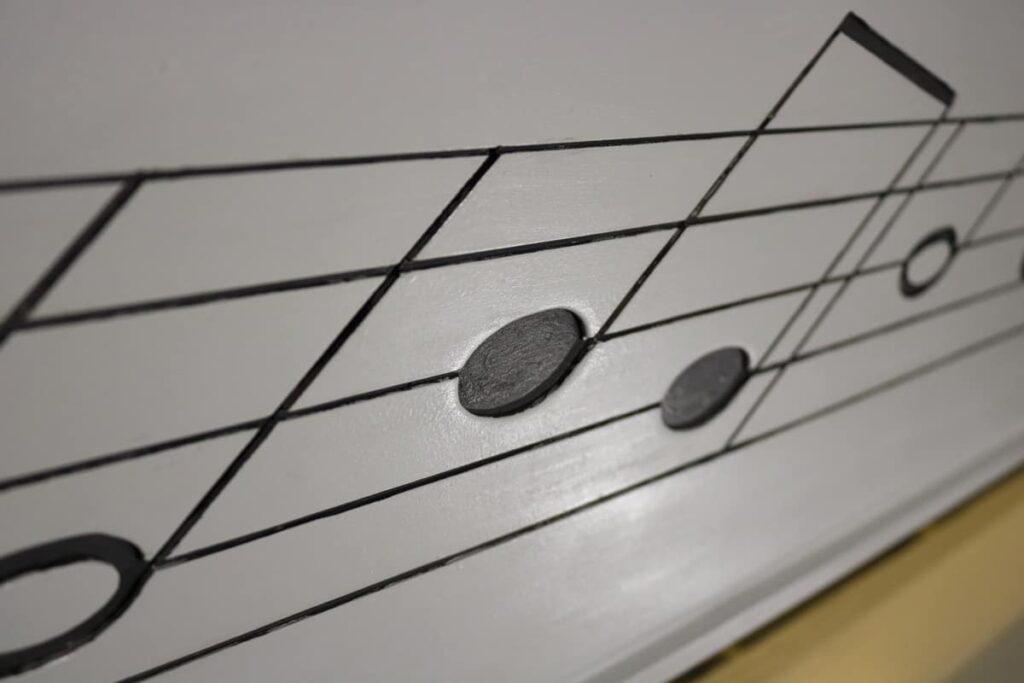
Here are some closeups for you.
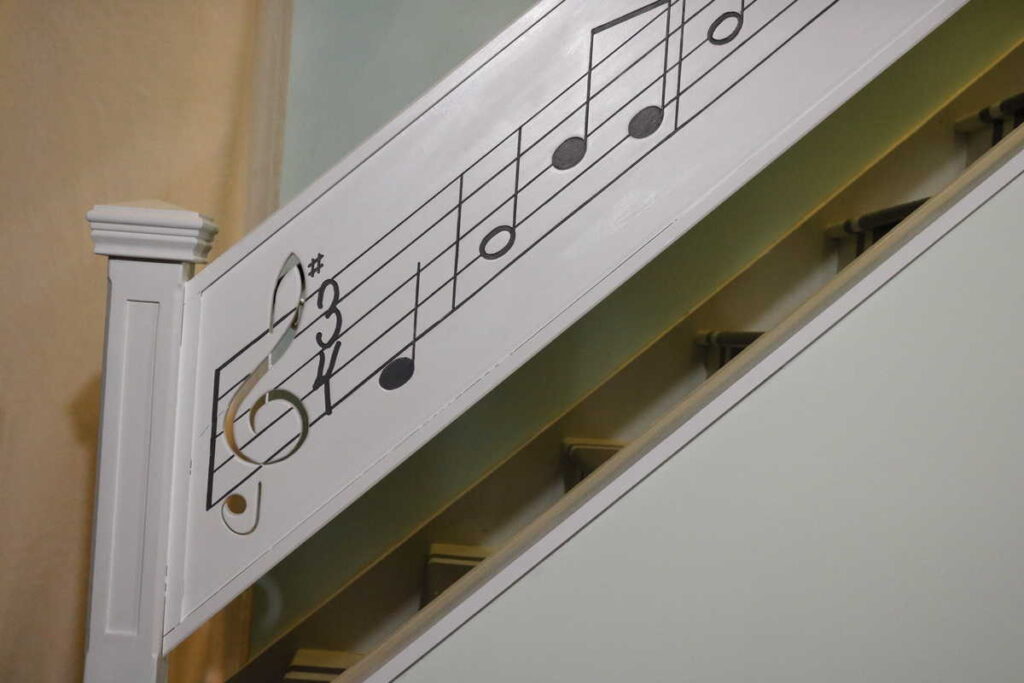
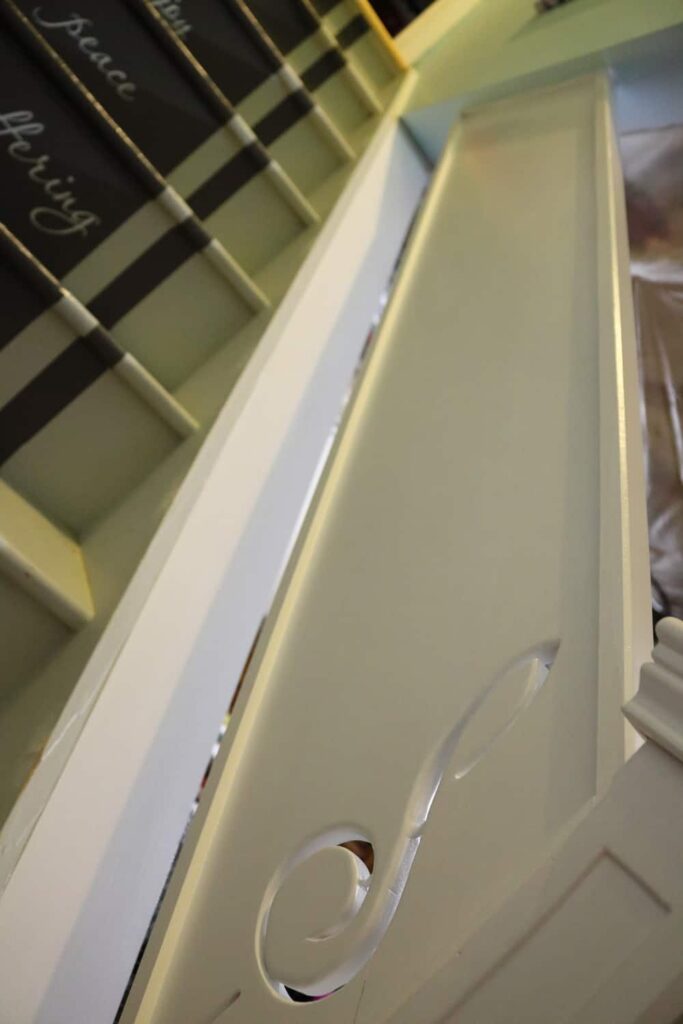
Here is the treble clef from the back side so that you can see how much light goes through.

Here is a closeup of the treble clef from the front.
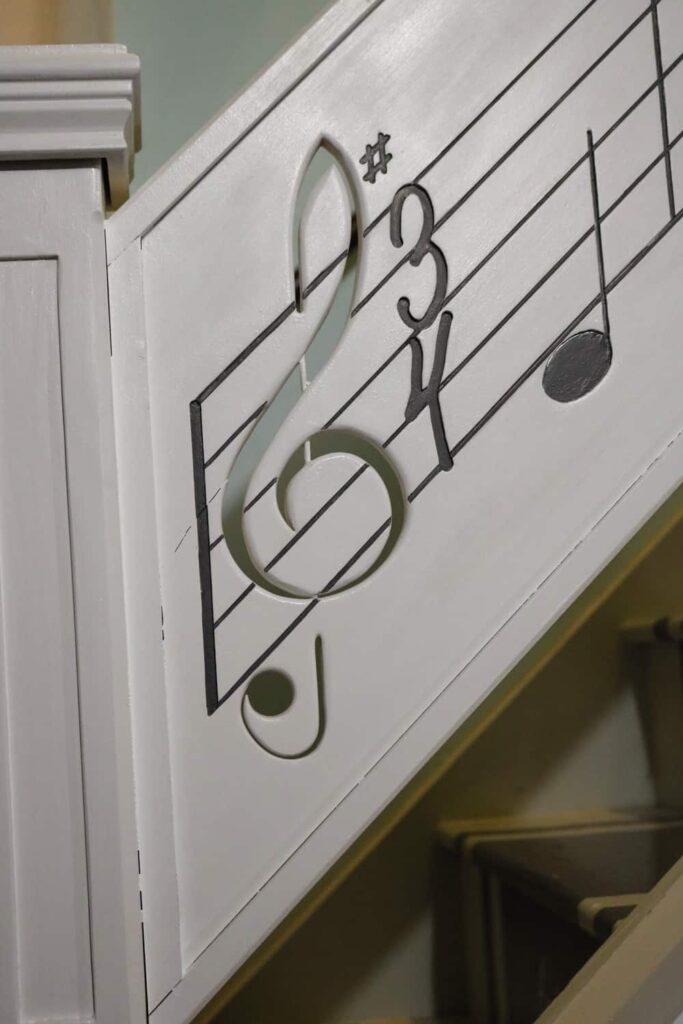
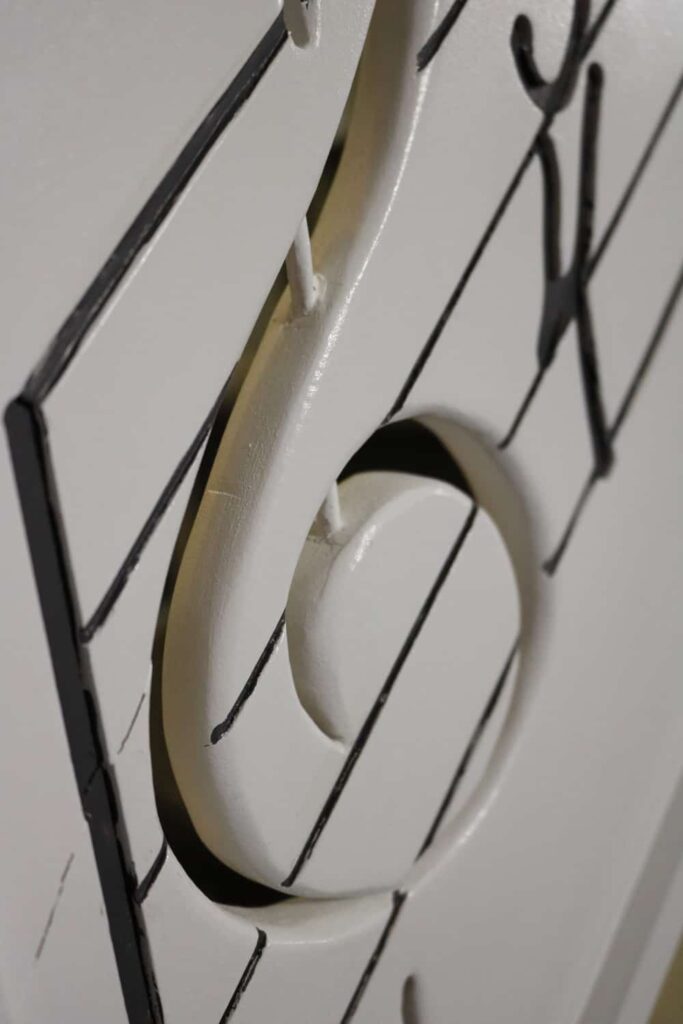
Look at the shadow to the left, that the light makes as it goes through the treble clef.
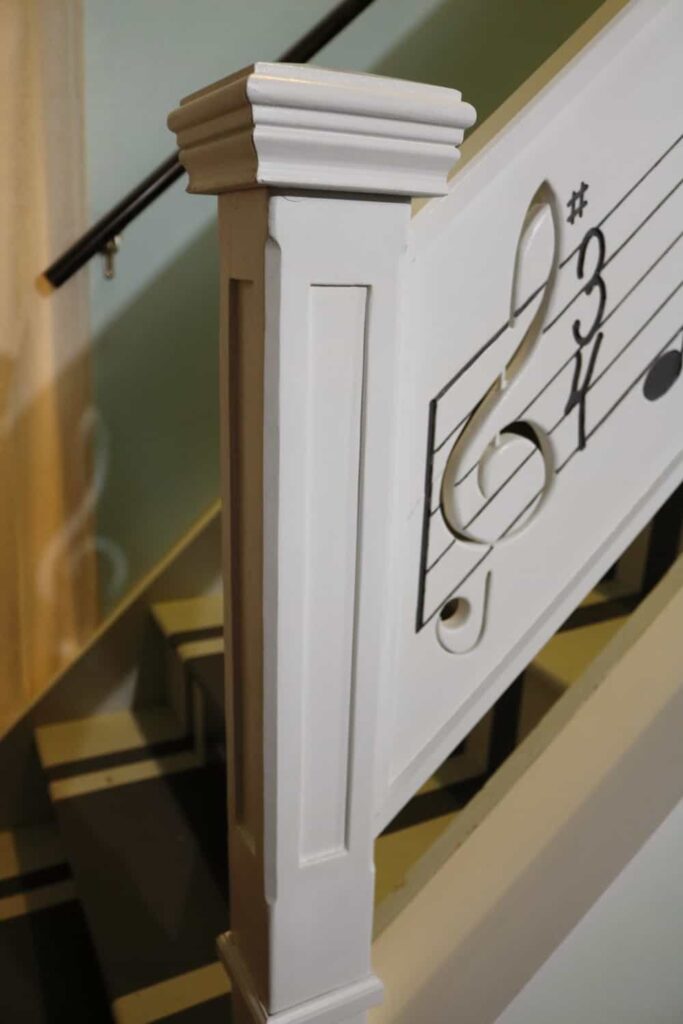
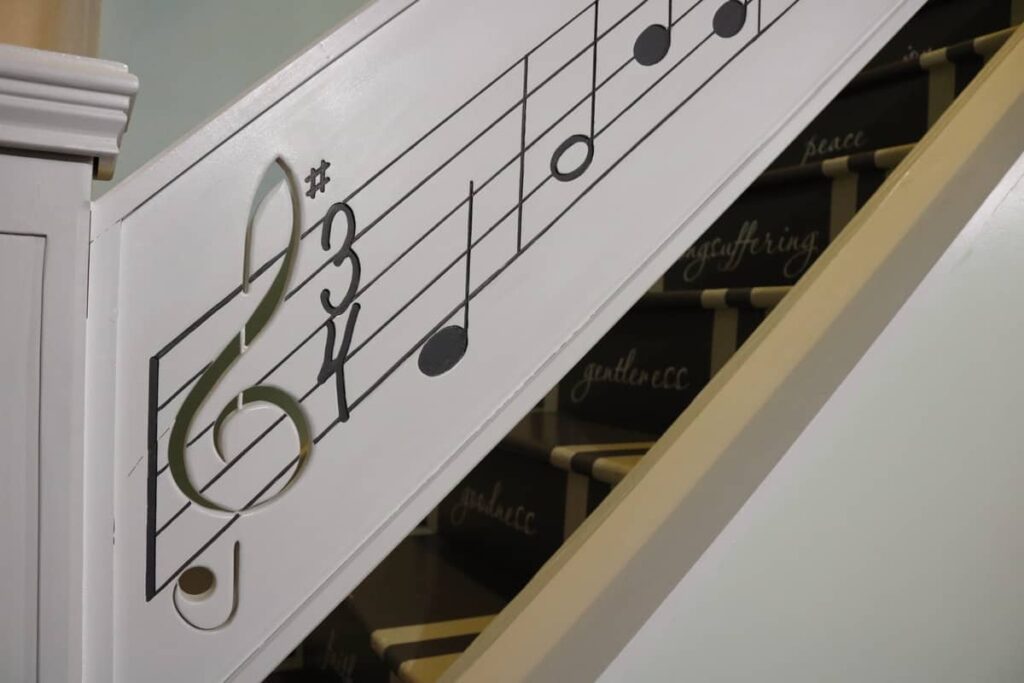
You can see my stairs poking through.
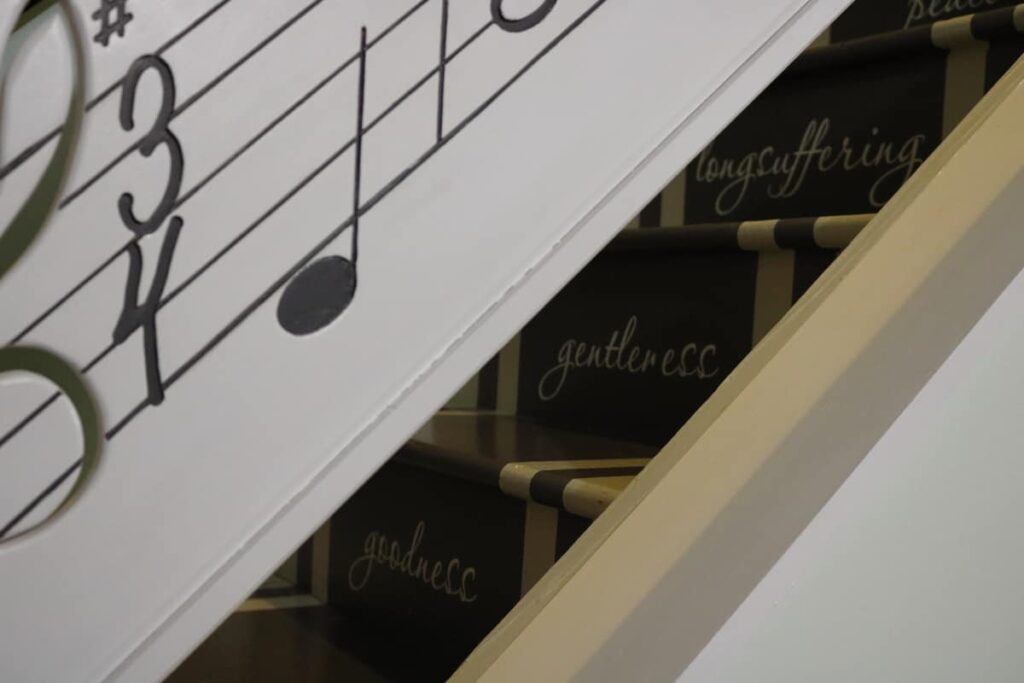
In past years, I would never have dreamed that I could have such a thing in my house. I love being able to be creative like this. That is one of the best things about buying a house that needed some things finished.
You know that if I ever had to move, that railing is coming with me!! How could I leave it behind?!
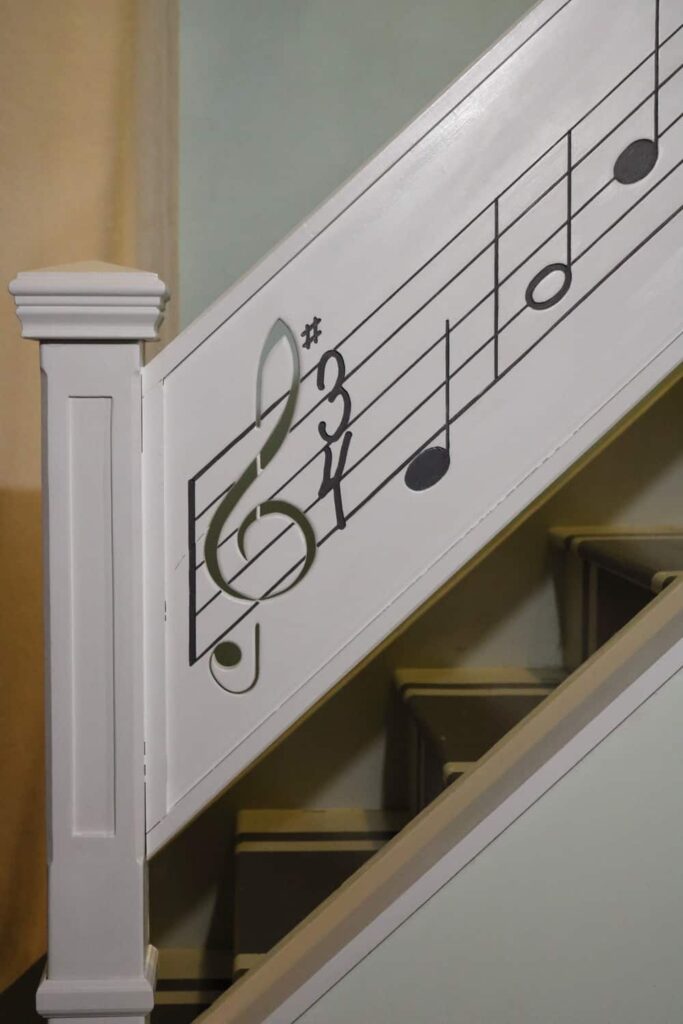
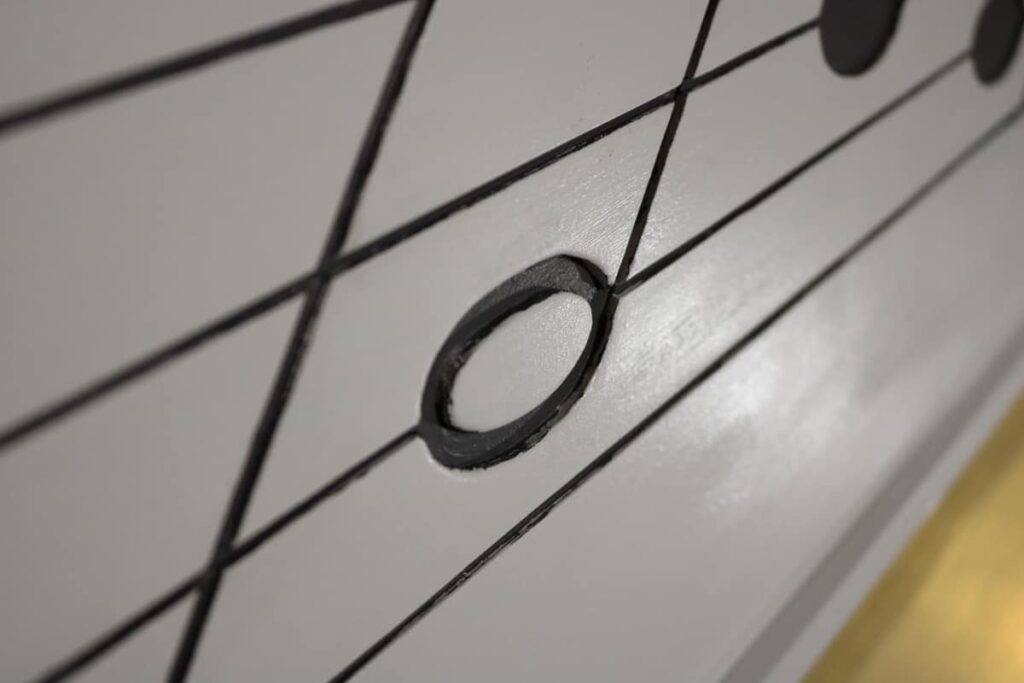
I am very happy with the look of the gray paint. I think it gives the illusion of the notes and lines being carved completely through the wood, just like the treble clef is. It also coordinates nicely with the stairs just on the other side.
Here’s a look at the rest of the wall with the pocket doors in it.
Have you figured out yet what the tune is??
You know I can’t just leave the back of this railing blank. It is just a matter of deciding what to put there…. When I do whatever it is, I will be sure to let you know all about it!







Beautiful! And that would be Amazing Grace!!
Yes, Amy, it sure is!! : )
You’re right! Your stairs and that amazing and creative stair rail blow me away. One of a kind, mindful, centering, beautiful. Well done. What else can I say. Truly rare.
Thanks for the inspiration.
P.S. I don’t do replies, ever. So for me to do 1, it has to be special. 🙂
I understand, Judy. Thank you so much for taking the time to tell me how much you like it!!
This looks amazing, Liberty!
Thank you, Paula!
Oh my gosh! That railing is amazing and so beautiful! I love it!
I’m so glad that you like it, Amy!
Liberty,
I absolutely love this idea!! So pretty!!
Thanks so much for taking the time to stop by!
Hugs,
Debbie