Basement Shelves
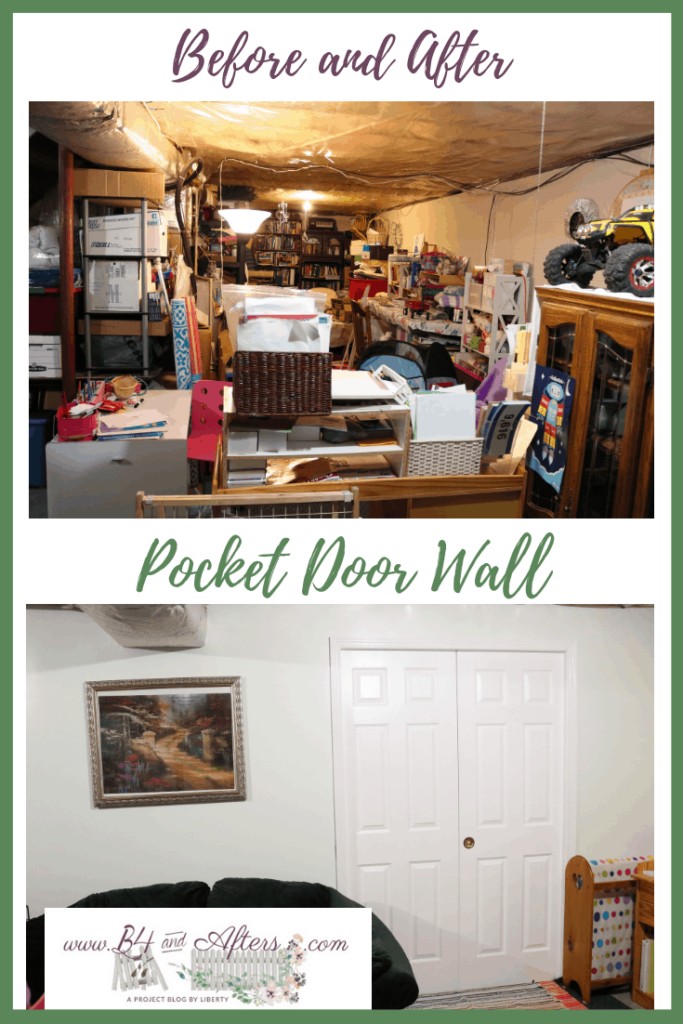
Before

We don’t have a garage, so part of our basement is storage for all the things that other people put in a garage– like painting supplies, electrical, plumbing, auto cleaners… all sorts of things. Someone else in our house stored things with the “bag and box” system. They buy or put things in a gray plastic bag, then stuff several of those bags into a cardboard box. They do this without labeling the boxes, and without any attempt to keep like things in the same box. When I realized this was happening, I bought some clear plastic bins at Ikea and labeled them–the ones you see on the shelves above. I was happy that 4 bins could fit on a shelf. Then I had 2 more of the black towers you see above… for food storage also.

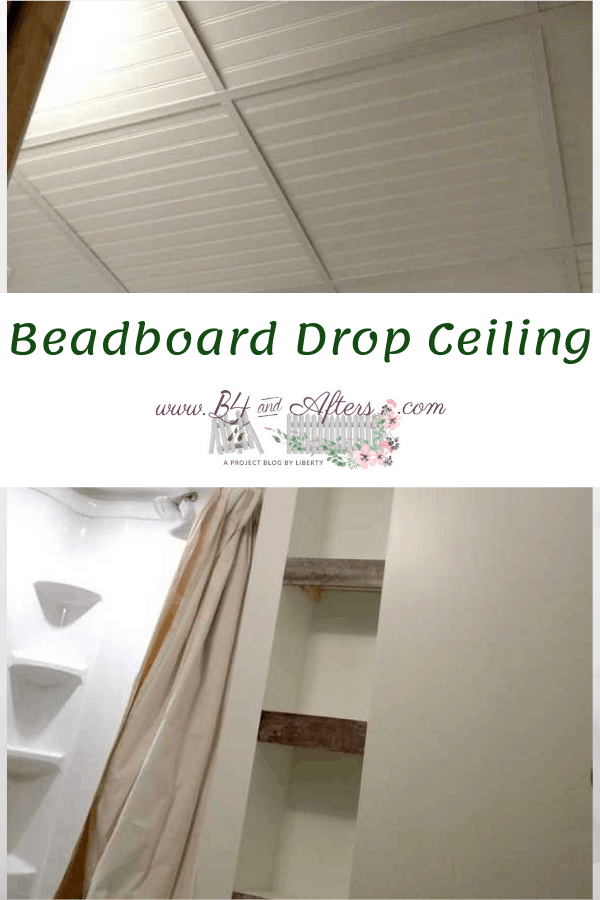
Our new basement bathroom created a short, wide hallway. But it wasn’t wide enough to put those black towers in. And I wanted to use the wide hallway’s extra space. So I searched and found some free wooden shelves on Craigslist from a shoe store going out of business. Hurray! They were the perfect size– tall, and unassembled. Since they were unpainted, I first painted a coat of Zinsser Bullseye 1-2-3 Primer, then a coat of glossy white Behr for trim Interior/Exterior on the ends/sides.
Through trial and error on the first set, I easily assembled the second set of shelves. The trick is to connect the top to the side, like this, so that it makes a triangle while sitting on the floor:

Then stand on your step stool with drill nearby, and lift up the triangle to connect it to the other side. Once the top shelf is connected to the two sides, then add each shelf one at a time going towards the bottom. It’s been awhile since I worked with real wood. It is a lot different than assembling factory pieces.

Since I was going to be putting cans of food on the shelves, and sliding tubs on and off of the shelves, I decide to cover them with contact paper from the Dollar Tree. I love contact paper!* I put mine on the bottom of the upper shelves, since they were tall enough to see the undersides.

I am very happy with my new-to-me shelves! They are very sturdy. My husband secured them to the ceiling for me. A big plumbing pipe is hiding between the two units- see it on the right in the picture below?

The new basement shelves do not crowd the hallway–I can still get my laundry basket through easily. There isn’t wasted space in the wide hallway. And my clear bins fit on the shelves perfectly!

AFTER!!