Bathroom Cabinet and Fixtures
This post is the seventh in a series on our downstairs bathroom. You can find the other posts in the series here:
Today I want to point out the cabinet and fixtures to you. Then the next post will be a recap with all of the finishing touches and seeing the bathroom all put together!
BEFORE
(*This post may contain affiliate links. By purchasing anything from these links, I may receive a small commission at no cost to you. More information is available on my Disclosure page.)
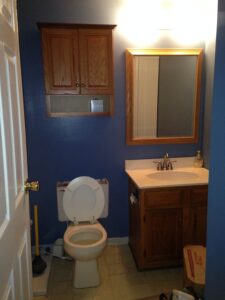
The picture above is of our upstairs bathroom before we moved in. How we remodeled that bathroom is another series. Today I want to point out that we reused this toilet in our downstairs bathroom. I also saved the cabinet over the toilet to reuse in our downstairs bathroom– except that I painted it.
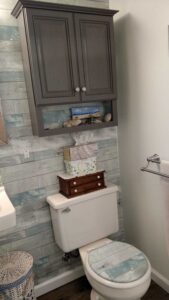
I followed the same procedure that I used to paint our kitchen cabinets. I used Zinsser Deglosser* and then painted it with General Finishes Milk Paint in Driftwood Grey.* I had bought one quart for my kitchen cabinets. I had leftover enough to paint my basement stairs and this space saver cabinet, and I still have some left! It is expensive, but a quart of this paint goes such a long way! It is worth every penny. The paint is heavily pigmented. You paint it on with one of those foam craft brushes,* and there are no brush lines like a regular paint brush would normally leave. After two coats of milk paint, then 3 coats of clear top coat* is recommended. I used Flat. And this is my result!
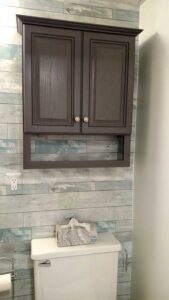
I hadn’t painted the little shelf below the doors. I was thinking that the doors covered all of it. So then I decided to wallpaper the back and bottom of the shelf part. I used my trusty wallpaper primer* so that it would stick onto the laminate cabinet. (The cabinet is a hybrid- the doors and trim are wood but the rest is laminate.) I matched the wallpaper to the pattern on the wall. : ) I am happy that I did it this way, because with taking things off and putting them on the shelf, it was more likely to get chipped if I had painted it.
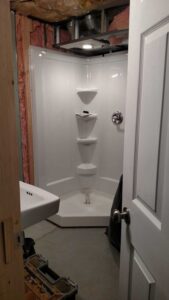
And then– our corner shower! The base and neo angle curtain rod is what we bought from our local home improvement store. The corner shower surround part, the corner walls with the three shelves and foot rest? That was free from Craigslist! I love free! The shower head (pictured here in the final reveal) was a gift from my cousin.
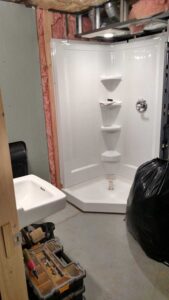
We purchased the wall sink from Lowe’s. It makes the bathroom seem more open, and gives an open line of sight when you come in the door.
The toilet that we reused– well, it turns out that the tank and the bowl don’t match perfectly. We decided to use it anyway. And I decided that to hide the minor color difference, it would be fun to wallpaper the toilet lid. After 8 months, it is holding up just fine! And I love how it looks!
AFTER!!
