• Skip to primary navigation
  • Skip to main content
  • Skip to primary sidebar
  • Skip to footer
  • Home
  • Blog
  • Advertise
  • Subscribe
  • About
  • B4 and Afters
  • Nav Social Menu

    • Bloglovin
    • Email
    • Facebook
    • Instagram
    • LinkedIn
    • Pinterest
    • Twitter
    • YouTube
B4 and Afters

B4 and Afters

a Project Blog by Liberty

  • Inspirational
    • Free Printables
    • Resources
    • Serious Stuff
    • Skincare
    • Weight Loss
  • Cakes and More
    • Cupcakes and Cakes
    • Birthday Parties
    • Chocolate
    • Baking
    • Pies
    • Other Recipes
  • Craft Ideas
    • Craft Blog Hops
    • Cricut
    • Crocheted Crafts
    • DIY Challenges
    • Felt
    • Knitted Crafts
    • Sewing
    • Wreaths
  • Home Improvement Projects
    • Century Farms
    • Home Tour-Rancher
      • Bathroom
        • Downstairs Bathroom
        • Upstairs Bathroom
      • Kitchen
        • Cabinets
      • Basement
      • Bedroom
        • Boy’s Bedroom
        • Girl’s Bedroom
        • Parents’ Bedroom
    • Home Decor
      • Organization
      • Contact Paper
    • Paint Projects
      • Cabinets
      • Paint Projects
    • Gardening
      • Outside Projects
  • Subscribe
  • Shop My Favorites

Related Posts

  • Downstairs Bathroom Part 1

    Our house only had one bathroom. In our basement there was a rough-in for a…

  • Downstairs Bathroom Part 2

    This post is the second in a series on the building of our Downstairs Bathroom.…

  • Removable Tile Backsplash for Bathroom Vanity

    Have you ever wanted a pretty backsplash, but thought that it would be too expensive? …

  • Bathroom Organizer

    I have a quick project to show you. I was looking for something to organize…

  • Upstairs Bathroom Renovation (part 2): The Shower

    There were two main reasons that we decided to replace the shower surround in our…

Home » Upstairs Bathroom Renovation Part 1

Upstairs Bathroom Renovation Part 1

This is the first post in a series of updating our upstairs bathroom. I hope you enjoy all of the “before and afters!”

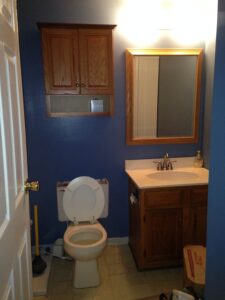
This is what our bathroom looked like when we bought the house.

Before
(*This post may contain affiliate links. By purchasing anything from these links, I may receive a small commission at no extra cost to you. More information is available on my Disclosure page.)

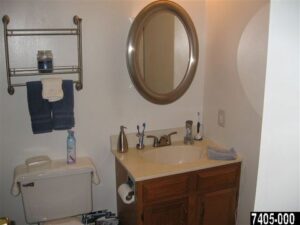
And this is what it looked like previous to when we bought the house:

Before, Before
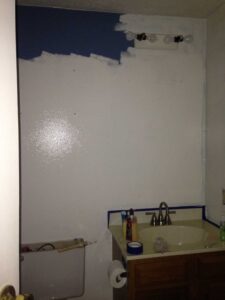
Paint

That dark blue was just too dark for a bathroom without any windows. It photographed a lot brighter than it really was in real life. So I decided to paint it right away.
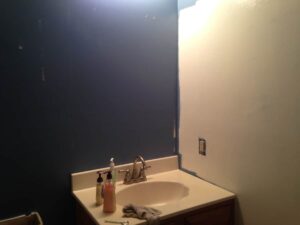
I decided on a warm white called Swiss Coffee.
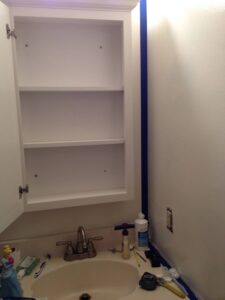
New Medicine Cabinet

I was thrilled to find a wall mount (not recessed) mirrored medicine cabinet on Craigslist for half the price of a new one. You can see a similar one Here on Amazon.* Here is the inside. You can see more of what I did to the inside of the medicine cabinet HERE.
Shower Curtain

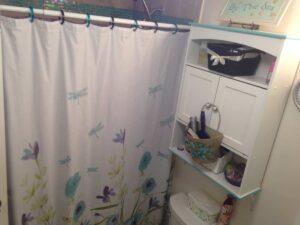
I like bright colors, but I don’t like to be overwhelmed, so I opted for an accent wall in just the right shade of aqua green. (I painted this in 2014 and am just posting about it now….) I wanted the accent wall to coordinate with a shower curtain that I had bought and used at our former condo unit.

I had gone to Kohl’s to purchase a shower curtain that I liked. It was a splurge. Up to that point in my life all purchases for such necessities as shower curtains had been based on what was the cheapest. This time I went out to find something pretty. I did find something pretty. I loved it! (The only problem was that it didn’t look so great with the mauve tile and light yellow walls in that bathroom.)

So this bathroom was designed all around a shower curtain that is no longer available. You can see it here:

Accent Wall

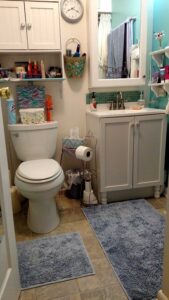
And that is how I ended up with this aqua green accent wall, to match the flowers in the shower curtain! The Swiss Coffee primary color of the other walls goes with the white of the shower curtain.
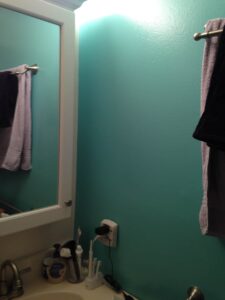
Here is a view of the two small shelves that I installed on the wall.
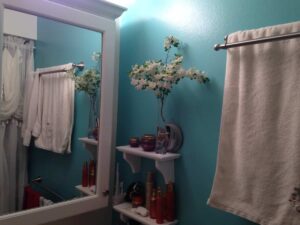
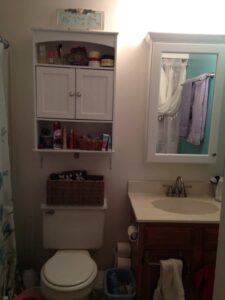
Over Toilet Cabinet

I reused an over-the-toilet space saver from our condo. The difference was that instead of standing it on the floor, I left off the bottom legs and had it mounted on the wall instead. This allowed for taller items to sit on the toilet, and fully utilized the vertical space above the toilet. The brown cabinet that you see in the Before picture, I saved and painted for my Downstairs Bathroom!

Already, we had made a lot of progress!!
Here is my shower curtain pictured with the cabinet over the toilet.
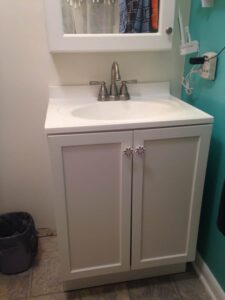
New Vanity

I had found a bathroom sink and cabinet for free that no one else wanted, and eventually had it installed in the place of the existing bathroom vanity. I re-used flower cabinet knobs that had previously been on my daughter’s closest doors.
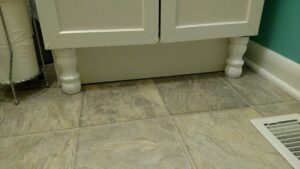
Eventually, I added little legs to the bottom of the cabinet. You can see that post HERE.
DIY Backsplash

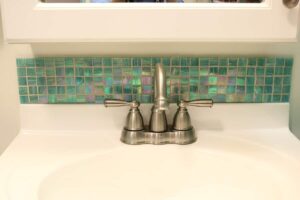
I also made a Removable Backsplash for the Vanity.
Accent Table

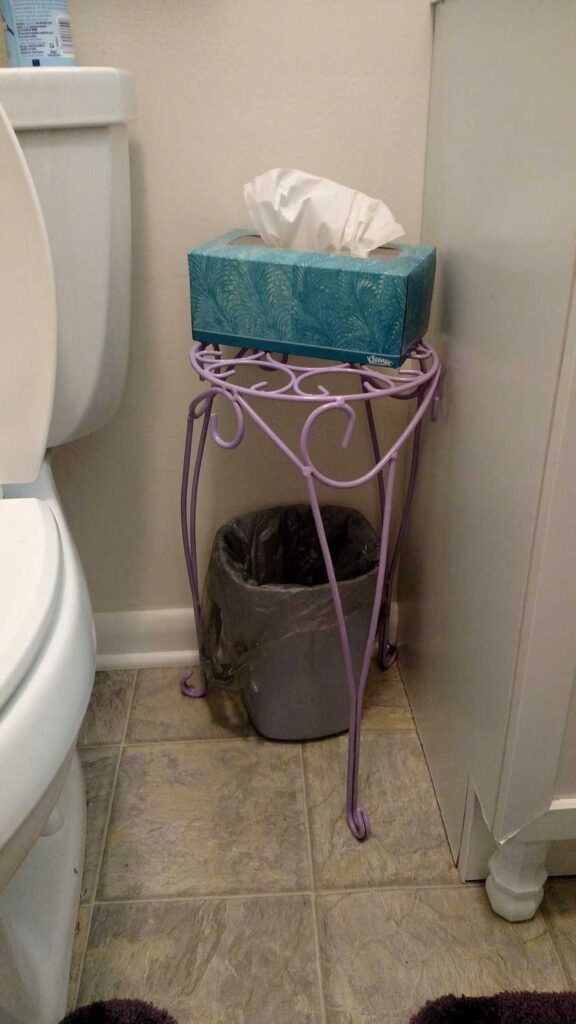
I spray painted this little stand to match the purple accent color in the shower curtain. The new vanity was slimmer, and that allowed enough room for this stand between the toilet and the vanity.
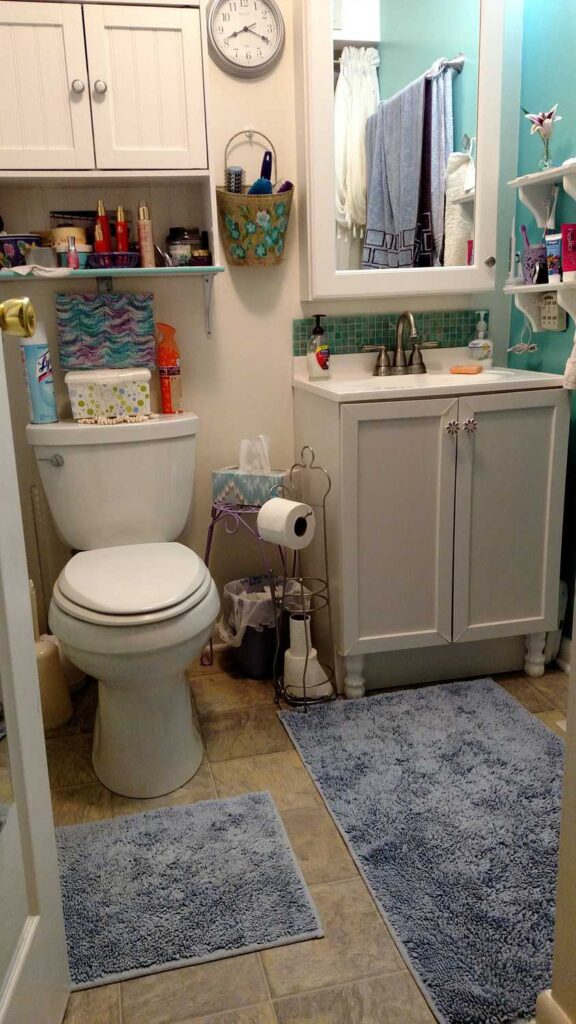
So here is the bathroom, except for the shower. Tiling the shower will be the next post in this series.

AFTER!!
Here they are side by side:

Before and AFTER!

Personalized Party Accessories and FavorsPersonalized Party Accessories and Favors

Laminate Stickers with Cricut and Printer

Century Farms by Liberty

https://www.youtube.com/watch?v=ZBCI5yEbO9Q&list=PLtl8IOcSSEaTVKEXTJna1GH4r4SC195GP&index=5
Previous Post: « Mini Oreo Crust Cheesecakes
Next Post: Kitchen Counter Crumb Catcher Tip (Video) »

Reader Interactions

Leave a Reply Cancel reply

Your email address will not be published. Required fields are marked *

Comments

  1. CMR says

    September 30, 2021 at 10:28 pm

    Awesome content and renovation that everyone can refer through it, thanks for sharing.

    Reply
  2. Gregory Built Bathroom Renovations says

    May 11, 2020 at 10:56 pm

    The mixing of things added and removed then improved truly magnificent! Keep it up it inspires people to do their own rendition of renovation as well!

    Reply
    • Liberty says

      May 11, 2020 at 11:18 pm

      Thank you so much!

      Reply
  3. Marilyn says

    March 20, 2019 at 2:26 pm

    Thank you for sharing at #ThursdayFavoriteThings. Pinned and shared.

    Reply
  4. Paula says

    March 14, 2019 at 4:31 pm

    What an improvement and way to maximize every inch of space in this bathroom. I also have tiny bathrooms.

    Reply
    • Liberty says

      March 14, 2019 at 4:56 pm

      I guess a tiny bathroom means less to clean, right?!

      Reply
  5. Susan Shipe says

    March 13, 2019 at 10:39 am

    I love house projects. My fave! Visiting from Anita’s.

    Reply
  6. Gayl says

    March 12, 2019 at 4:09 pm

    I love the new look in the bathroom. It’s certainly brighter and more welcoming! Our upstairs bathroom really needs a makeover. Yours is inspiring. Blessings to you! I’m your neighbor at #InspireMeMonday.

    Reply
  7. Amy says

    March 6, 2019 at 9:35 am

    Wow, that’s quite a transformation! Pretty color on the wall – looking forward to part 2!

    Reply
    • Liberty says

      March 6, 2019 at 10:19 am

      Thank you, Amy!

      Reply
  8. Kari @ Me and My Captain says

    March 6, 2019 at 9:29 am

    Liberty, what a difference you made in this space. I like dark colors but sometimes it is best to go lighter and then you can change out accessories easily. Good job.

    Reply
    • Liberty says

      March 6, 2019 at 10:20 am

      Thank you so much, Kari!

      Reply
  9. Liberty says

    March 19, 2019 at 11:24 pm

    Thank you so much for featuring my Most Clicked Upstairs Bathroom Renovation!

    Reply

Primary Sidebar

About this blog:

Hi! I’m Liberty!
I write about practical, frugal, and creative crafty ideas that you can use as you put together handmade things for your home or for other people. I hope that my home improvement projects and crafty ideas inspire you to try your own ways of making your surroundings more enjoyable, more comfortable, more useful, and more beautiful.
Welcome to my blog!

ConvertKit Form

Follow B4 and Afters!

  • Bloglovin
  • Email
  • Facebook
  • Instagram
  • LinkedIn
  • Pinterest
  • Twitter
  • Vimeo
  • YouTube

Laminate Sticker without Machines

How to Make Laminated Stickers without any machines

Handmade Items for SALE

two pink crocheted earrings
https://www.b4andafters.com/easy-crocheted-earrings/

Our Affiliates

When you purchase something through clicking on these links, I may receive a small commission at no extra charge to you. Thank you for your support!

pretzel crosses in background of shop my favorites
pillowsfromEtsy

Laminate Stickers with only a Cricut

Laminate Stickers with a Cricut machine
Marshalls Blue Logo 250x250Marshalls Blue Logo 250x250
This Week's Coupon at Michaels.comThis Week's Coupon at Michaels.com
blue The Container Store Free Shipping image
Our Favorite GiftsOur Favorite Gifts
300x250 Baking Banner300x250 Baking Banner

Search by Category

Archives

About this blog:

Hi! I’m Liberty!
I write about practical, frugal, and creative crafty ideas that you can use as you put together handmade things for your home or for other people. I hope that my home improvement projects and crafty ideas inspire you to try your own ways of making your surroundings more enjoyable, more comfortable, more useful, and more beautiful.
Welcome to my blog!

ConvertKit Form

Follow B4 and Afters!

  • Bloglovin
  • Email
  • Facebook
  • Instagram
  • LinkedIn
  • Pinterest
  • Twitter
  • YouTube

Categories

Archives

ConvertKit Form

Buffalo Plaid

Michael’s coupon

Laminate Stickers with only a Printer

How to Make Laminated Stickers with just a Printer

Footer

What are you looking for?

Follow B4 and Afters!

  • Bloglovin
  • Email
  • Facebook
  • Instagram
  • LinkedIn
  • Pinterest
  • Twitter
  • YouTube

Categories

  • Category Index
  • Shop My Favorites

Copyright © 2022 · Thyme Theme by Restored 316

We use cookies on our website and in our kitchen. ; ) By clicking “Accept” you consent to the use of the cookies.
Cookie settingsACCEPT
Privacy & Cookies Policy

Privacy Overview

This website uses cookies to improve your experience while you navigate through the website. Out of these cookies, the cookies that are categorized as necessary are stored on your browser as they are essential for the working of basic functionalities of the website. We also use third-party cookies that help us analyze and understand how you use this website. These cookies will be stored in your browser only with your consent. You also have the option to opt-out of these cookies. But opting out of some of these cookies may have an effect on your browsing experience.
Necessary
Always Enabled
Necessary cookies are absolutely essential for the website to function properly. This category only includes cookies that ensures basic functionalities and security features of the website. These cookies do not store any personal information.
Non-necessary
Any cookies that may not be particularly necessary for the website to function and is used specifically to collect user personal data via analytics, ads, other embedded contents are termed as non-necessary cookies. It is mandatory to procure user consent prior to running these cookies on your website.
SAVE & ACCEPT