Pink Paper Star
Introduction
I had seen these paper stars on Pinterest. Before making these pink ones, I had made one out of scrapbook paper (12″ x 12″) that was one sided and plain paper, not cardstock. That one was okay, but I LOVE how these pink ones turned out!
- Before
(*This post may contain affiliate links. By purchasing anything from these links, I may receive a small commission at no cost to you. More information is available on my Disclosure page.)
Supplies
All you need for these paper stars are:
- twelve 12 inch paper strips a little over half an inch wide,
- glue-on-a-stick,
- and paper clips.
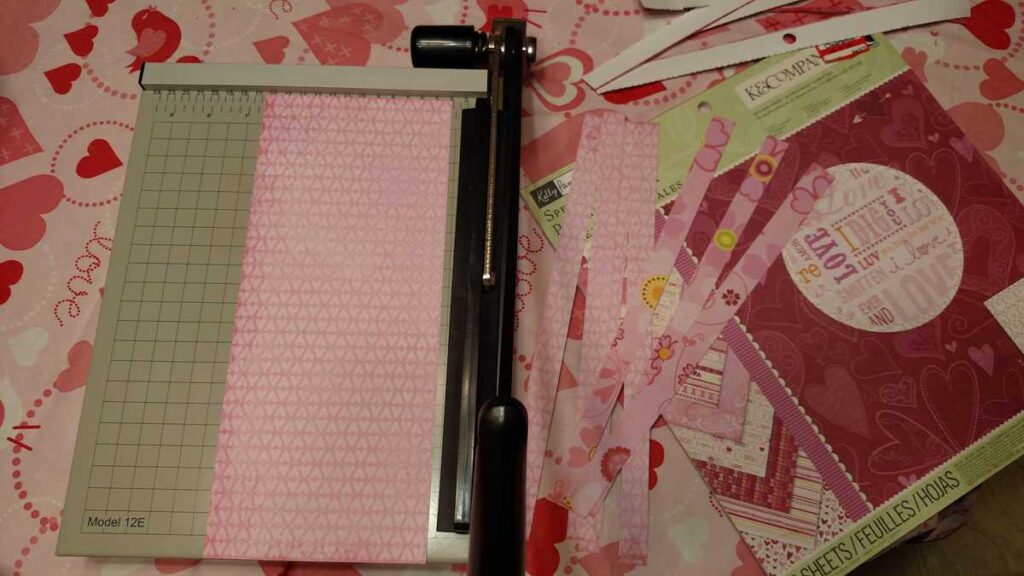
I borrowed my friend’s paper cutter,* and boy was I amazed! It cut these thin strips with no problem at all! I had used a different cutter before that wasn’t very sharp, so I was not expecting this one to work well, but it did. I bought the paper on Clearance a couple of years ago. It is a cardstock* that is printed with a different pattern on each side.
Method of Construction
Weave six of the paper strips together in the pattern shown in the picture below. Center the strips the best that you are able.
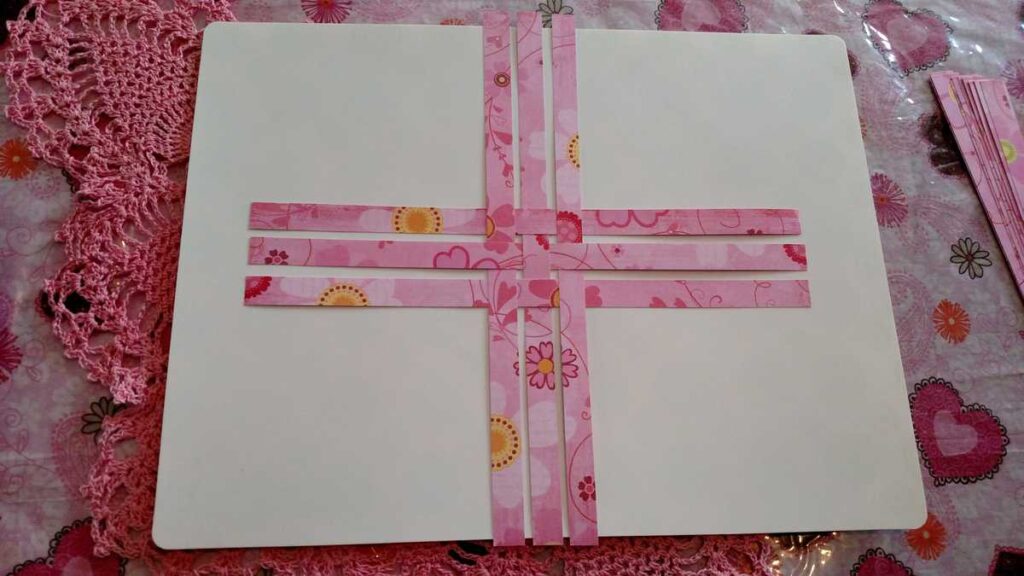
Lift up the edges and apply glue with your glue stick. I think this is the hardest part– Remember! to keep everything straight when you press the pieces together, because they will not want to lift up and adjust. It is okay to not glue the center square–you can, but it is easier if you don’t. It will be easier to glue all of it if you flip the whole thing over to lift some of the other paper strips.
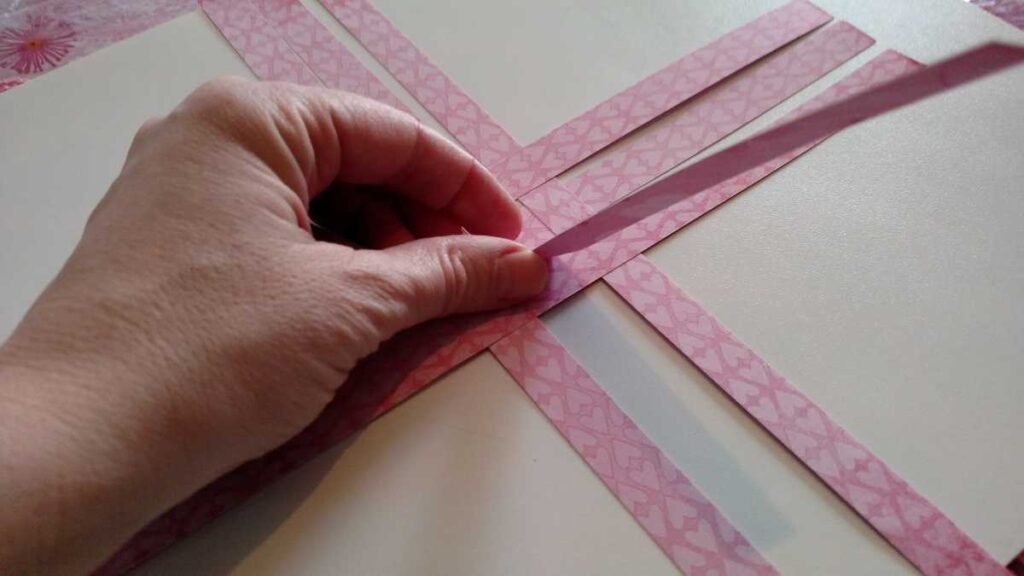
Repeat with another 6 strips of paper.
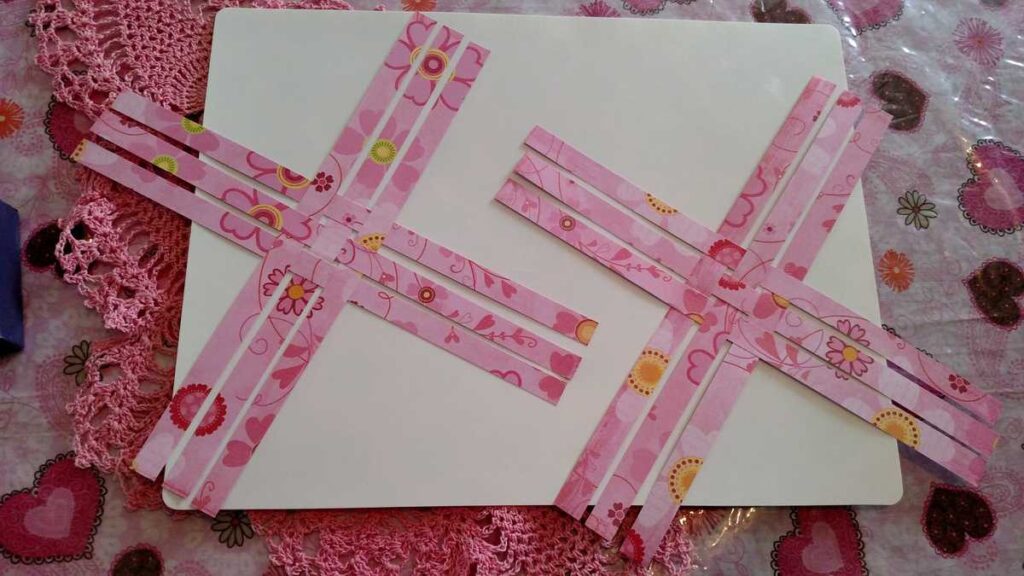
Then you want to take one strip of paper from each corner, twist them under, then glue together. Hold it with a paper clip until it dries.
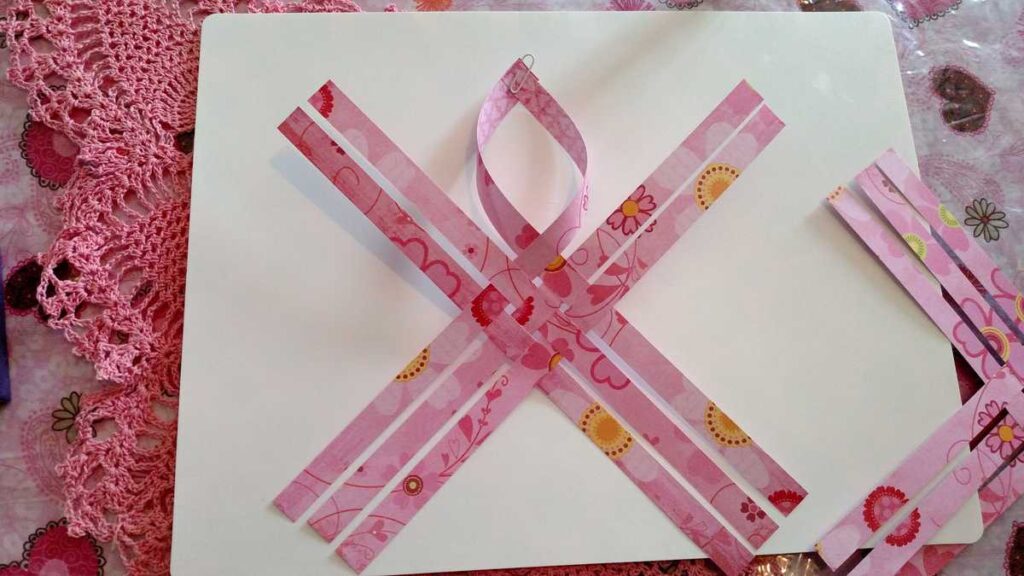
Here I show you how to twist the paper under. The arrows show you which two papers to use to make the twist.
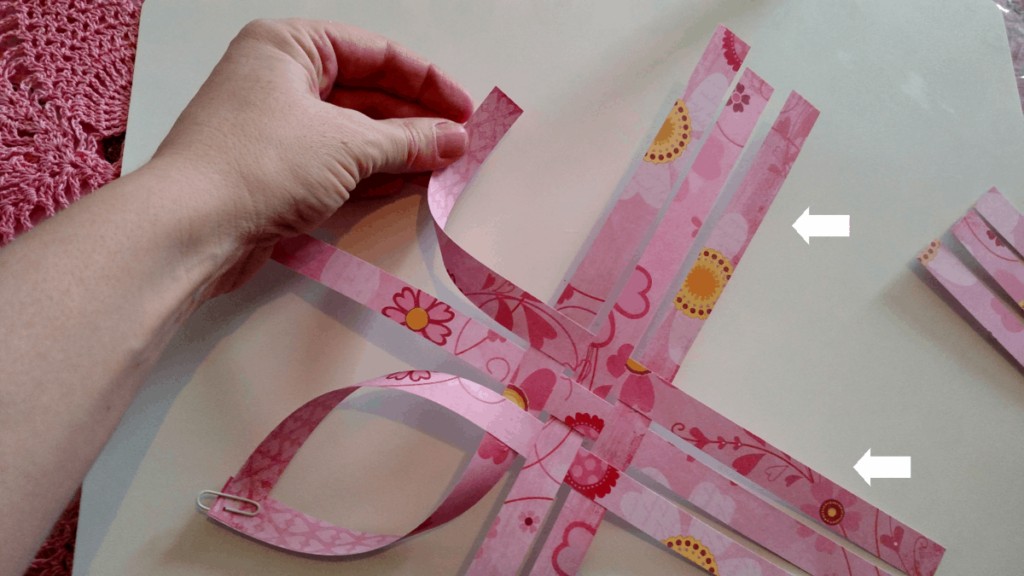
You will get four star points, with four straight pieces left.
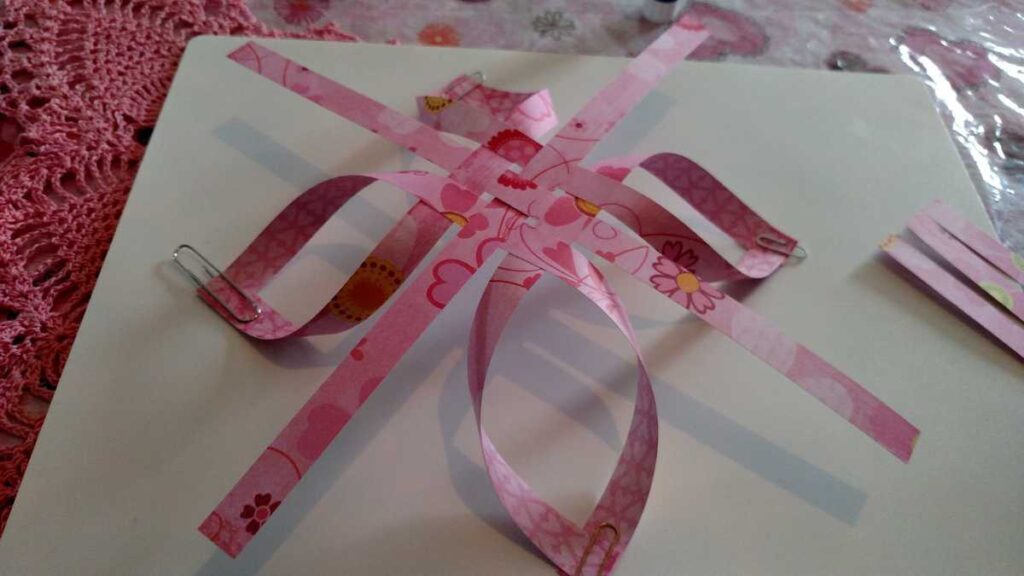
Do this to both of your star halves.
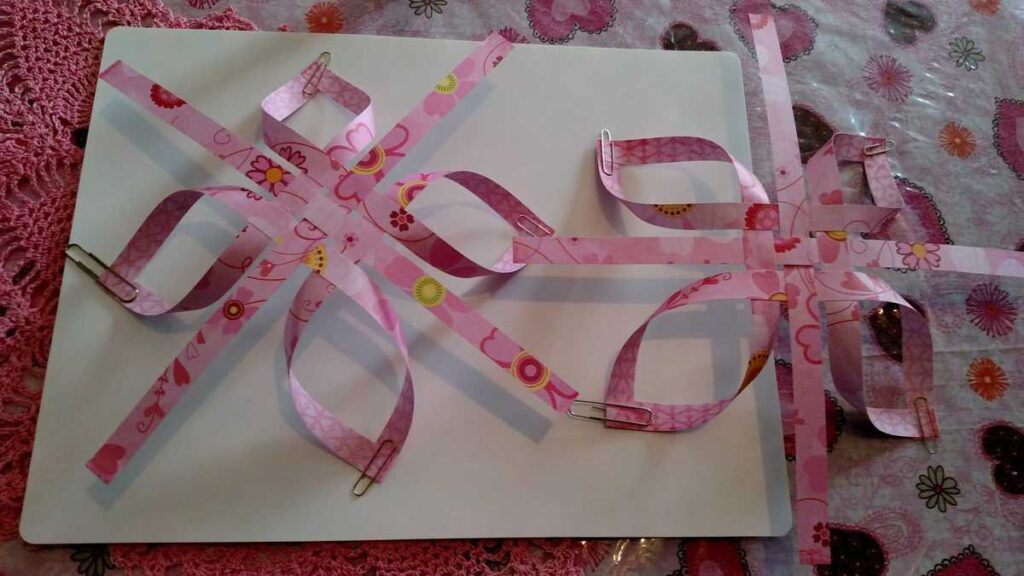
Then turn one half over.
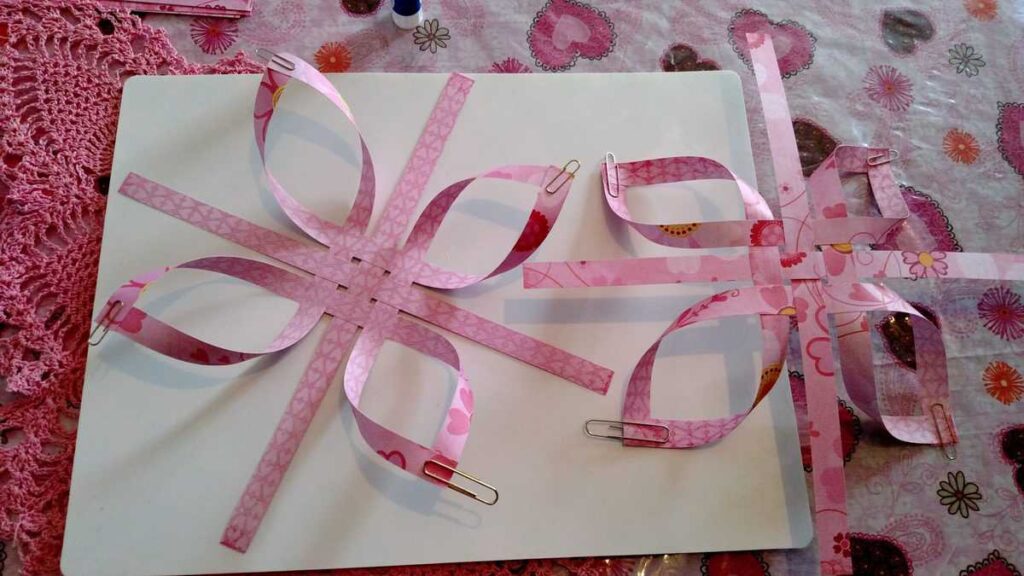
Then lay the star on the right over the star on the left, like a sandwich. Turn the top half so that a straight paper strip lines up with a star point, and vice versa. The straight strips will be longer than the star points.
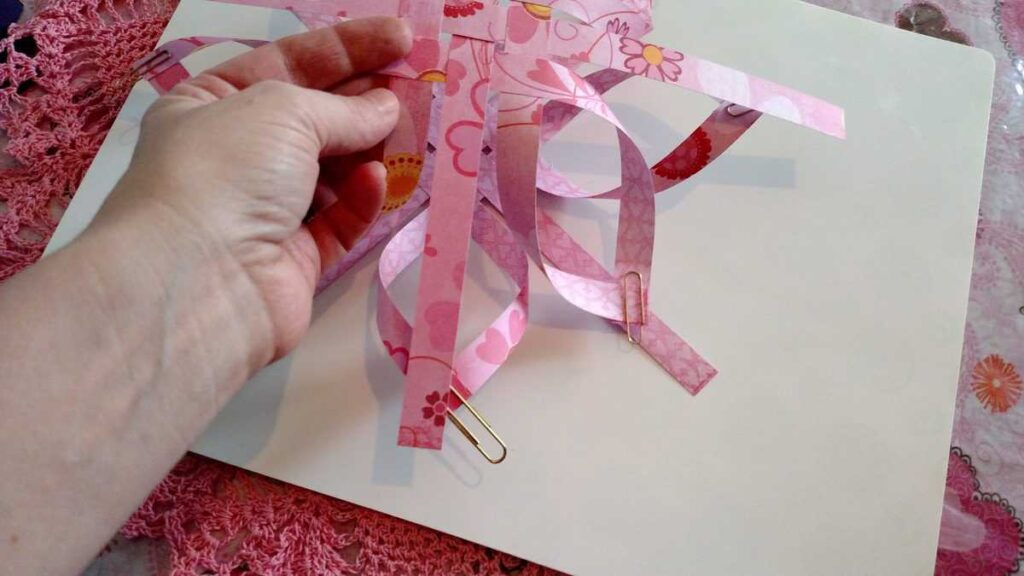
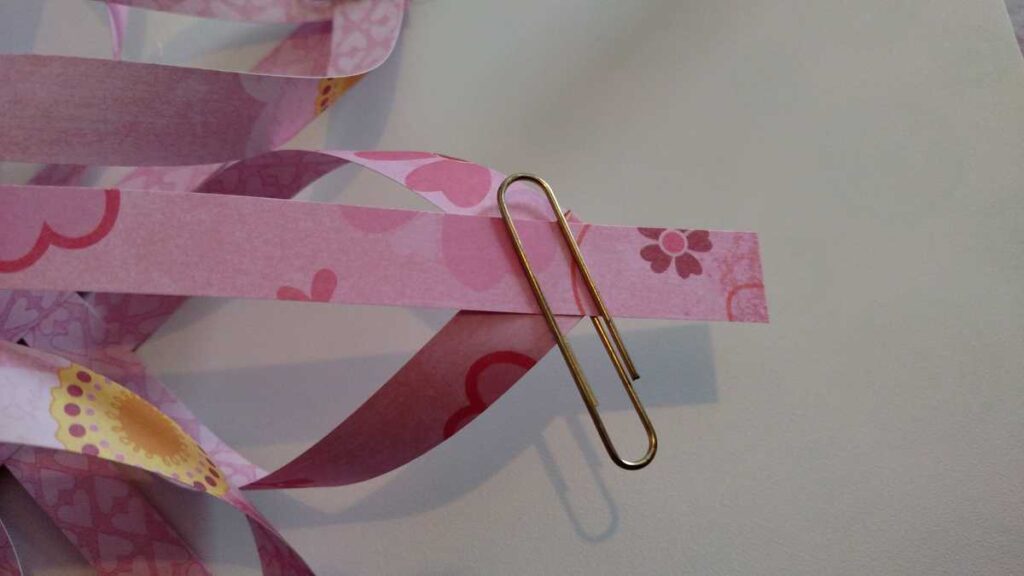
Take off the paper clip, apply more glue, and press the straight strip onto the star point. Put the paper clip back on until it dries. Do this to all 8 points.
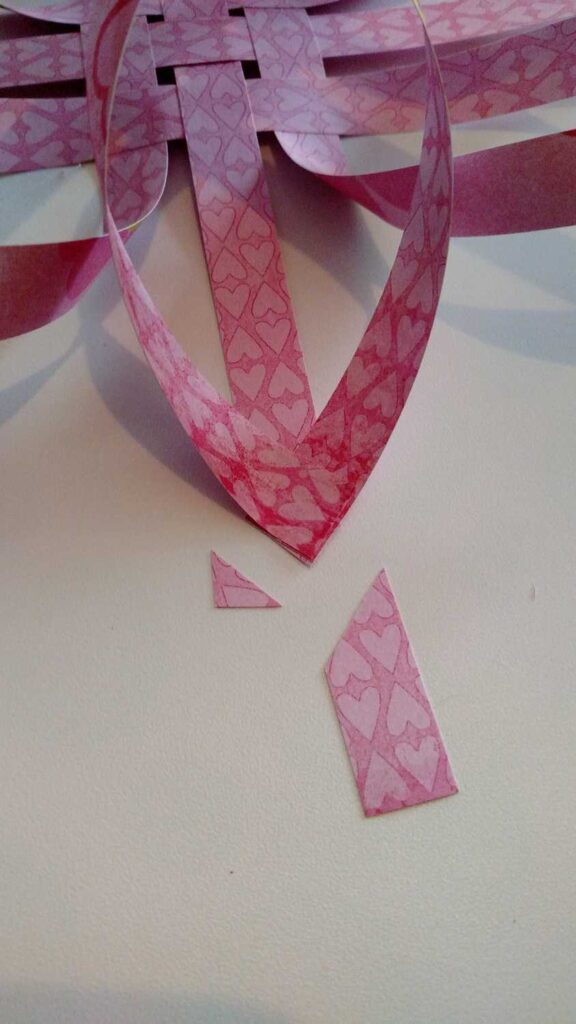
After it dries (it doesn’t take very long), remove the paper clip and trim the excess off of the star point.
Finished Result
I just love the 3D look of these paper stars. The card stock really helps them hold their shape. After you make one, I hope you will agree that they look a lot more complicated than they really are to make. I think people usually make these at Christmas time; but with my pink heart paper, I think they make a great Valentine decoration that is off of the beaten path. It really doesn’t take very long to make one, so it works great if you need something at the last minute!
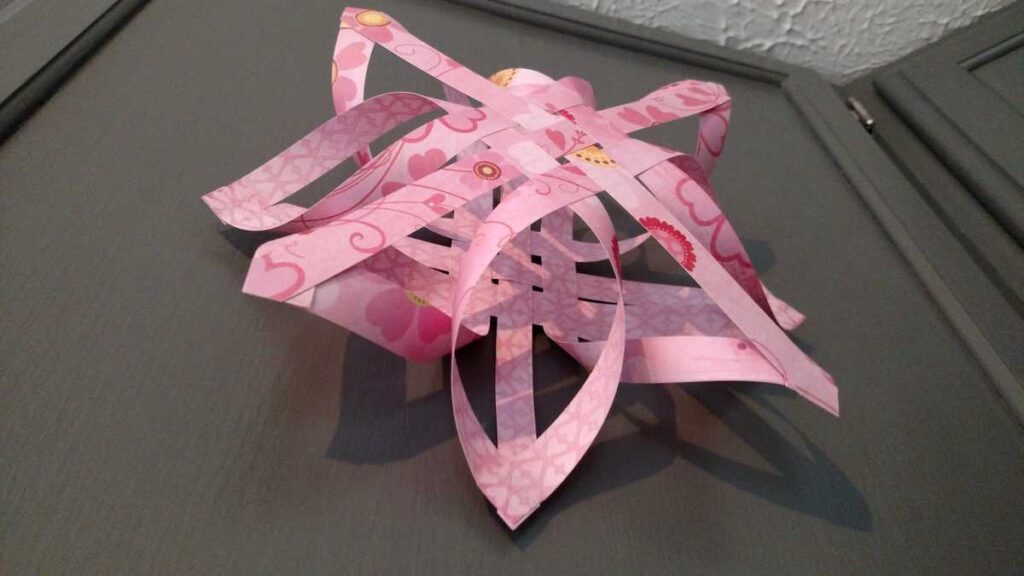
You can tape a piece of clear nylon string to hang them anywhere! It looks nice in a window. It is sturdy enough to lean on a shelf if you don’t want to use string.
AFTER!!
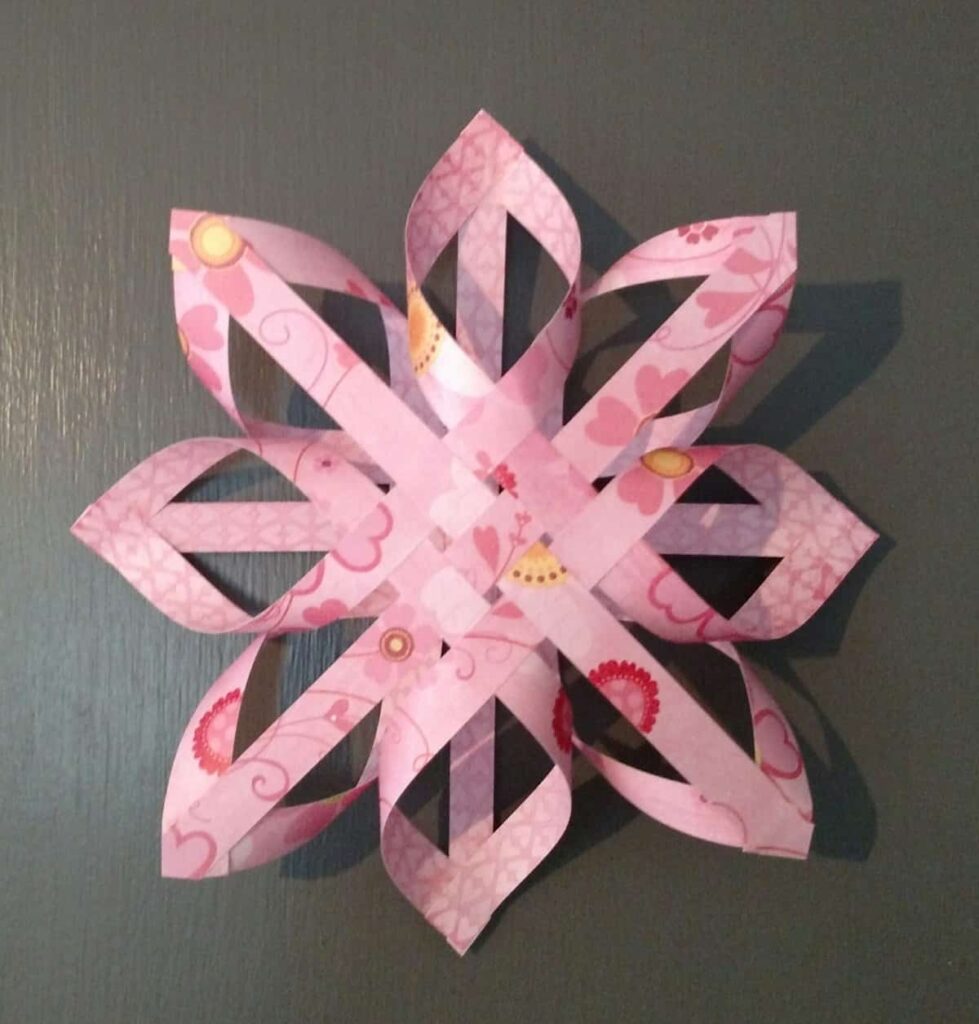
And there you have it! An eight pointed pink paper star.

Thank you for sharing at #ThursdayFavoriteThings. Pinned and shared. Have a lovely week. I hope to see you at next week’s party too!
This is adorable, I’ll have to give it a try!
This is so pretty! Thanks for sharing at Sweet Inspiration!
You’re welcome; I’m glad you liked it!
I love these stars and just pinned this post on my crafts board. I think I will make some for winter out of white paper like snow. Just for fun! Happy Crafting, Kippi #kippiathome
I’m glad that you like them, Kippi!
Ok so you make that look super simple but somehow I feel like it just might end up being a pinterest fail for me, LOL but I’ll give it a try.
Take it step by step, and let me know how it goes!! If I need to adjust my directions, I will– you can be my tester….
Hmm, This would be so cool to do someday. Its really beautiful and looks like a lot of fun. Thanks for sharing.
You’re welcome! I’m glad that you like it!
I LOVE this step-by-step!! I friend of mine made an ornament for me just like this and I thought how cool it would be to make a whole set but it looks complicated. It’s really not! Thanks for showing this. 🙂 I’m pinning it for later!
#inspirememondaylinkup
You’re welcome! I had not seen a complete step by step with pictures before, either. I’m glad it is understandable for you!