
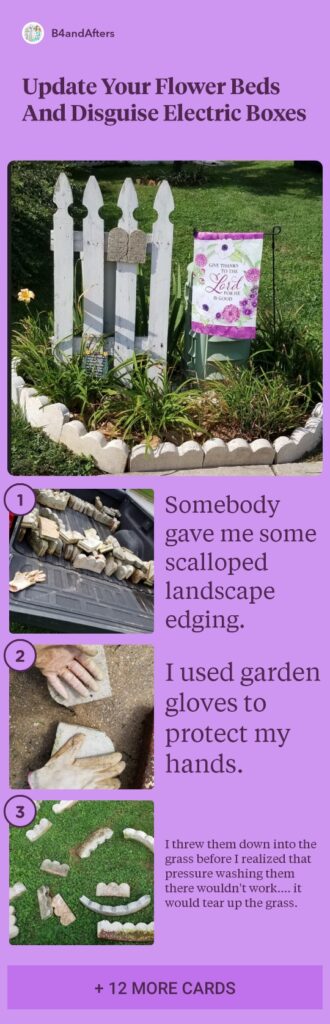
How to Update your Flower Beds and Disguise Electric Boxes
Spring is just around the corner and I am going to show you how to update your flower beds, and we will also hide some electric boxes. This is a fairly quick outdoor before and afters project. Have you been able to get out into your flower beds yet? Here, we have had 2 really nice sunny days in a row. It gets so warm for a couple of hours!
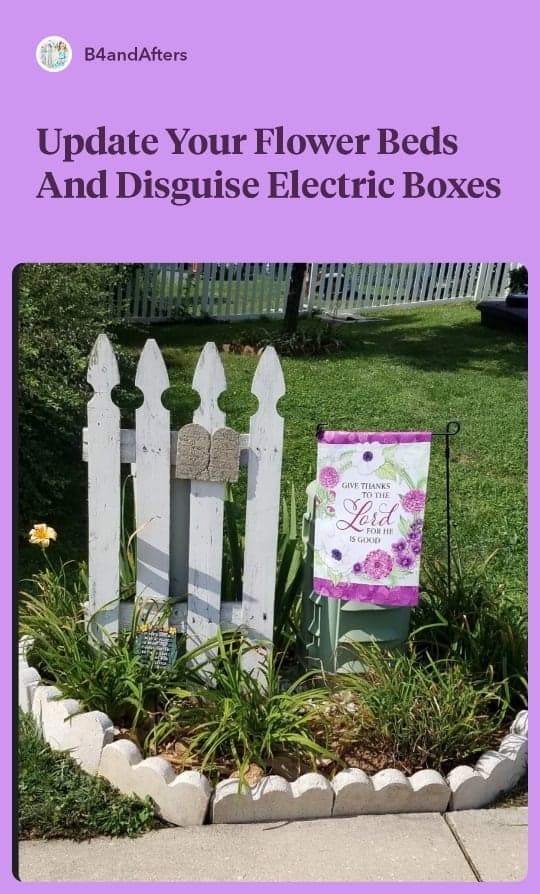
I have shown you this area of my yard in the past when I originally hid my electric boxes. Since then, a cable company came and sorta ruined what I had made…. they came when I wasn’t home and removed the middle of the 3 boxes, and messed up my circle of fence posts! Sigh. If I had been home, I would have shown them how to easily remove it for accessing the boxes, or I could have removed it myself. Oh well. Now I have redone this area.
This is what I did.
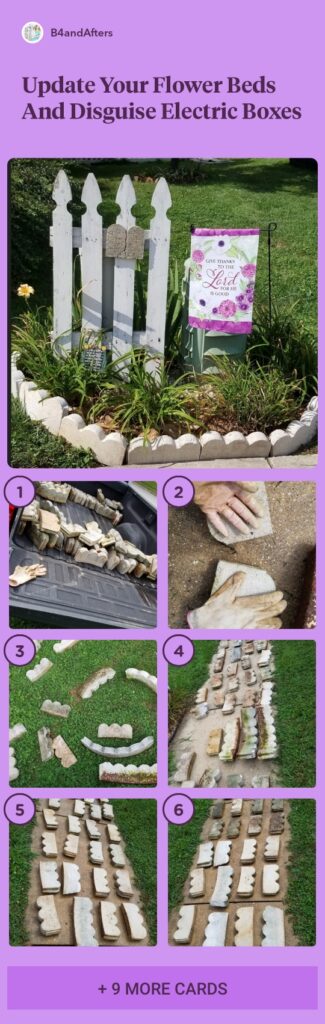
- Somebody gave me some scalloped landscape edging.
I used garden gloves to protect my hands.
I threw them down into the grass before I realized that pressure washing them there wouldn’t work…. it would tear up the grass.
So I moved them to the sidewalk so I wouldn’t destroy the grass while pressure washing them.
First wash one side
Then the other side.
It’s so wonderful to see the results of pressure washing!
I got our pressure washer from Sam’s club.
Then pressure wash the tops.
Before adding the edging…. there is another green box behind the fence section.
I had this black plastic edging (barely seen) previously.
I added a new flag to hide the other box.
I added this resin 10 Commandments to the fence section. It is the gate from our old fence.
And… the edging! It’s so pretty now!
Here’s another angle. I hope this inspired you!
More Details on How to Update Your Flower Beds
I love it when people give me things that I can use. In this case, a neighbor wanted these removed. So I helped her out by moving them for her! I also had more leftover that I ended up using at my church.
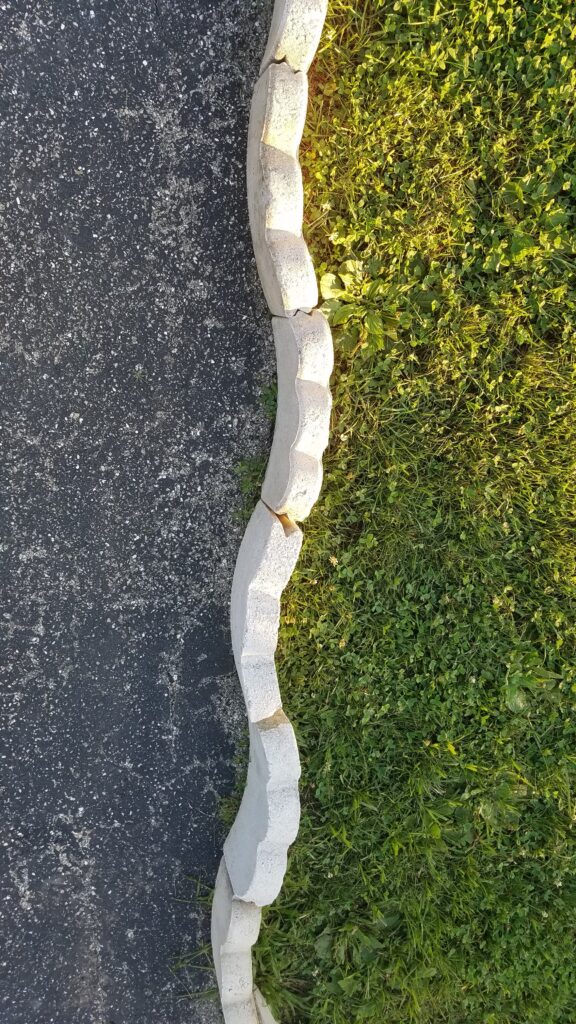
Below, I tried lining the driveway with them, but it wasn’t practical. It did look pretty, though!
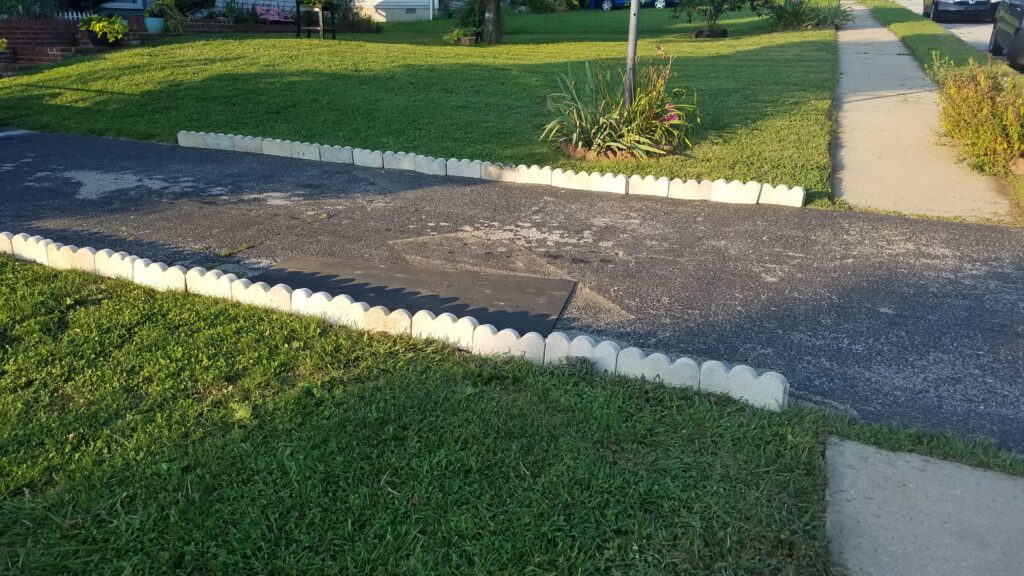
In order to make a border along a straight line with curved edging, simply alternate them! See?
I love using little garden flags and changing them with the seasons or holidays.
You may know that I have used red brick scalloped edging in the past. I really like using them even though they are heavy. That gives me a good workout when I use them! In order to keep flowers safe from the lawnmower, I need to make sure flower bed areas are clearly marked, so this edging works perfectly.
Do you use edging for your flower beds? What kind do you like to use?


What a charming look! Great idea for hiding those potential eye sores
Thank you Linda!