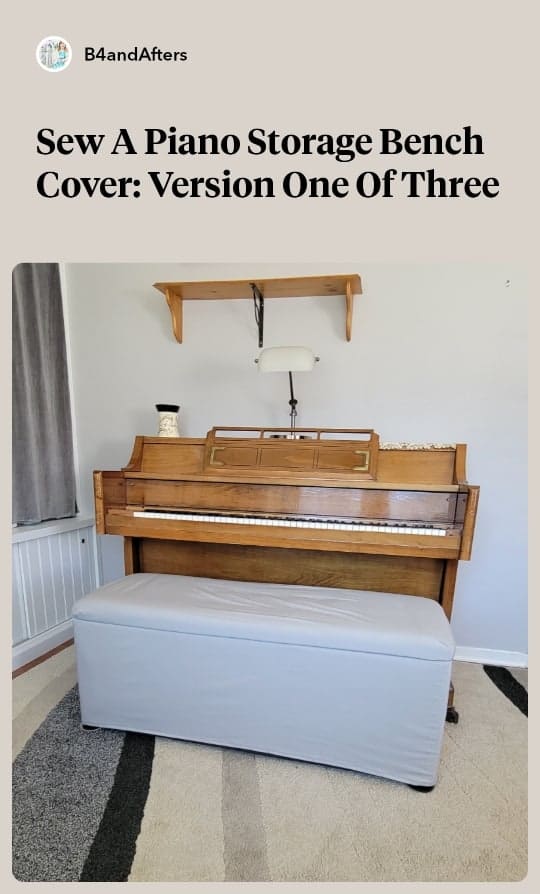
How to Cover a Piano Bench with Fabric
For awhile I have been wanting to cover my piano storage bench with fabric. First, I replaced my regular piano bench with a storage bench. Our house is small, so every bit of storage that I can squeeze into it, I do.
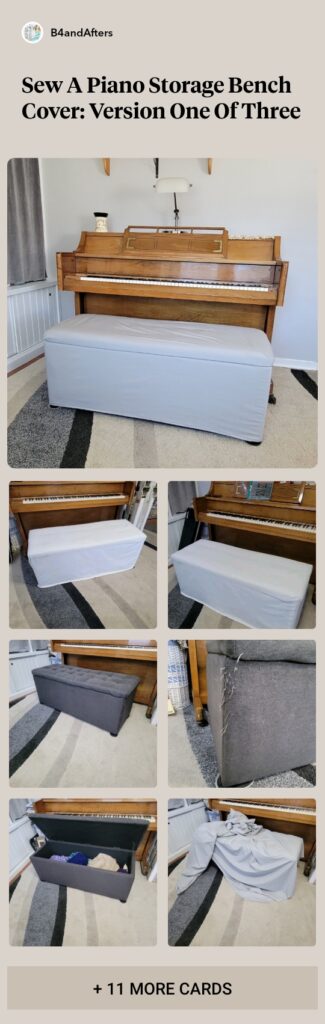
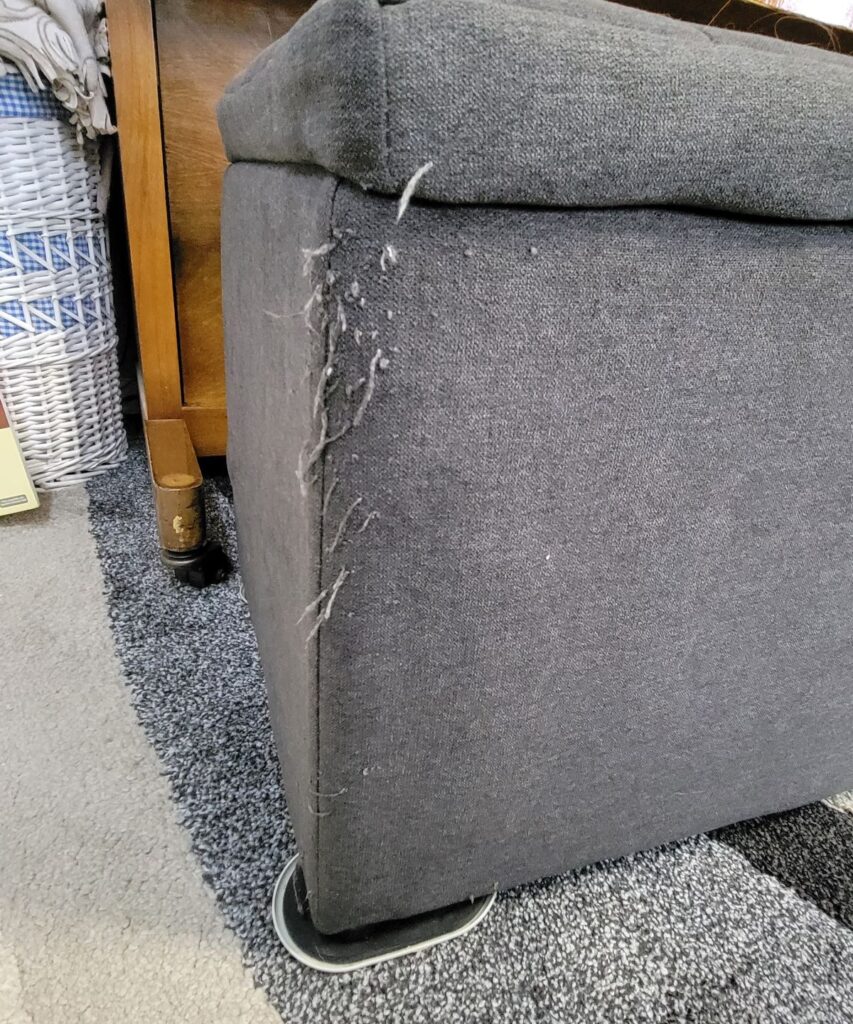
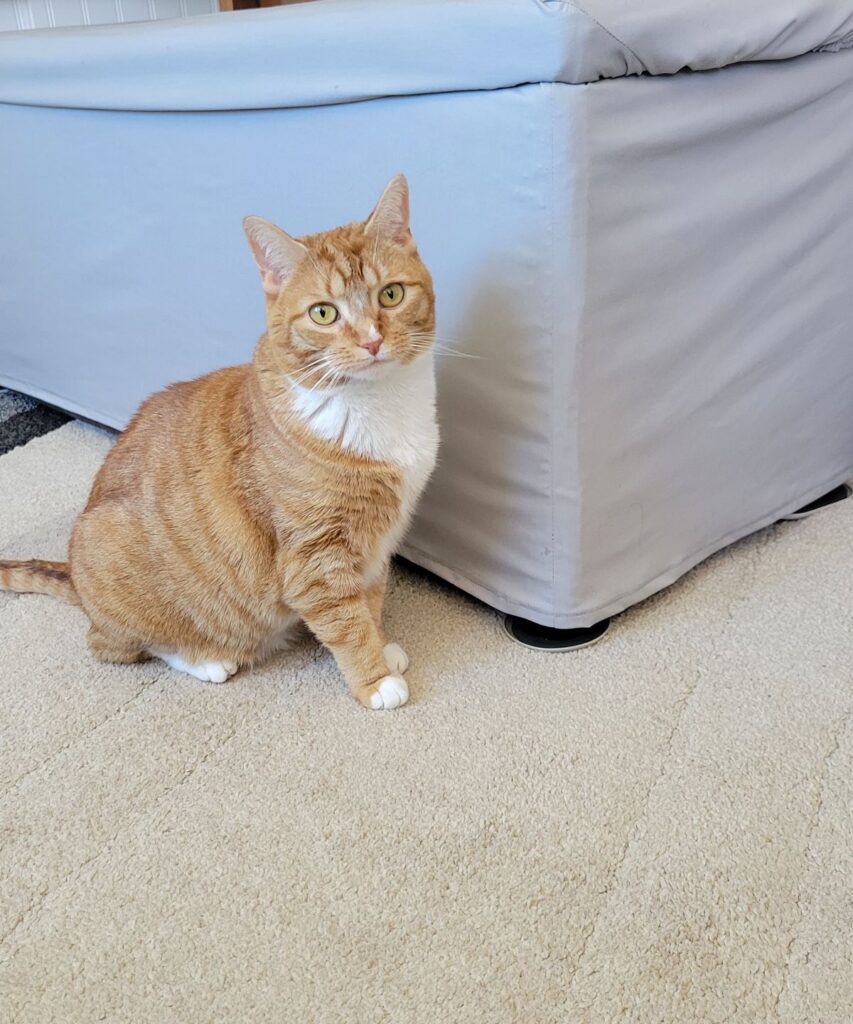
When I bought this storage bench, I forgot that our cat likes to scratch on some furniture. Not all of it, but some of it. Well, she liked scratching this bench– that was the first thing she did. I put a blanket over it, and she never bothers to scratch on the blanket.
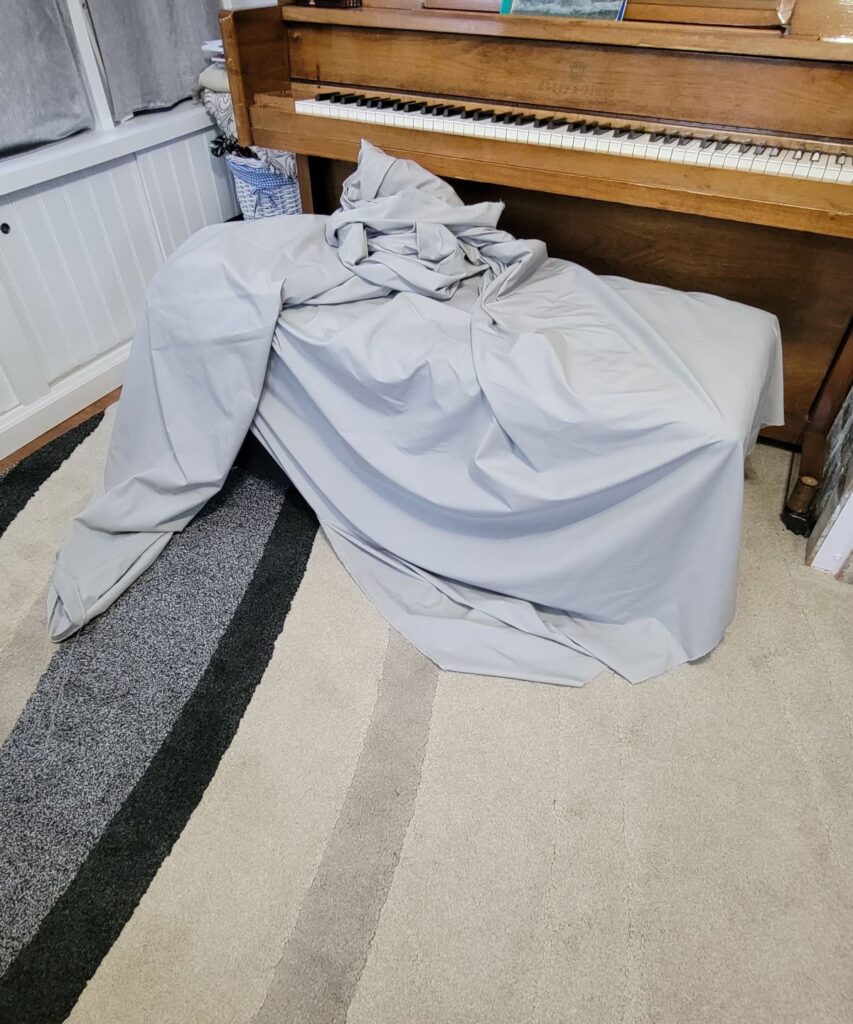
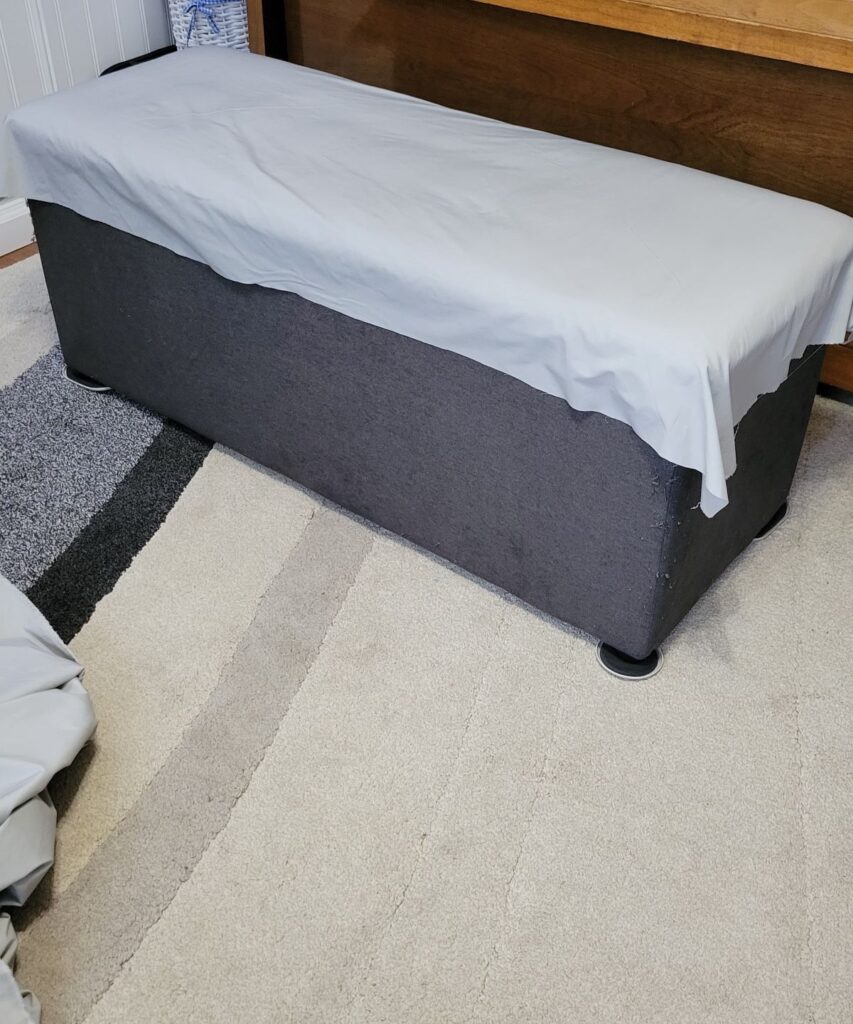
After awhile I wanted a slipcover for the bench so I made one like I had made for my cedar chest. I still put blankets over it for pretty, but I liked having the off white underneath, to completely cover the ends. But that one piece slipcover was very inconvenient for when you wanted to get a blanket out of from underneath.
So when Fabric Wholesale Direct offered to send me 6 yards of fabric for this project, I said YES!
Feel free to rest your scrolling muscles and watch the video instead!
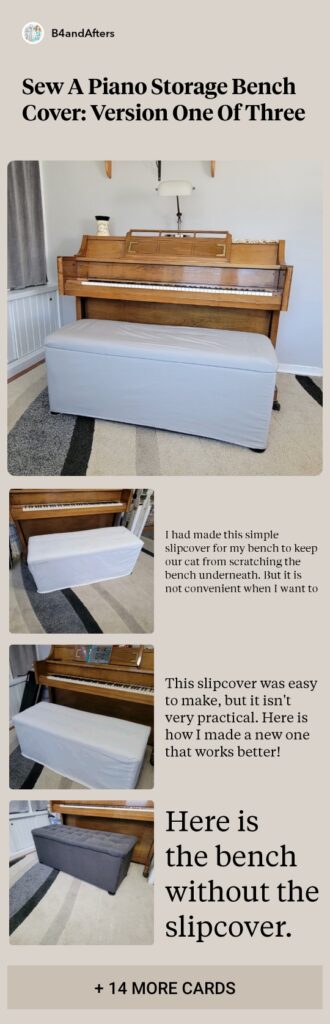
I had made this simple slipcover for my bench to keep our cat from scratching the bench underneath. But it is not convenient when I want to open it.
This slipcover was easy to make, but it isn’t very practical because it was hard to open the lid when we wanted to get a blanket out. Here is how I made a new one that works better!
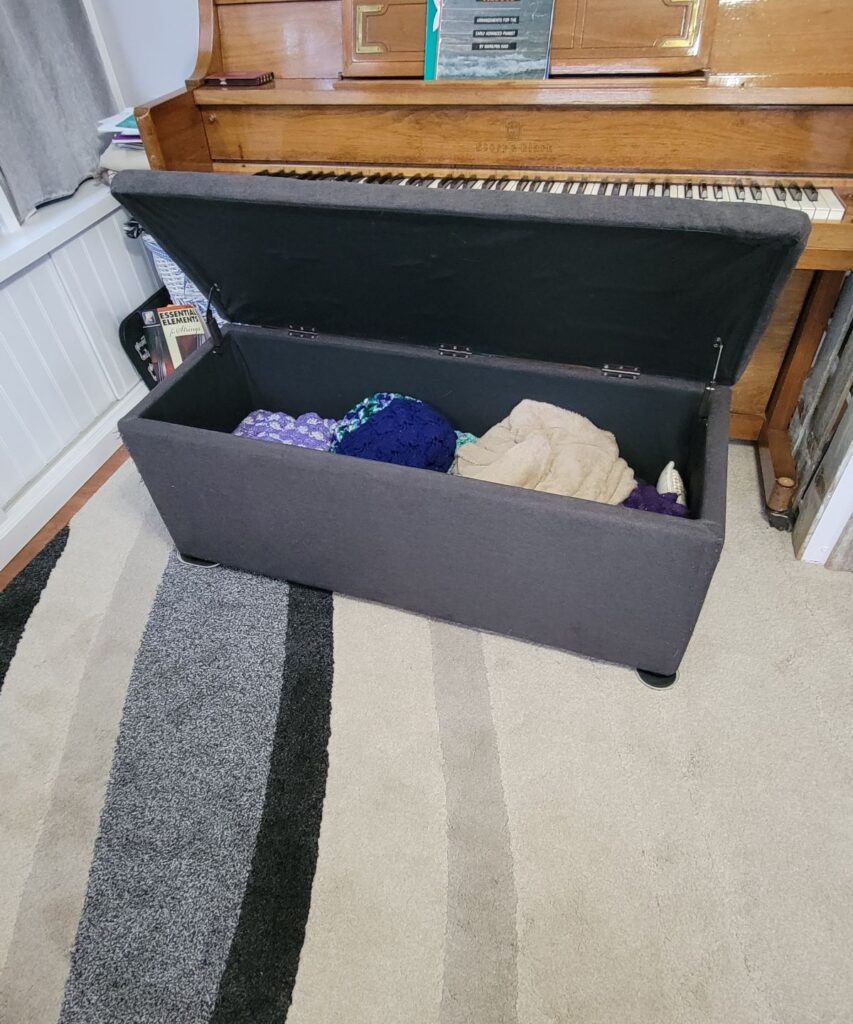
Here is the bench without the slipcover.
See how our cat scratched it? Ugh!
I really like being able to store a lot of blankets here.
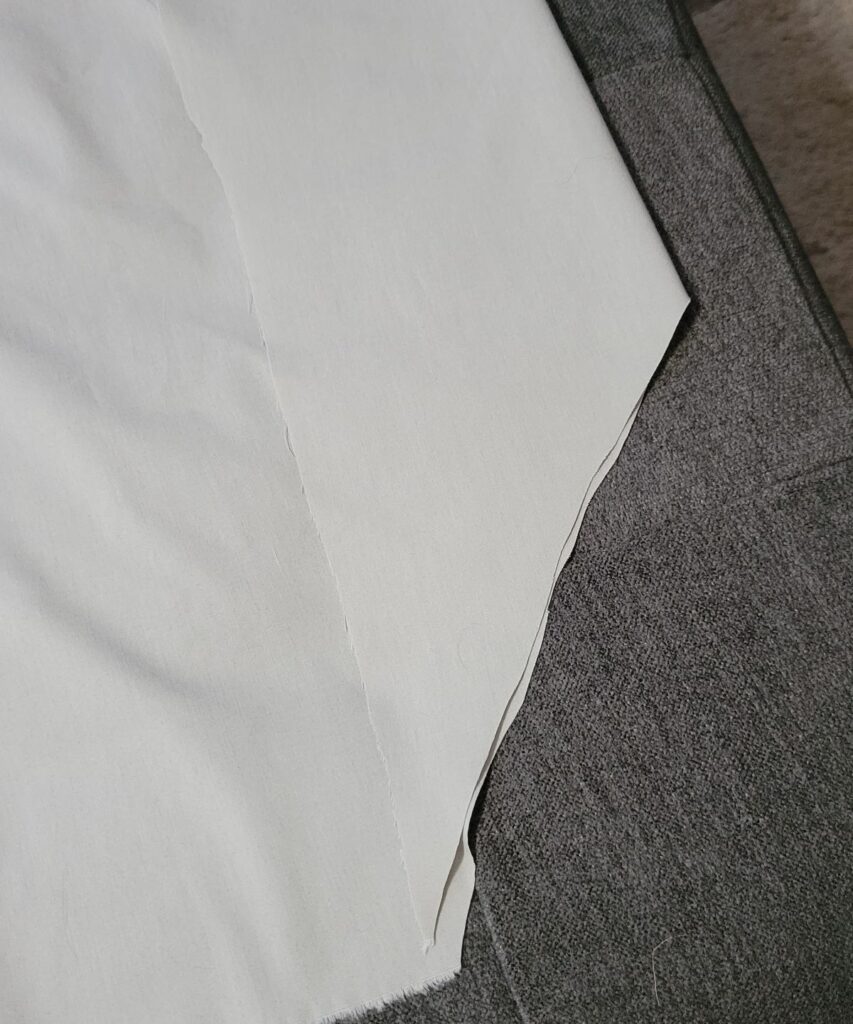
This is the six yards of gray fabric that I plan to use.
I thought it would be easy to make a top piece, sort of like a fitted sheet on a mattress. Ha! That was harder than I thought!
Eventually I finally pulled out an old sheet and took apart one corner, so I could see how they had cut and sewn it.
Then I just “eyeballed” how to cut mine, with the fabric folded similarly.
After sewing that diagonal seam and adding some elastic on the corners, it finally looked like a fitted sheet!
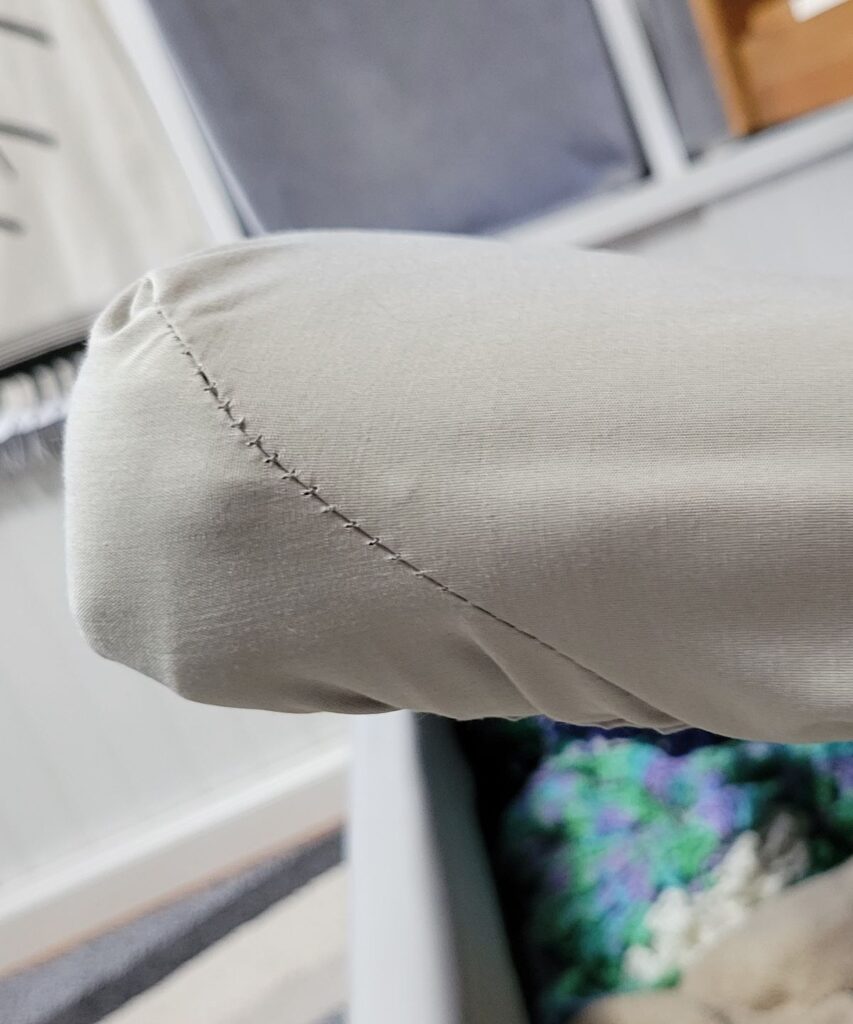
To make the bottom section, I sewed one long piece together like a tube. Then I cut “Ts” and hemmed around them to fit around the hinges.

This is a rolled hem for the T. The fabric is a little stretchy, which allows it to stay in place all around the sides, and makes it easy to slip off.
The T all hemmed.
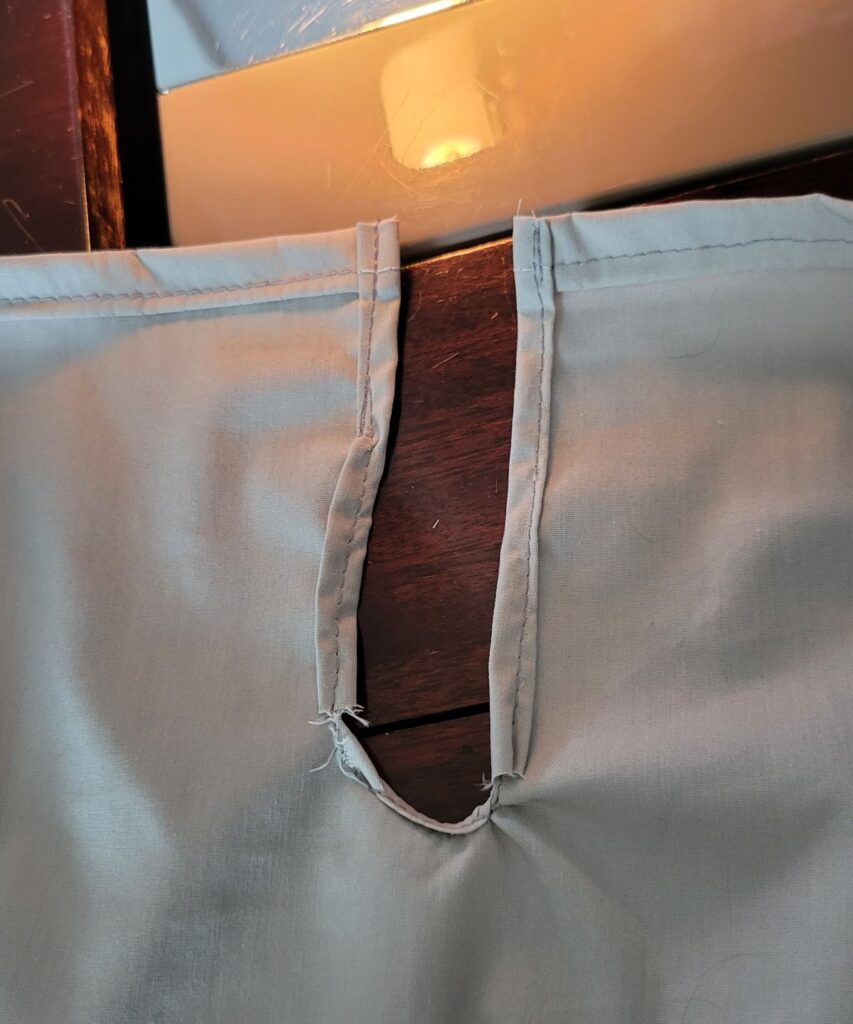
See the flaps of the inside of the bench at the back? That is where I hemmed the T shapes to fit around the hinges.

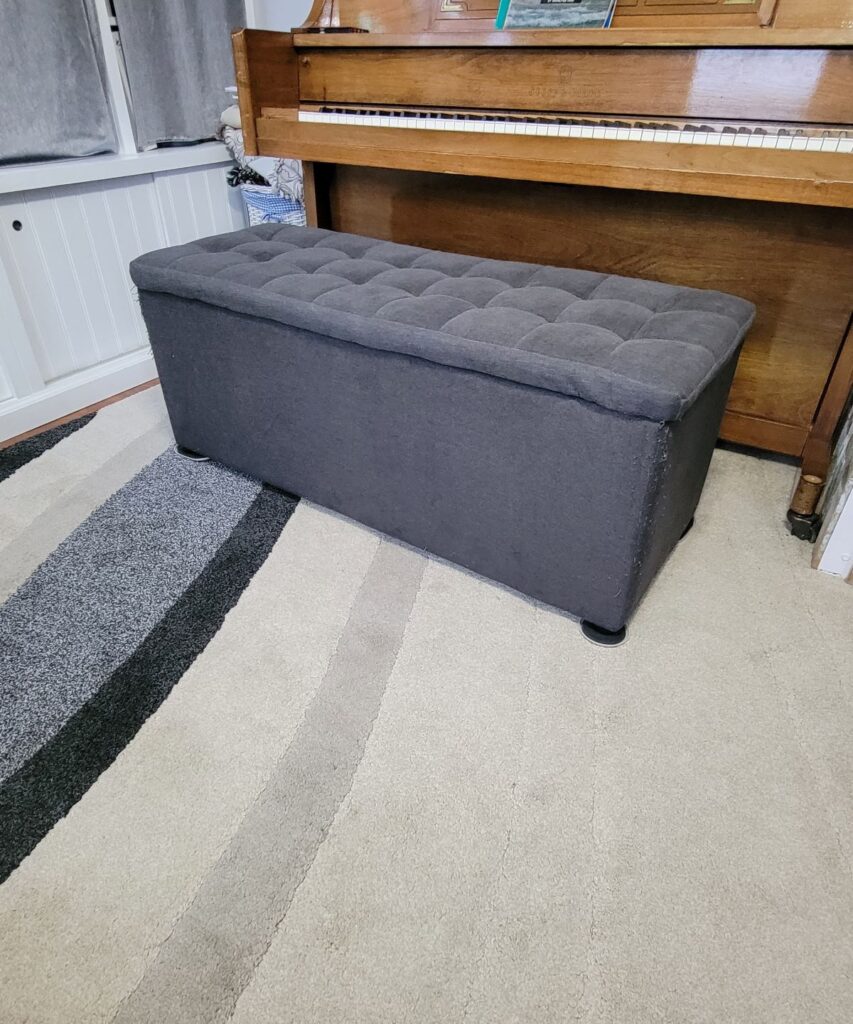
Doesn’t it look so nice?
Look, she is thinking about scratching it to test it out!
Now it opens so easily!
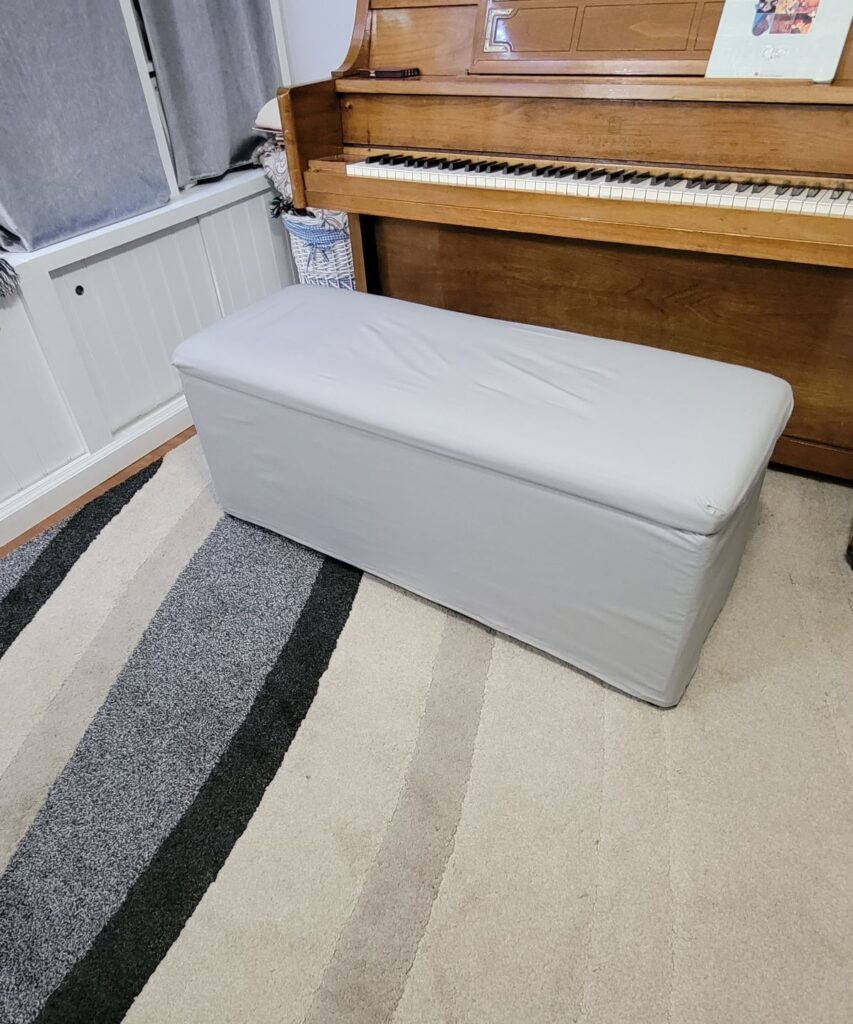
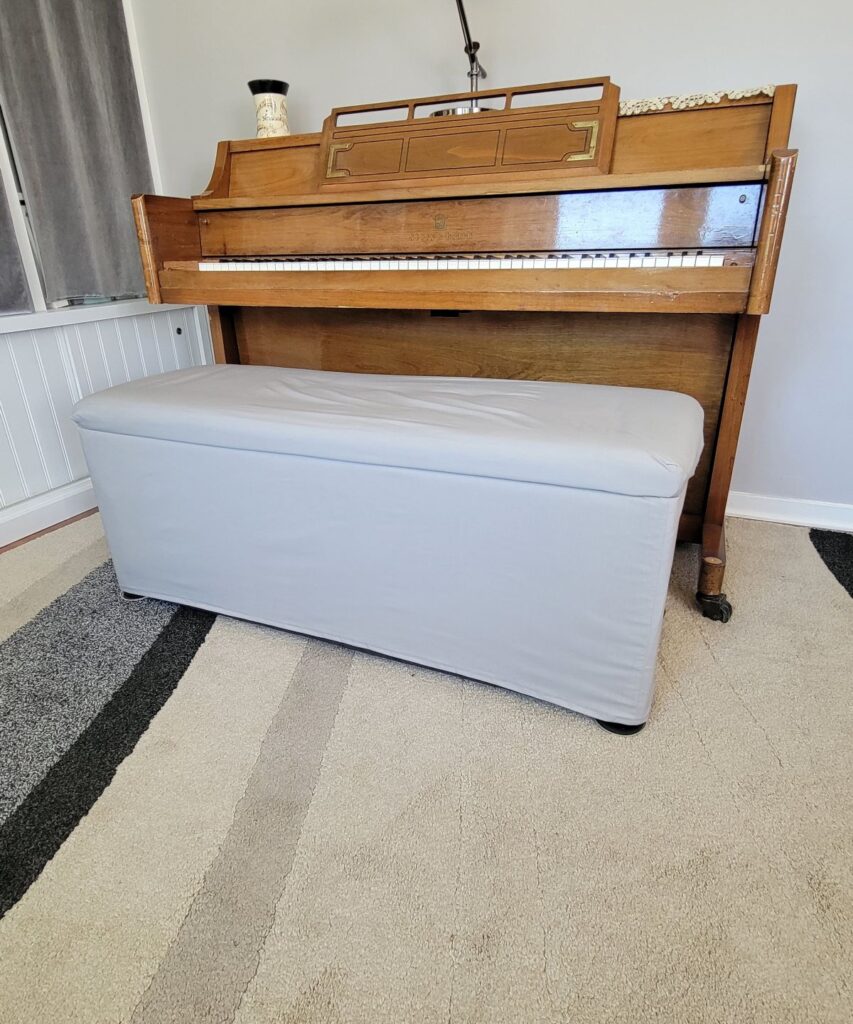
I really love how this turned out!
More Details about How to Cover a Piano Storage Bench with Fabric
If you would like to purchase a similar storage bench, Sears has a large variety. And if you want a bench with a ruffled cover, you can find one at Lakeside.
Part 1 of the cover
Making this two piece piano storage bench cover took a lot longer than I expected. To start with, I thought the top would be easy peasy and it was just the opposite! I thought I would just cut rounded corners, sew on some elastic around the short end of the cover, and be done. I tried that, but it looked terrible! It didn’t fit well at all!
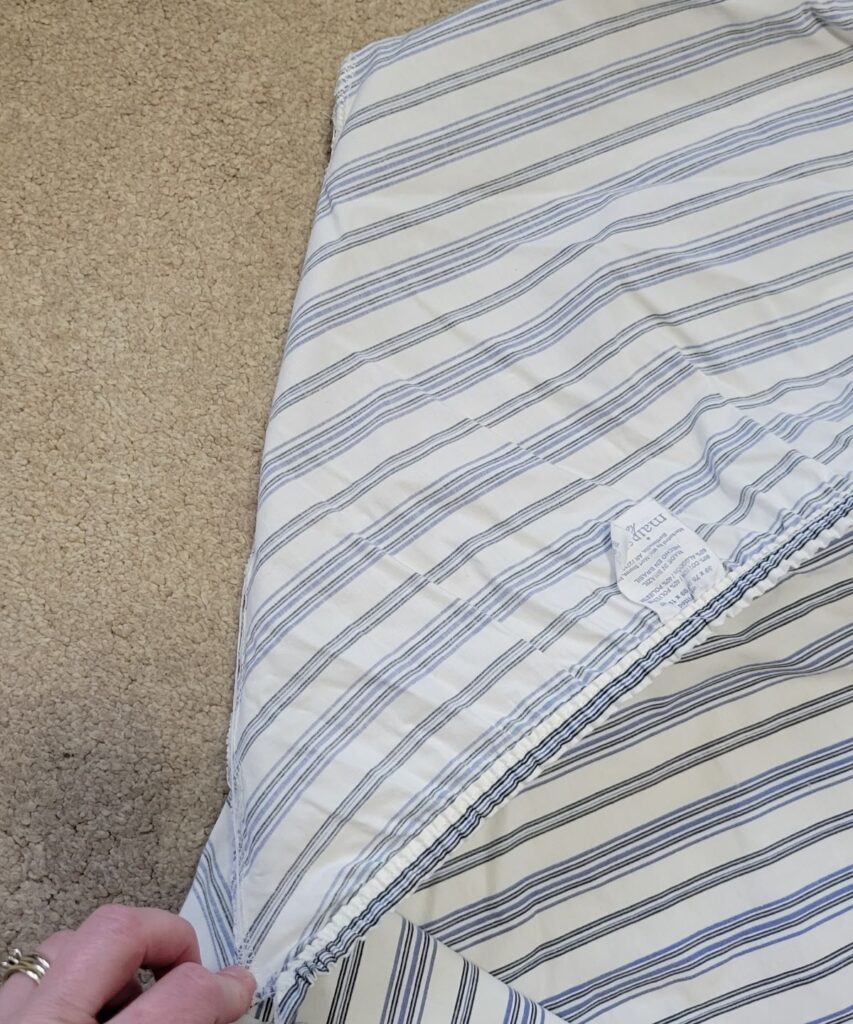
I realized that I needed to look at a real sheet and see how it is done. Usually I can visualize such things, but this time I had a really hard time visualizing it, even though the sheet had stripes in the fabric. Maybe that hurt more than it helped; I’m not sure.
So I had to rip open one corner of the sheet. Once I did that, I was able to see how they did it, and cut mine to match and sew on the elastic. But I had to scrap my first piece– the rounded corners I had cut made me unable to sew it like I needed to. Then later I sewed up the corner of the sheet I had ripped open. It is as good as new again.
My advice? If you can get by with making a one piece storage bench cover, then by all means, do it!
Part 2 of the cover
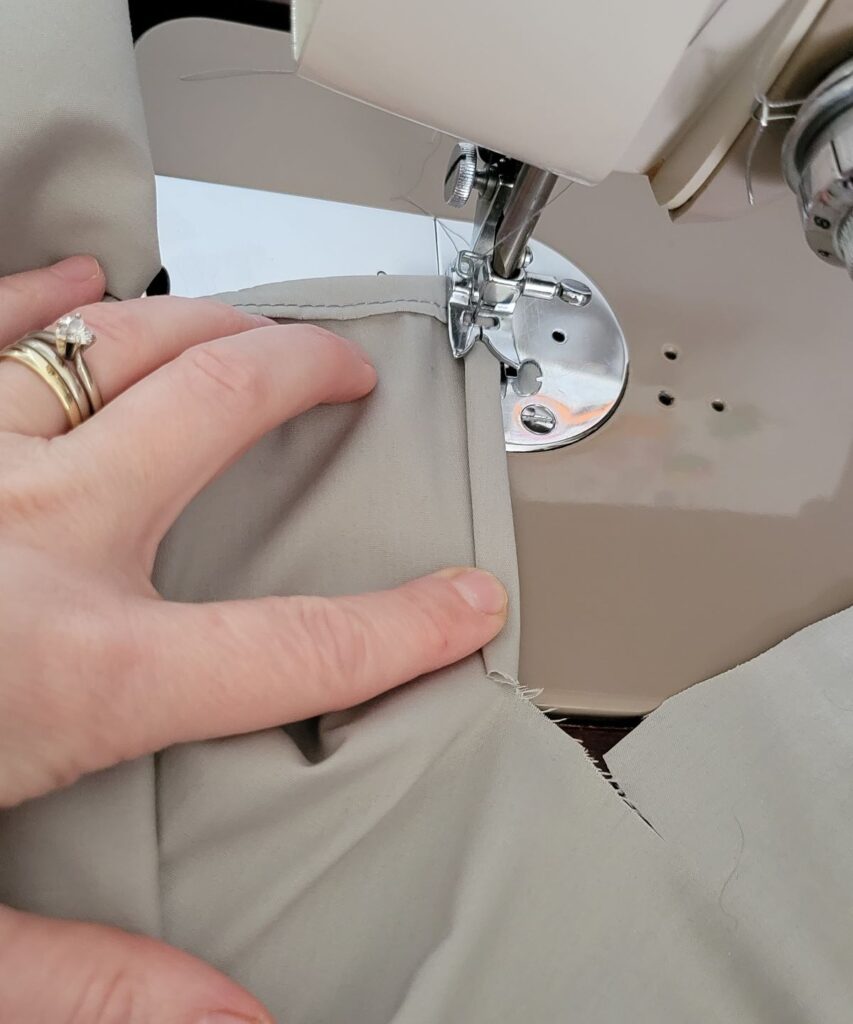
The fabric has a little stretch in one direction. Because of that, I was able to sew one long strip of fabric on the ends, connecting them like I was making a shirt or a skirt. I made sure to sew it so that it would just fit, and slip over the bench into place.
Then I needed to make accommodations for the hinges, which you saw already above. It wasn’t hard once the idea came to me. Sometimes it takes more time for those ideas to come….
I’m very pleased with my new piano storage bench cover!
I hope this tutorial on how to sew a piano bench cover has been helpful to you in some way.
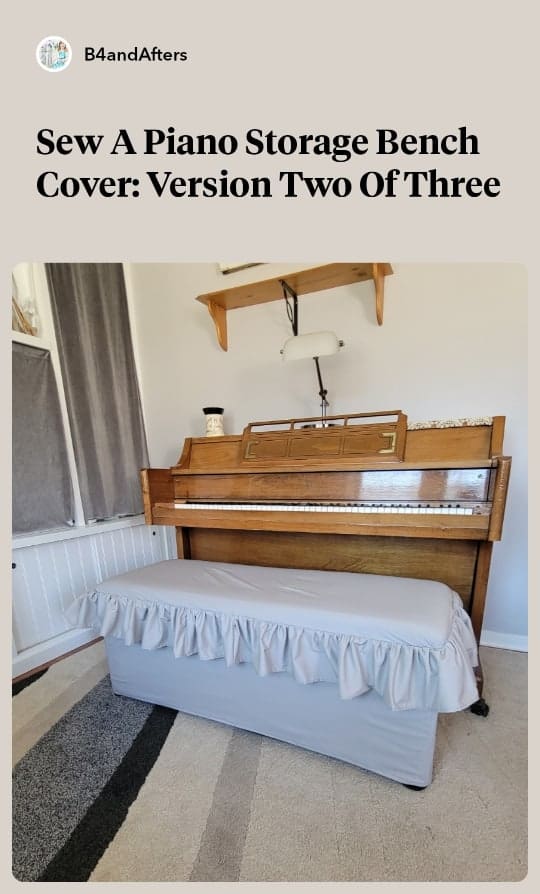
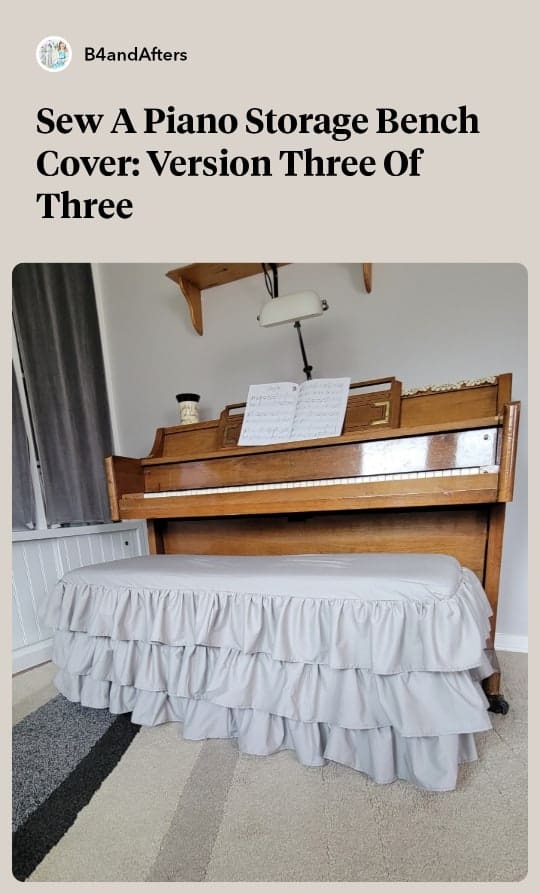
Here are the other two versions!