Candy Cane Improvement
Here is another quick Christmas post! To see my other Christmas and snowman posts, click here and here.
I was shopping at a thrift store when I came upon two candy cane Christmas decorations*– the kind you hang in a window. I thought my kids would like them for their rooms. I plugged them in to make sure they worked. When I did, I realized that I probably knew why these candy canes had been donated.
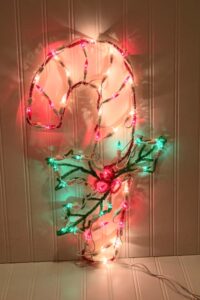
Candy Cane Before
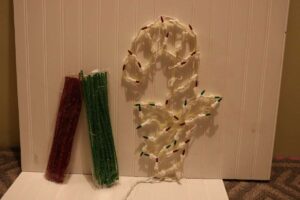
[sc name=”This Post May Contain Affiliate Links”]
When I plugged it in– I realized that there was not much definition to the shape of the candy cane. At night– it might be a little difficult to tell what it was. I thought of a way to remedy that.
Candy Cane, Before (lighted)
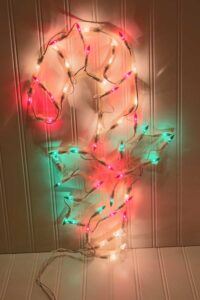
I decided to use metallic pipe cleaners* to outline the candy canes and the holly leaves and berries. I did tack the pipe cleaners with hot glue later, but these photos were taken before they were glued– so hot glue is not absolutely necessary. I just threaded the pipe cleaners under the lights–through the light clip holders–bending and cutting as needed. Doesn’t it look so much better?!
Candy Cane, After!
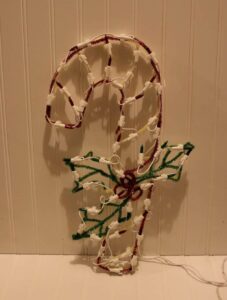
Here they are side by side– the one on the left without the pipe cleaner improvement, and the one on the right with the pipe cleaners. See the difference?!
Before and After
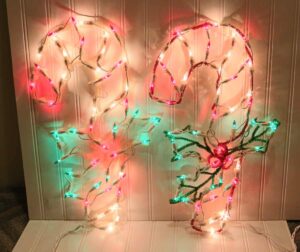
I think my kids are going to enjoy hanging these in their windows. They both have miniature trees in their bedrooms that they decorated with their own ornaments.
Candy Cane, After (lighted)
