
Photo Book Tips and Tricks Part 1
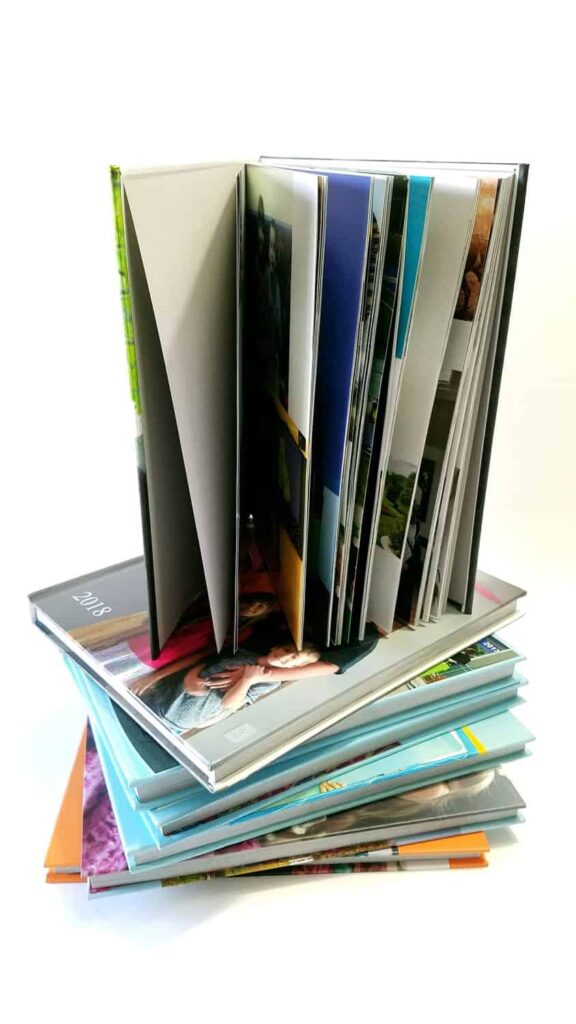
I have so many great photo book tips for you that I’ve made two posts about it! Have you started thinking about Mother’s Day yet for this year? Are you concerned about how you will celebrate? I have an idea for you, that I think any mother of any age would appreciate! What about a photo book? You could choose recent photos, or photos from long ago. You could scan printed photos, in order to digitize them to make a photo book. And one of the best parts, since we are smack dab in the middle of coronavirus quarantine season—- you can do it ALL from the comfort and safety of your own home!
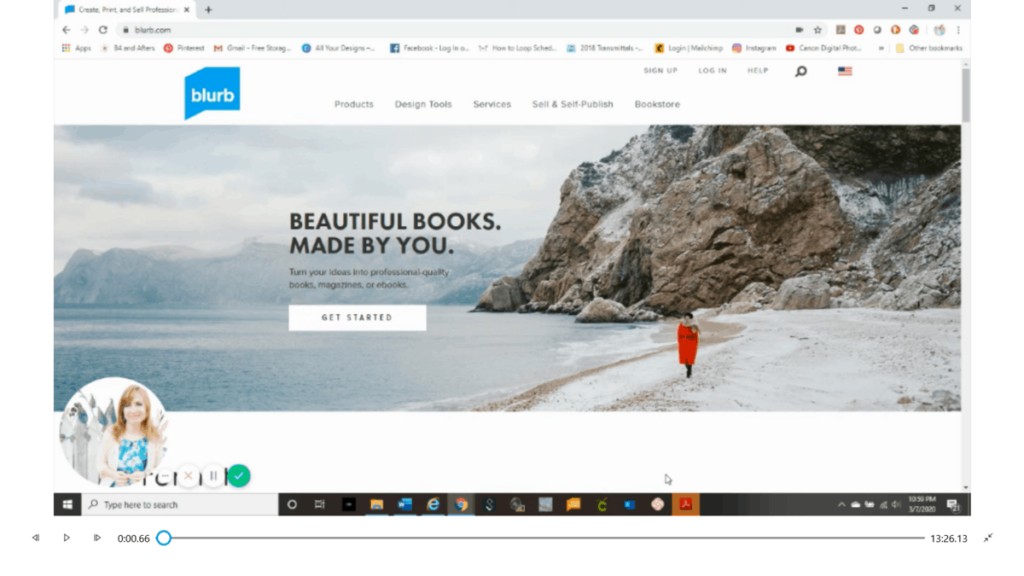
(For all the details of how to make a photo book using Blurb’s free offline software, click the link below.)
I was late getting into the Scrapbook craze. I love pretty paper, so I would have loved it. After I had made several paper photo scrapbooks, I began making digital scrapbooks. Our children had been born, we traveled alot, and we were taking tons and tons of digital photos. Old fashioned scrapbooks became completely impractical if I were going to keep up with all of the photos we were producing. If you are reading this, you probably know exactly what I mean!
I want to share with you all that I have learned, in order to make it easier for you to make your own photo book.
I have made seven family yearbooks using an offline software from Blurb. Their software can make any type of book with text and photos. I use it to make my photo books. Through all of my experience, I want to offer you my best tips and tricks for making a photo book using digital software. If you use a different software, these tips will still help you as you organize your photos.
I’m going to show you how I do a yearly photo book.
You can certainly use these tips to make a topical photo book or any kind that you like. These tips are not just for yearbooks.
Why
Why create a photo book? For me the reasons are obvious:
- I want to share photos with grandparents who live far away.
- I want a paper copy to look at myself, share with my children, and with others
- I want a hard copy backup of digital files. Digital files can easily get lost or accidentally destroyed. With my photo books all printed out, at least I have some kind of backup to the digital files.
Part 1 is all about how to collect and organize your photos for an entire year. If you are doing a smaller number of photos, you may want to skip straight to Part 2.
How
First, you need to COLLECT all of your photographs for a year.
For me, that includes:
- photos from my DSLR Canon camera
- photos from my phone camera
- photos from my husband’s phone camera
- Any other photos friends and family have shared with me
During years that I switch phones, then there will be two phone cameras to get pictures from.
Secondly, you need to ORGANIZE all of your photographs for a year.
This is how I suggest that you organize your photos.
- Create a folder on your computer desktop named “The Year” (so for last year, 2019)
- Within the yearly folder, make 12 more folders. Name them with the months of the year, like Jan, Feb, Mar, and so on.

As you collect your photos, add ALL of the photos from each month to its monthly file folder. (I like to copy mine to these monthly folders, and keep another copy somewhere else digitally, like on a giant terrabyte detachable drive.) In order to separate your photos by month when you have your camera or phone attached to your computer via a USB cord, click on the “View” tab at the top of the page. Then click on the last choice, “Details.” The Details will have the date the photos were taken, which makes it easy to separate them out by month.

If by the Details you can see that your photos are not in order by date, as shown in the screenshot above, then click on the “Date” column, and it will reorder it to be in order by date. You can see that I did that and now the dates are in order as shown in the screenshot below:

Now that they are in order by date, you can Click on the first photo in the month, scroll down to the end of the month, hold Shift+Click on the last photo, and that will choose ALL of those photos. Then Right Click on the chosen photos and choose Copy. Go to the monthly folder that you created in the previous step, above. Right click in the folder and choose Paste. It will copy all of those photos to that folder.
Be sure that if you have 3 cameras (like I do), that each month includes the photos from all 3 cameras.
OR, you can create another set of monthly file folders for each camera if you like to keep them separate. For example, I do have my Canon camera pictures separate from my phone pictures. It was easier for me to tell that I was not missing any pictures by separating them by camera. That meant I had more folders, but in the next step, I combined all of the cameras’ photos into one monthly folder. For example, if I had Canon Pictures January, Phone Pictures January, Husband’s Phone Pictures January, then in the next step they all went into January.
Organizing your photos by month in this way really helps break down that huge project of hundreds or thousands of photos into manageable chunks.
Thirdly, you need to CHOOSE which photographs you are going to use in your photo book.
This part takes some time, especially if you have lots of photos like I do. Now, you could make this a monthly chore, and then making the photo book would be even less daunting each year. For me, it helps to wait a year and then go back and choose my favorite photos. If I were to try to choose right after taking the photos, I would probably choose a lot more photos because the event had just happened and I was excited about it. So waiting to choose my favorite images helps me alot. Do what works best for you. This is a big decision making process (big, because there are a year’s worth of pictures to go through!), so try to work during uninterrupted times if at all possible.
Here is exactly how I CHOOSE the images that I am going to use: I go through one month’s photos all at once, for one camera. I usually go through one camera’s photos month by month, then start the next camera’s photos and go through them month by month.
Sometimes I will have similar pictures on different cameras, but one of the pictures is better, so I choose the best one.
I create yet another file folder on my desktop that says “Year Photo Book.” So for last year’s book (that I am making this year) I put “2019 Photo Book.” Then I make 12 monthly file folders within that folder.

Making all of these file folders may seem like a lot of work. But it is going to make it a lot easier to create the photo book when we get to that step.
I open up the monthly files that I created in the Second step, above, using the file icon/ explorer on my computer. Working on one month at a time, I use the Preview Pane to click on and view (without opening the photo) each photo.

If I like the photo and think that I am going to use it in my photo book, I write down the last four numbers of the file name.

After I have gone through all of the photos for one month and written down the ones I want to use, then I use Control+Click to choose all of the ones that I wrote down. I have chosen (highlighted) 4 photos in this way in the picture below. (Keep pressing down Control while you Click each photo that you want to select.)

Once they are all chosen, then Right Click on one of the chosen/ highlighted images. Choose Copy. Then go to your Photo Book, and Right Click on a folder, and Paste those photos into the appropriate monthly folder.
Once all of this work is finished, making the actual photo book will be a lot easier. In the next post, I will show you how I upload all of the photos for one month to Blurb’s Bookwright software to create my Photo Book.
Whether you use Blurb or a different photo book software, having chosen and sorted your photos in the manner I have described will be an easier task.
Part 2 of Photo Book Tips and Tricks will show you how to finish making a photo book.
(You could also go ahead and watch this video!)

This is wonderful, Liberty! I’ve got so many photos in so many places, and your system makes me feel like I might actually be able to get some photo books done. Thank you so much for sharing, and for being a part of the Hearth and Soul Link party.
That would be great– I would love to be a help to you! That gives me an idea— perhaps I should make a printable checklist…
This is a great tutorial! I have always wanted to do this but had no idea where to start. Putting the photos in a yearly folder broken down by months is such a good idea. I look forward to reading part 2!
I’m so glad that it helped you, Michelle! I’d love to see it if you make a book!
This is a great post, Liberty! I have been wanting to do this for quite a while, but I was really overwhelmed at the thought. This really is a great way to do it.
You’re welcome, Pam!! As a photographer, I’m sure you need to make books! : )