Fixing the Kitchen Vinyl Floor That I Tore
Introduction
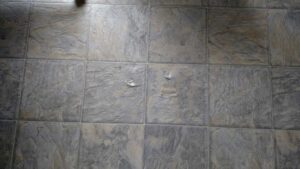
When I was moving my refrigerator across my kitchen vinyl floor, I tore the floor. I should have used furniture sliders like I usually do when I need to move heavy things, but for some reason this time I did not do it. I thought everything was going just fine, when….
Before
(*This post may contain affiliate links. By purchasing anything from these links, I may receive a small commission at no cost to you. More information is available on my Disclosure page.)
Yes, I tore the floor while moving the fridge all by myself. I felt awful about it. My husband had worked so hard to put in this floor, and it was still fairly new. I called a repair person, but their minimum charge seemed so high, and they would not give a definite estimate. I decided to google how, and to fix it myself.
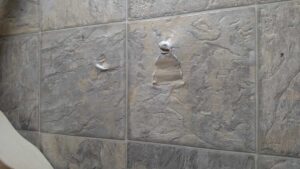
Fixing this floor was very stressful, and it probably would have been worth whatever high price the repairman would have charged. Nevertheless, I survived! First, I found two squares of leftover vinyl. If I remember correctly, I first tried cutting out the two squares, and then “tracing” the cut onto the floor, but quickly realized that if I didn’t trace perfectly, that my replacement would not fit. I found a second piece of leftover vinyl, and started again.
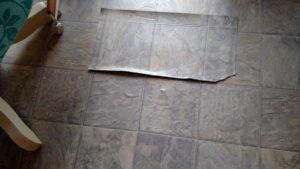
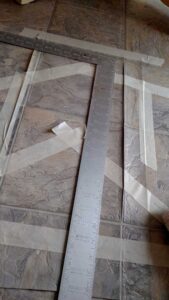
I taped the extra piece on top of the floor so that it wouldn’t move while I cut it out with a retractable utility blade. This was the scariest part of the repair, for me!
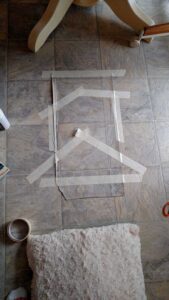
I used a carpenter’s square to try to guide a straight line while I cut through the replacement piece and the floor at the same time. If my cut was not straight, at least the replacement piece would still fit the hole that I cut. The pillow is for my poor knees!
Here is the replacement piece next to the cut hole. You can see the old floor underneath. It was an advantage that the new floor had not been glued down.
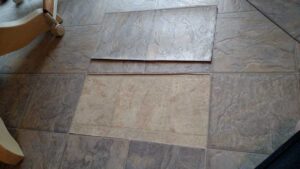
Around the perimeter I put very strong flooring tape. Then I carefully laid the replacement piece on top. Lastly, I very carefully applied vinyl flooring glue called Seam Adhesive around all four sides/ edges. This glue is especially for gluing two pieces of vinyl flooring together, if you are flooring an area larger than the width of vinyl sheets.
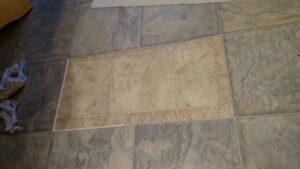
And here it is afterwards, as good as new! I was so relieved! Thanks in part to the square pattern of the vinyl flooring, you can’t even tell that the repair is there unless you are looking for it.
AFTER!!
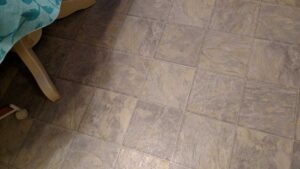




Good job! It looks perfect.
Thank you, Amy!