Blue Milk Paint Dresser
Today I am so excited to tell you about Miss Mustard Seed’s Milk Paint!* I was thrilled when Jenn from Miss Mustard Seed wanted to send me some of their powdered milk paint for a project. The hardest thing about this paint was…. choosing which color! I have so many ideas, and choosing just ONE color for just ONE project– oh the agony!
I have heard about Miss Mustard Seed’s Milk Paint for years. I have admired other people’s handiwork at painting beautiful furniture. I have done plenty of painting myself. But when I heard the word “wax” for a finish— that scared me. Fortunately for me, Jenn suggested that I use hemp oil (another thing I’ve never used) instead of wax to finish this project.
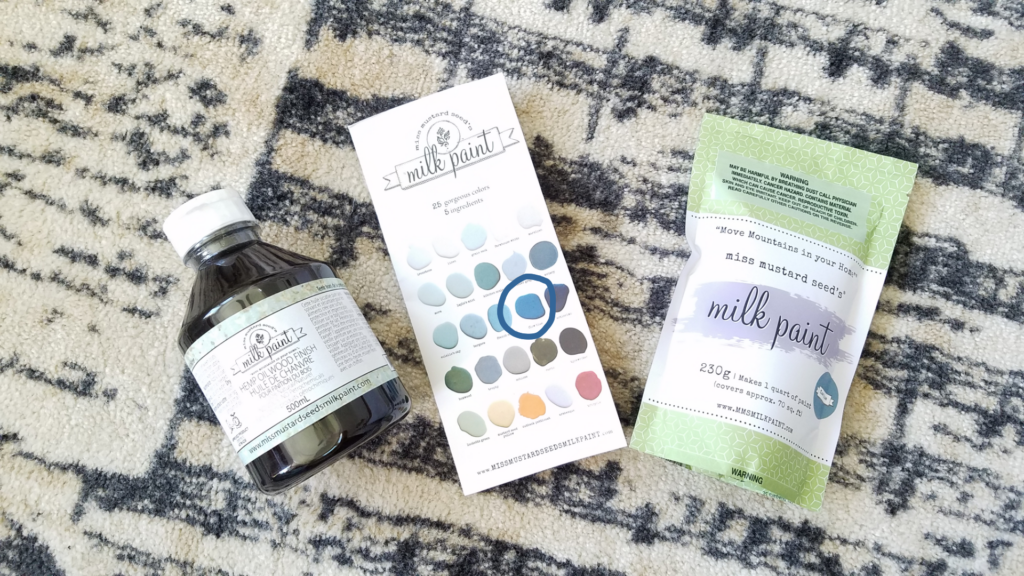
(*Miss Mustard Seed sent me this milk paint and hemp oil to try out– and so that I could share it with you!)
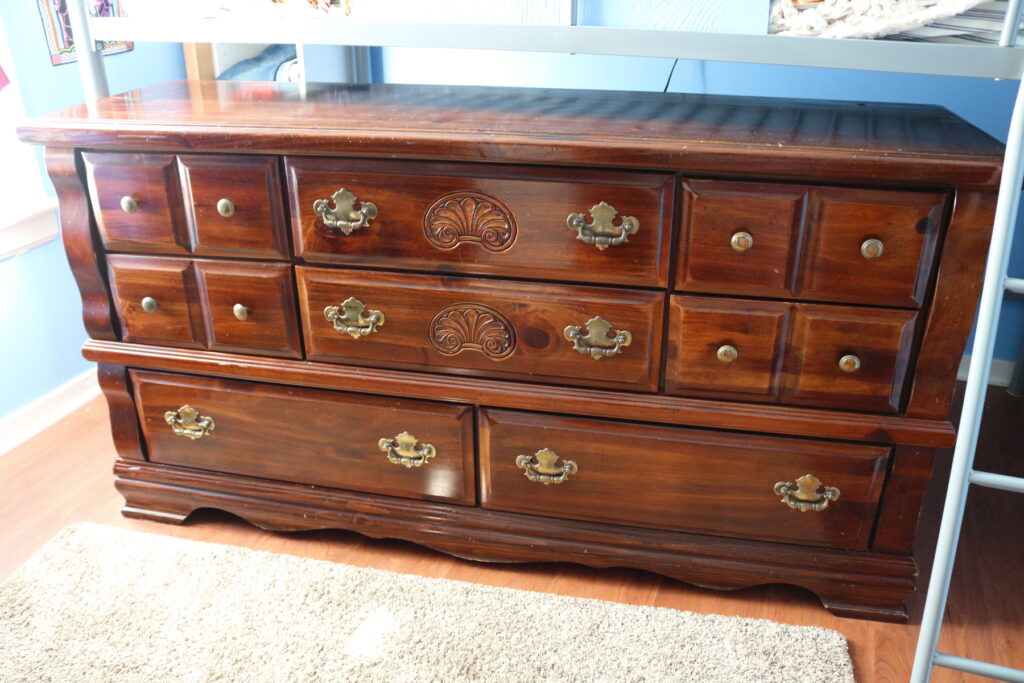
We recently got an old, used dresser to go under my son’s bed to hold some of his toys and Legos. I decided it would be a good practice piece for this milk paint that I had never used before now. Eventually I chose Flow Blue for the color. (And after the box had arrived and I asked my son which color he would pick– he pointed straight to Flow Blue. Whew!)
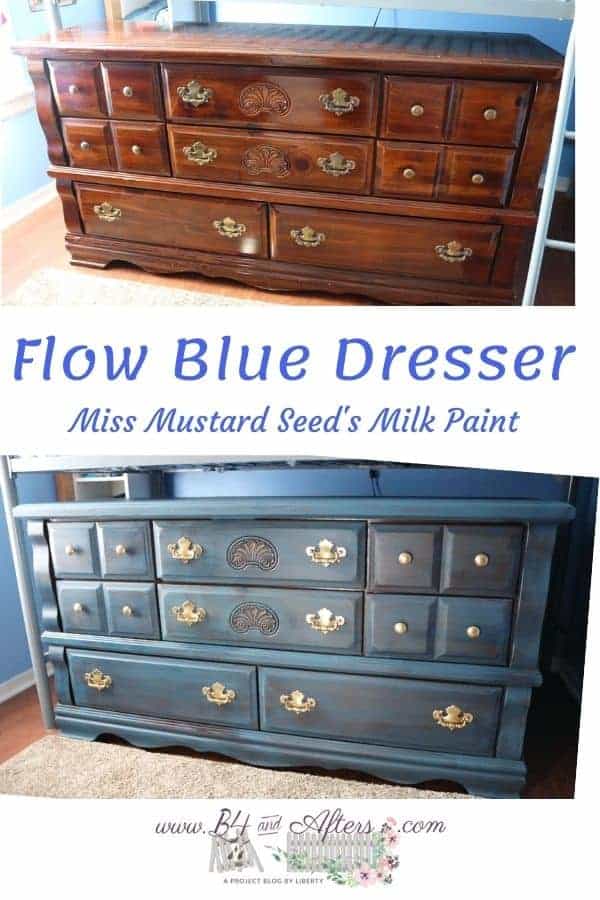
Dresser Before
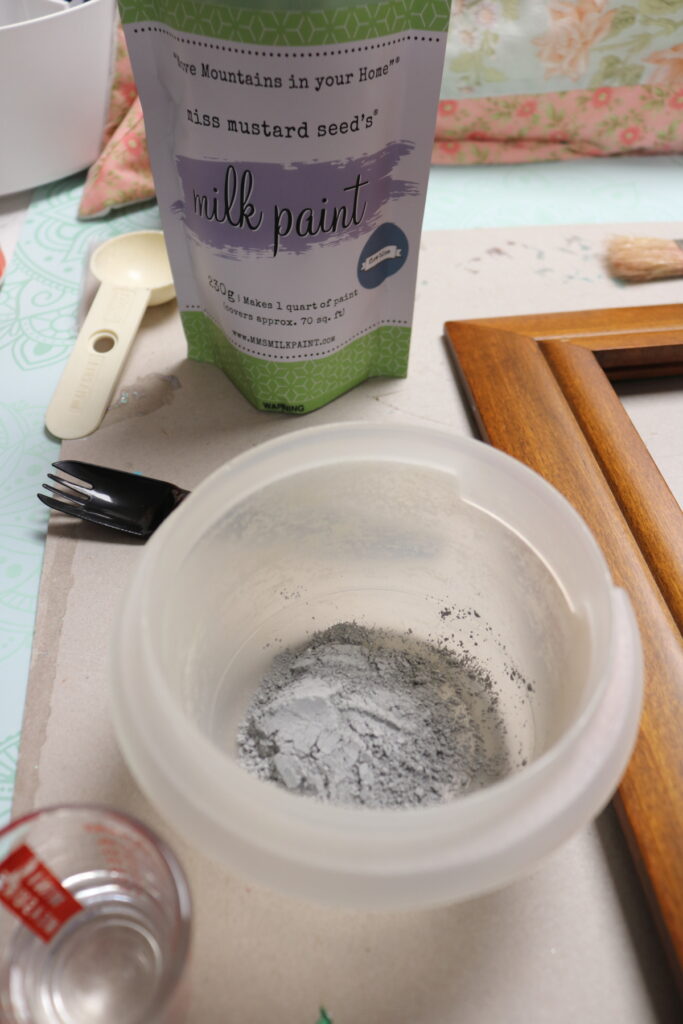
But before I painted the dresser, I wanted to test the paint out on a wooden picture frame first. I watched some of Miss Mustard Seed’s tutorials, and I was ready to begin. Mix 1 TBLSP of powder to 1 TBLSP of water….
Let me tell you that I am sooo glad that I tested the paint out on the frame first. It really helped build my confidence to tackle the dresser.
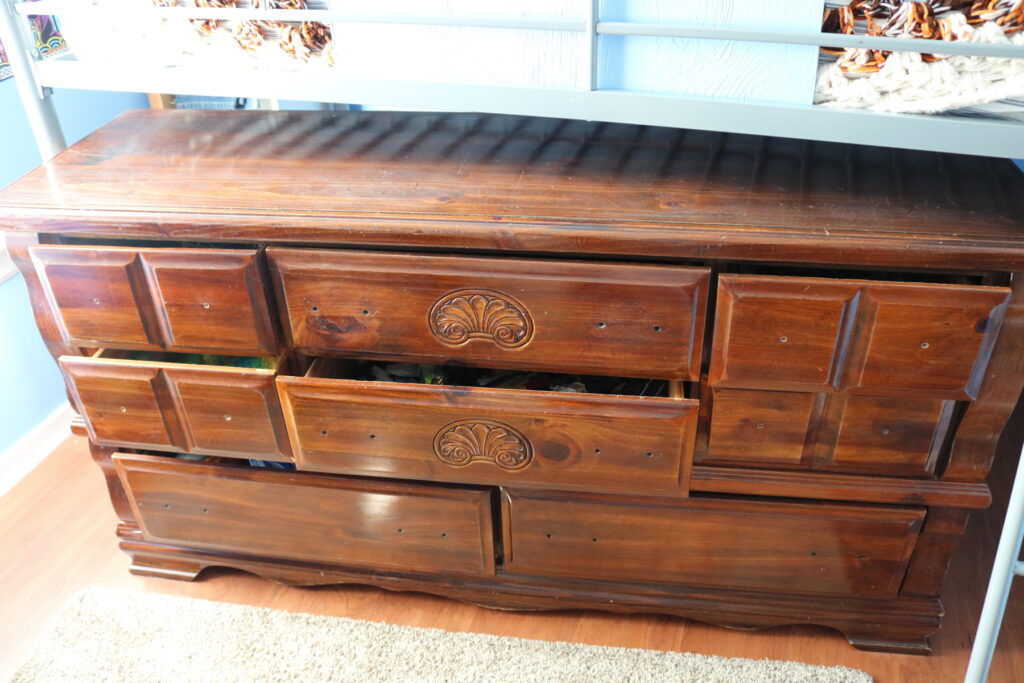
I did not sand the frame, but I did sand the dresser. I removed the hardware, and left the drawers in the dresser to paint them due to Miss Mustard Seed’s example. If that’s how the expert paints her dressers, then I want to do it that way, too. It did save me a lot of time. Normally I probably would have fussed with painting the frame, but with the drawers left in painting the frame wasn’t really necessary. Like I said– by copying the professional, I saved myself a lot of time! (I also don’t have much room to set out the drawers everywhere, so it was a win-win.)
I set the hardware on some foam I had saved, in order to be able to spray paint all of the beveled edges. I started with the handles flipped upside down. After that coat dried, I flipped the handles right side up and put on the last coat.
Hardware, Before
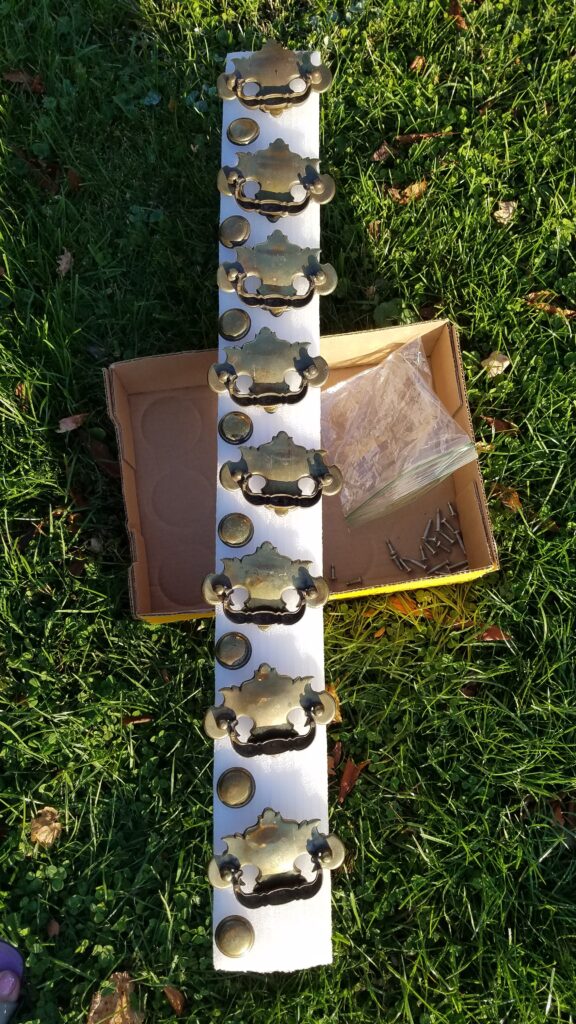
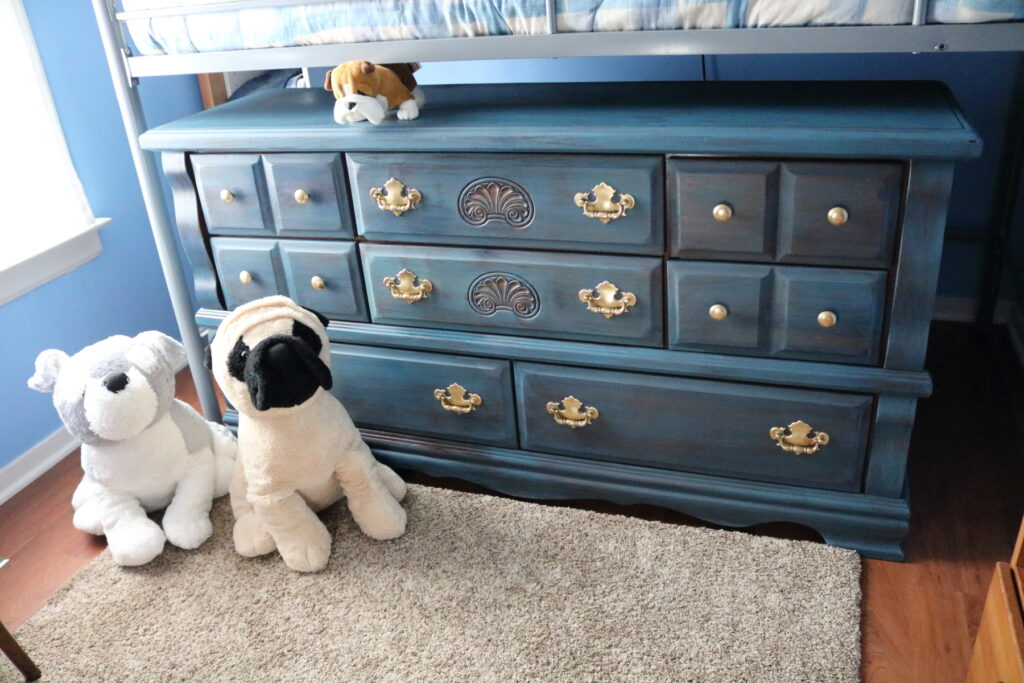
I chose a brass/ gold color for the hardware. I personally prefer a brushed nickel finish, but I knew the gold would look so nice against the blue (and I think brass is back “in.”)
Hardware, AFTER!
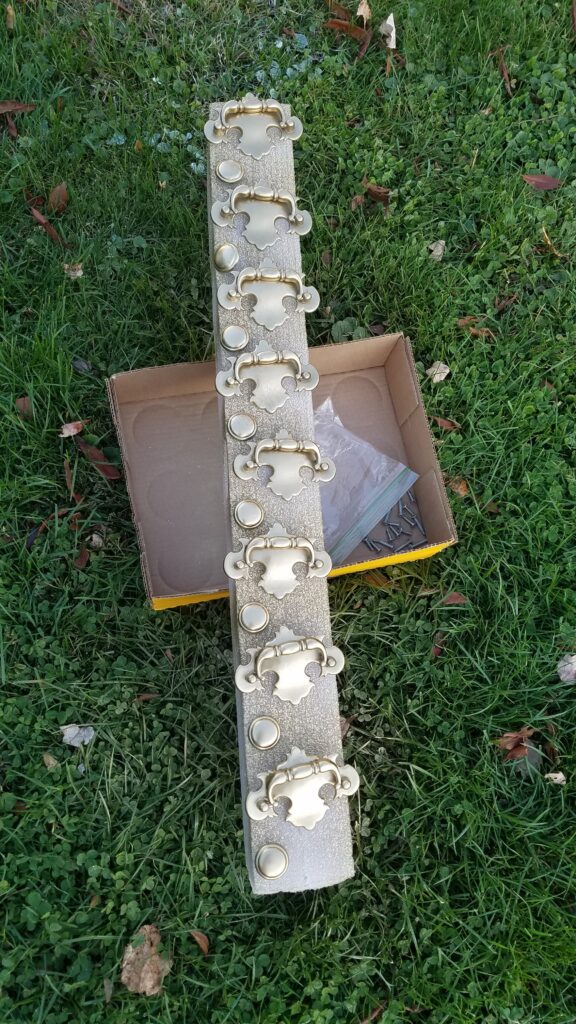
Allow me to pause here and tell you about how I am so glad that I painted the picture frame as a test. As I mixed the powder with the water, it was fun to see the color appear. But when it was time to paint, the paint looked like “country blue.” When I painted it onto the frame, it did not look the same color as the paint. It grew brighter/ darker (I know that sounds odd, but it did seem to do both) as it dried; and it dried quickly. I was really wondering if it would ever look like “Flow Blue.”
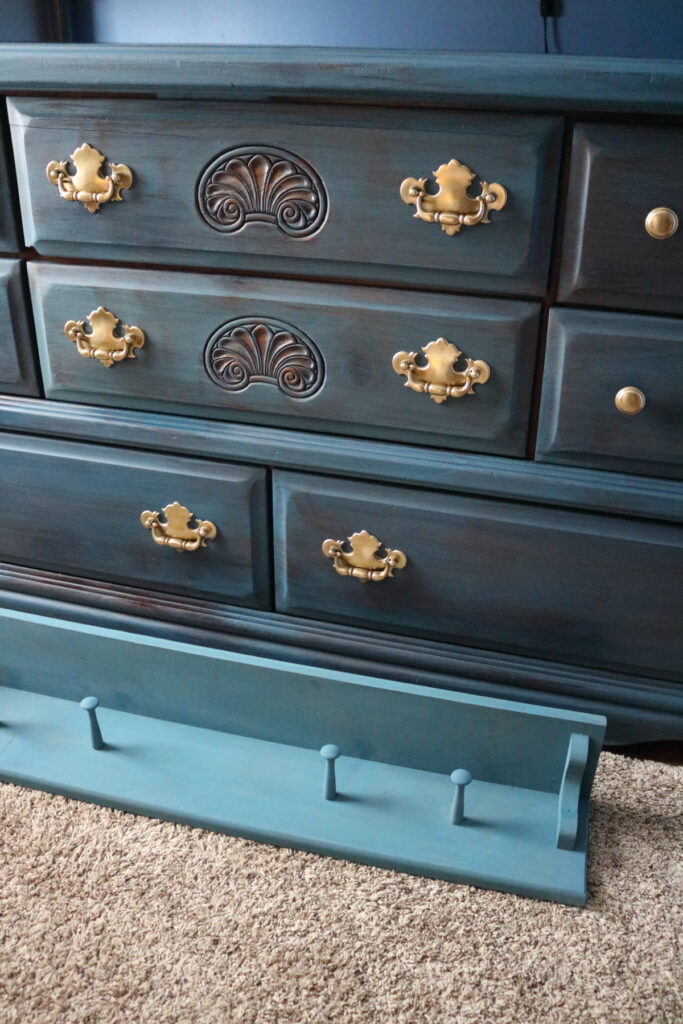
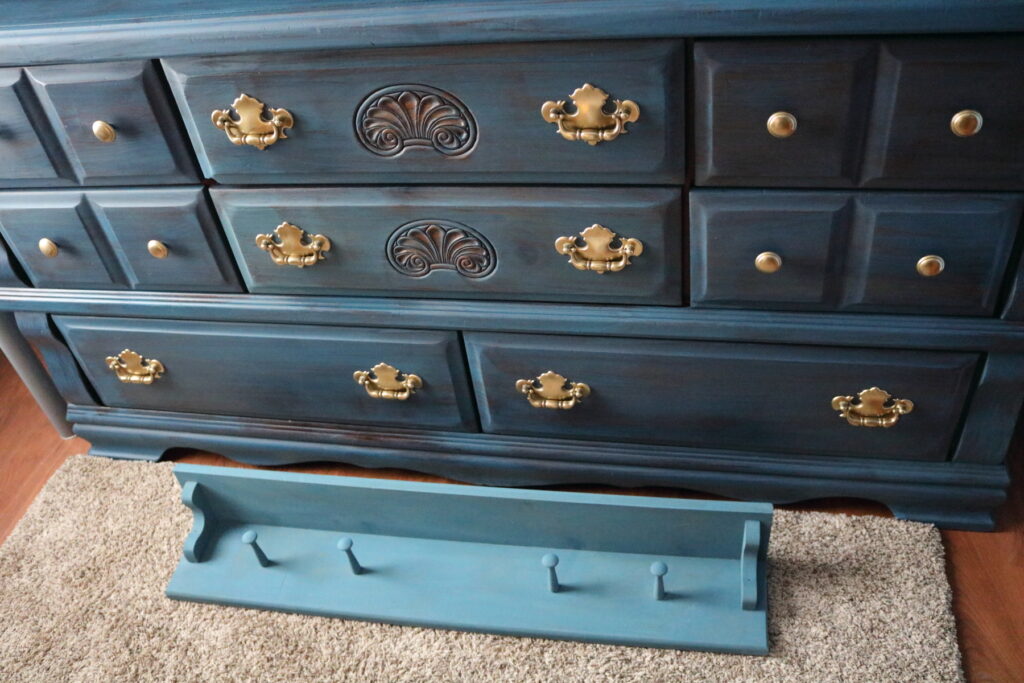
I painted on 2 coats of paint, let it dry completely, and then put on the hemp oil. I wet sanded it with hemp oil according to one of Miss Mustard Seed’s tutorials. And WOW!! Did I like the finished result! It finally looked like Flow Blue. To show you what I mean, look at the peg shelf and the frame below (I painted the peg shelf with my leftover paint). The peg shelf has no finish on it– just the milk paint. The frame has been painted, and wet sanded with hemp oil. What a difference!
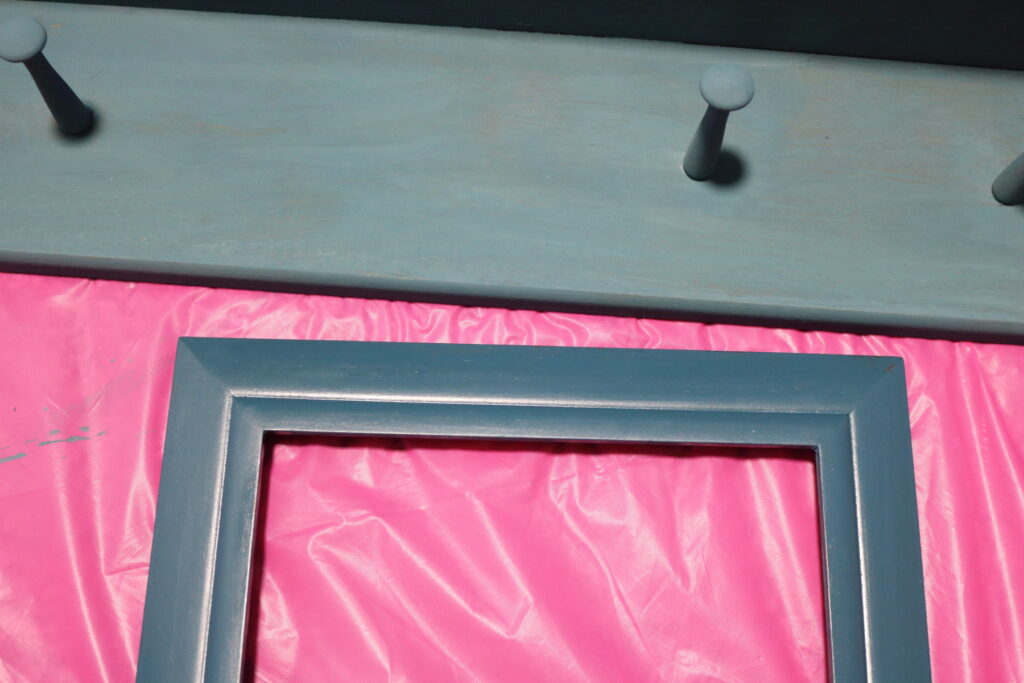
The hemp oil really adds a nice shine and finish.
Painting the Dresser
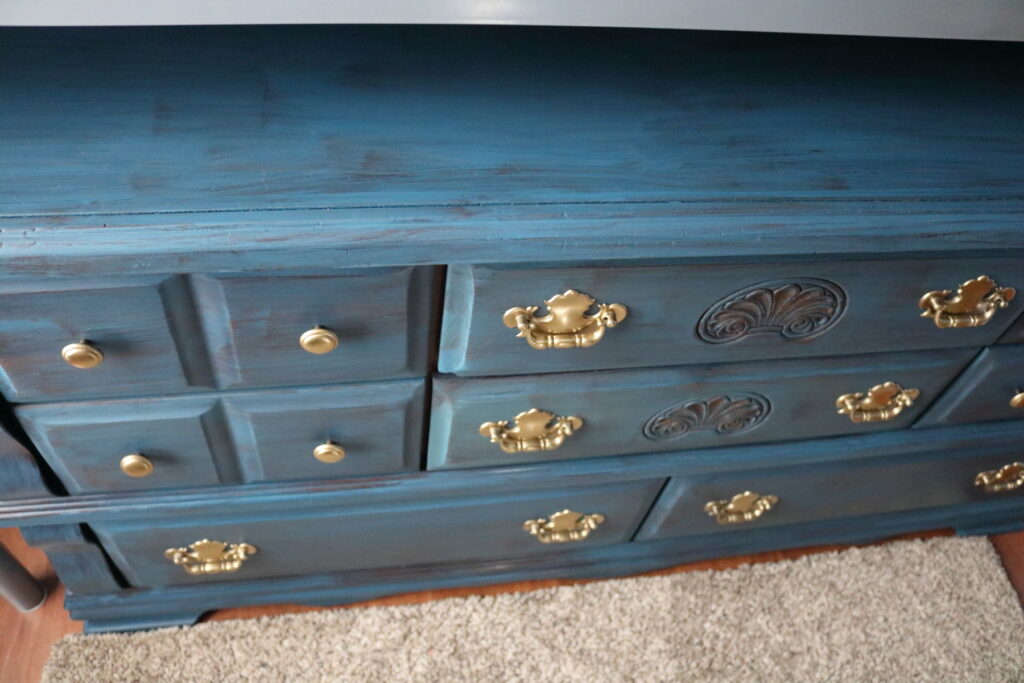
Even though I hand- sanded the dresser, the milk paint did not cover it as well as it did the frame. The finish was just different on the dresser. I could have added more powder to make the paint thicker for better coverage, or I could have painted on a second coat. But I was going for a look that let some of the wood show through, and that’s exactly what I achieved with hardly any effort at all!
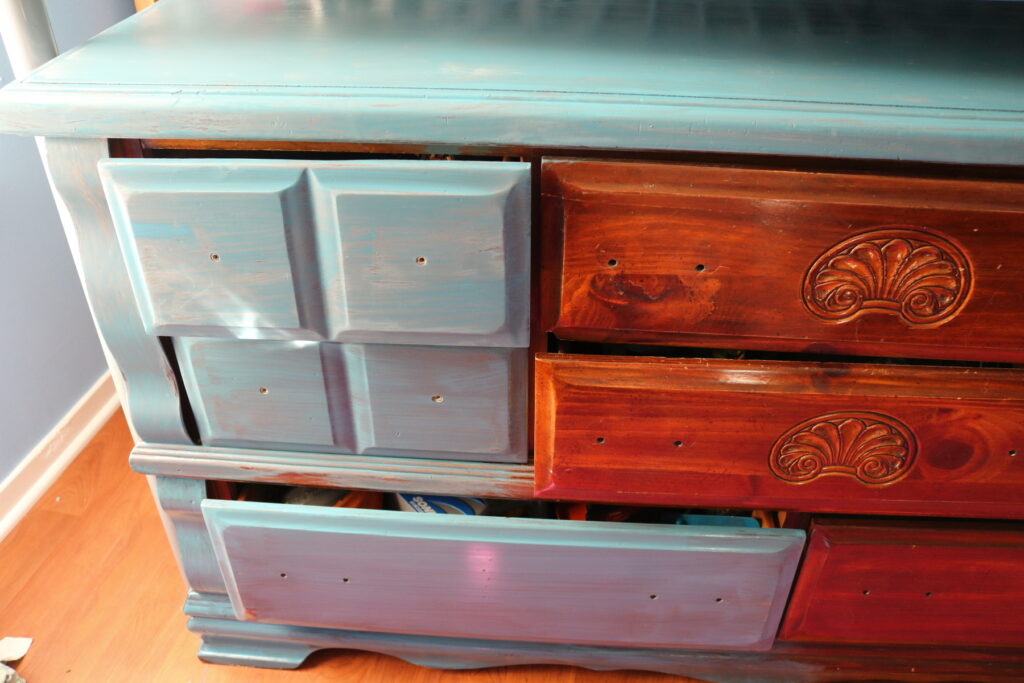
With my finger, I did rub excess paint off of the shell design to make it stand out a little more. Normally when painting a piece like this, I would be going over and over it with a brush, trying to minimize brush strokes. With this milk paint, I did not have to worry at all about brush strokes!! Not even a little bit!
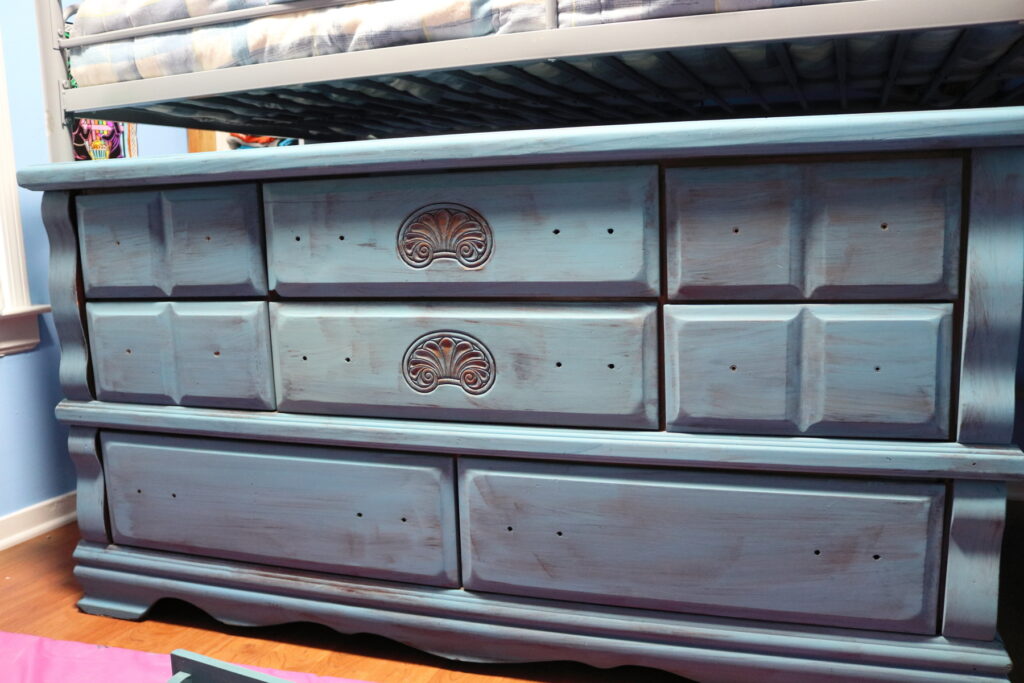
Here is the finished picture frame against the unfinished dresser.
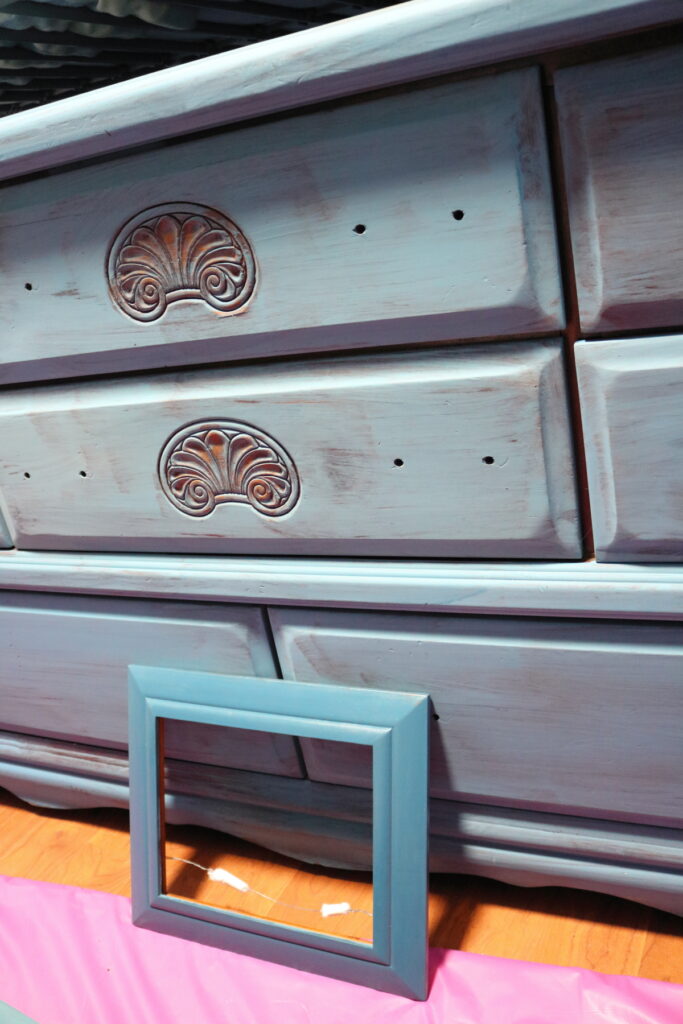
One of the things I love about this milk paint is that except for the dye, it is all natural. It’s safe to use. Even the hemp oil is all natural, will not go rancid, and is actually food safe! So when my daughter wanted to help apply the hemp oil, I didn’t hesitate! If I had been using a polycrylic, I would not have let her help. But I knew if she dripped the hemp oil, it would easily wipe up. I didn’t even have to make her change into paint clothes. The hemp oil has been applied on the left in the picture below.
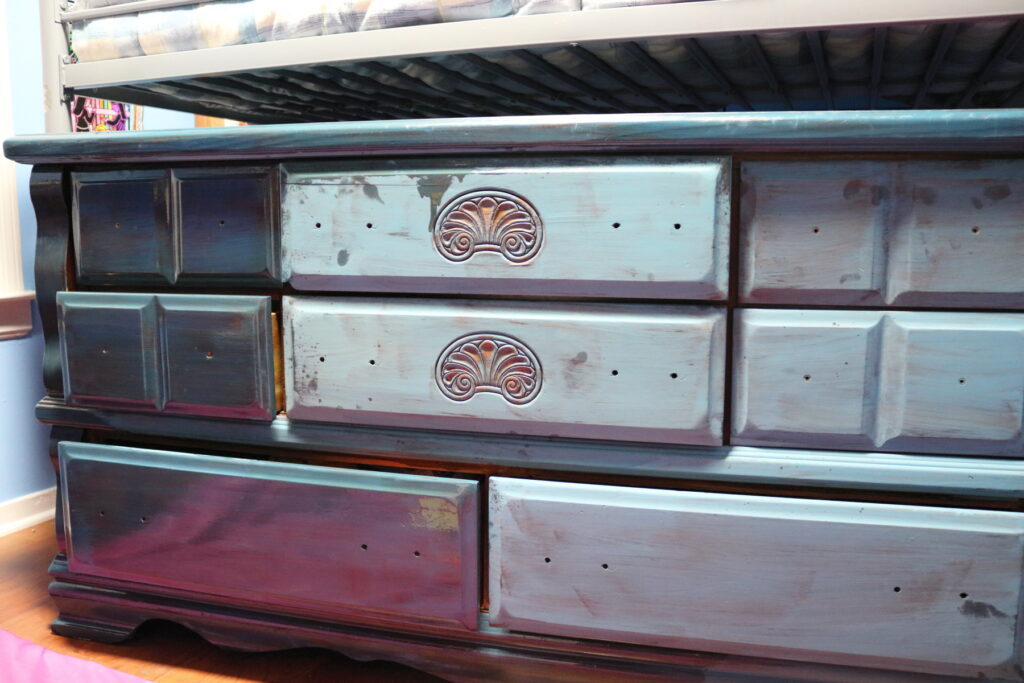
Here’s the top of the dresser before the hemp oil:
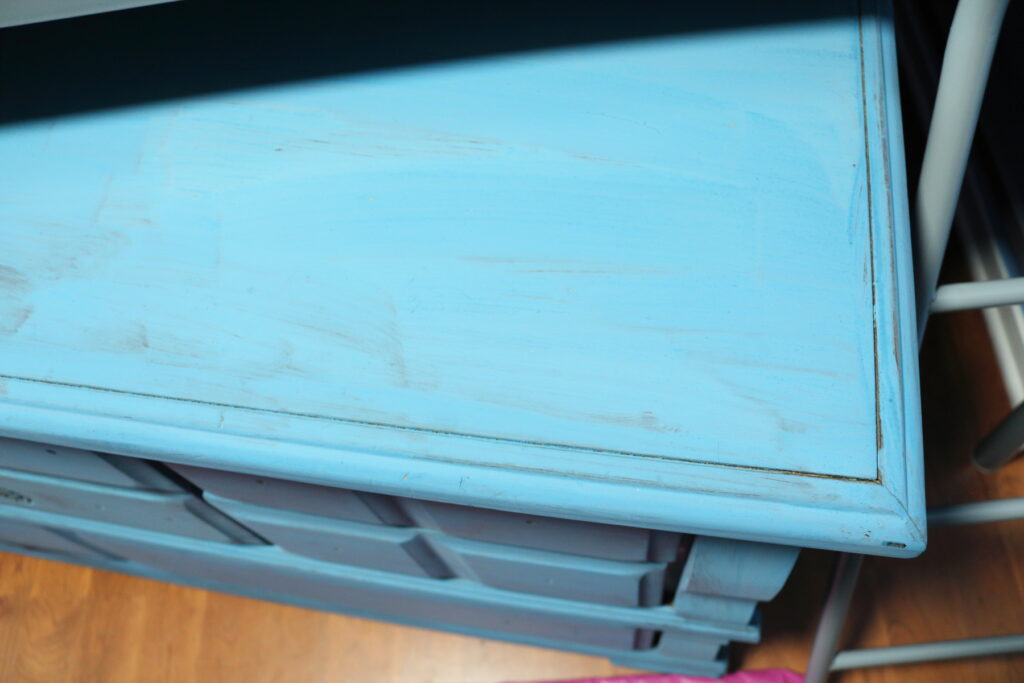
And here is the top after applying the hemp oil, wet sanding with #400 fine sandpaper, rubbing it, and wiping it off: (It is photographing lighter than it really is.)
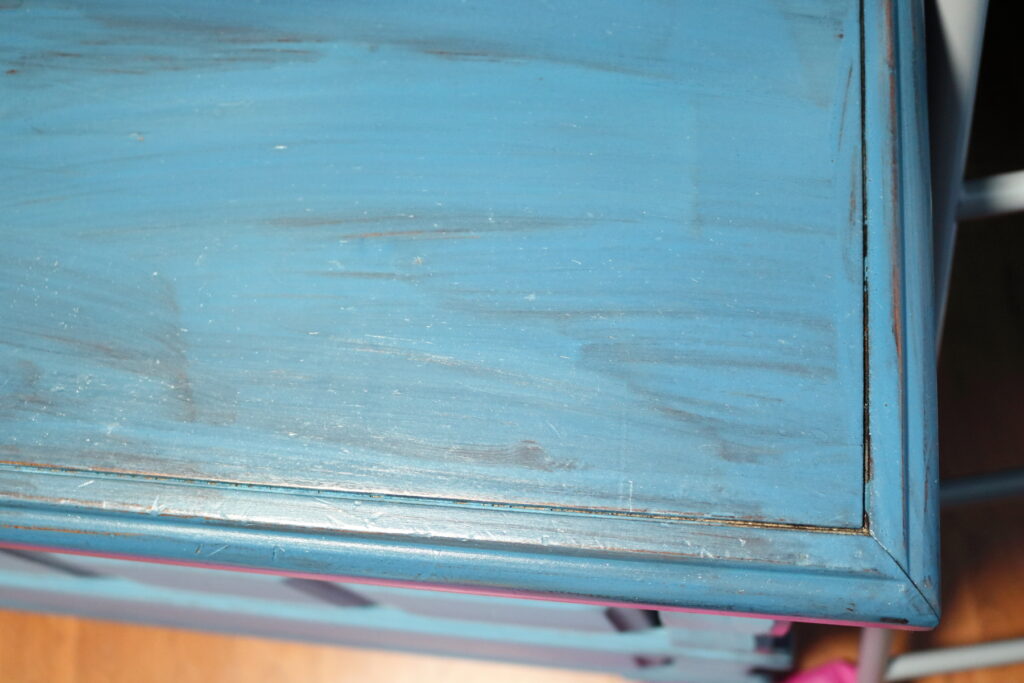
Well guess what? I finished this dresser from start to finish, all in one day!! I could never have done that with any other paint. After brushing the hemp oil all over (by pouring some into a dish first, to dip the brush into like I saw in the tutorial), I used one small piece of #400 fine sandpaper to “wet sand” the entire dresser. Then I rubbed the oil in and off with a rag.
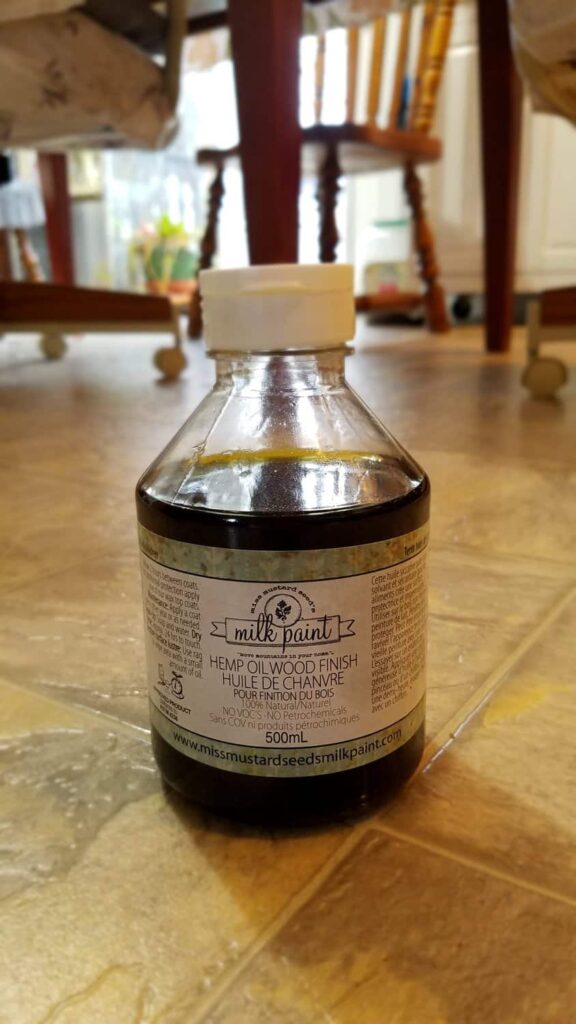
In case you are wondering how much hemp oil I needed to cover this dresser, I only used about 2 ounces! The bottle that I used holds about 2 cups. Here is a picture of my container, showing how much I used:
I really enjoyed using General Finishes milk paint for my kitchen cabinets, and a variety of other projects. But that canned milk paint requires several coats of top coat, with drying time in between.
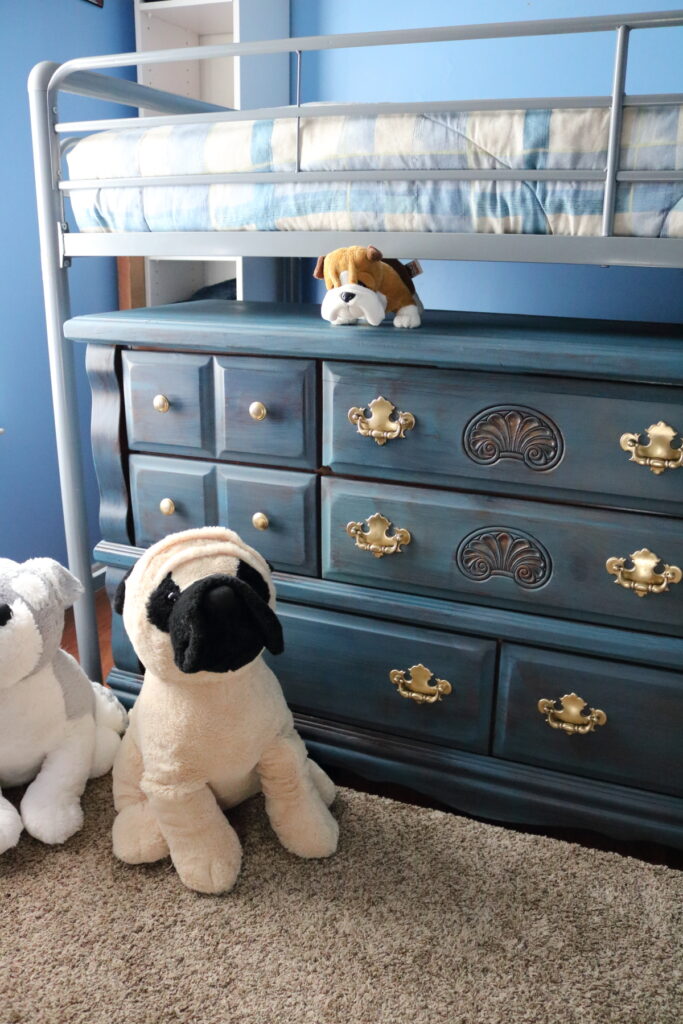
I was soooo glad to finish this project in one day so that my son could have his room back! Are you ready to see the finished dresser?? Here it is….
Blue Milk Paint Dresser, AFTER!
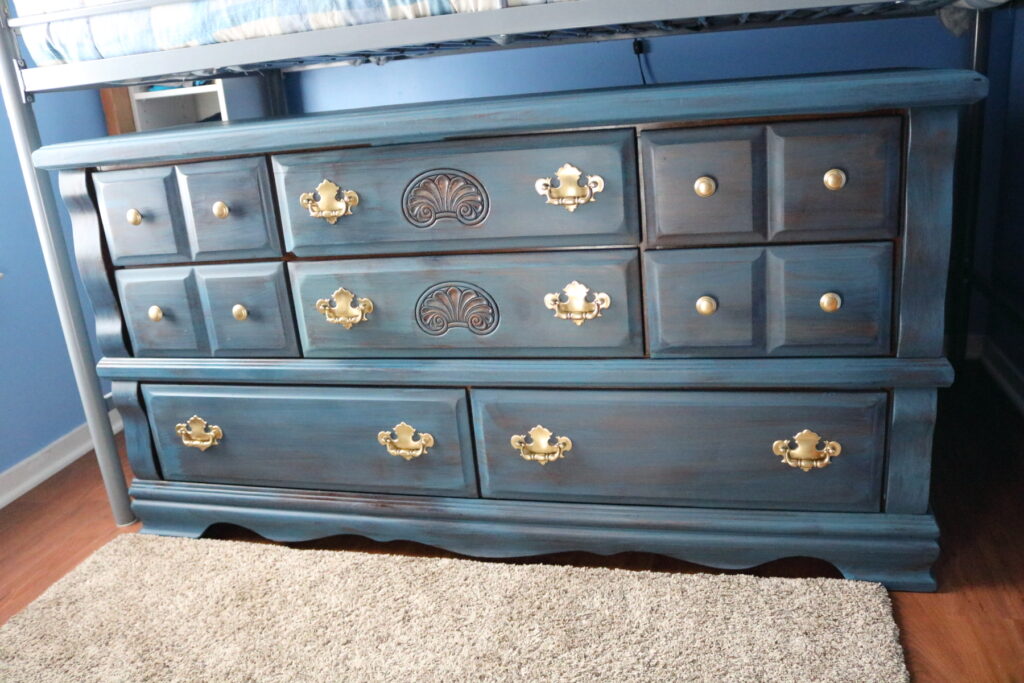
So what do you think? I love how the gold/ brass hardware looks. This dresser looks even better in person!
I see so much potential for using Miss Mustard Seed’s Milk Paint. If I wanted to have coordinating accent pieces in this room, I could hang my picture frame. I could finish a wall shelf to match. I could even paint a metal waste basket or the bed frame.
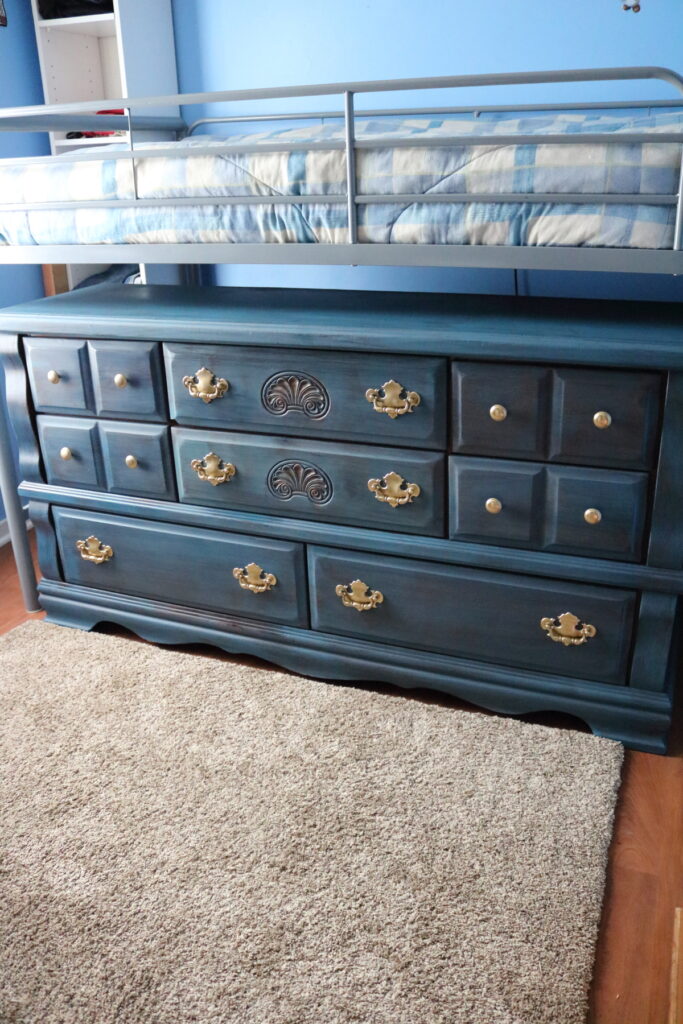
The cat was willing to pose for me! She must like the dresser, too!
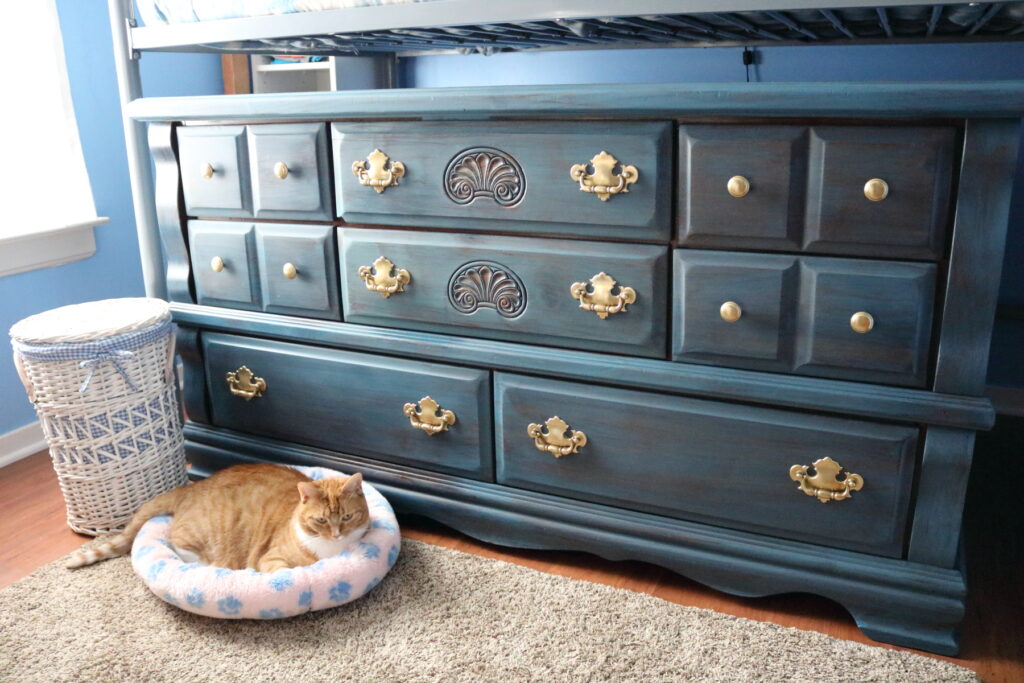
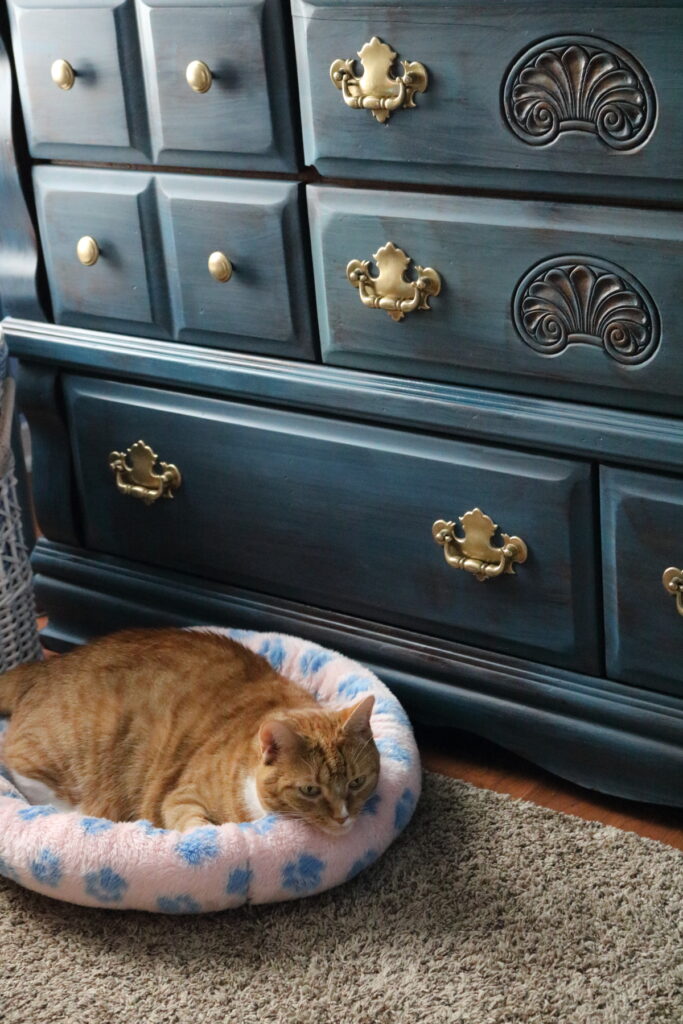

(Normally I would not put blue furniture in a room with blue walls— but it is a room that belongs to an 8 year old boy— and I anticipate we may find another house in the next year– and in that case I won’t paint his walls blue since he now has a blue dresser.)
What I LOVE about Miss Mustard Seed’s Milk Paint
- It’s not full of chemicals. All of the ingredients except the dye are considered all natural.
- It is safe for kids to use (with supervision, of course).
- It does not leave brush marks.
- You can change the consistency, making many different looks from one color packet.
- You can mix only a little at a time, and the rest will not dry up in the can like latex paint. So the leftover will be just as fresh as when you first opened the packet, the next time you use it.
- You can mix your own custom colors. Not as blue as you wanted it? add more dark blue. Not as pink? Add a little more red. There are so many color combination possibilities!
- If your painted item gets damaged, you can easily repair a small area without worrying about blending in the coats/ brush marks.
Watch the video below to see what crazy thing happened when I was painting!
- 1. Jenn from Miss Mustard Seed’s Milk Paint sent me some Flow Blue Milk Paint to try.
- 2. I wanted to test it on a picture frame first. I mixed it with water according to the directions.
- 3. What the camera shows is not the same color I saw with my eyes!
- 4. See?! It looked country blue in the container; after rubbing hemp oil on for the finish, it’s ok!
- 5. Here is my son’s dresser. Testing out the picture frame gave me the confidence to tackle this.
- 6. I removed the hardware and left the drawers in the dresser.
- 7. Partly painted!
- 8. Waiting for it to dry….
- 9. Next step: Add hemp oil.
- 10. Dresser does not have hemp oil; picture frame does.
- 11. Hemp oil on left.
- 12. All hemp oil. Then wet sand and rub off…
- 13. Reattach the spray painted hardware.
- 14. I finished it all in one day!
- 15. I’m so pleased with the result!
- 16. Here’s real life!
One of the reasons I wanted this type of paint style (with the wood showing through) and finish, is so I didn’t have to worry about my son scraping up a fully painted finish. It’s absolutely perfect!
Here are some questions people ask about milk paint, and what I’ve already learned about it:
Yes! This is such a great paint for beginner painters because you don’t have to worry about brush strokes!
It depends. If you are painting raw wood that is already smooth, then no. If you are painting finished wood that is very shiny, then you should sand it (like the dresser I painted.)
If you want to be able to vary the thickness of your paint, then milk paint is a great choice. Changing the consistency will not harm the integrity of the paint, because it is designed to be able to change. You can thin the paint enough to use it as a stain if you like, and you can thicken it as much as you like, to get just as much transparency as you wish (or opacity).
No. If you are concerned about milk paint sticking to your surface, then an additional “Bonding Agent” (sold by Miss Mustard Seed’s Milk Paint) is recommended.
Yes. You certainly can paint over primer, latex paint, or stains with milk paint if you wish to do so.
Generally, yes it does need a top coat. If you wished to leave a piece very flat, and knew that no dirty or greasy hands (think kids or touched often) would ever touch it, you could probably leave the top coat off.
Not when you compare it to nail polish! At about $25 per quart, it may seem expensive at first. But it will save you a lot of time trying to minimize brush strokes– because you don’t need to. Also, think of this as paint that a furniture artist professional would use– because that’s exactly what it is! Miss Mustard Seed is an accomplished landscape artist.
I hope you have enjoyed hearing all about my first experience using Miss Mustard Seed’s milk paint. Just below is a slider that you can drag on the image to see the before and after picture of my Flow Blue Milk Paint Dresser!







These turned out great! I also would have been intimidated about the wax ha ha. Your kitty is darling!
Thank you, Marie!
I ordered the same paint from Miss Mustard Seed after seeing your project on Hometalk! I can’t wait to paint my Early American dresser, that I’ve had since I was 5 (almost 60 years now- Yikes!). I do have a question re: the hemp oil. How much did you need to use to cover the whole dresser? I’m looking on Amazon and it all looks very pricey. Also, is there a difference between Hemp Oil and Hemp Seed Oil?
Thanks for the inspiration and thanks in advance for your reply, Liberty! I can’t wait to get started!!!!
Oh, that’s so good to hear!! I would love to see a picture when you are finished! I only used about 2 oz. to cover the entire dresser. At this link you can find 250 ML of hemp oil for $14 https://www.eighthundredfurniture.com/shop/miss-mustard-seeds-milk-paint-hemp-oil . I have a 500 ML size and I will post a picture above showing how much I used.
Also, there seems to be confusion online about the difference between hemp oil and hemp seed oil—- since some people shorten their “hemp seed oil” and call it just “hemp oil.” I would just be sure that what you get is for furniture, not for ingesting.
Oh my goodness! This is stunning!! You’re so talented! I’ll have to try out this paint.
Great job, Liberty! It looks so good. I also received paint from MMSMP and I am in the process of working on it!
Oh how exciting!! I will love to see how yours turns out!
Awesome job! love it. Also enjoyed all the questions and answers!!!
I’m so glad it was helpful, Renee!
I have several pieces of furniture that I want to paint! I’ll use this post as a resource!!
Oh that sounds fabulous, Sharon!
Wow! You did such a great job. I really love that you have used your space so well too, putting the drawers underneath the bed. Great idea.
Thank you Carol. Yes, I don’t have a ton of space so both of my kids have similar beds.
What a gorgeous transformation, Liberty! Good choice on the color! XO
Thank you so much, Misty!
It came out so well! Love the gold hardware too! How nice that it was done in one day! That would be the best part for me!!!