Saturday Snippets #8
Around twice a month on Saturdays I am quickly showing you several projects that I have tried. Other people have already given the instructions, so I will link you over to theirs if I can.
My goal is to share links to recipes and Pinterest ideas that I have tried, and then to let you know how it worked out for me when I tried it. It might be a success, or it might be a flop. Perhaps you would like to know if I have tried something in particular? Let me know! If I haven’t tried it yet, maybe I will, and then I can let you know how it went.
(*This post may contain affiliate links. By purchasing anything from these links, I may receive a small commission at no cost to you. More information is available on my Disclosure page.)
Today’s Snippets are all garden related tips and tricks. First up today is a watering jug that you can make yourself– from a milk jug!
DIY Watering Jug
This person used a hot needle to make their holes, but I think I just used a hammer and a nail. I like two things about this– first, I don’t need to save the entire jug— I can just save the lid and use it on any old jug again. That way my home made watering can does not get accidentally thrown away. Secondly, the water that comes out from the jug is very gentle– perfect for new seedlings.
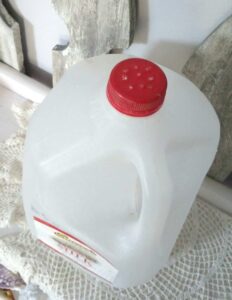
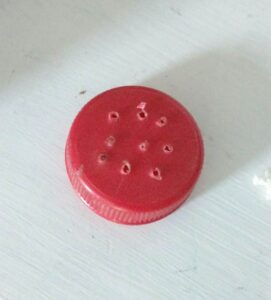
This is a very quick and easy project!
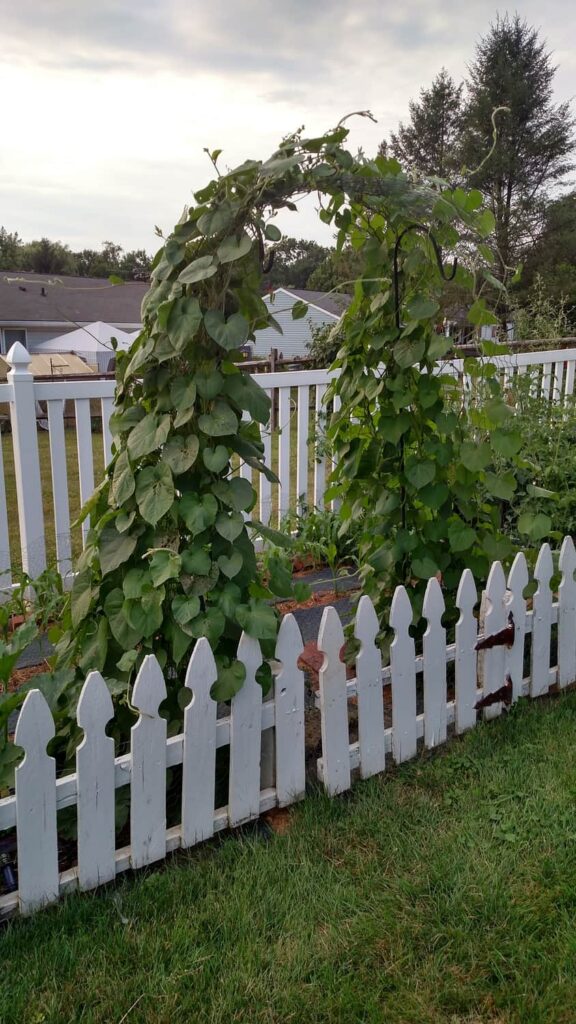
Trellis
For this project, I wanted to make a trellis over my vegetable garden entry door, for morning glories to grow on. It turned out that I had some extra wire around that I had picked up free from somewhere. I also had two tall shepherd crooks that my neighbor had given me when she moved away. I used the crooks to hold up my wire– and ta-da! A FREE trellis! : )
Organize Tool/ Garden Shed
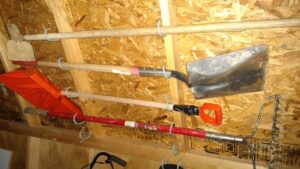
Guess what– the pin above is my own— long before I had a blog. Did you know that you can upload your own images to Pinterest– of your great ideas?! My shed has slanted upper walls– and for the life of me I could not find a way to attach my garden tools to the wall to save space and get them out of the way. I couldn’t stand them upright because of how the walls/ roof was angled. It was very frustrating. I googled and searched to no avail. Finally, I stapled some rope in loops to slide the handles through to hang them horizontally instead of vertically. See what I mean?
I already had the rope and staples, so it was a FREE organizing hack! Later on, I realized that I could attach hooks like these (they’re only 99 cents each!) in place of the ropes– and that has worked just fine on my slanted wall.
I hope that you have enjoyed this edition of Saturday Snippets!


