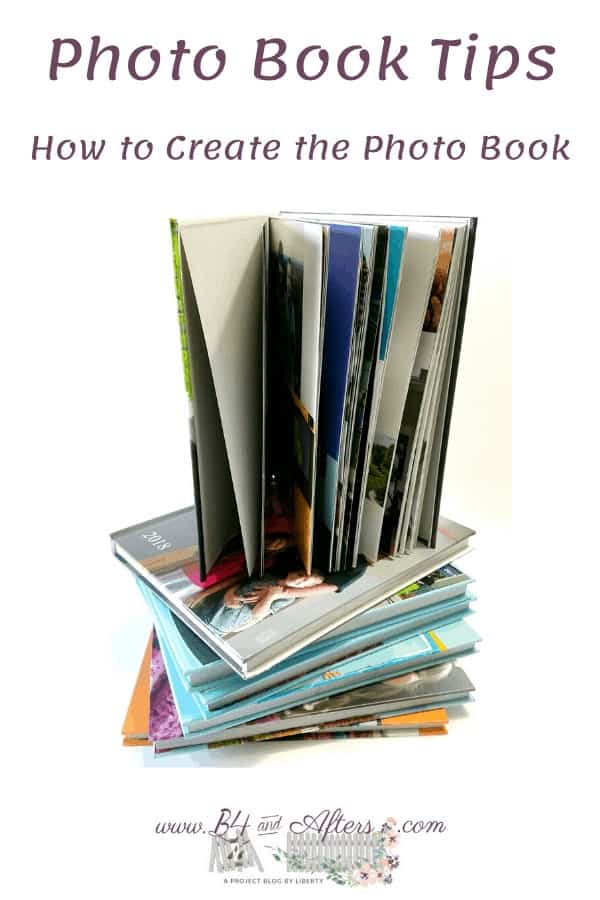
Photo Book Tips and Tricks Part 2
In Part 1 of Photo Book Tips and Tricks, I showed you how I collect and organize all of my photos in preparation for creating my family yearbook. I really enjoy making an annual photo book for myself, my kids, and my extended family. I encourage you to start at Part 1 if you want to make a large photo book.

In this post, part 2, I tell you exactly how I make my photo book with Blurb’s off line software.

Have you ever created a photo book? What occasion did you make it for? I think a great idea would be to make a special yearbook for the high school senior in your life who did not get to do all the “lasts.” They may not even get to attend graduation. Something special like this will help them cherish the memories that they do have.
I created a video to go along with this post, so you can either just watch the video, or you can read through my steps and then watch the video for clarification. Sometimes it is best to show you exactly what is happening.
This video is about 13 minutes long– the first 8 minutes show how I create my book. The last 5 minutes I walk you through actually uploading and ordering your book using a coupon code from Blurb. They frequently post coupon codes between 25 and 40% off. On Black Friday one year they sent out a 50% off code!
I absolutely love working offline to make my photo books! I don’t need a good or constant internet connection while I am deciding where to put what. I don’t have any issues saving my work, like I have had in the past using other online photo book creators.
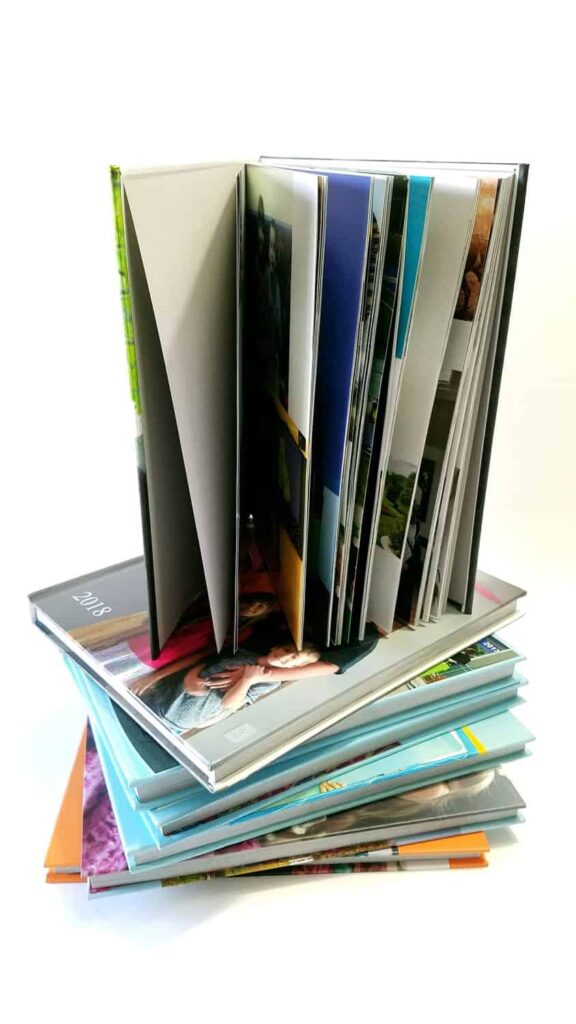
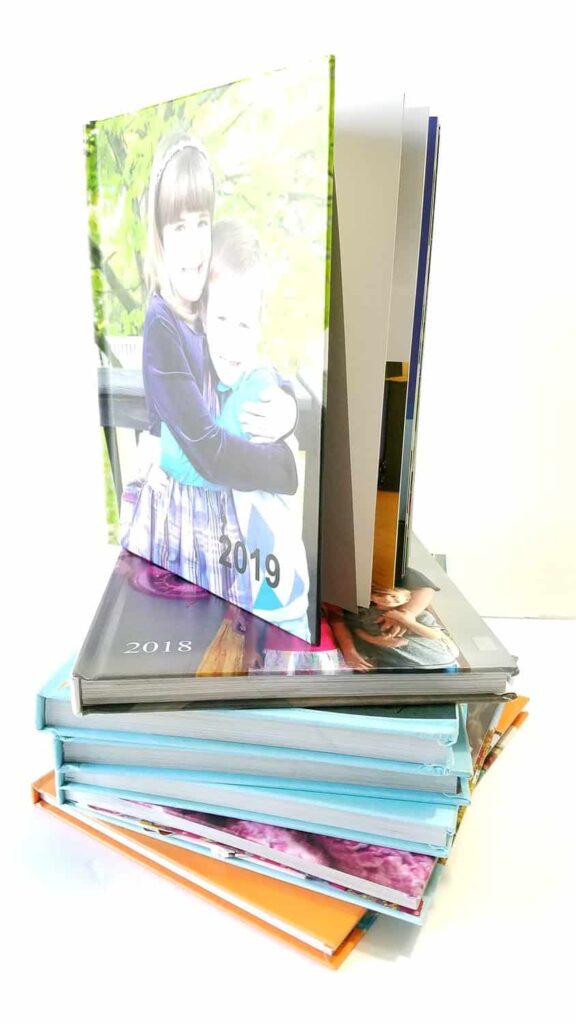
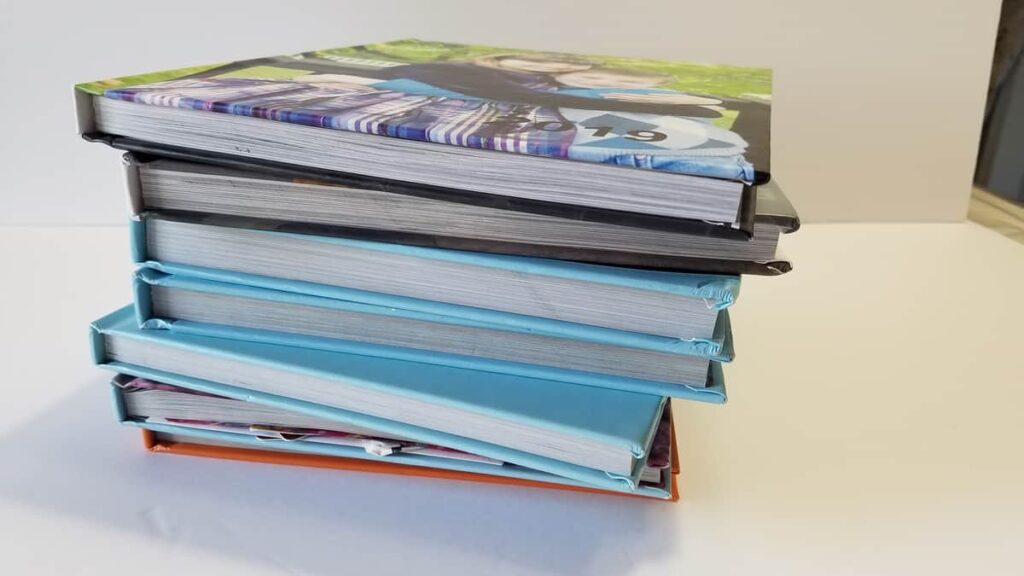
I’ve made 7 hard cover 8×10 photo books over the years, using Blurb’s software. I’ve sorted through and organized thousands of photos. I’ve included hundreds of them in my books. Let me show you how I do it!
It is a good idea to have a hard copy of your favorite photos. If something were to happen to your digital files, at least you would still have a printed copy. And if something happens to your printed photo book– you can order another one from Blurb! Once you upload your finished book, it is always waiting in your Blurb dashboard should you want to order another one for yourself or family.
How to Make the Photo Book
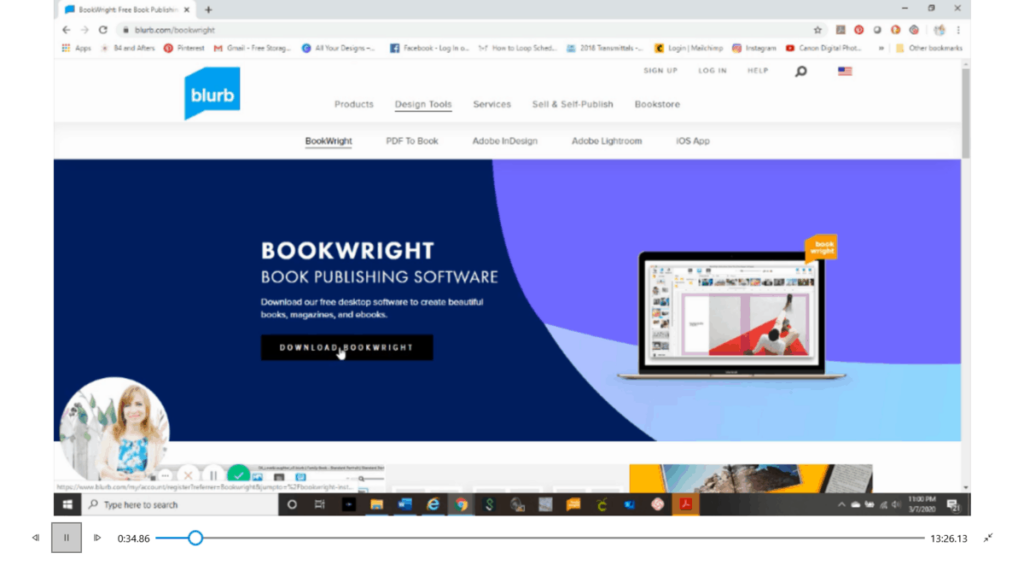
First, Download Blurb’s free book making software, Bookwright, from their website. You can make any kind of book with this software, like a chapter book or a coffee book. I am going to show you how to make a photo book with it– specifically, an annual family photo book.
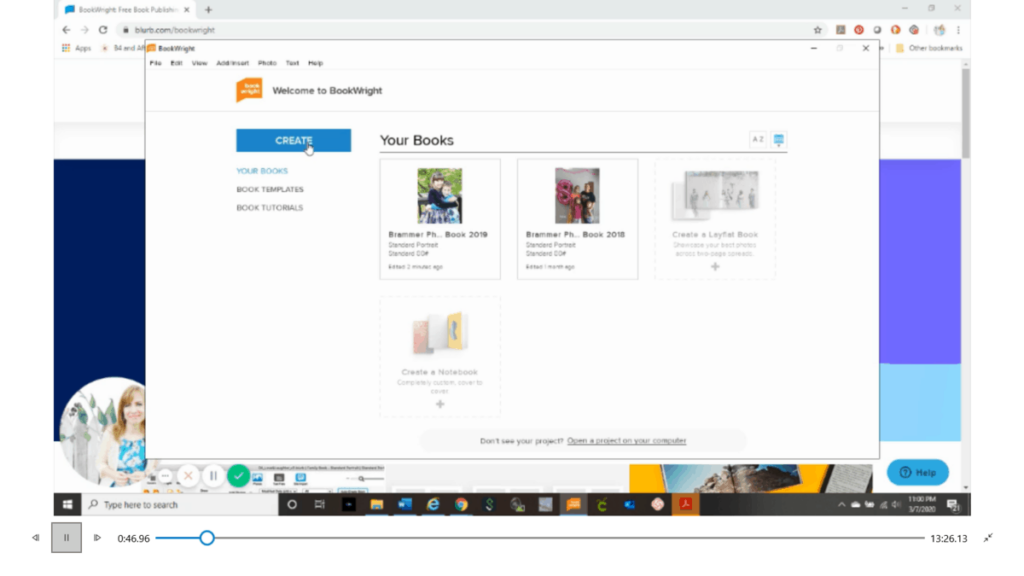
After you have downloaded the software, Click to open it. Then Click “Create Book.” At this point you will choose which size you want, and if you want standard or premium paper. I have always used standard paper and it is excellent quality.
I like to right click on my task bar and “Pin” the Bookwright software to my task bar. Then it is always easy to open it when I am read to work on my book.
Keep in mind that since you will be working offline, you won’t be able to use a different computer to work on your photo book (unless you save a current copy on a flash drive and transfer it.)
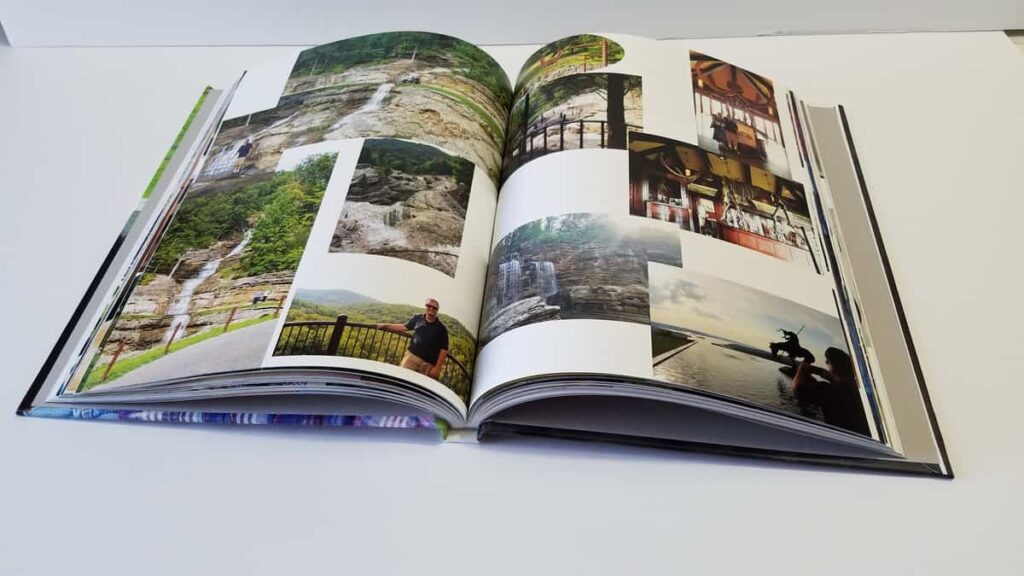
Okay, Next, I create a monthly title page that says where we went and what we did that month. I add a bunch of pages— maybe 20-30 pages. Then I choose a 4 or 6 photo layout for each page. You can choose to have a background color at no extra charge. Use the same color for the entire book, or use different colors for different pages. I used to do that, but lately I’ve just been leaving the background white.
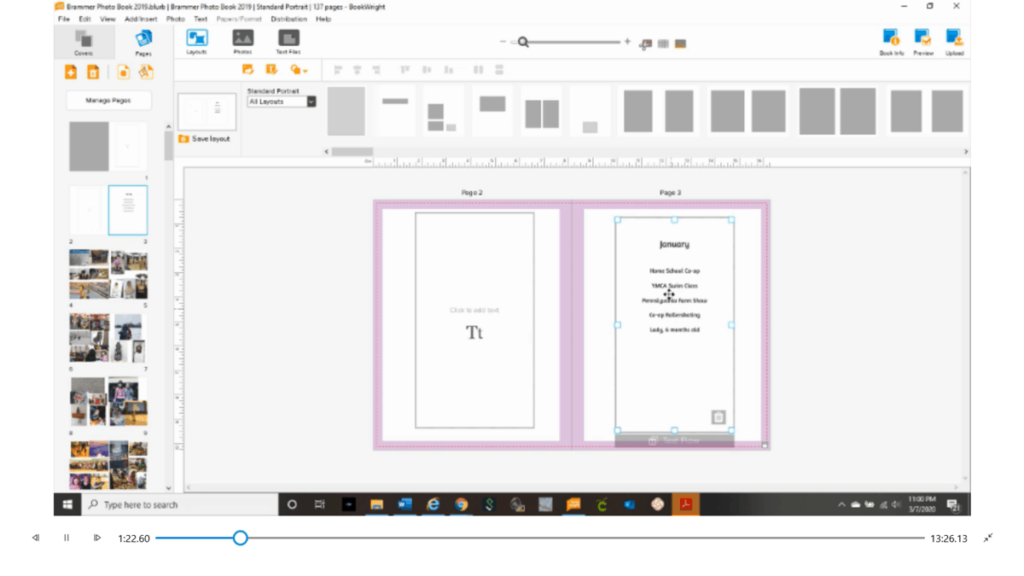
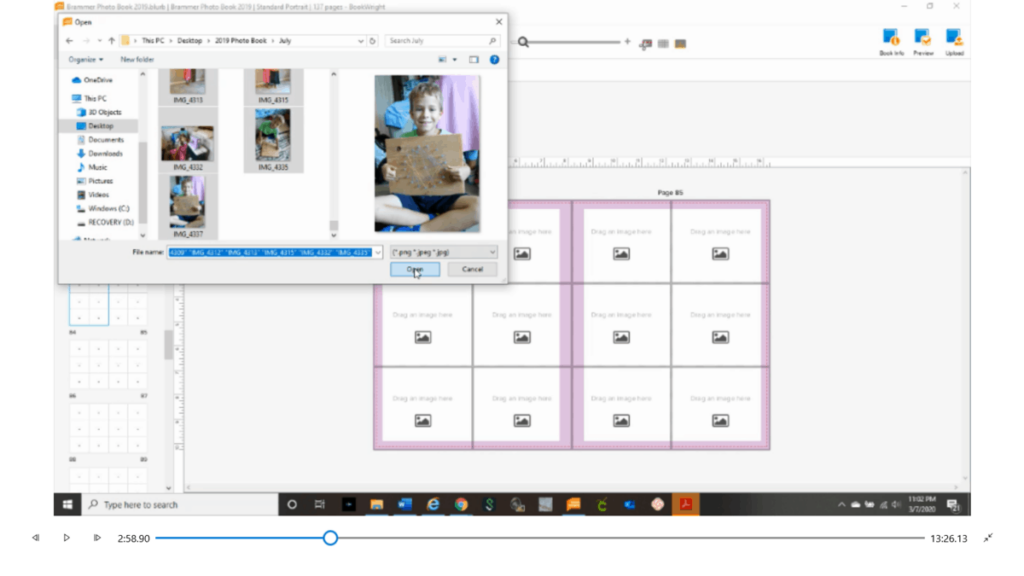
After that I upload the photos, one month at a time. So at the beginning of the book, I upload only January’s photos. (See Part 1 for collecting, choosing, and organizing your photos.) I order the photos according to Date Taken. Then I select all of the photos using Shift+Click. Then choose Open.
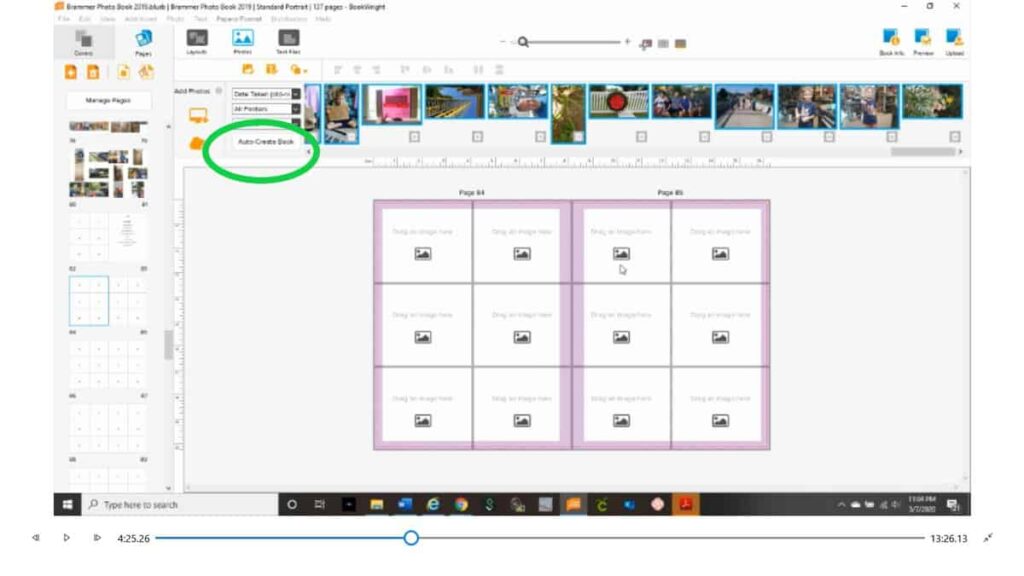
The next step is to select “Auto Create Book.” This will dump all of the month’s photos into those 4 or 6 photo layout pages. If you only had one picture per page, then they would dump into only one picture per page, making a ton of pages.
If you like how your book looks, you can stop here. But I usually spend quite a bit more time editing the pages to group like photos together, zoom in on photos, enlarge others, and crop yet other pictures. I made another video showing you some of the easy ways to edit photos in Bookwright. You can watch it below:
You could also add more text telling about the pictures, but I don’t. I enjoy telling about the pictures in person.
Repeat the above steps for each month until you are finished! Depending how many photos you take, this can be a short or a long process. I have sorted through 3-5,000 pictures for a year. I end up using around 1,000 photos. With 1,000 photos I have made a 300 page book, or a 200 page book– it all depends what kind of layouts that I choose.
The Cover
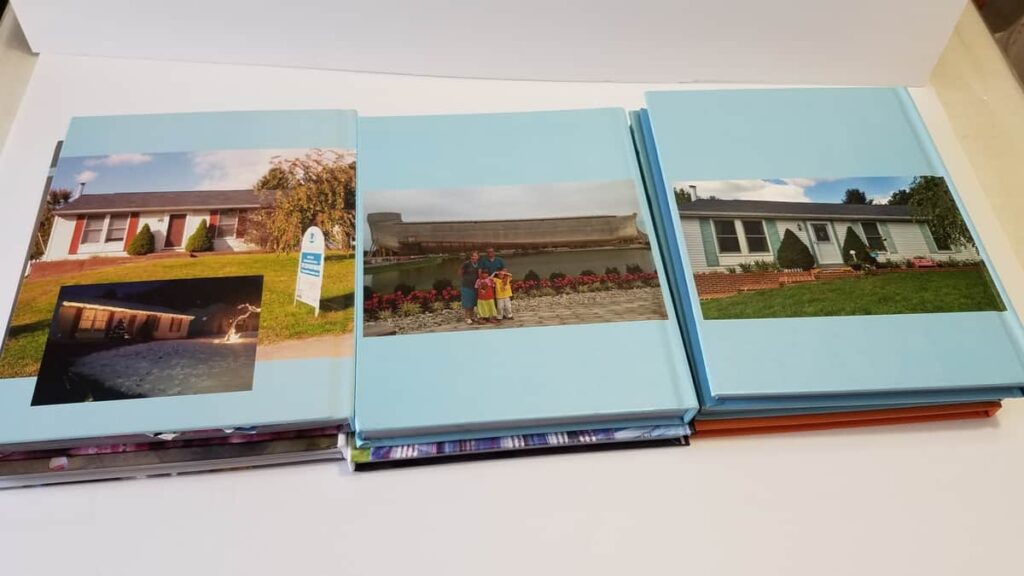
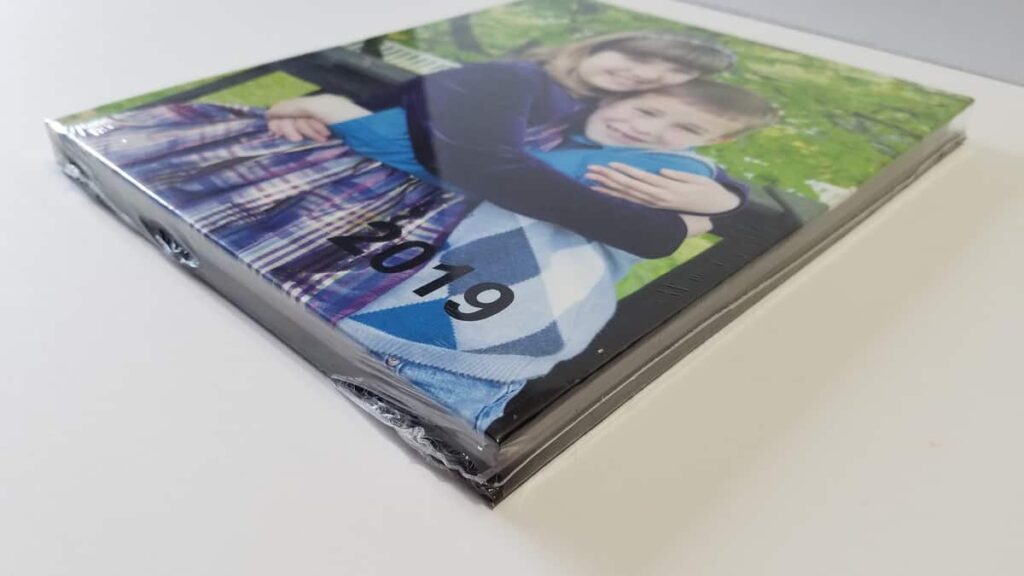
You will also choose if you want photos or text for the front and back covers. I like to put a family photo, or maybe just one of the kids, on the front along with the year. Then sometimes I put a picture of our house or a vacation picture on the back. Some of my back covers are pictured below.
I choose the 8×10 book size because it fits well on our shelves. How much do you think a book that size, with 200 pages would cost?
If you guessed $150, guess again!
If you guessed under $100, then pat yourself on the back! That is at full price. If you wait for a 40% off coupon, you can get a 200 page 8×10 full color photo book for less than $60. Isn’t that a great deal?!
Blurb also has options to make a photo book using your Facebook pictures, if you have an iPhone or iPad.
If you want multiple books for family members, it is a good idea to order only one copy first, and proofread it. Then if it is good, you can have confidence to order another photo book and have it shipped directly to your family member. If you need to make changes (and I have), then upload your book again. Be sure to order your most recent upload!
Your book will come sealed in plastic inside of its cardboard box, so don’t be alarmed if it gets delivered on a rainy day!
Open your new book and enjoy the fruits of all of your labor!
If you follow my directions, watch the videos, and need additional instructions, please comment below– I will be glad to improve this tutorial so that you can be successful in making your Photo Book!