Painting the Shutters
Introduction
You may remember that I did not like the color of our shutters. Today I am going to show you how I painted them!
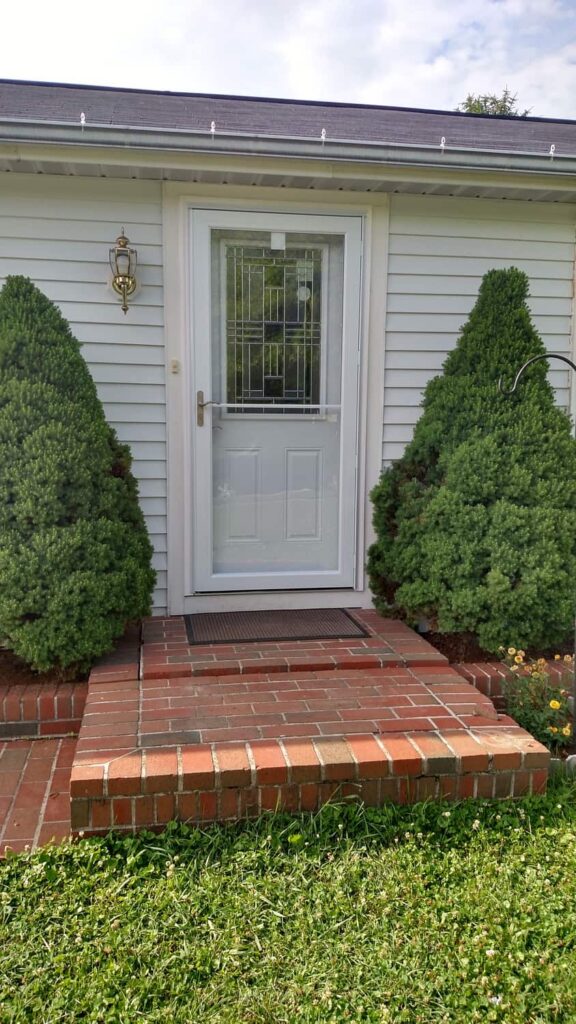
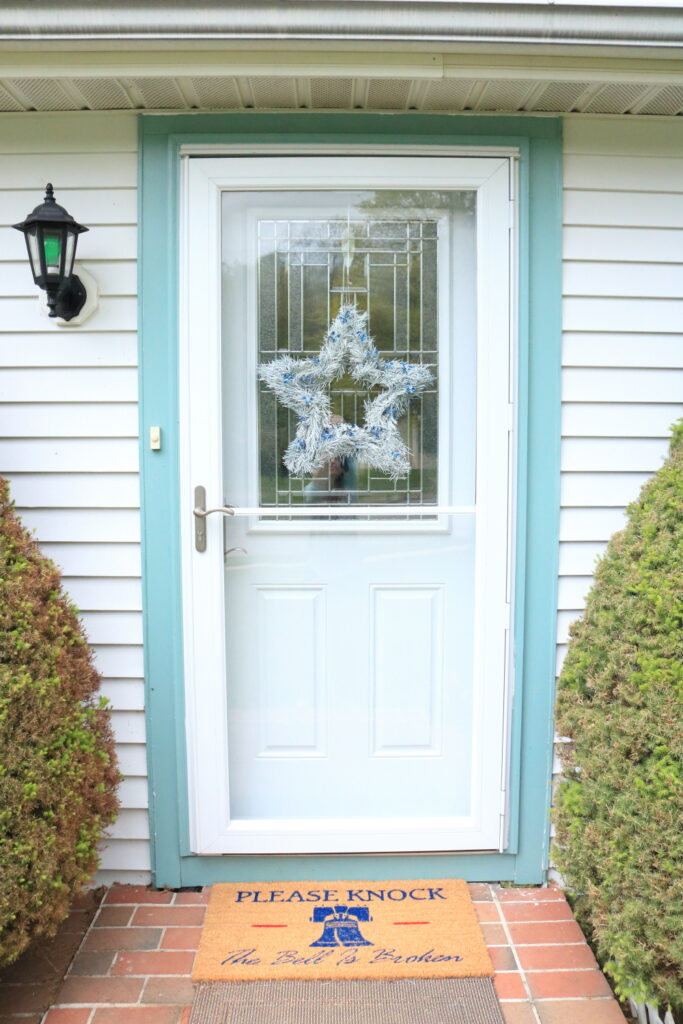
This post is Part 5 in a series on how I changed the exterior look of our house. You can find where I painted the aluminum siding here, where I pressure washed the brick steps here, where we put in a new door here, and where I painted the door trim here.
Shutters Before

(*This post may contain affiliate links. By purchasing anything from these links, I may receive a small commission at no cost to you. More information is available on my Disclosure page.)
My father-in-law took the shutters off of the house so that I could paint them. In the process, two things happened: 1) The two long shutters at the double windows broke and I had to purchase new ones. 2) I painted the entire front of the house. I don’t remember if I was already planning to paint the siding, or if I realized that I should do it after the shutters came off.


Here is the house with the shutters off, and after I had painted the aluminum siding.

I painted the shutters in our basement. Since the red paint had bled off of the shutters onto the house, I realized that I would need to prime the shutters before I painted them to seal in that red paint and prevent it from leaking through my new color.

It was a very tedious process to get the paint in between all of the slats. If I had thought of purchasing and using a paint spray gun, that probably would have been a lot easier–as long as the paint did not drip. I started out with a shade too light. I had thought it might dry darker than it looked on the sample…. but it didn’t. I ended up using a shade darker on the sample color strip, Benjamin Moore Mill Springs Blue. It took me a long time to paint each shutter three times– one coat of primer, and two coats of paint.

I put the screws in a block of styrofoam so that I could paint the heads and reuse them.

I put the shutters back on the house as I painted them, with the help of a couple different friends/family holding the shutters for me.

It is kind of embarrassing to have your house look like this for weeks at a time, but I knew that it would look nice after I was all finished!!

I ordered vinyl (plastic) paintable shutters to replace the long broken ones. They were the last to go up. They were so long, and in a hard to reach spot, that I was afraid of breaking them while putting them up. That would have been a waste of soooo much time painting them! So after a long wait, my husband eventually helped put them back up.

It was after the shutters were up that I painted the trim around the door.
Here is the house in the fall.

And here it is in the Spring!
AFTER!!

Exterior House Improvement
- New Door
- Painting the Door Trim
- Painting the Shutters
- Painting the Siding
- Pressure Washing the Steps
- Home Tour