
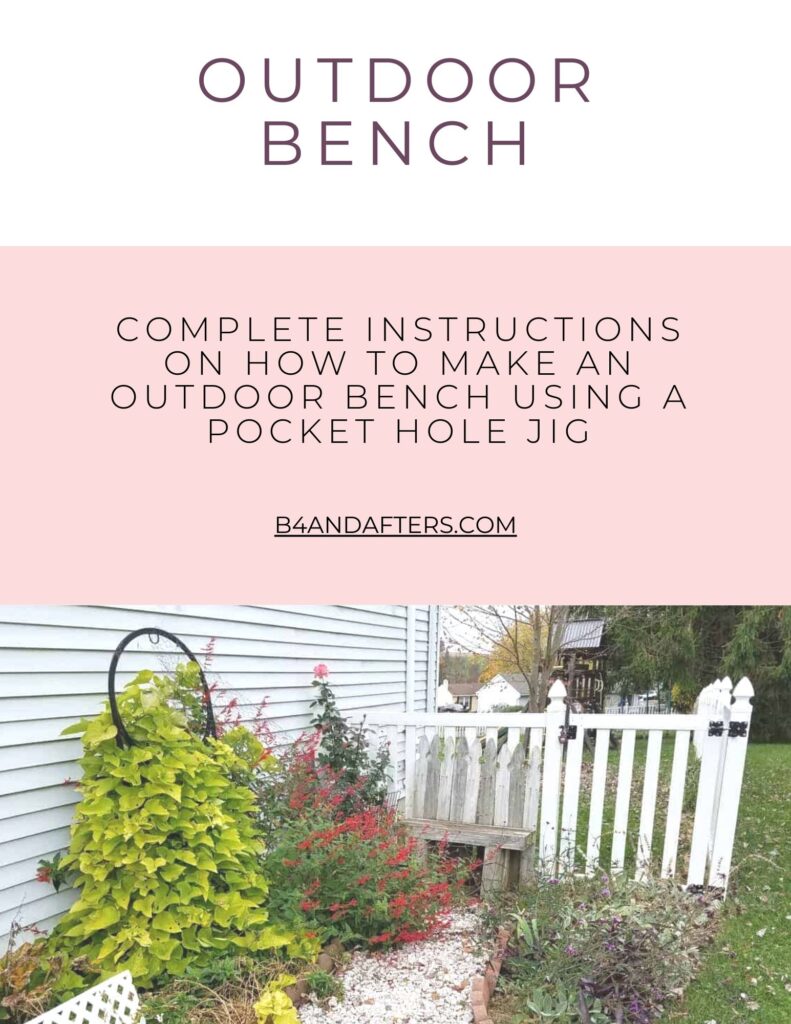
Outdoor Bench Made with my Kreg Jig
**Update: Since I made my bench, Kreg has stopped selling the exact jig that I have, and used to make my outdoor bench. From what I can tell, you have two choices. You can use this XL jig for large screws, or you can get this metal jig that looks just like mine. Watch the videos for each one, look at the customer reivews, and choose the one you like best. The metal jig comes apart so that you can use it for larger pieces of wood like a fence post.
Whichever jig you choose, when it arrives follow the directions that come with it to determine how to set the jig for 4 inch posts. And be sure to test it on scrap wood before beginning your project!!
How to Make an easy Outdoor Bench with a Pocket Hole Jig
Just in case you were wondering, this is the 100th post on my blog! Woo-hoo! I’m excited to show you 100 more, and that will take some time…. Do you have any ideas or suggestions for me? Feel free to send me a message through the Contact Page. I would love to get some feedback, and I would love to make this blog better for you if you have any ideas.
After we replaced our old fence, I saved the pieces to use on projects. I knew that I wanted to make a bench using my old fence posts. If you want, you can buy new posts to make a bench like in the Pinterest picture.
This might have been my first project with my new Kreg jig– I’m not sure. But this bench was one of the reasons that I wanted a Kreg jig in the first place! To see my other projects made with a Kreg jig, click here.
Outdoor Bench Ebook
Get my Ebook with complete instructions on How to Make this bench!

In the above picture you can see the pocket holes made by the Kreg jig. Those short pieces are for the leg on one side of the bench. You are supposed to use exterior wood glue in addition to the screws– but I skipped the gluing part and my bench has held together just fine.

Use pocket holes and screws to hold the seat section together. Then use pocket holes and screws to hold the legs to the seat section. The bench would have been fine as it was, but I wanted to add something else!

Ta-da! I added some fence pickets to the back. I added a diagonal board across the back to brace it better. The pickets are more for looks, than they are for support.

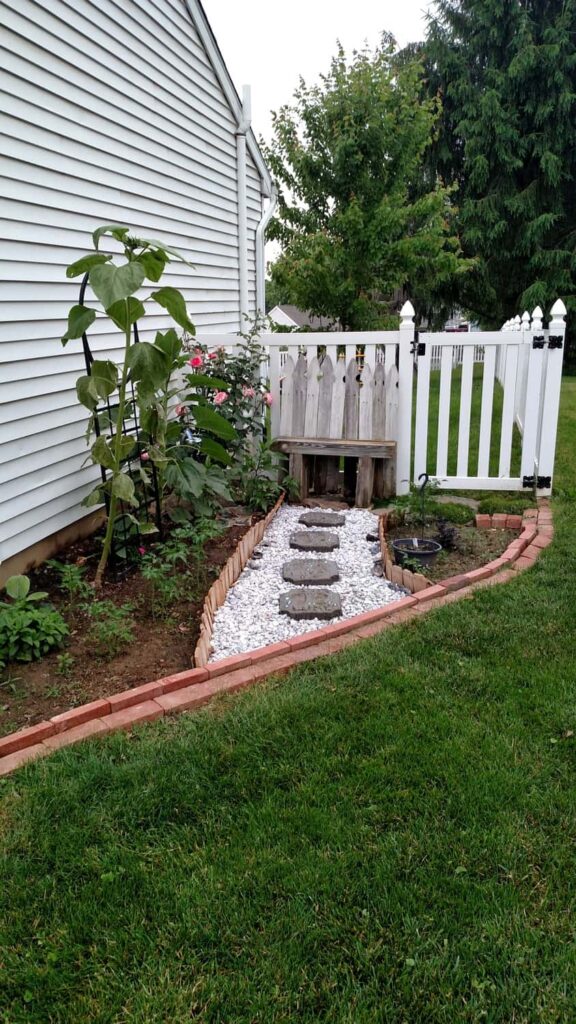
Here is where my bench ended up! It stays here year round. This is a small spot on the right side of my house that I completely developed. I will show you how I did that in another post! This bench would look great on a porch, by a lamppost, in a flower bed (like I put mine), or in a quiet spot for reflecting.
Outdoor bench with fence pickets

Later I updated this pathway with stepping stones.

Is it possible to get the plans for this bench?
Hi Wendy–
Well, I see that Ryobi took down their directions!! I would be glad to make my plans available to you, — it may take me a day or two…. Would you like me to email you at this address when it’s available? (it’s not public, but I can see it on my end)
Liberty
What a great bench you made! It’s perfect for this spot in your yard.
Thank you, Paula!