
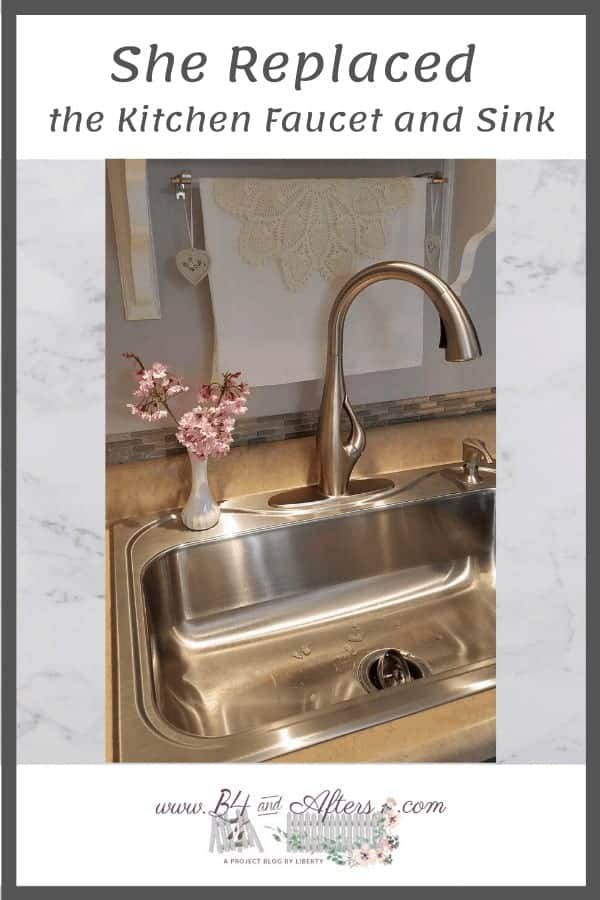
She Replaced the Kitchen Faucet and Sink
I am very excited to tell you how I replaced our kitchen faucet and sink. Yes, I am the one who did it! Well…. I did get stuck with two things that I needed help with– but I am getting ahead of my story.
Our kitchen faucet was a pull out style. I liked that it pulled out— but I had to pull it out constantly, because the faucet was set very low. Whenever I filled a pitcher of water I had to pull it out. Whenever I rinsed a medium size pot I had to pull the faucet out to keep the pot from touching the dishwater.
Kitchen Faucet, Before

When I said the faucet was low, and close to the sink– I mean really low!
When my husband started helping do the dishes regularly, he did not like the faucet, either. He also did not like the small sink. He began wanting a large, one basin sink instead.
Kitchen Sink and Faucet, Before
So about six months ago we shopped for a new faucet. I thought a touchless faucet would be nice, but the ones I looked at seemed like they stayed on too long. They would turn off after 3 minutes— not my ideal of instantly turning off! They are touchless to turn on, but not touchless to turn off. So we decided against a touchless faucet. Eventually we bought a tall, pull-down faucet from Lowe’s.
And it sat in its box for SIX months. We did some other things, like purchase a different vehicle. And I said, why pay someone to install the faucet, when we want a new sink, too? Why not install both at the same time? Well, purchasing a sink would be an added expense. So we waited. And waited.
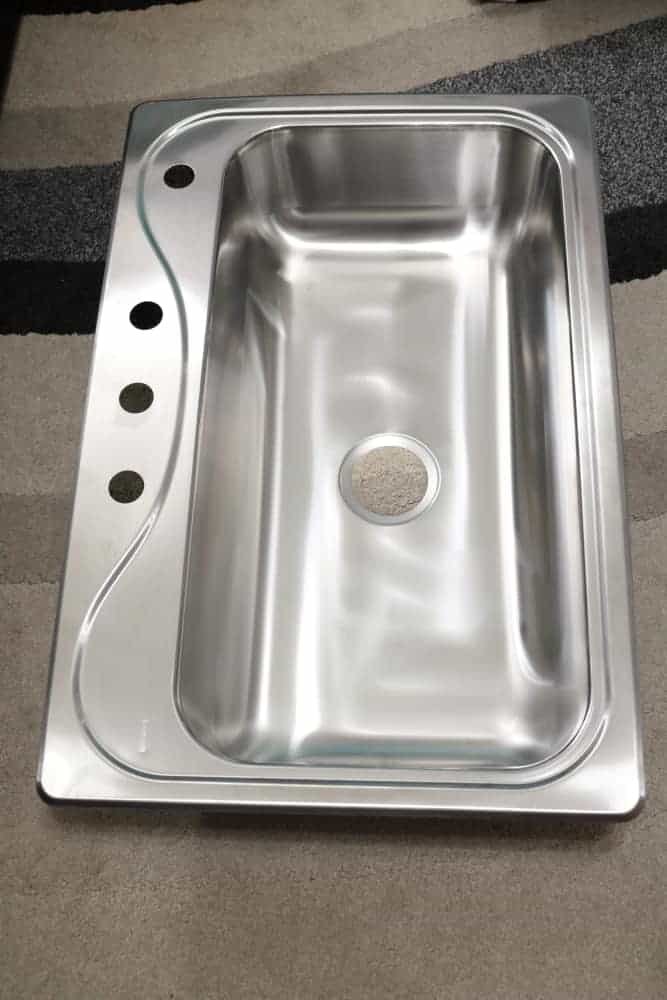
Finally, I went out and purchased a sink. The box was huge. And I knew that huge box could not sit in our living room for another six months like the faucet had. (p.s. You also probably need to purchase a strainer basket and lock mount drain for your sink basin.)
New Kitchen Sink
So one day while my husband was at work, I decided to install the faucet and the sink. All by myself! I had watched this YouTube video, and decided that I could probably do it. I figured since I was small, that getting under the kitchen sink would be easier for me, anyway. The video even told me how to remove my old sink and faucet!
Sure enough, after unhooking the drain and the water lines, the sink loosened and came out just like the video showed.
Below are the water lines and drain unhooked. I decided to clean out the pipes while I had them apart. That part was disgusting. (Believe me, I’m more careful now what I dump down the drain.)
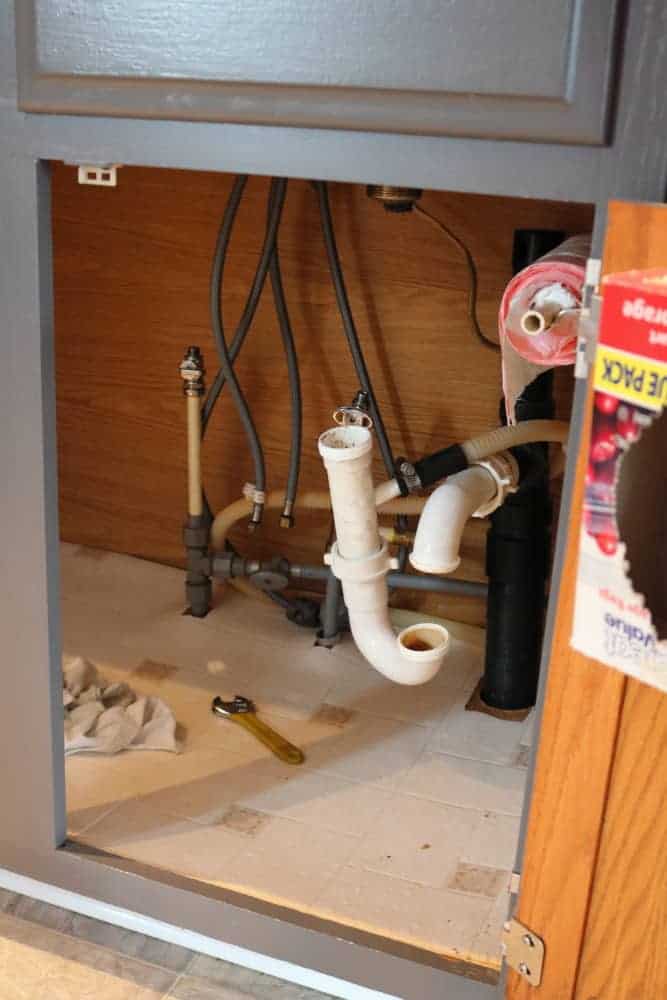
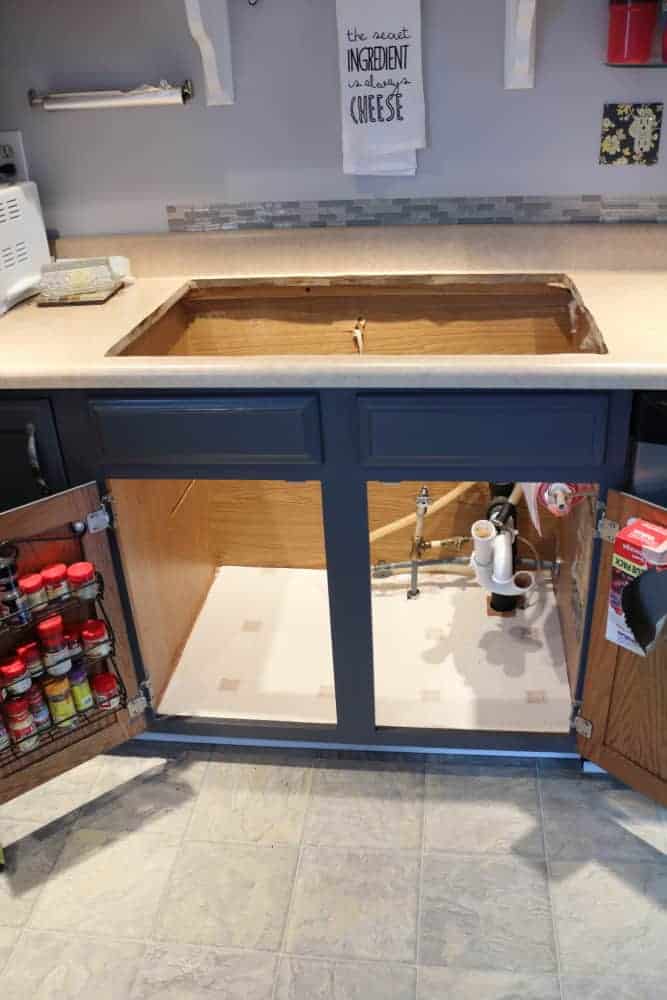
Here is my cabinet with the kitchen sink removed!
Everything was going smoothly and quickly! I hoped I would have it all done before my husband got home.
The video said to attach the faucet to the sink ahead of time. I was going to do that, but my faucet was so tall, I was afraid that it would bang into the shelving above my sink. I’m glad that I waited to attach it to the sink.
The next step was to put clear silicone underneath the lip of the sink and then drop it in and tighten the sink clips.
The sink clips were cheap and angled so that it was difficult for me to tighten them. I couldn’t get the sink flush to the countertop. It was frustrating. My husband came home and I asked him to help me. He was surprised I had gotten as far as I did. I was nearly finished except this part, and the drain. I needed help tightening the drain, too.
So he got under the sink, and he could manage better with the sink clips than I could, but he still could not tighten them enough. He thought the sink was crooked and that I should get a new sink, but there was not another one that I could pick up at a nearby store.
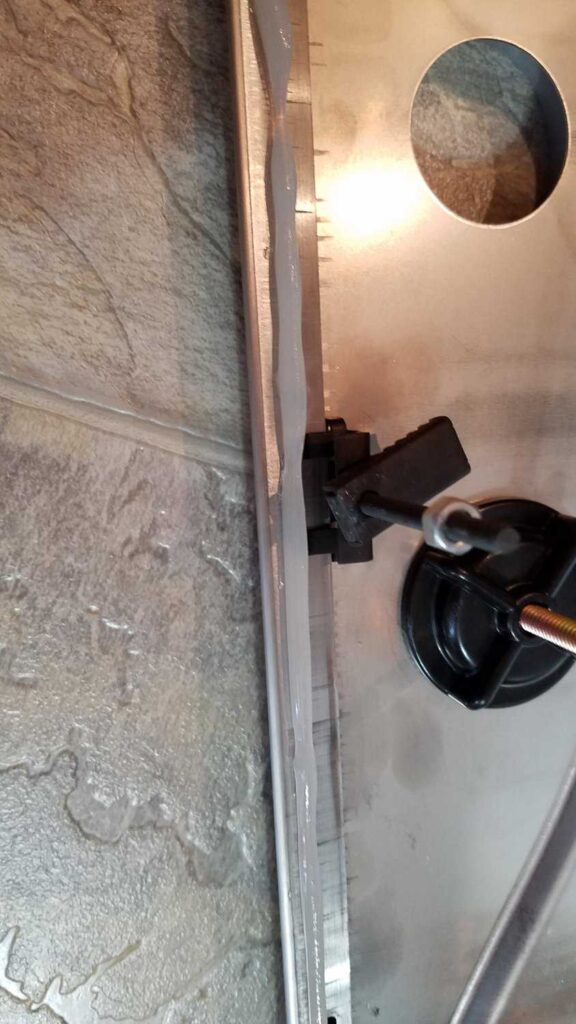
Everything sat overnight. I went to the hardware store to try to find better clips. Instead I got some advice— chisel out a place in the counter top so that the clips will fit better. Some other advice I also received was: remove the silicone bead because it may have hardened and be keeping the sink from tightening flush with the counter top.
So I did — I took the sink back out and chiseled out places for the clips. (I was standing inside the cabinet where the sink is to do it!) I also realized that the counter was not glued to the cabinet, and that if you pushed up on the counter top a little, there was a small enough gap for the clips to fit between the counter top and the cabinet. I also took off the old silicone, and put new silicone on just before trying again. This time my husband was ready and knew better what we were trying to accomplish. He succeeded in tightening the clips before the silicone dried! And just like that the sink was flush!! I was so happy!
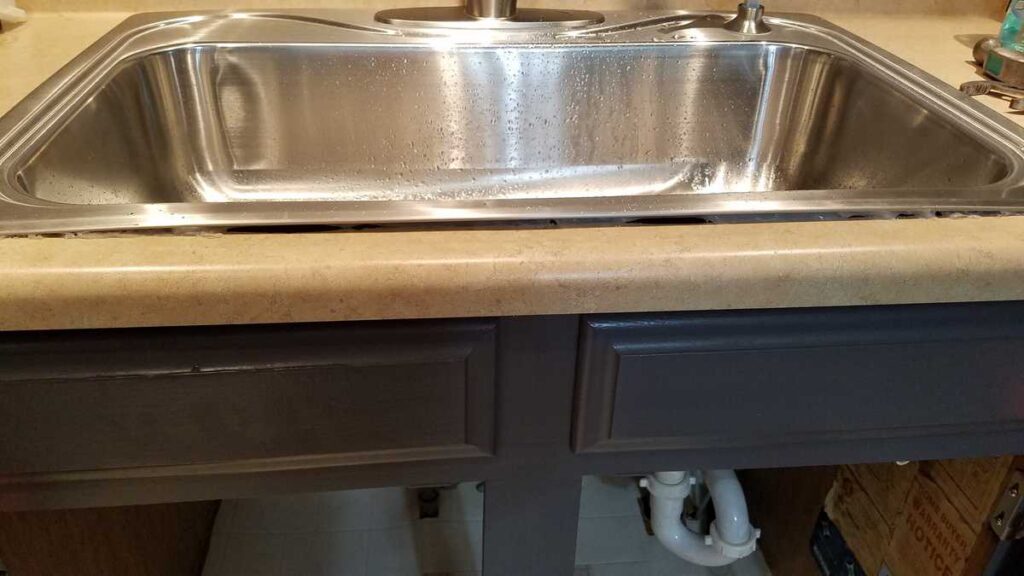
My husband tightened the drain from below, while I held it on the top. I was able to hook the pipes back up without too much trouble– of course the center drain was in a different spot than either of the two previous drains, and I just had to cut a pipe shorter. I hooked up the water— and we once again had a functioning kitchen sink!
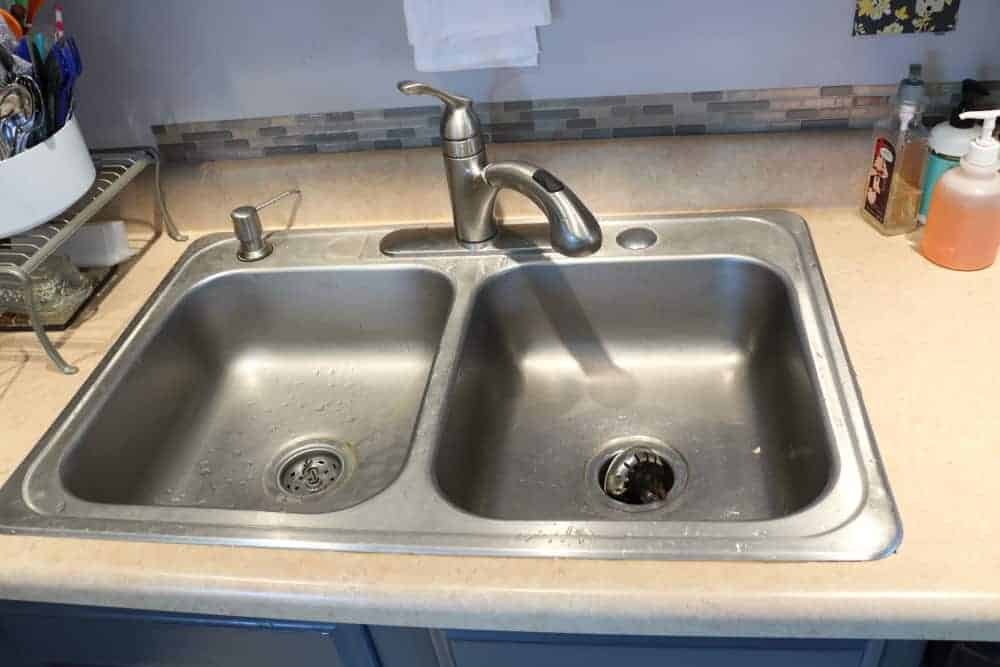
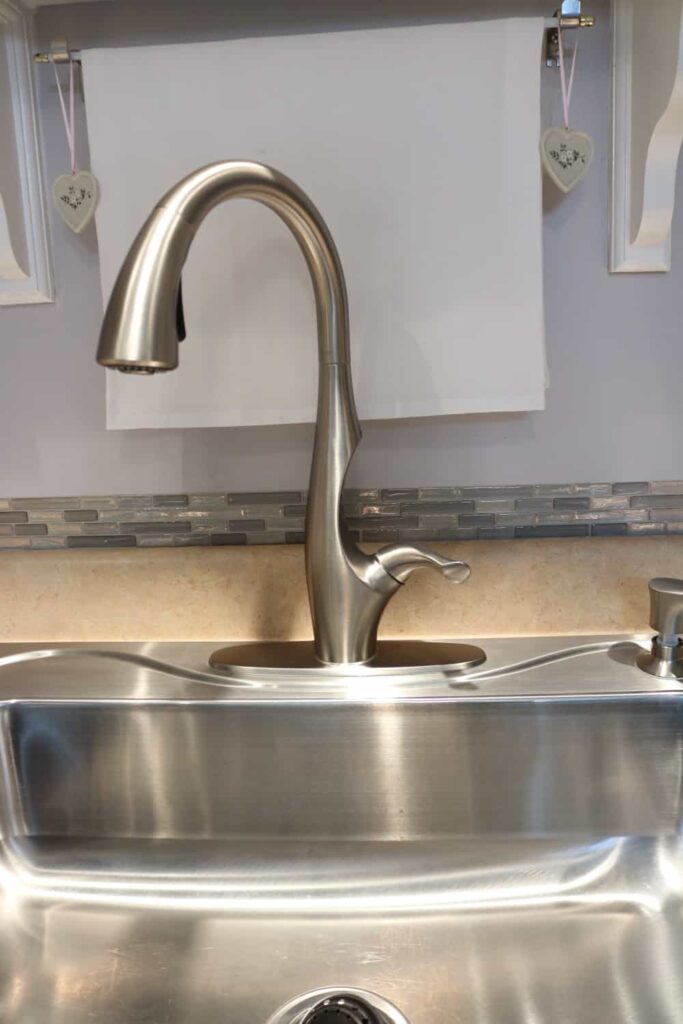
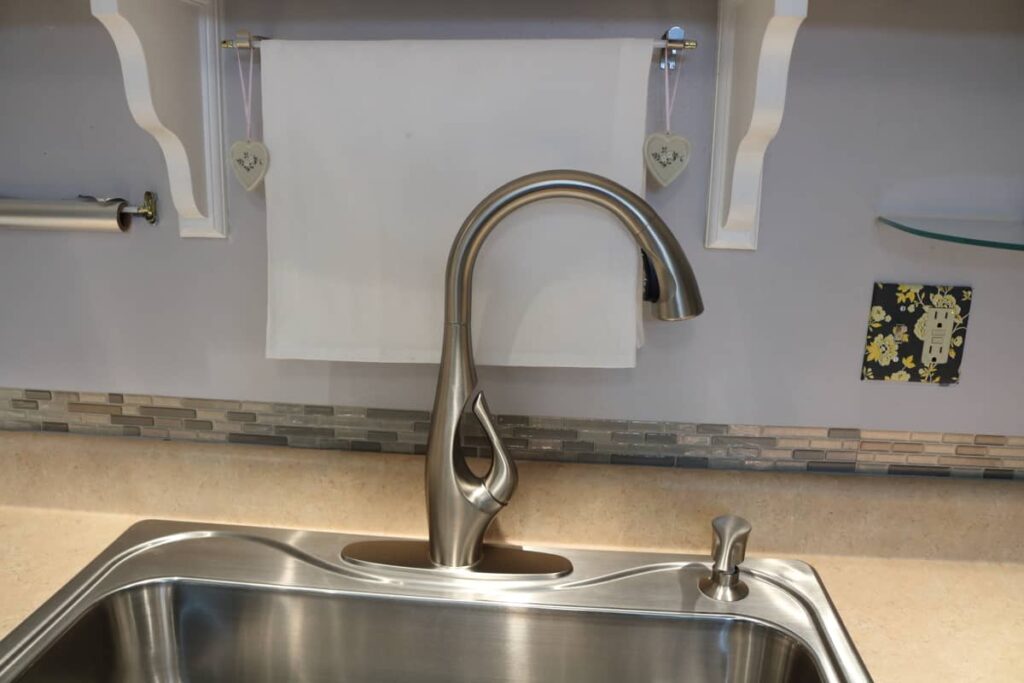
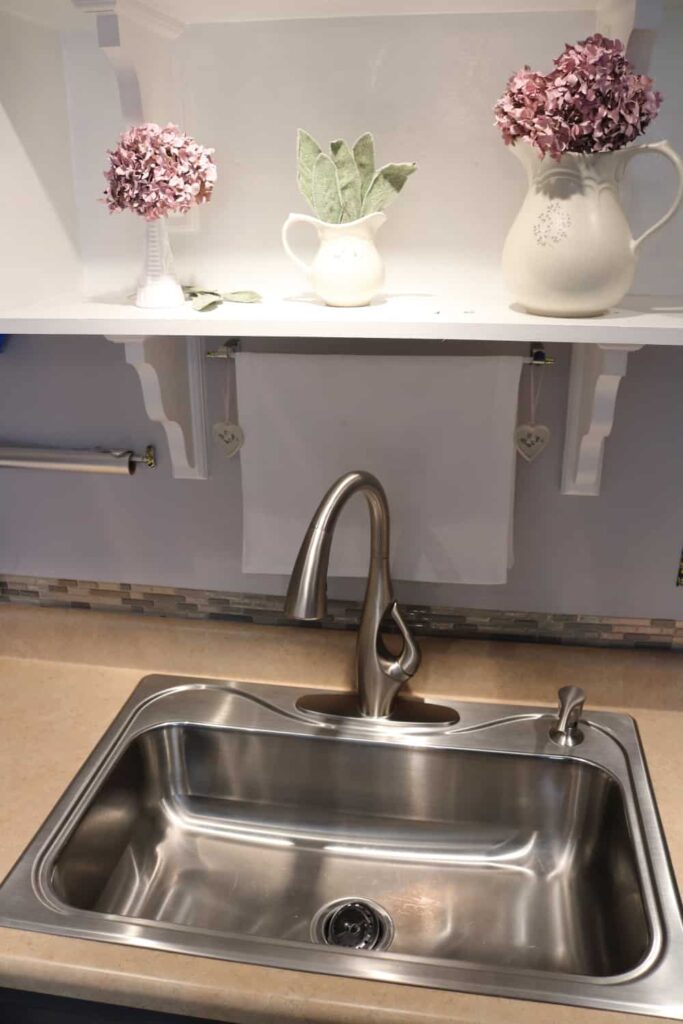
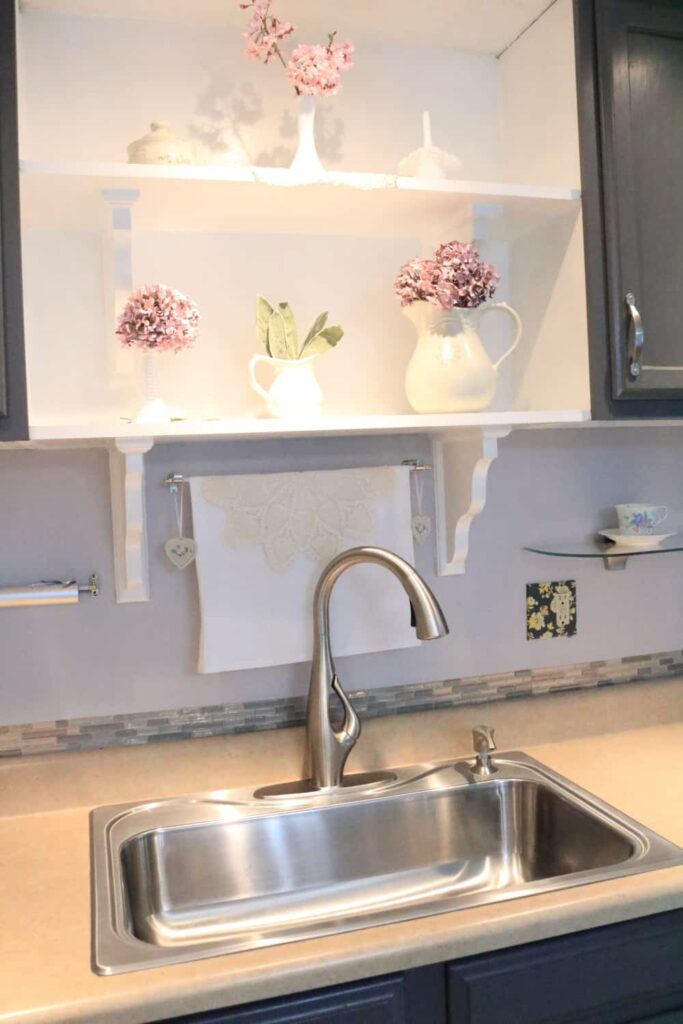
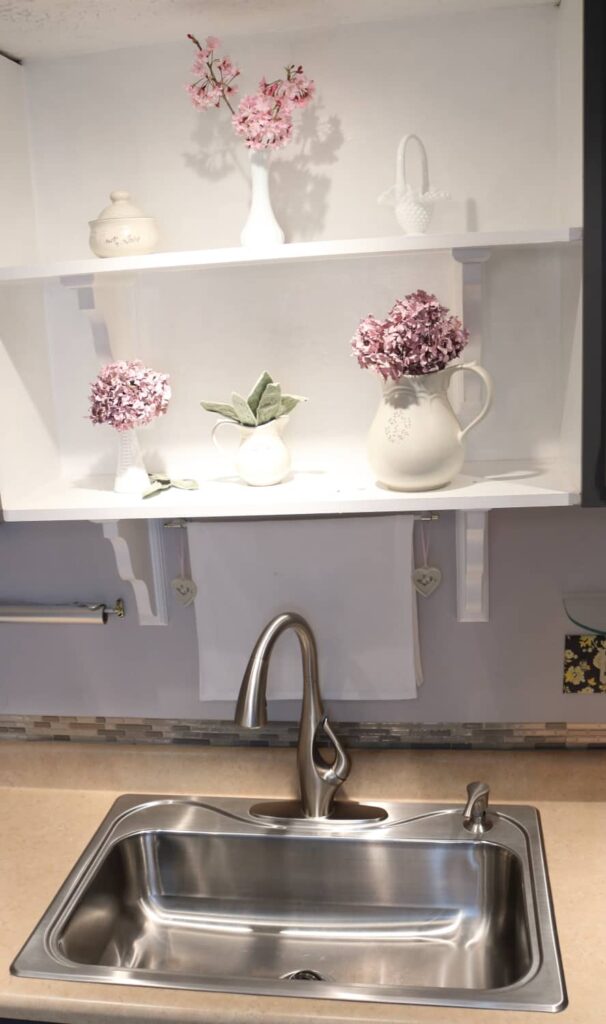
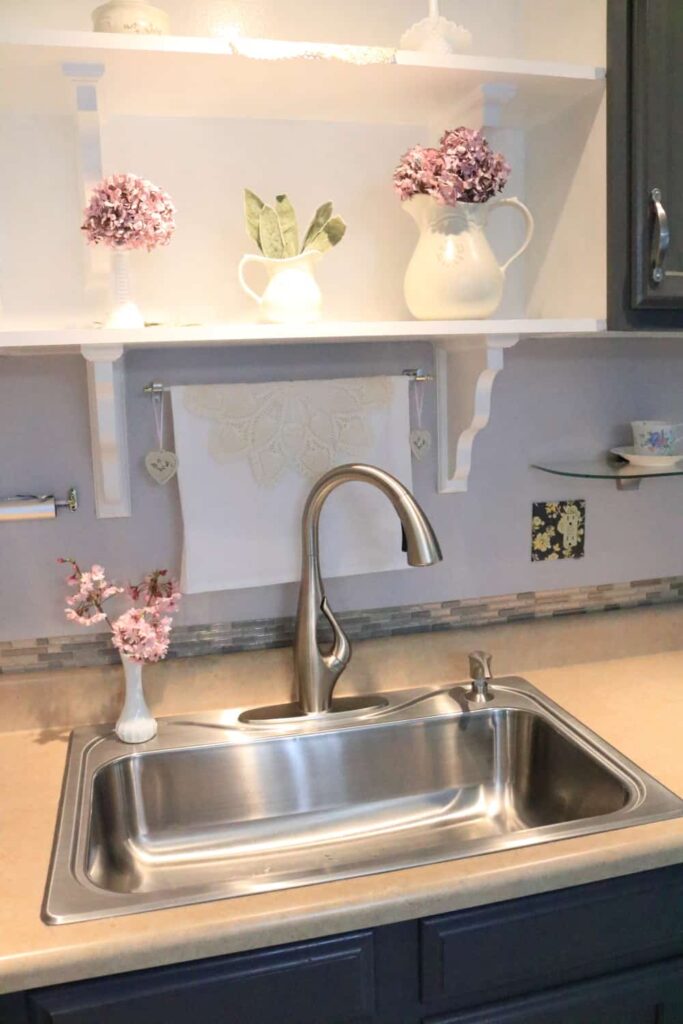
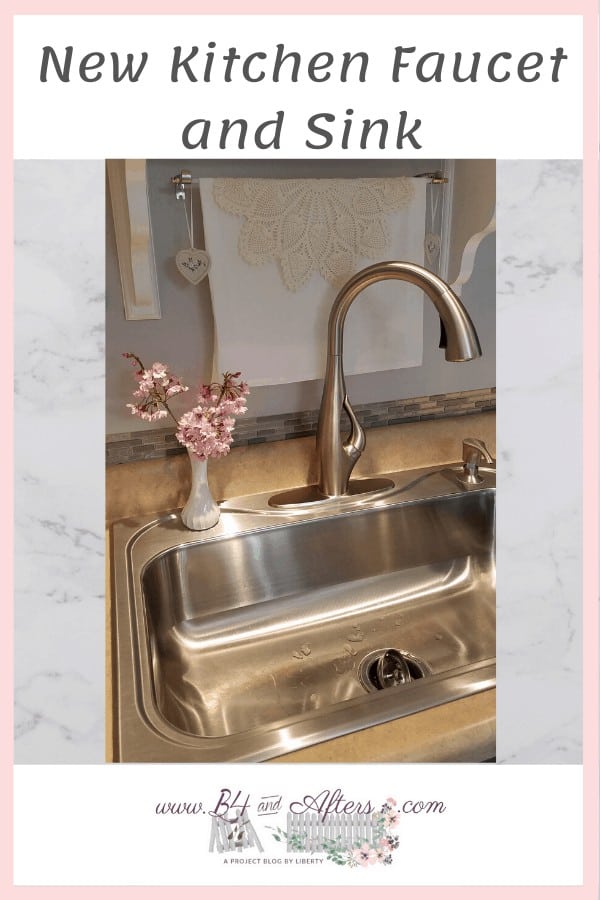
Except now it has a gorgeous kitchen pull down faucet and a huge basin.
Kitchen Sink and Faucet, AFTER!
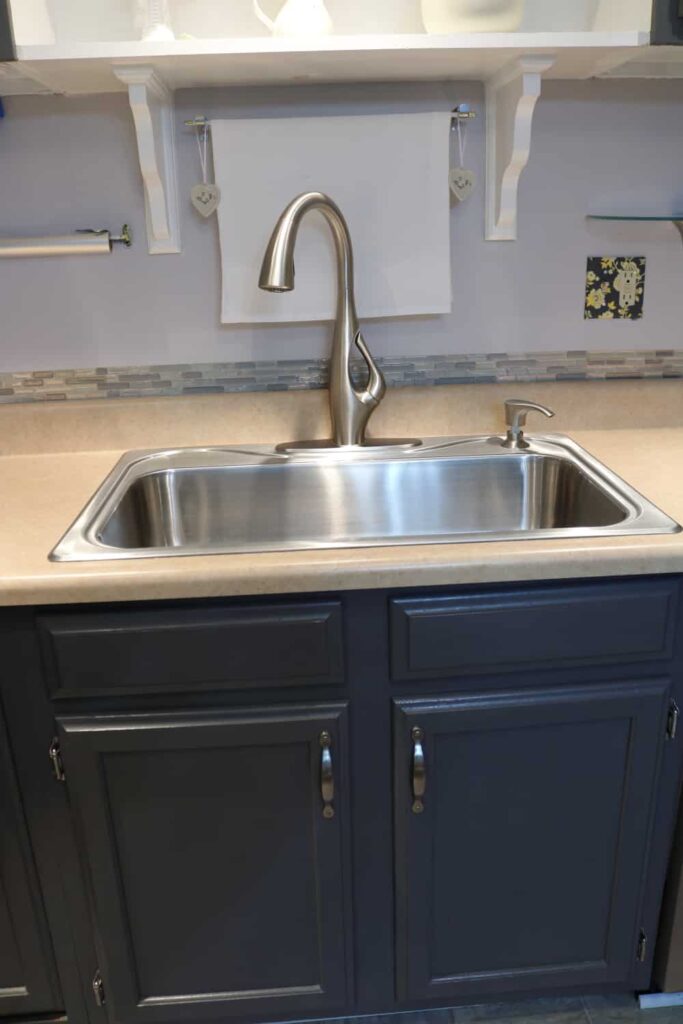
Much better, don’t you think??
Before and After!
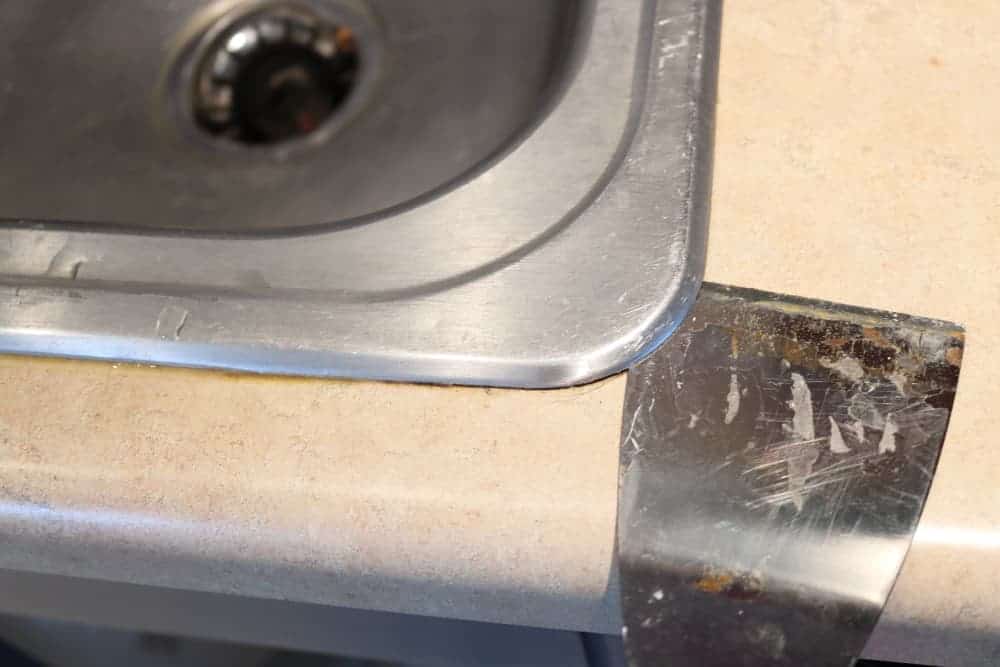
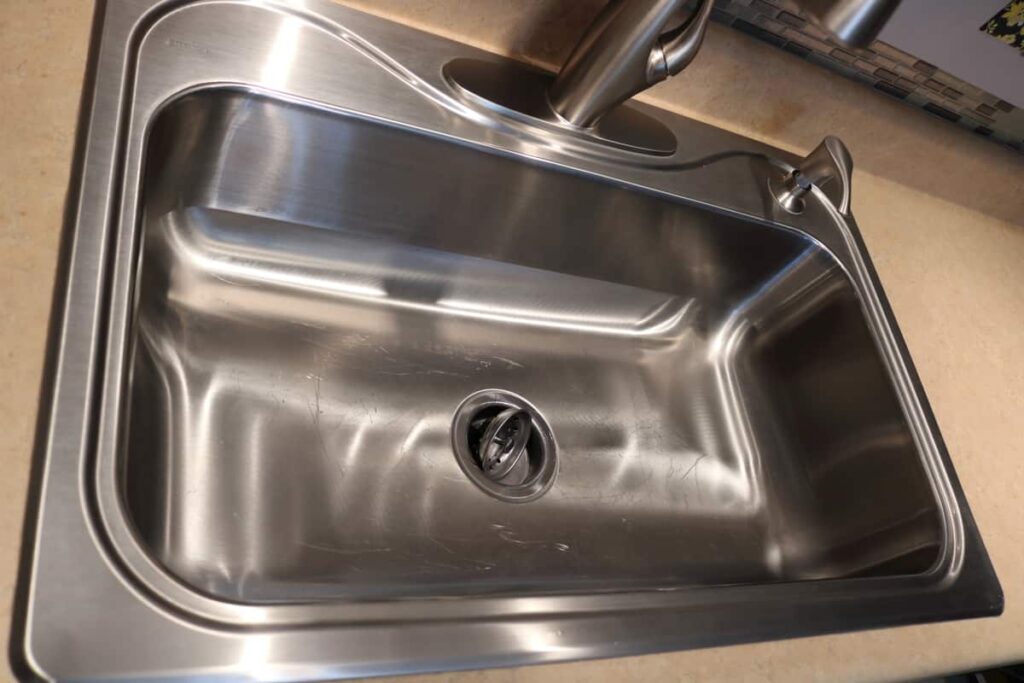
After over a month of use, it does have some scratches.
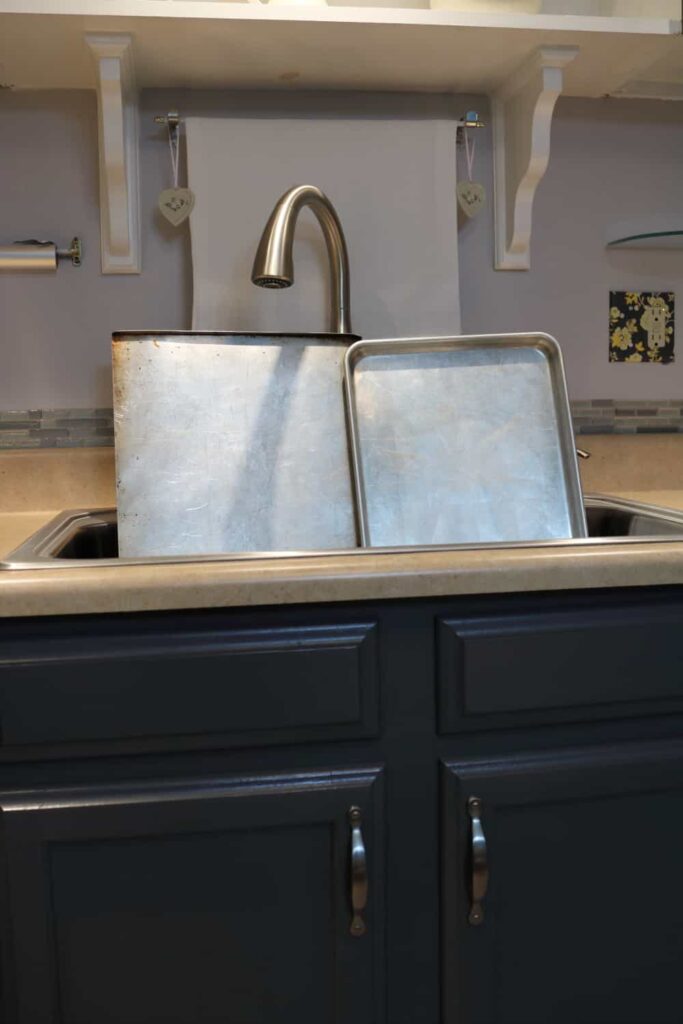
The faucet is so tall, I can put TWO cookie sheets in the sink, standing on their tall sides, with plenty of room to spare!! I’m not sure why we waited so long to do this project!
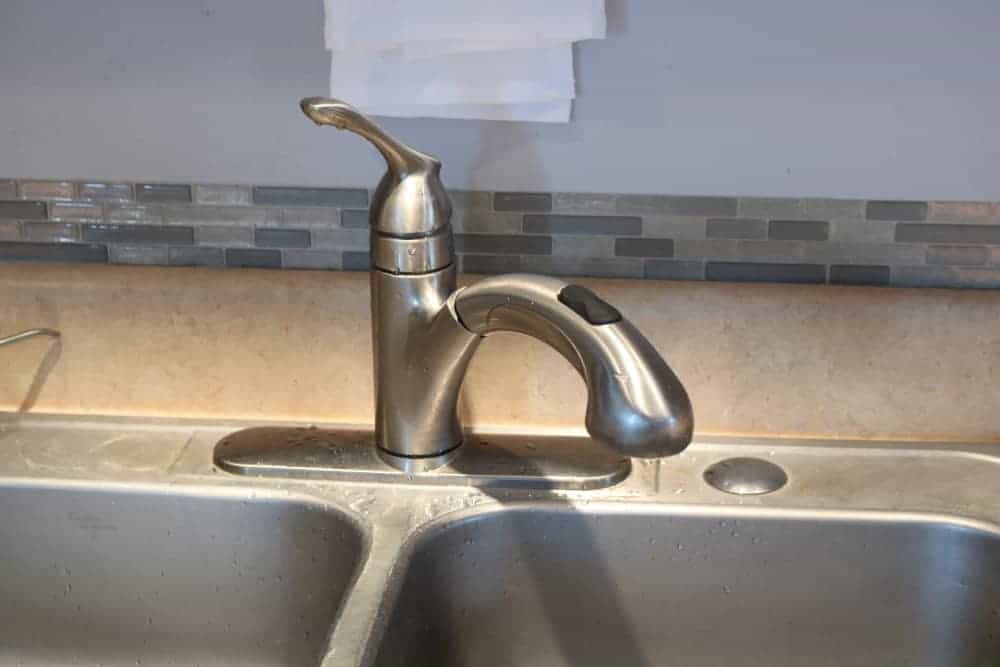
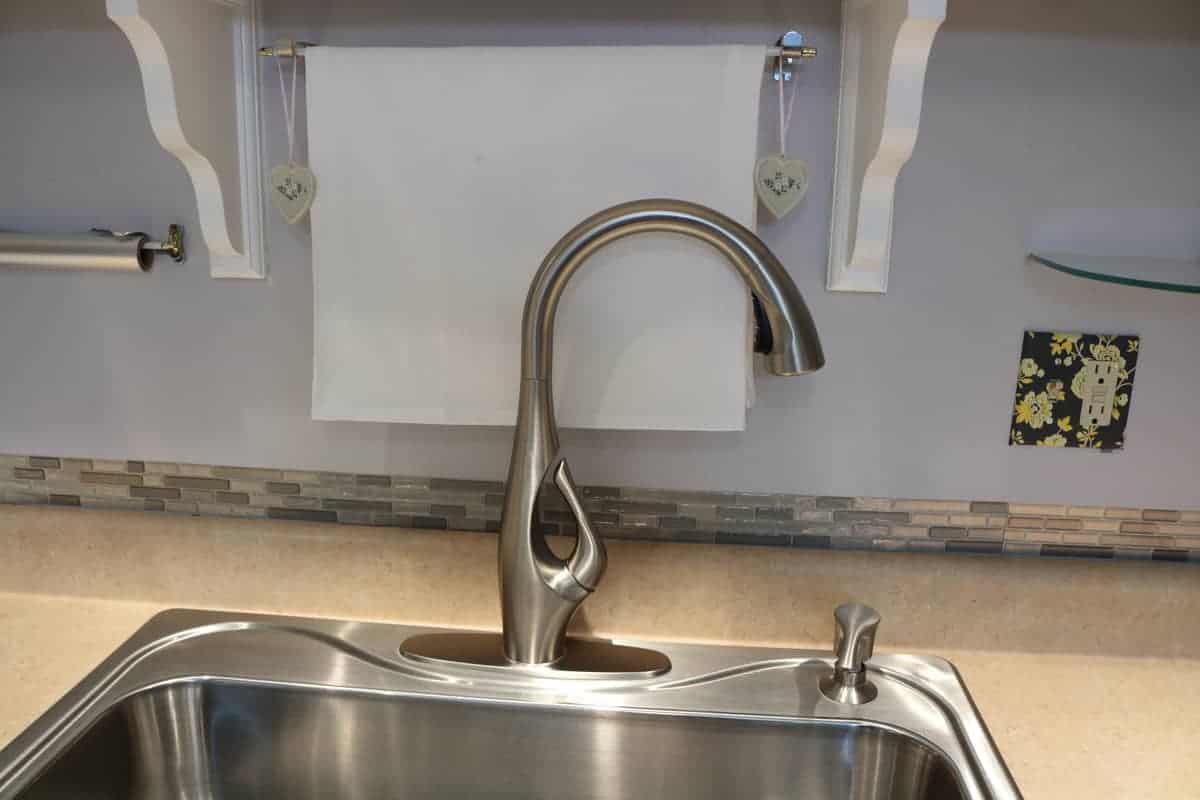
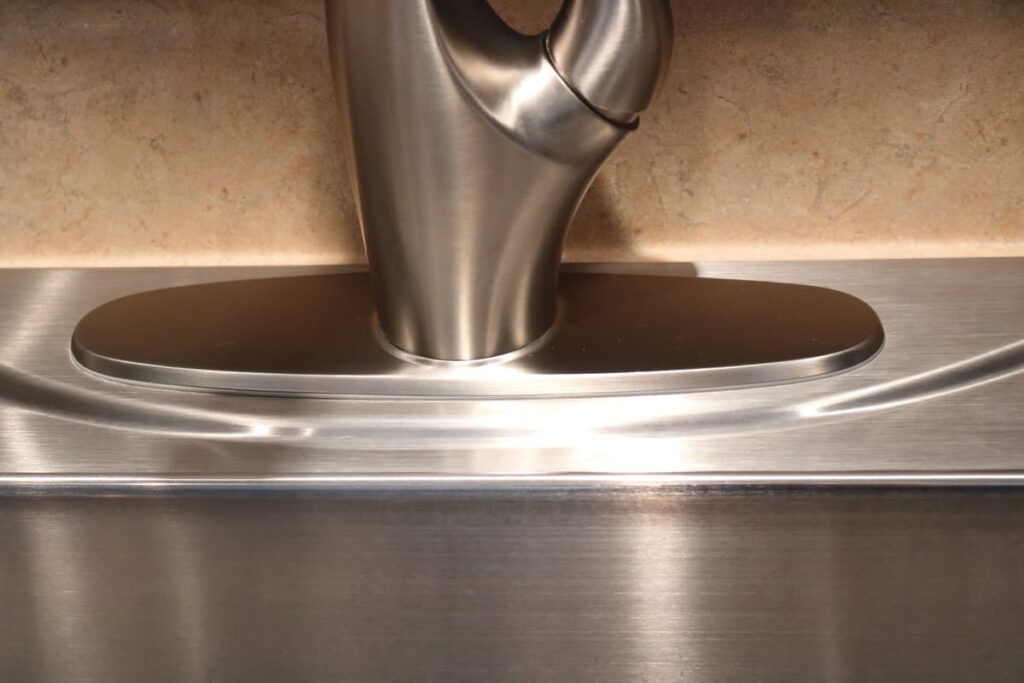
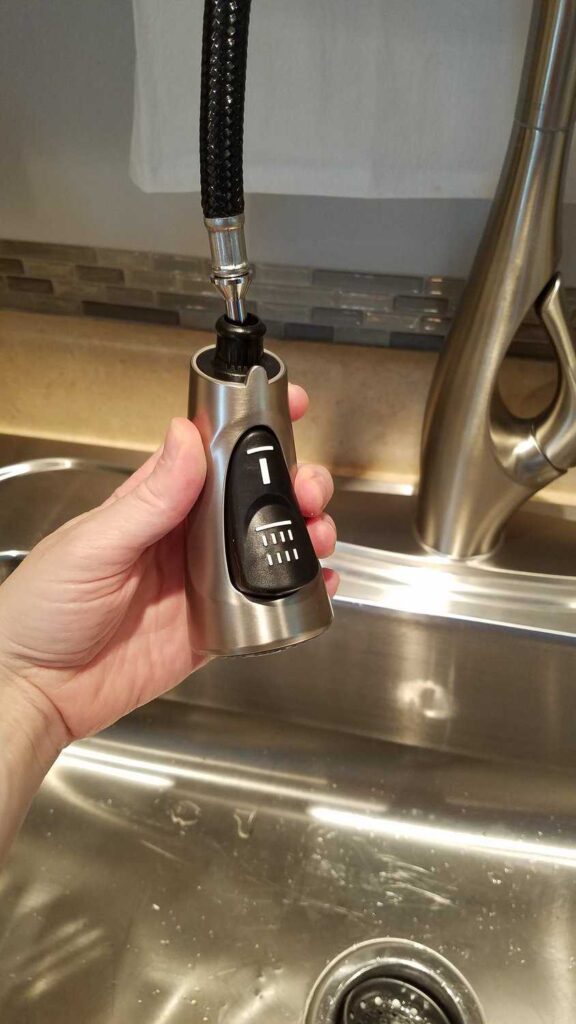
The faucet uses only one hole, but the plate covers any extra holes in the sink. The plate has a plastic seal, so that it does not need any silicone caulk– which makes it look really nice!
I love the handle. If you pull the handle out from this position, the water is cold.

In this position, the water is still off. When you pull the handle out, this is the hot water. So for warm, you would pull the handle out, and up to the middle. Usually the off position is more convenient to leave it looking like this, and this way is also easier for the kids to reach.
The faucet can swivel all the way around in a complete circle– except I have a wall. The only drawback I can see with this design, is that someone could accidentally turn the water on when the faucet is pointed out of the sink as it looks in the picture below. But it is nice that it can move all the way off of the sink.
The pull down faucet part is very long– longer than in the picture below. So there’s no problem rinsing out the sink or pots and pans. Really, the faucet is so amazing that I usually don’t even need to use the pull down part!
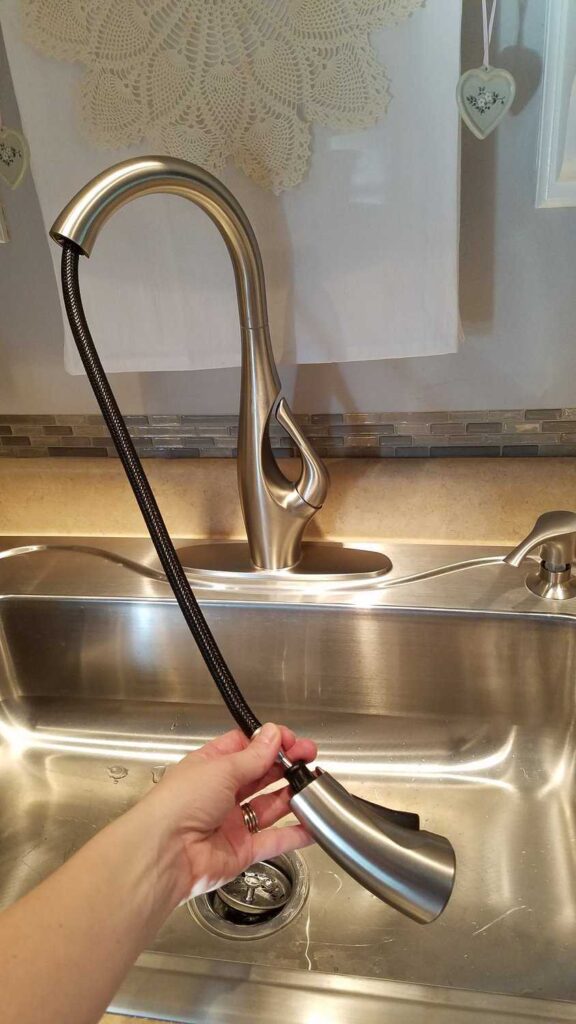
And of course on the back is a button to switch the flow to spraying if you wish.
I had to dress up my sink area and take some Pretty pictures for you. Pictured below are some light pink spray painted dried hydrangeas and some dried lamb’s ear in my Pfaltzgraff Heirloom pitchers.
At the top are some cuttings from my weeping cherry tree.
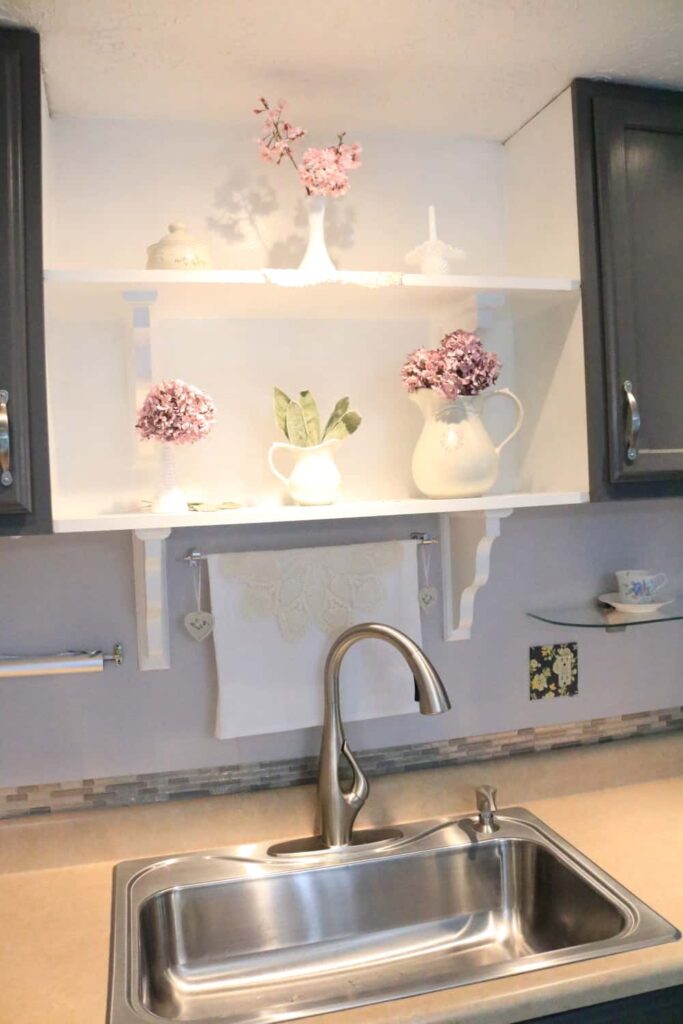
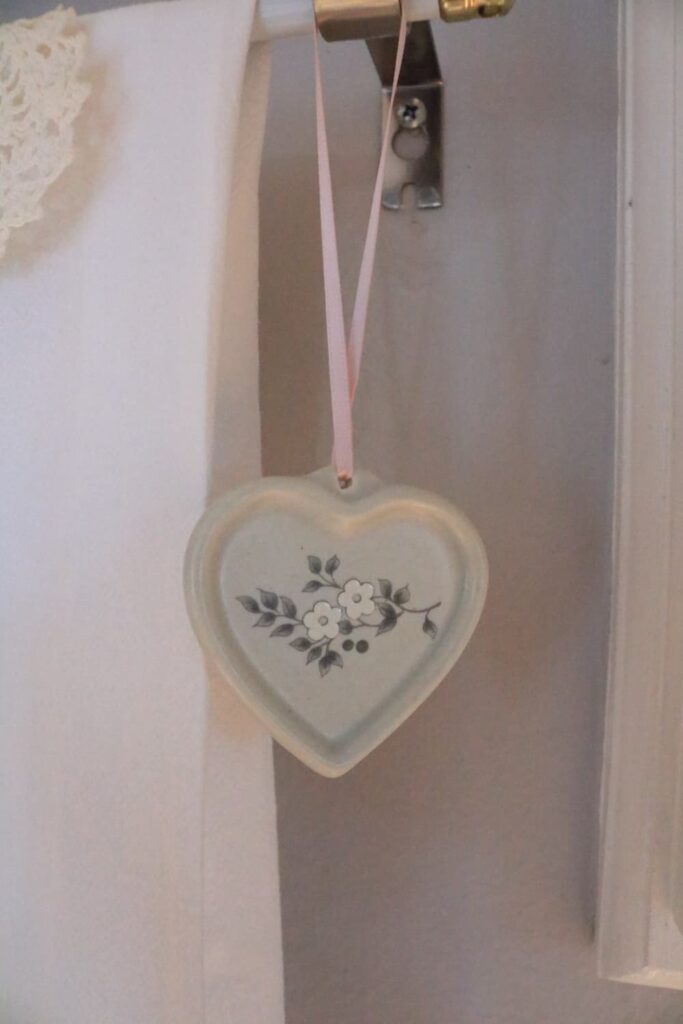
Aren’t these little hearts cute?! They match the Heirloom dishes.


- The Most Neglected Place in my Kitchen
- Kitchen Spice Organization
- Removable Kitchen Chair Slipcovers
- Computer Screen Dust Cover
- New Kitchen Faucet and Sink
- Refrigerator Cabinet Surround
- Contact Paper in the Kitchen 5 Ways


I love that you did this yourself! It looks so good. I just bought a faucet too, but I can’t decide if I’m brave enough to install it myself. Your post will help so much. I love the towel holder right above the sink and your pretty shelves too.
love your new sink and faucet so big and nice perfect as you demonstrate to display those little goodies and plenty of room to work
come see us at http://shopannies.blogspot.com
Thank you so much, Angie (Annie?)
Great job Liberty and I had no idea about the automatic faucets. Seems silly they don’t turn off for so long. A waste of water to me.
They make them sound so efficient and they aren’t it seems.
Looks great love the new look!
Cindy
Thank you, Cindy! Yes, I guess they expect you will turn it off by touching it— but then that doesn’t make them touchless in my opinion!