Covering a Light Switch Plate/ Outlet Cover
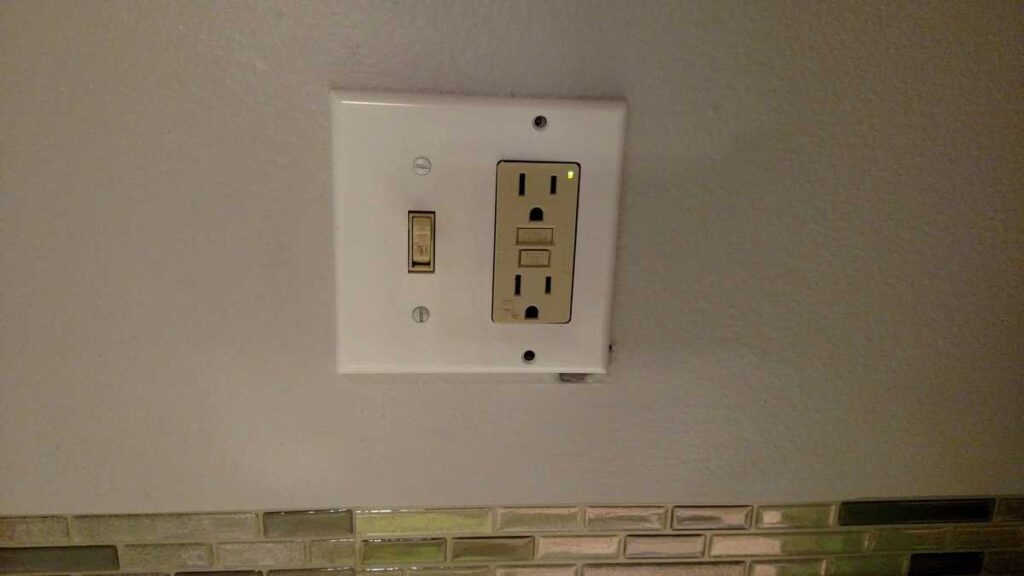
I love Contact Paper. I use it for tons of projects. I had this light switch plate/ outlet cover at my kitchen sink that was really bothering me. Two screws are missing.
(*This post may contain affiliate links. By purchasing anything from these links, I may receive a small commission at no cost to you. More information is available on my Disclosure page.)
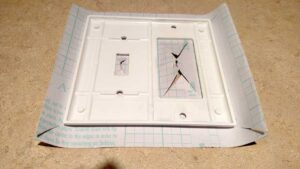
Thankfully, I still had some leftover Laura Ashley contact paper* that I had used in other places in my kitchen (more on that later). I cut diagonal slits in the corners (later I would cut off the corners at an angle) and I cut X shaped slits in the two openings.
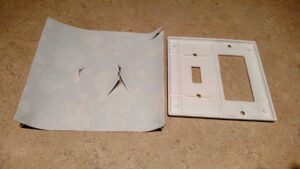
If there is a right side up, be sure you have the contact paper in the right direction. I love contact paper for light switch covers, because it is easy to wipe off. Those two missing screws? Well, they weren’t necessary; and my contact paper covered them up!
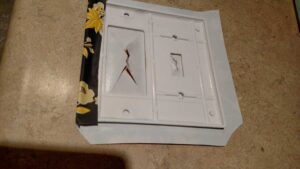
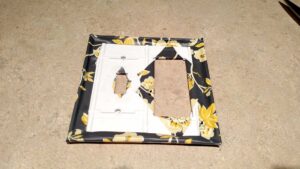
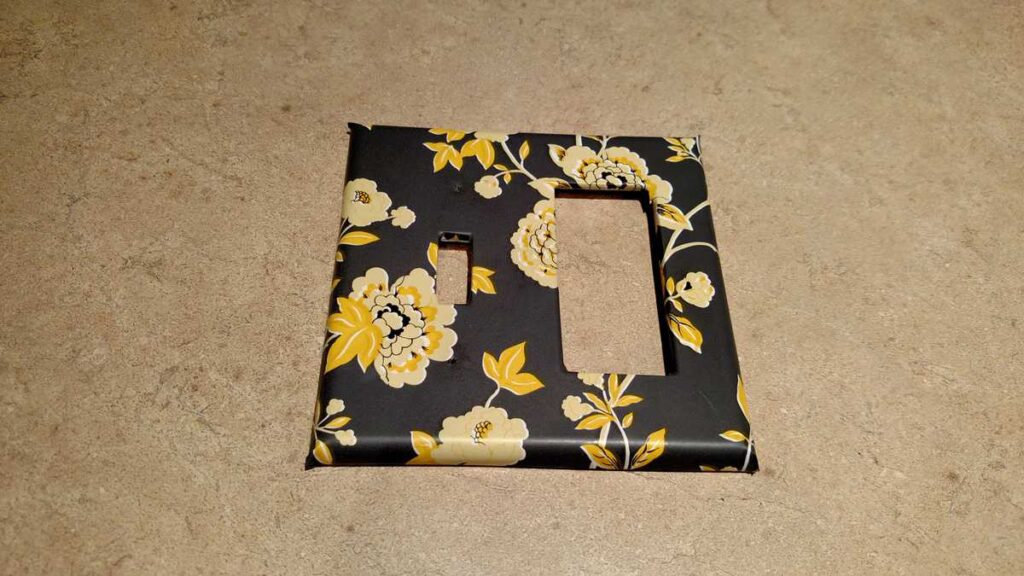
The tiniest hole for the light switch– I used plain scotch tape to hold the little triangle shapes onto the back side. The contact paper sticky stuff isn’t strong enough by itself. I might have used tape on the big opening, also. So that I wouldn’t tear the contact paper when screwing it back onto the wall, I first poked through the two holes with a very fancy awl– a toothpick. : )
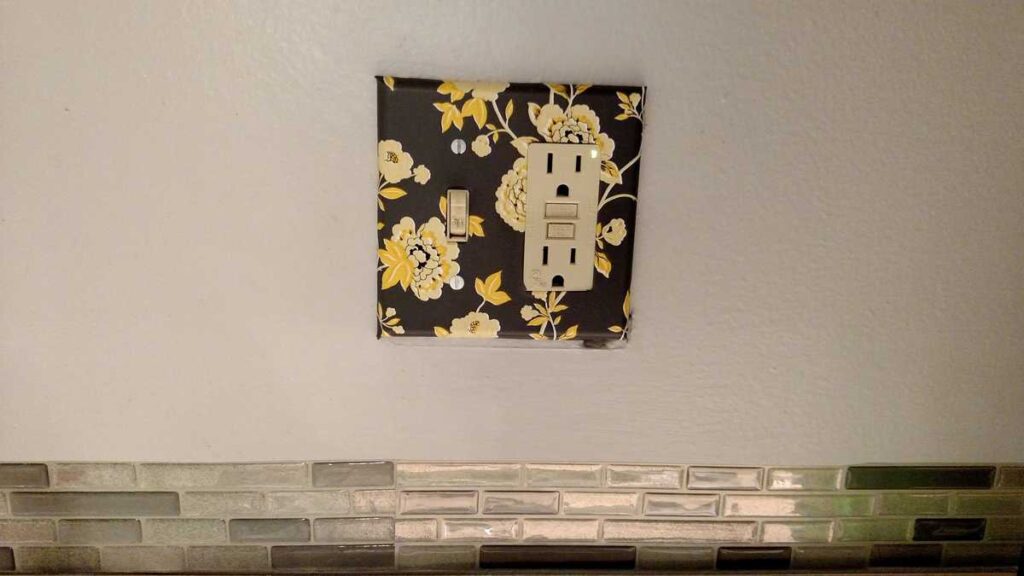
AFTER!!
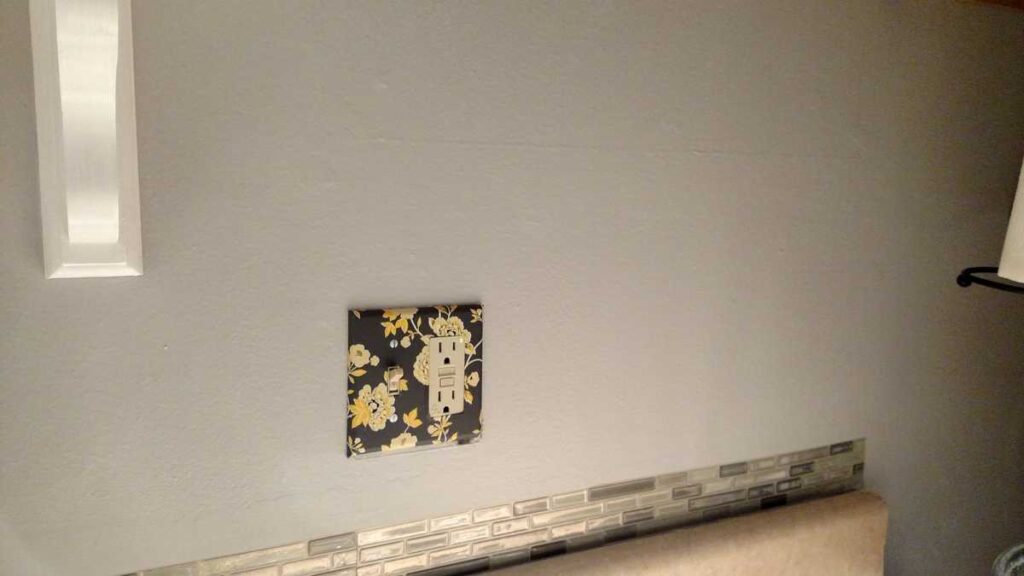
Doesn’t it look nice with the accent tile?
And it matches the other one in my kitchen!
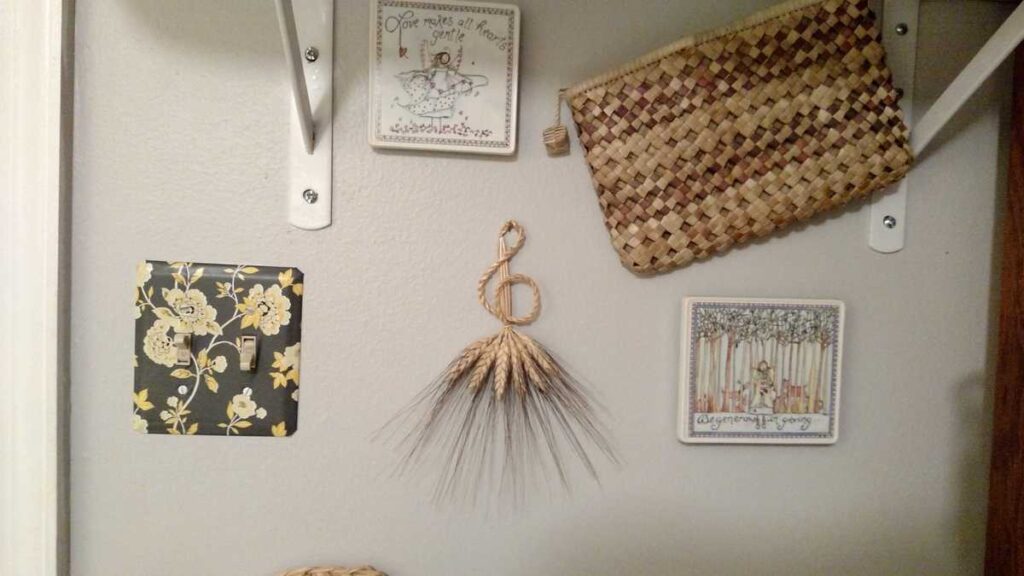
AFTER!!
