Downstairs Bathroom Part 3
This is Part 3 (Adding Drywall and a Corner Shower Surround) in a series on the building of our Downstairs Bathroom. You can see the other posts in the series here:
Here’s where we left off in Part 2. The water pipes, electrical wiring, and insulation had been added.

(*This post may contain affiliate links. By purchasing anything from these links, I may receive a small commission at no cost to you. More information is available on my Disclosure page.)
Now it was time for the inside drywall. It is green because it is mold resistant.

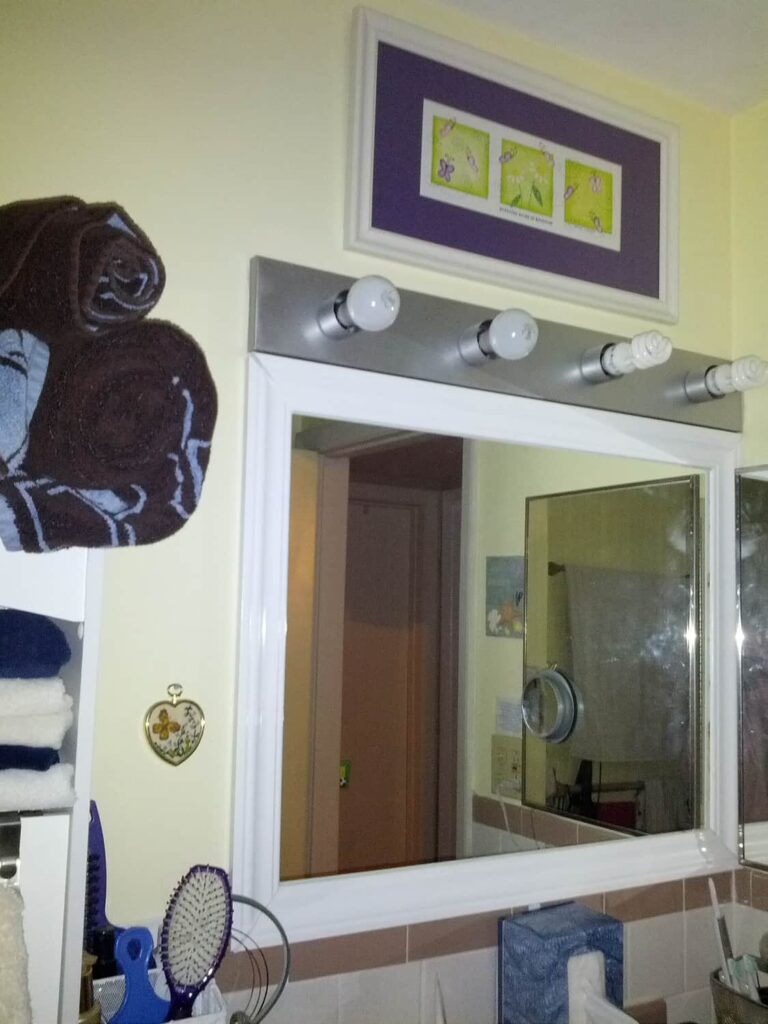
The light fixtures, sink, and shower surround were put in. The neat thing about the shower surround is that I got it for free on Craigslist!! I love free! It was unused. (The person giving it away had cut the hole for the faucet mixer on the wrong side.) I bought the shower base from my local home improvement store. We used a 3 bulb light fixture above the sink, and one meant for water environments over the shower. You can also see in the picture below how the metal framework was done around the ductwork.

And now you can see how tricky it was to drywall around all that framed ductwork.

The next picture shows what you see if you stand in the bathroom doorway and look straight/ to the right. You see the wall in front of the air return, and the access to my closet under the stairs. It holds mainly Christmas decorations.

And this is the view looking straight at that under stairs closet access.

After all the drywall was done, then came the taping of the seams. Then patching, and several skimming coats prepared the walls for painting. The picture below shows the first patching/skim coat. Oh boy! I think the next posts in this series will be the fun ones!! See the hints of wallpaper and flooring? Neither one is ready to be installed yet…
Before…. …..to be continued….