
Master Closet Makeover Part 2
If you would like to see Part 1 of my Master Closet Makeover, please Click Here.
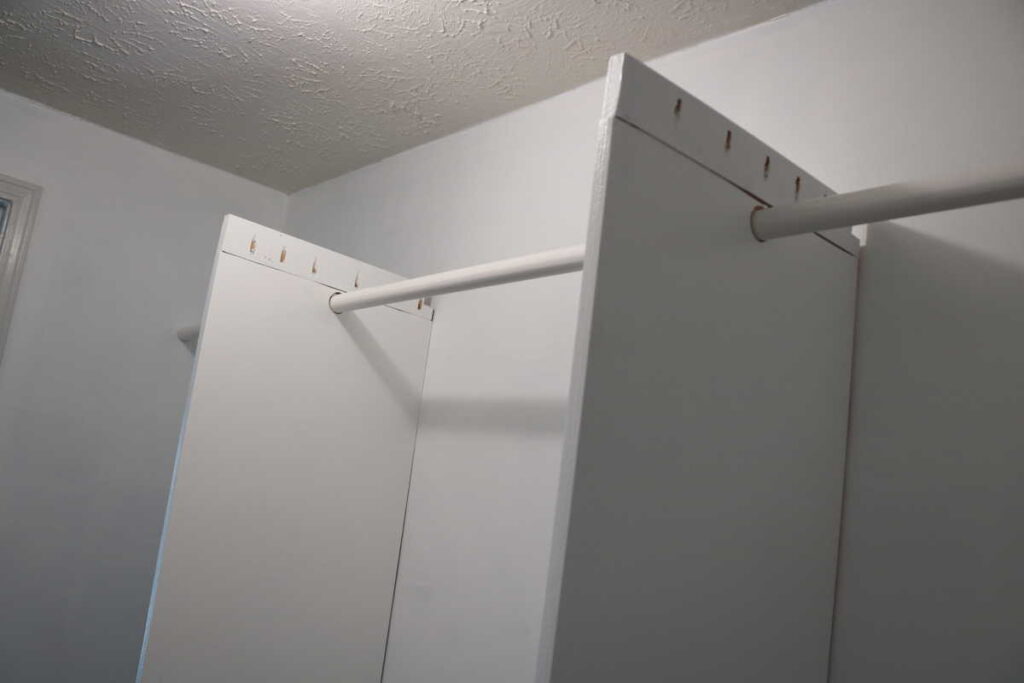
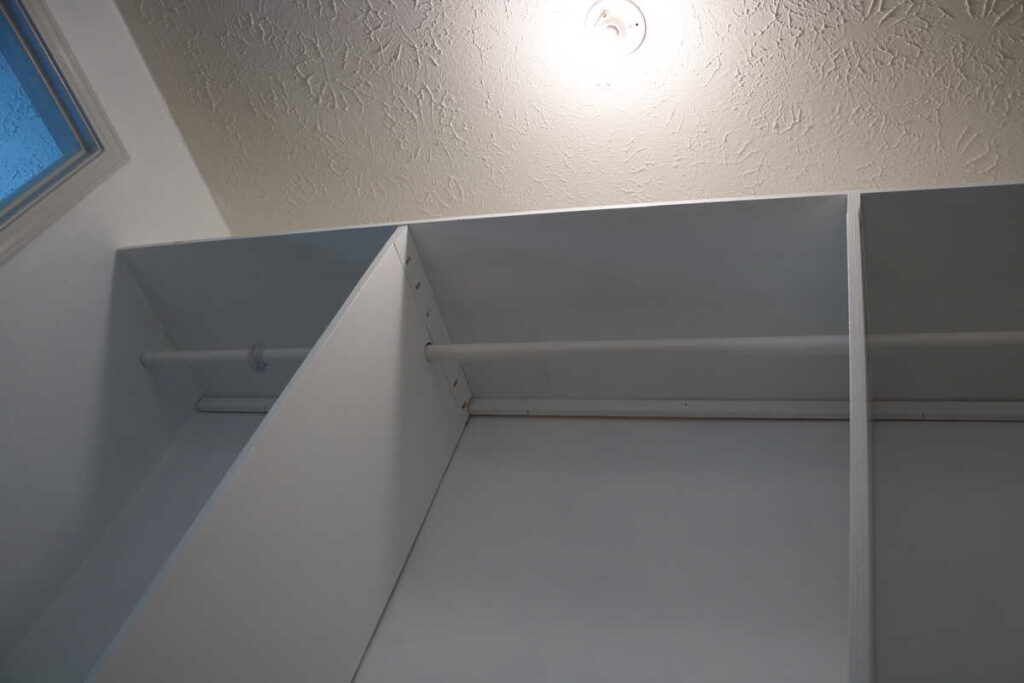
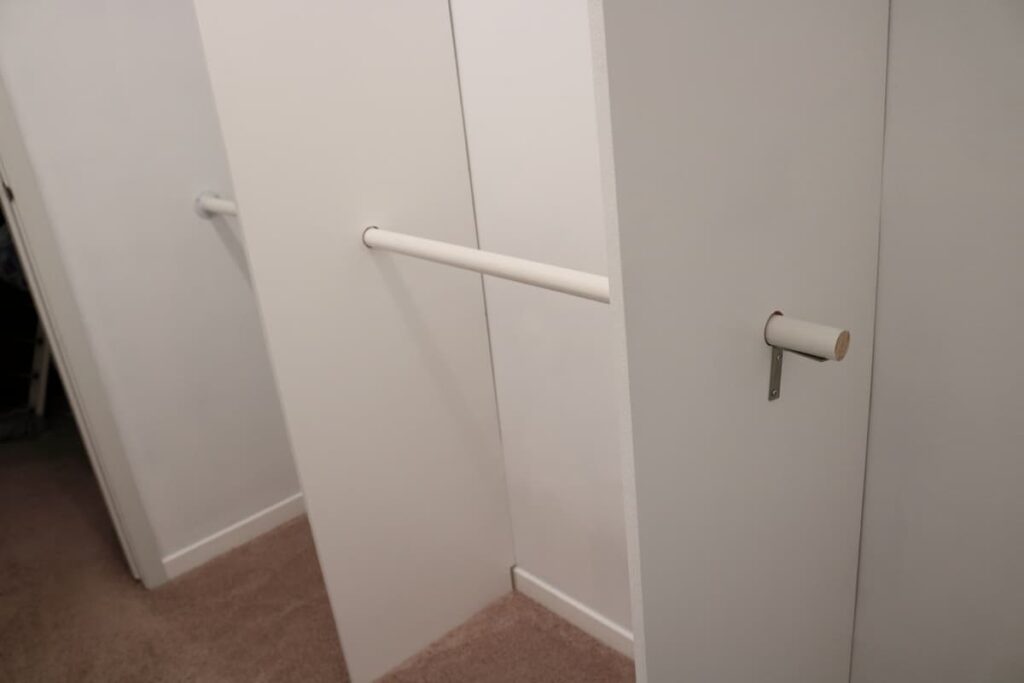
This is where we left off at the end of Part 1. I had just put these upright boards with the poles into place (there is a video if you want to see how I did it). The poles are vinyl covered wood. I really like them.
Here is the lower pole.
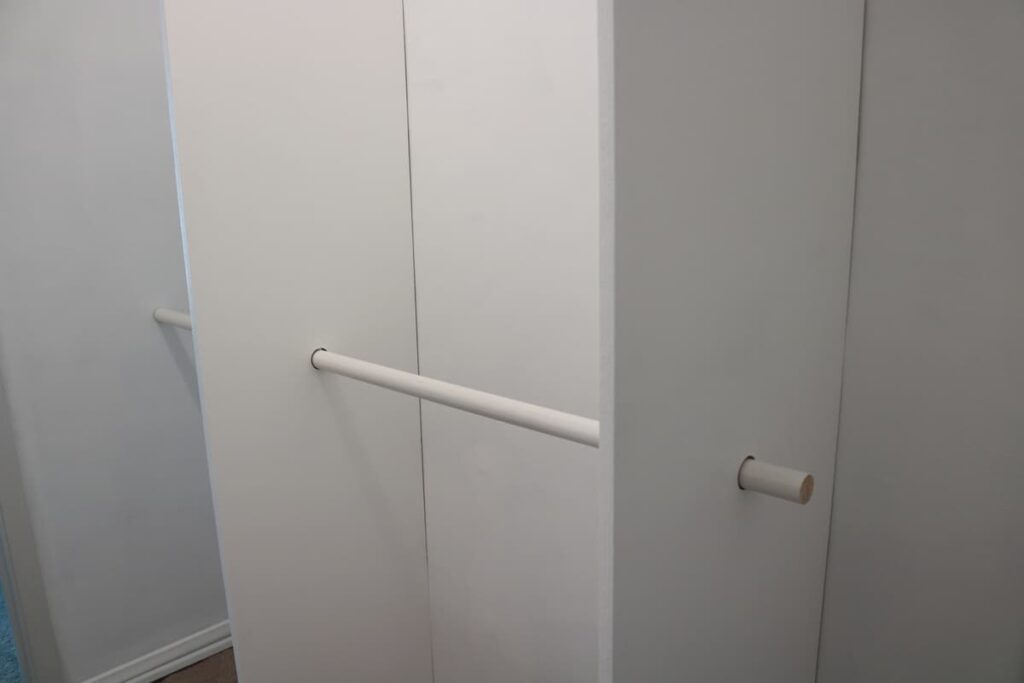

On this side you can see the pocket holes for the screws that will go up into the top horizontal board.
And on this side you see the pocket holes for the screws going down into the vertical boards.
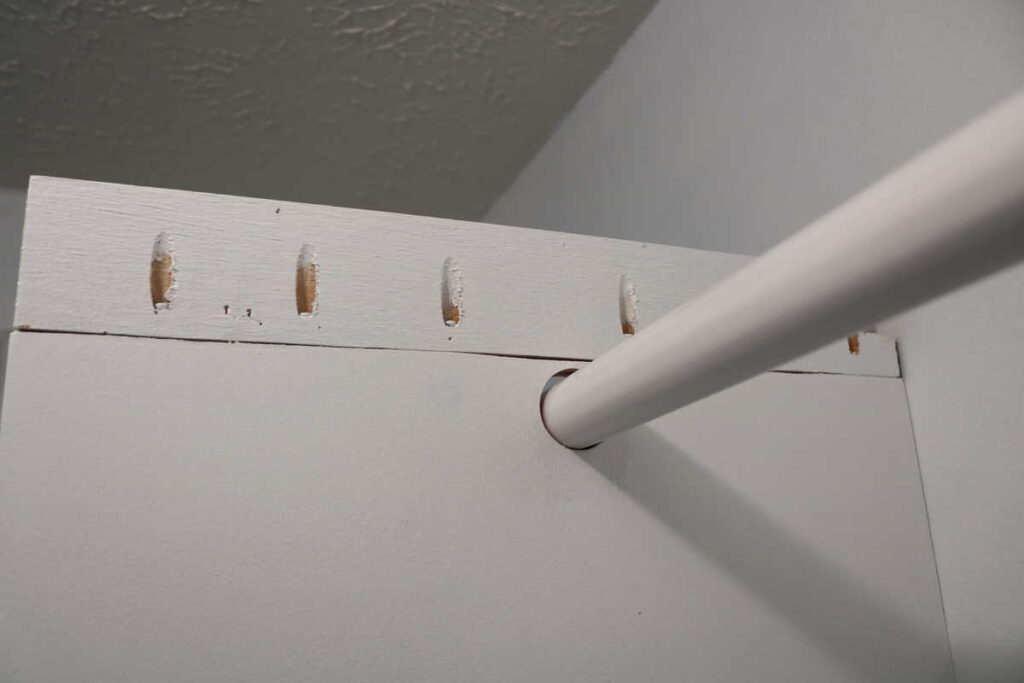
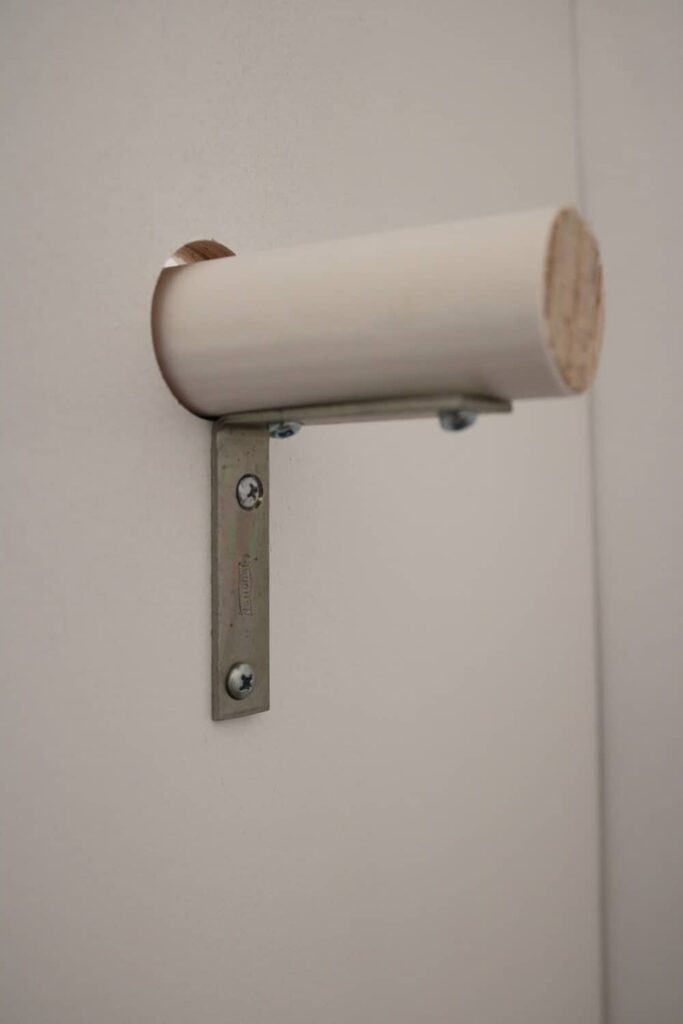
To the left is the metal closet pole holder that will be attached to the wall.
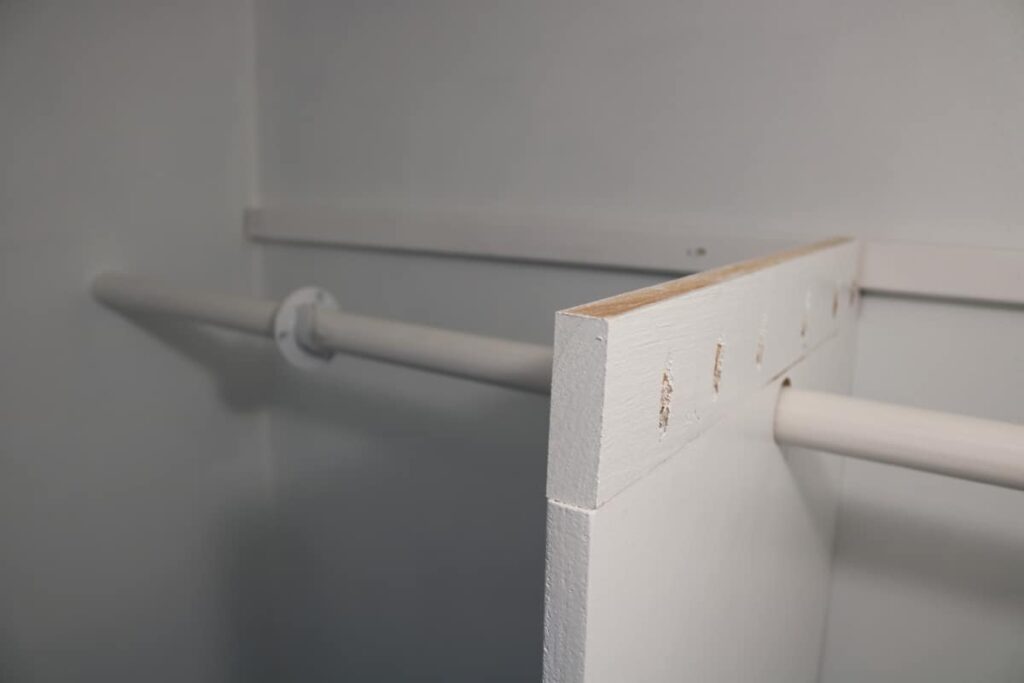
Now the cleat board is in place. I should have attached it to the wall at this point, but I didn’t yet.
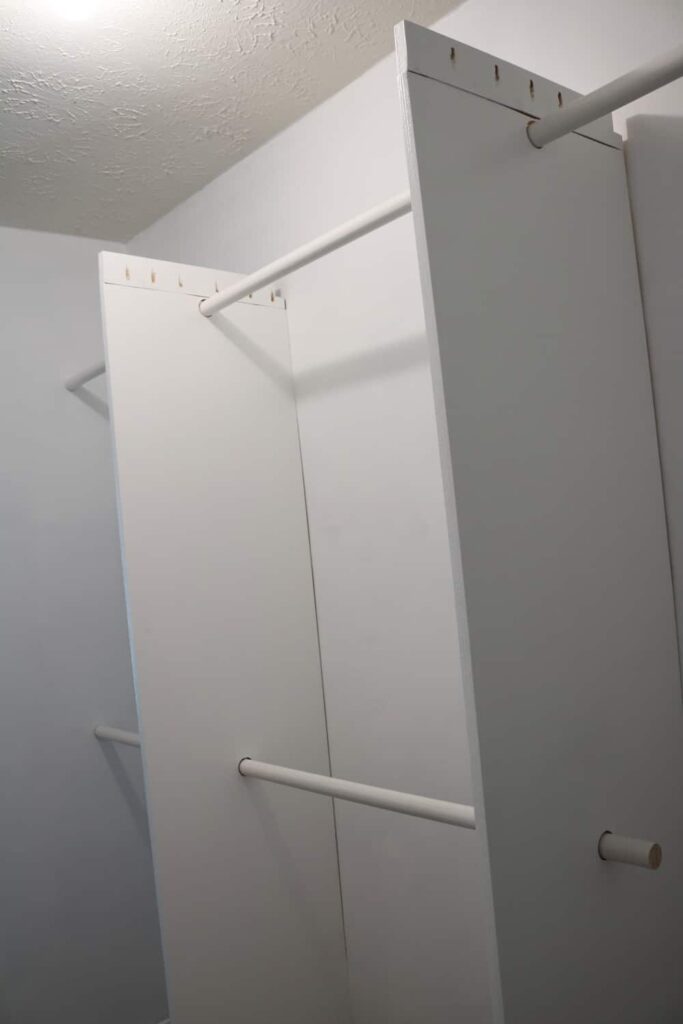
I laid the horizontal board across to be sure that it would all fit.
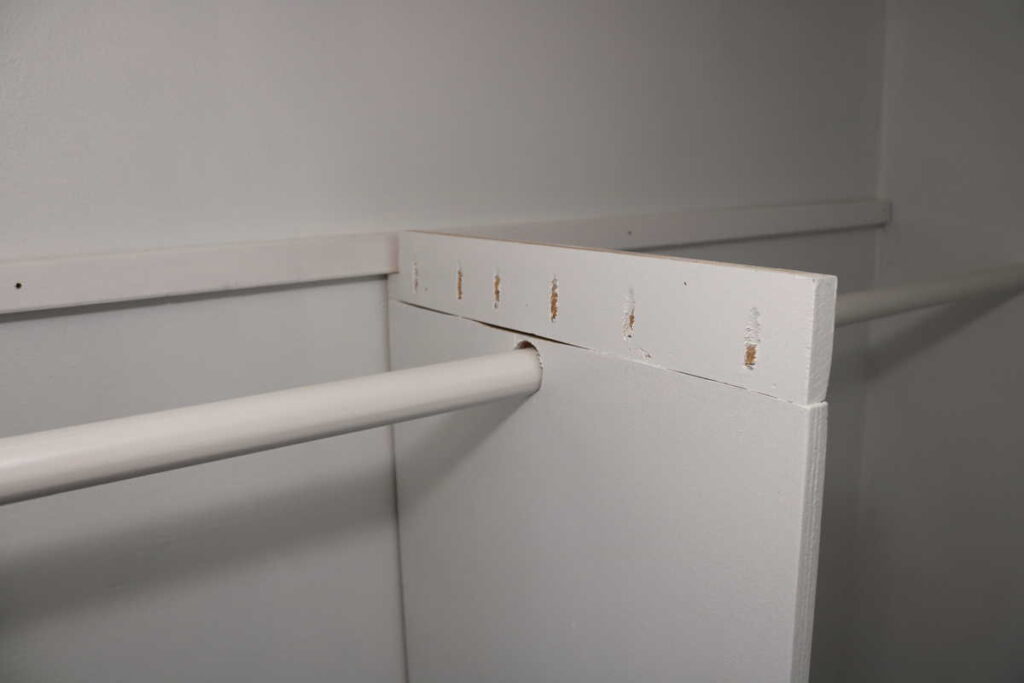
Here is the view from below.
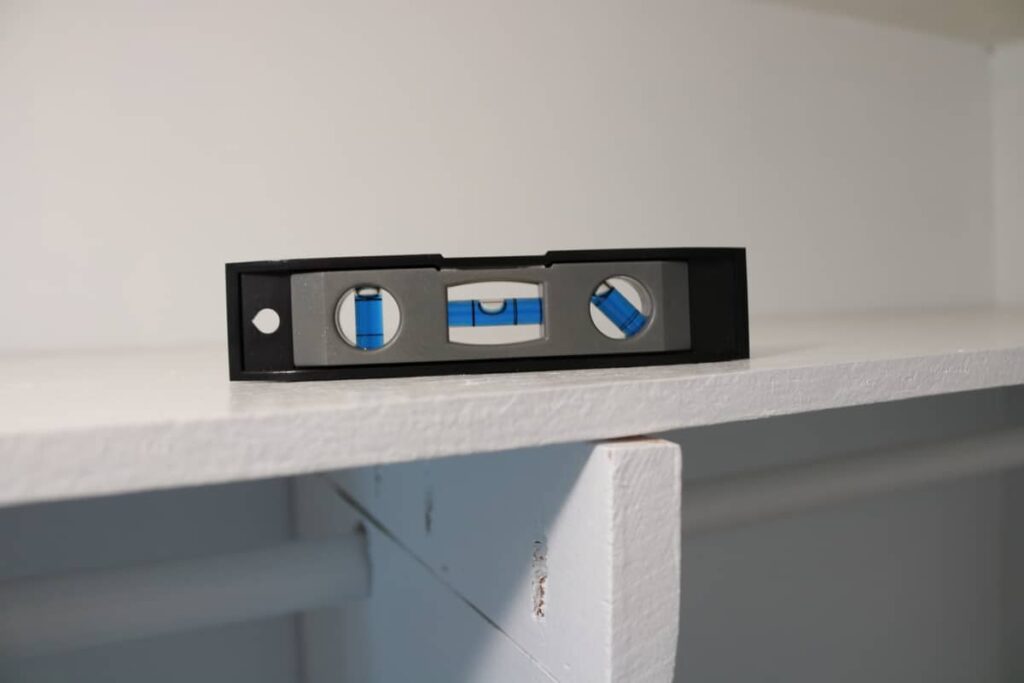
I used a small level to be sure everything was going according to plan.
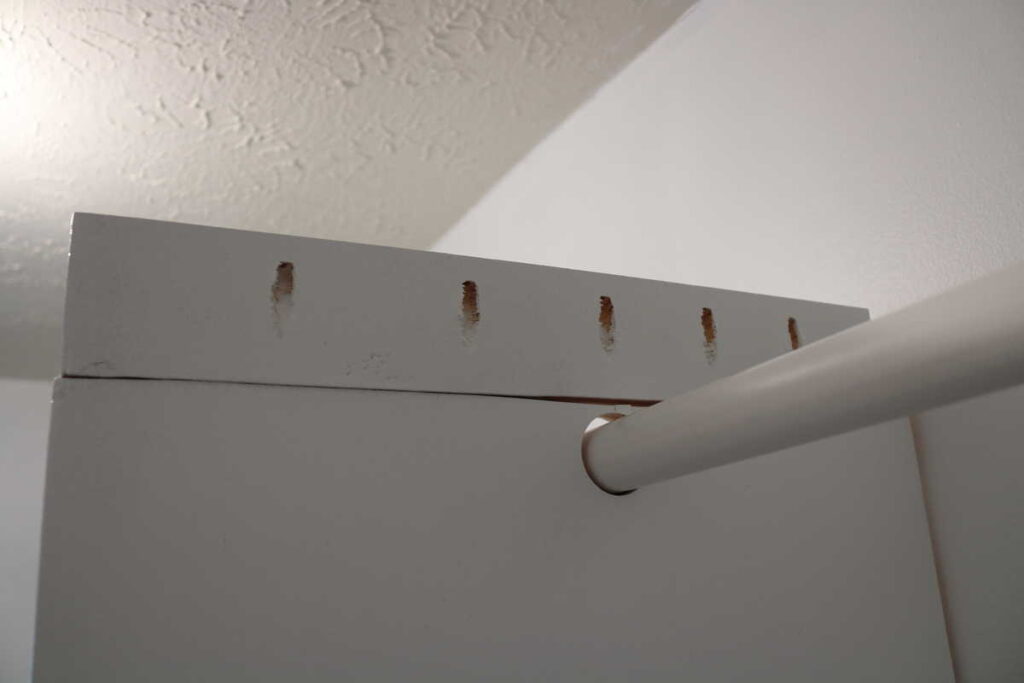
Then I screwed the pocket hole screws into the board across the top. Then I got ready to screw in the cleats— but my drill would not fit between the board and the closet pole. It meant either unscrewing all of the pocket hole screws, or another trip to my local home improvement store to buy a 12 inch extension for the drill, so that it would reach. I chose going to the store since it is less than ten minutes from my house.
My husband helped screw the cleats in as the wood behind the wall was very hard, either that or my drill is weak….
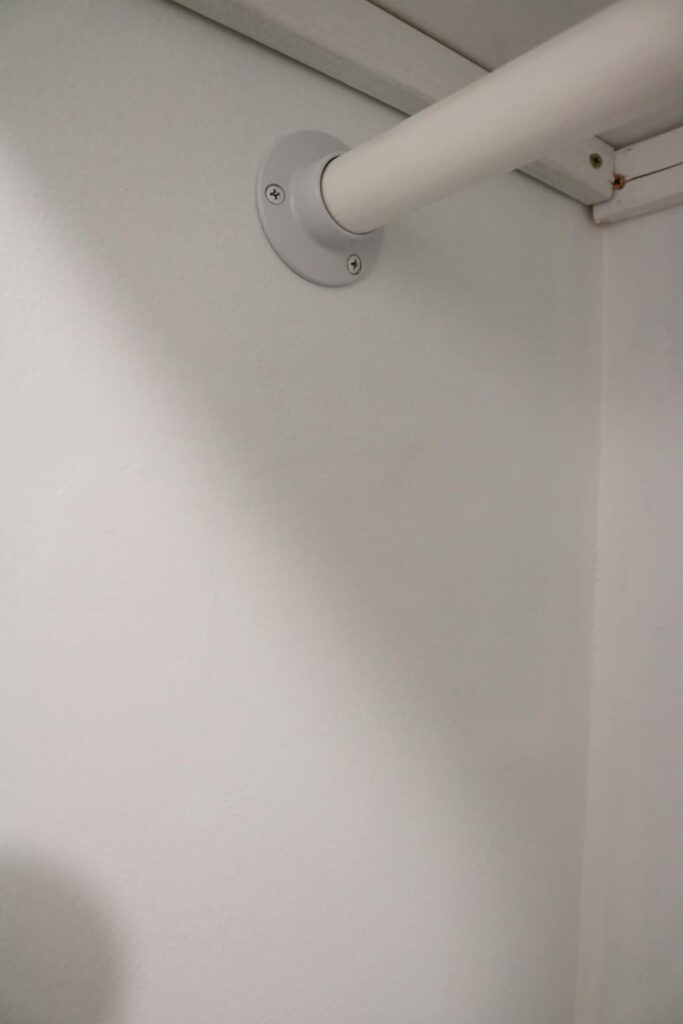
Then I screwed in the closet pole supports on the ends.
For the lower pole my husband suggested an L bracket to hold it in place, so that is what I used.
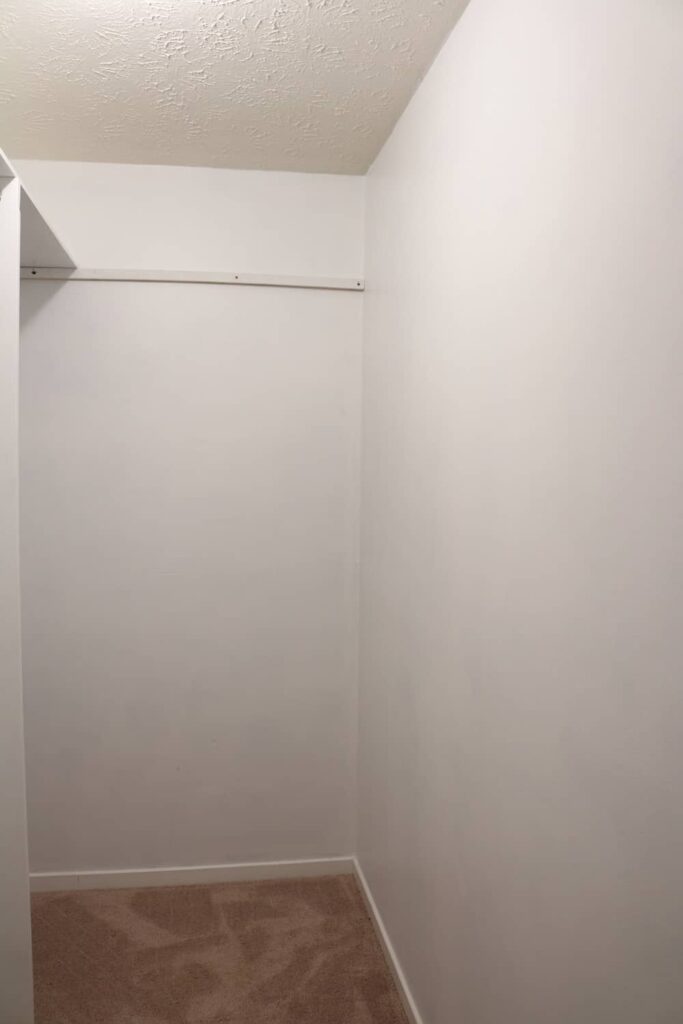
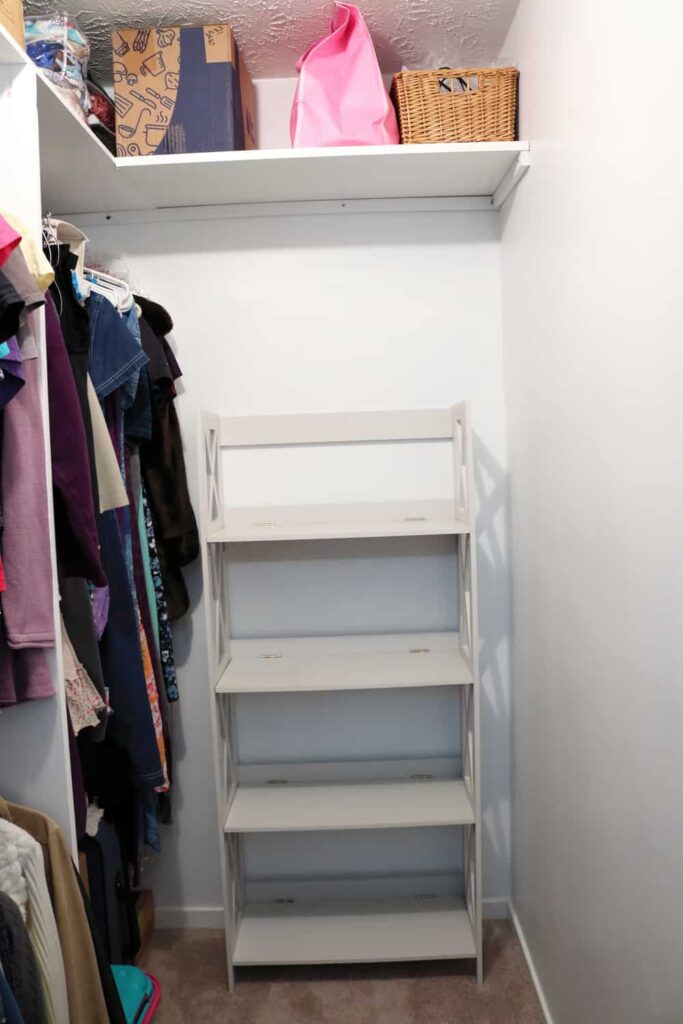
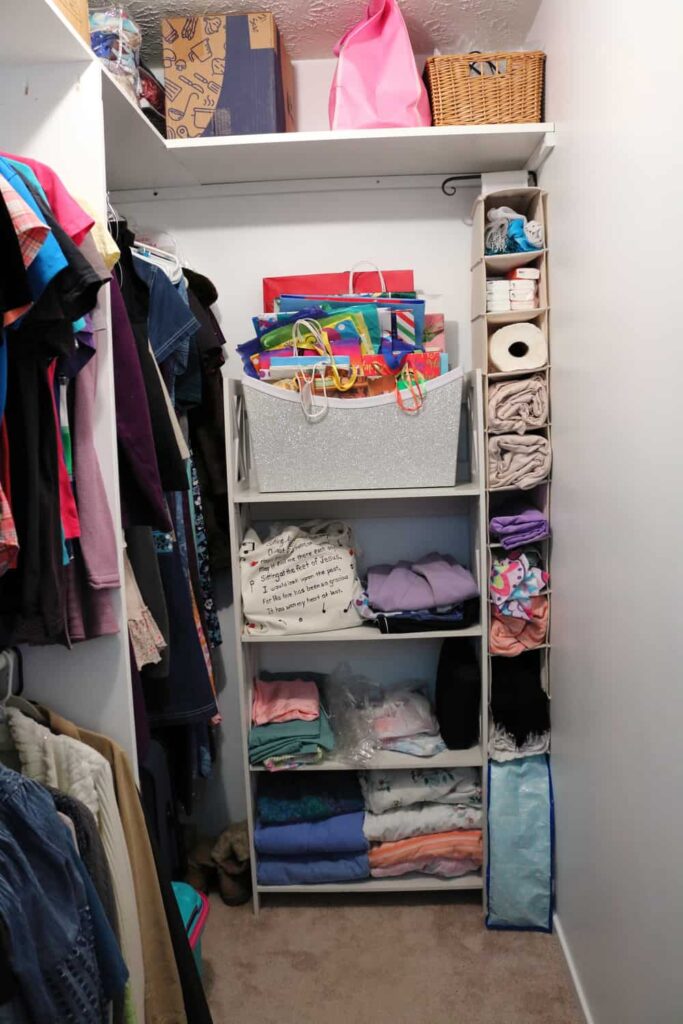
Here is the far end of the closet where another shelf will be.
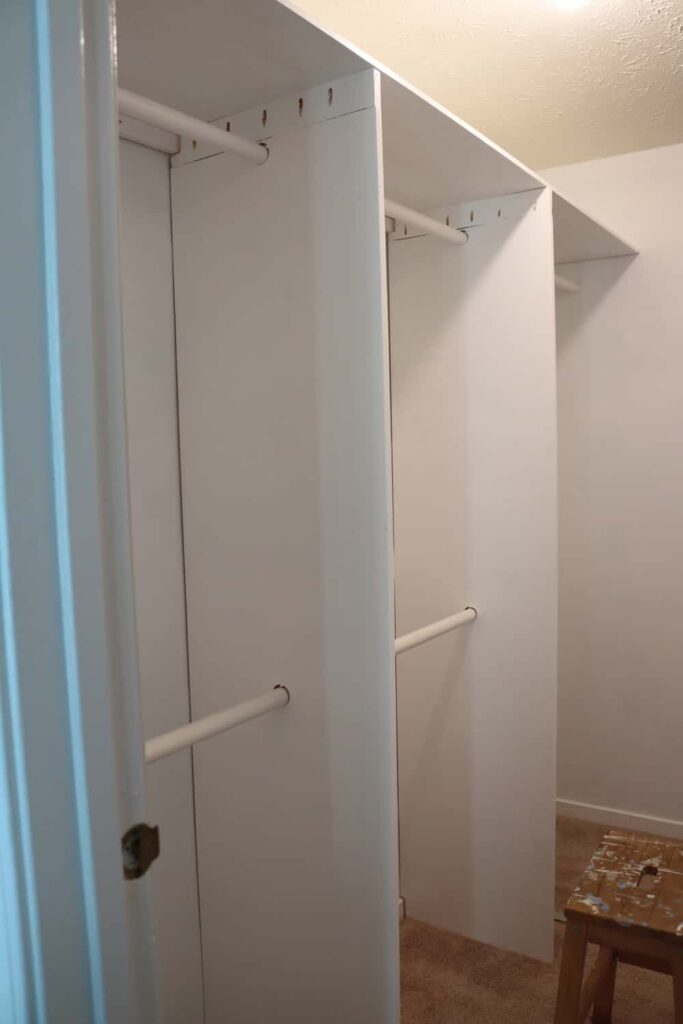
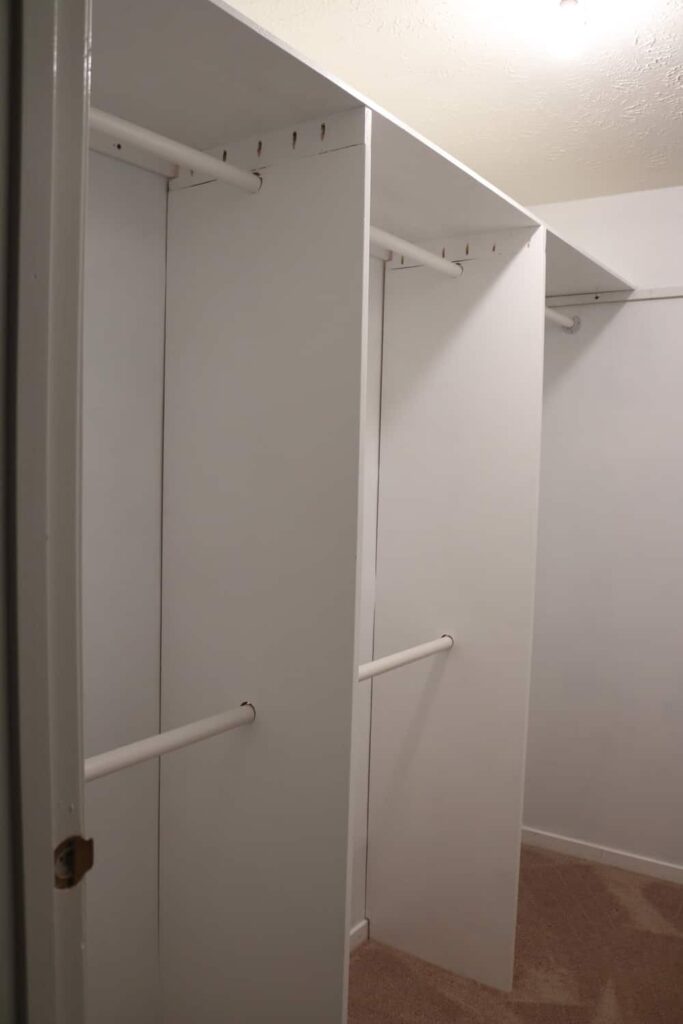
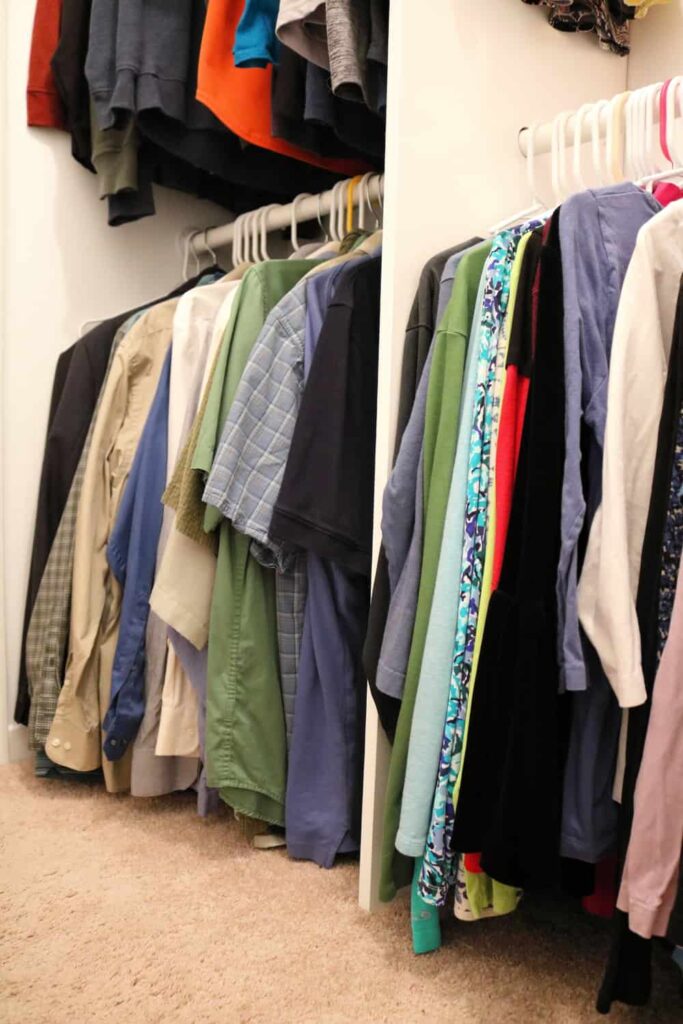
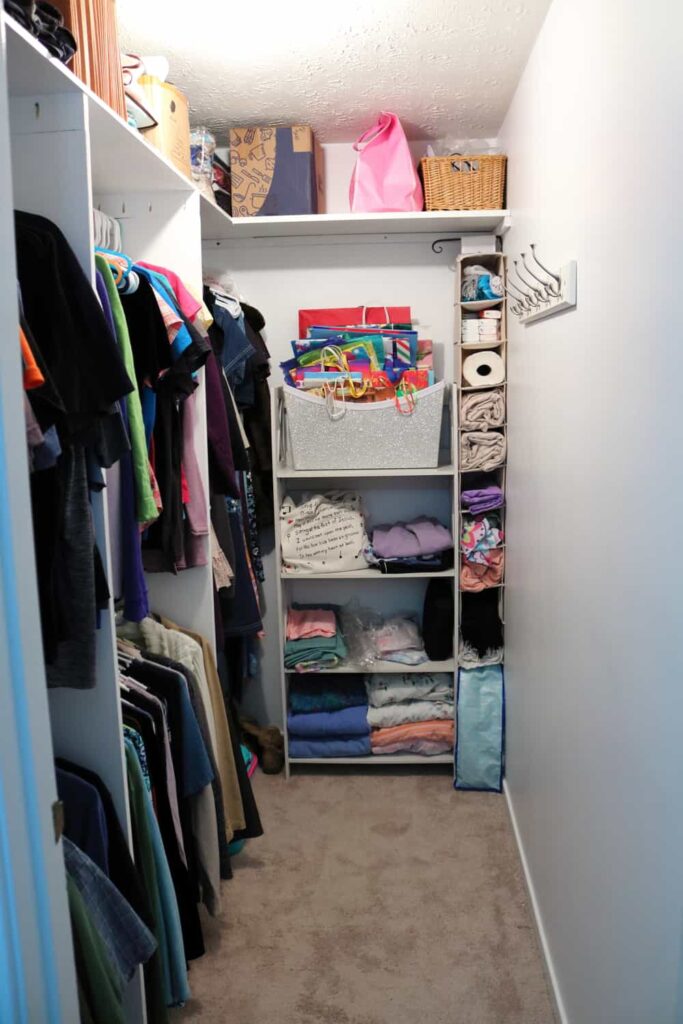
At midnight the day before my daughter returned from camp, I was able to put these clothes back into the closet and take some more pictures!
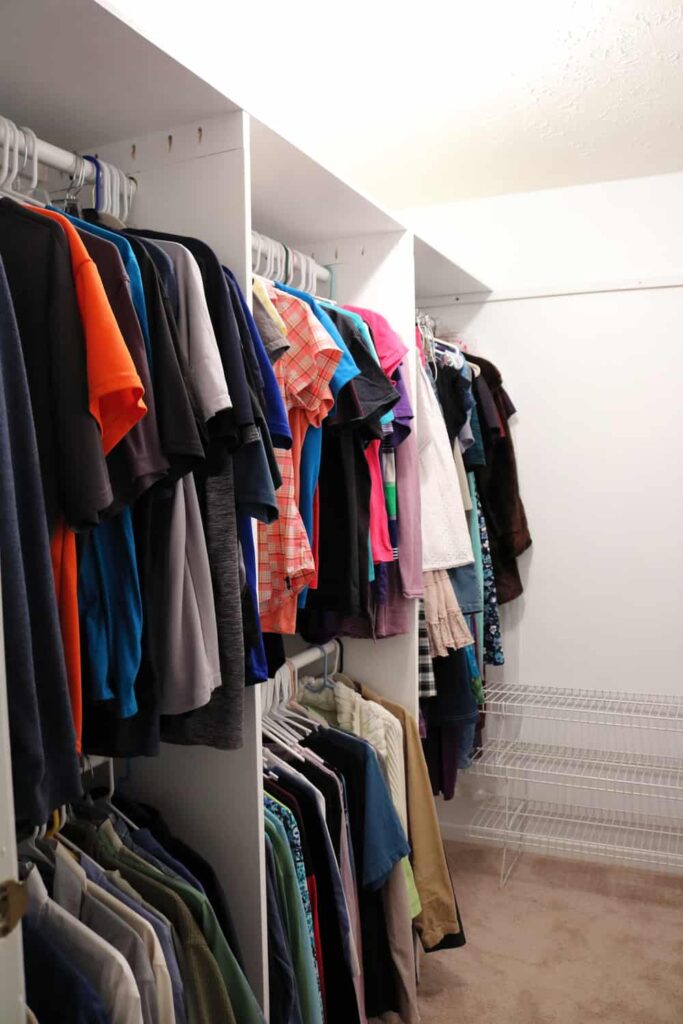
Everything fit just as planned: room for shirts to hang double high, with no wasted space.
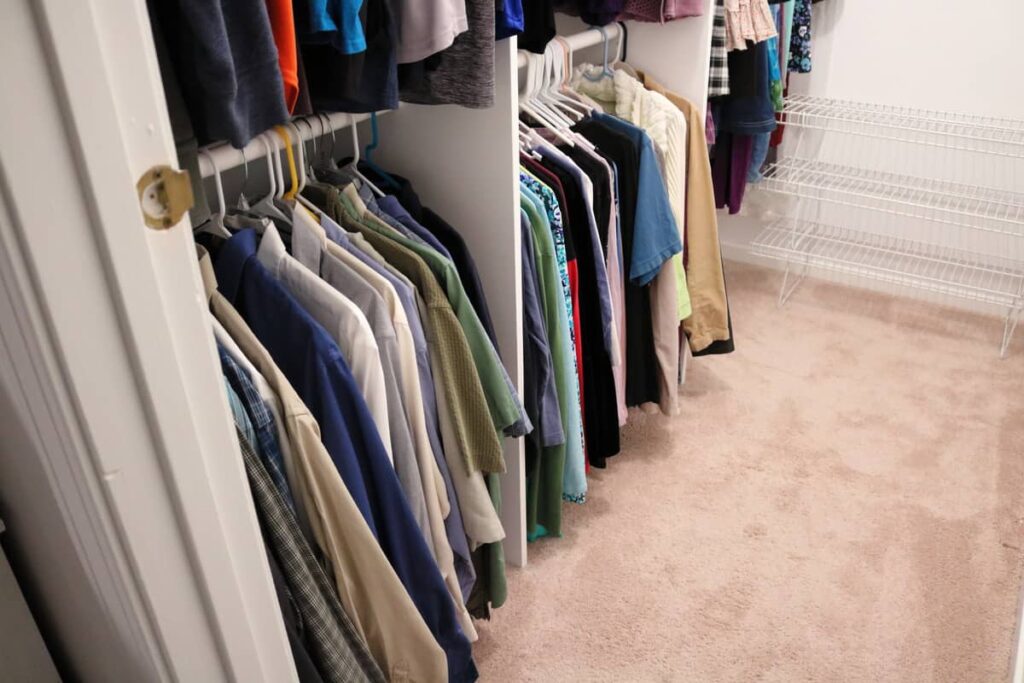
The hangers came just to the wall, instead of two or three inches from the hangers to the wall. Perfect!
Even the longest shirts wouldn’t be getting wrinkled anymore!
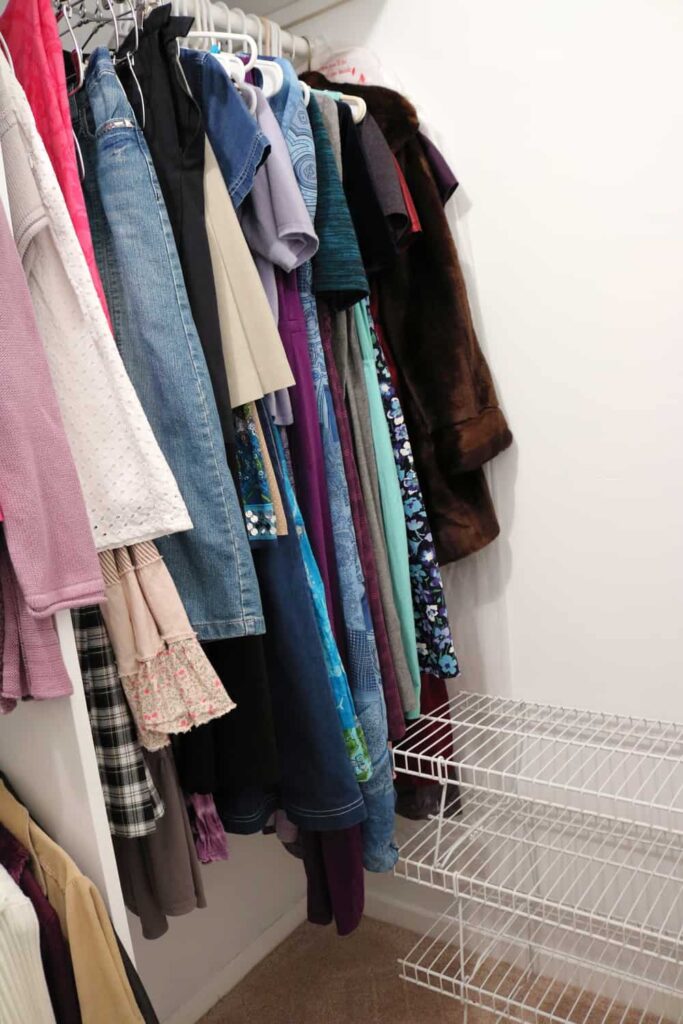
I have a long space for my dresses and skirts.
After getting this board cut to size, I was able to install it at the end. The three main boards are plywood, but this was a free piece of laminate. I took the white bookcase from my craft area to use here in the master closet.
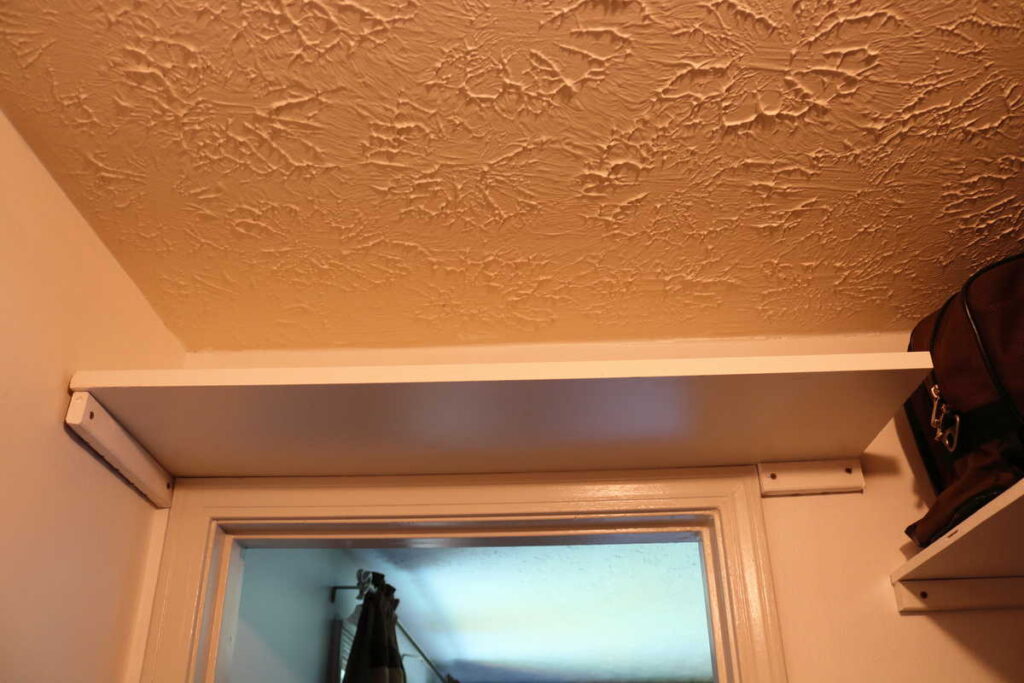
Shelf over Doorway
For the shelf over my doorway, I attached the cleats to the board with pocket holes. I placed the pocket holes against the wall so they wouldn’t show very much, and that is why I had to attach the cleats to the board first before putting it on the wall.
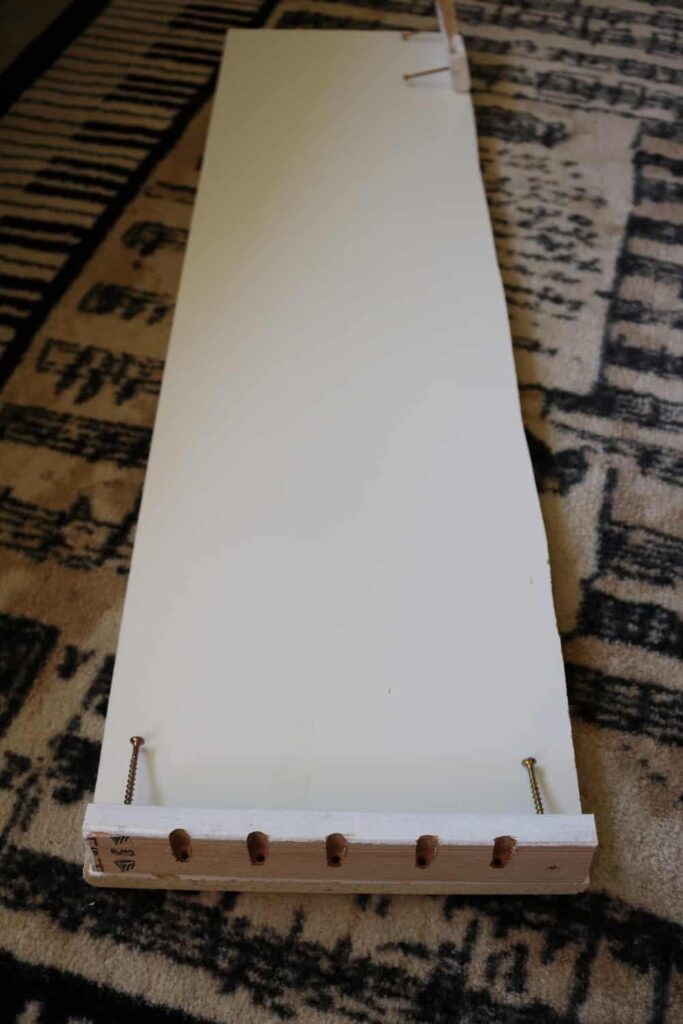
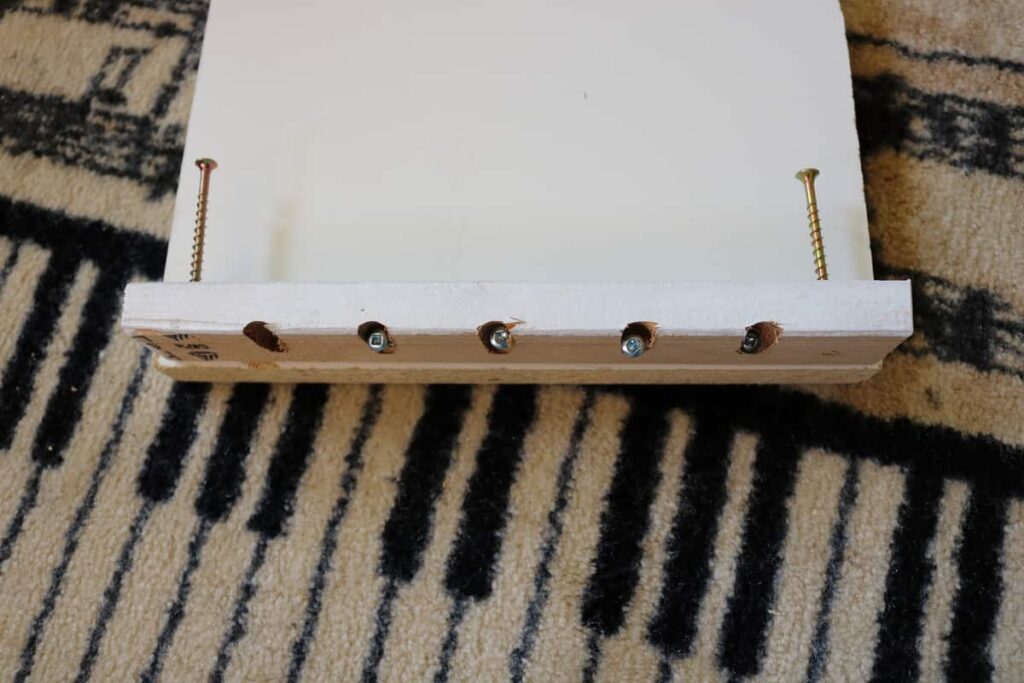
I had already previously placed the cleats on the wall and put anchors where the screws would go.

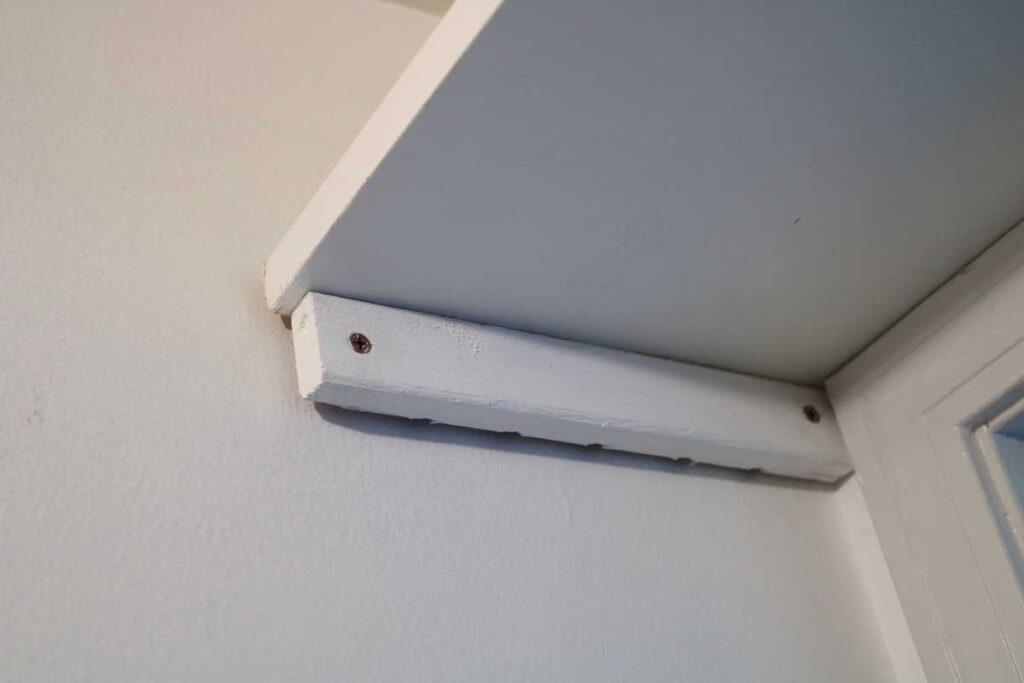
This shelf isn’t very big or deep, but it is big enough to hold hats or books or something. I want to use every bit of space the best that I can! This shelf is another piece of my free laminate.
Planter Hook
I bought this ten inch black iron planter hook from Ace Hardware. I installed it on the wall under my end shelf.
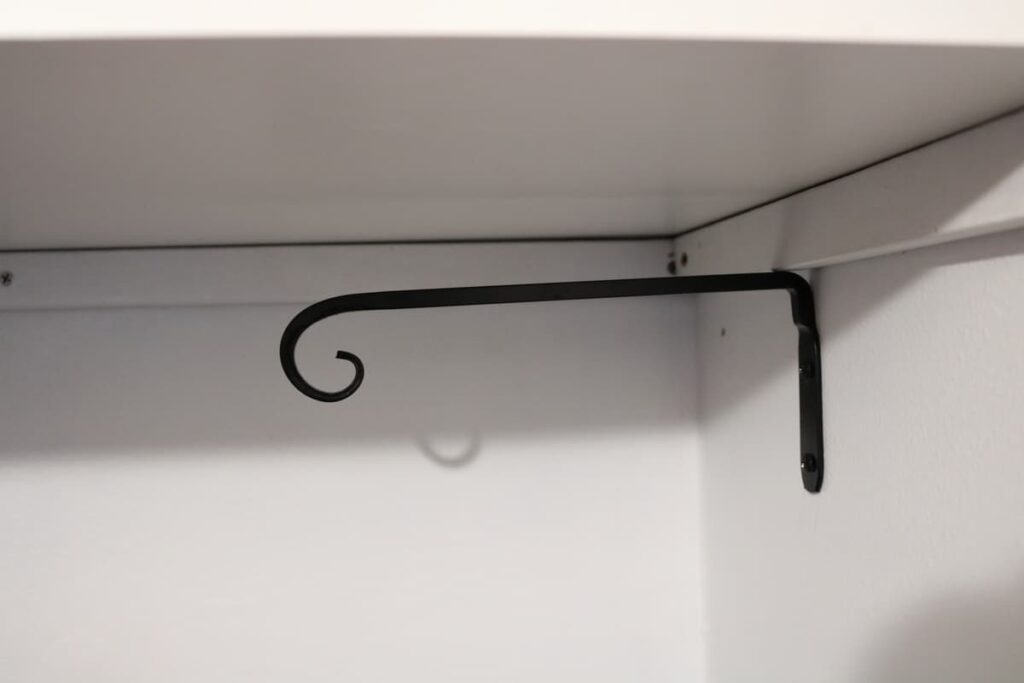
The hook perfectly holds and supports this heavy shoe organizer, that I obviously do not use for shoes. It holds sheets, scarves, paper towels, Kleenexes….
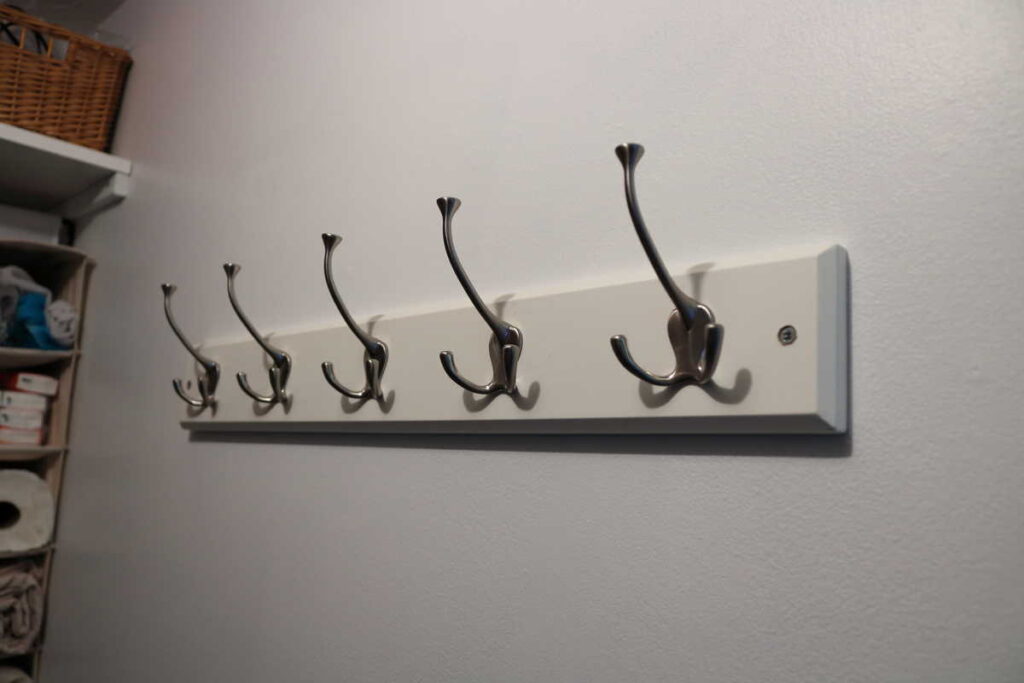
I also put this hook rack near where it had been before. I lowered it and moved it to the left.
There was one more thing I needed to install in the closet. It was a four light track fixture that I had purchased several months before I began the closet project. I will show you how I did that next time in Part 3: Installing the Light Fixture.

It looks great!
Thank you, Joanne!
Liberty, this is brilliant! What a difference those boards make. At first, I was unsure of their purpose, but the end result, it totally makes sense. And it’s super organized. Great work! Thanks for sharing and linking up with me.
Shelbee
http://www.shelbeeontheedge.com
I’m glad you like my closet, Shelbee. It really helps me see what clothes I have, too. Like, I could use some more long sleeved shirts….
Wow, what a project to tackle! Very impressive! You did an amazing job! Looks wonderful!
Thank you, Amy. It really is helpful, too, except I can’t find some of my warmer clothes from shuffling everything around….
This is a great idea. I like how you ran the pole all the way through. I also like that the pole is vinyl covered wood.
Thank you, Amy!
Good job, Liberty! You are far handier than I am, but you’ve given great directions here that will make the project doable for many people.
Thank you so much, Jean!