
Peel and Stick Vinyl Flooring (Part 5)
This post is the fifth in a series on the building of our new Downstairs Bathroom. You can see the rest of the posts here:
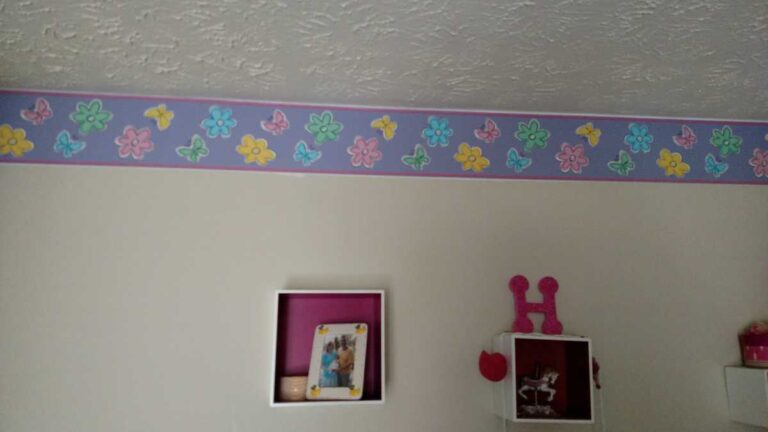
BEFORE
 http://www.b4andafters.com") (*This post may contain affiliate links. By purchasing anything from these links, I may receive a small commission at no cost to you. More information is available on my Disclosure page.)
(*This post may contain affiliate links. By purchasing anything from these links, I may receive a small commission at no cost to you. More information is available on my Disclosure page.)
In the picture above, you can see the crack in the cement floor running to the middle of the door. This crack is dark because it has some leveler on it to prepare the floor for the vinyl plank flooring. Back in the corner you can see the leveler around where the toilet will sit.
Before this project I didn’t know that a person should prime a concrete floor before laying down peel and stick vinyl tiles. The primer* helps the vinyl tiles to stick better, and decreases the chance of them peeling up or shifting around. The primer for this application is much different than a paint primer. It is very thin, and a little goes a long way. After it dries, the concrete floor has a shiny look to it. You can see the shininess in the picture below:
 http://www.b4andafters.com")
Here is the floor in the adjoining under stairs closet that holds mostly Christmas decorations.
 http://www.b4andafters.com")
I had picked out vinyl white and gray marble tile flooring planks for our downstairs bathroom. But then I laid one on our kitchen floor and tested it out. I decided that I didn’t care for the texture– it seemed like it might be hard to clean. Someone suggested we try a darker color– and I’m so glad we did! It complements the wallpaper and the rest of the room sooo nicely. I chose Walnut Ember Gray 6″ x 36″ vinyl planks from my local home improvement store.
We had also thought about laying the vinyl floor tile at a diagonal angle, leading from the door to the shower. But after realizing how that would look with the lines in the wallpaper and the lines in the ceiling, we decided to have all the lines going in the same direction instead.
 http://www.b4andafters.com")
 http://www.b4andafters.com")
We decided to run the bathroom flooring into the adjoining closet under the stairs. This would eliminate having to edge around the flooring where the closet meets the bathroom, and it allows for storage tubs to slide in and out of the closet easily. We are glad we did it this way– If I ever decided to do something different with the closet (like a hideaway reading nook or something) other than use it for a closet, then it already has the flooring.
 http://www.b4andafters.com")
This picture is from back in the empty closet:
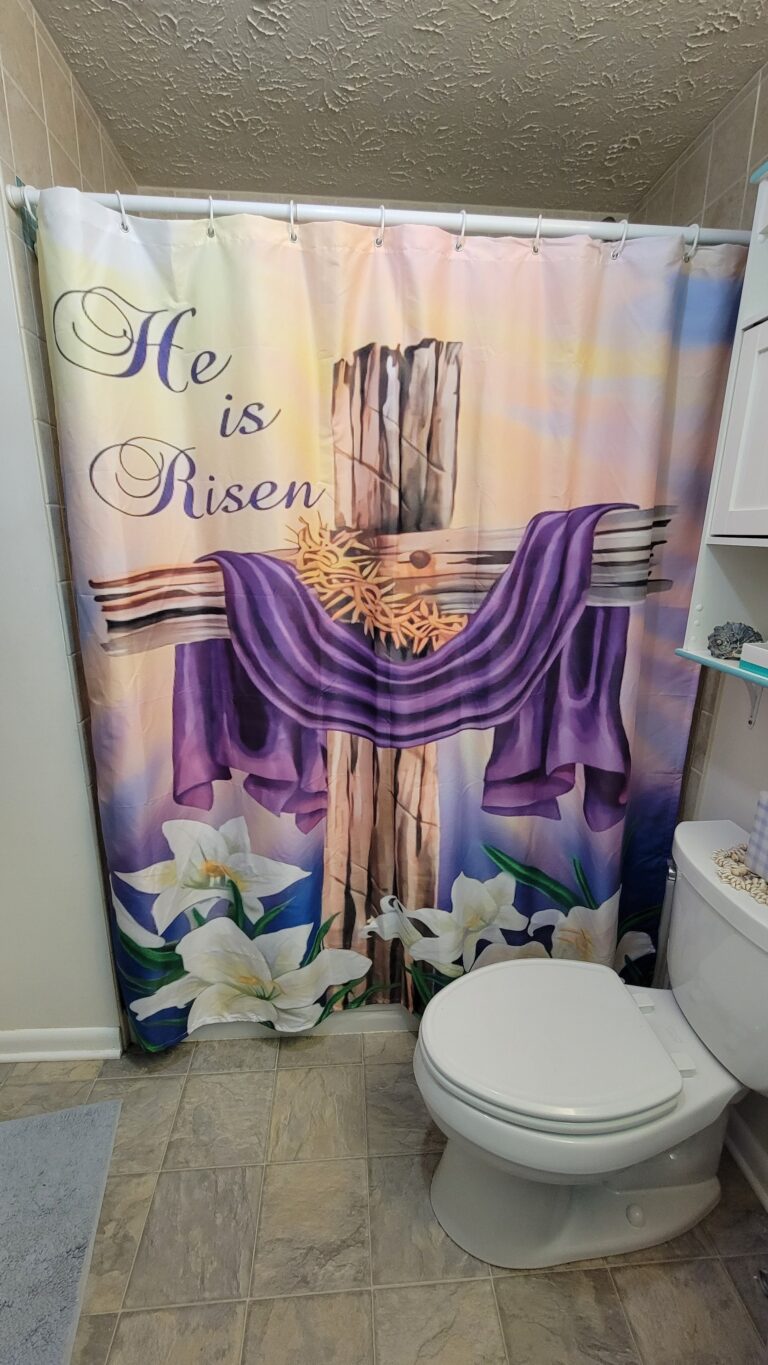
AFTER!!
 http://www.b4andafters.com")
The floor is smooth and pleasant to walk on. Since it is vinyl, it does scratch rather easily– but my rugs help with that.
 http://www.b4andafters.com")
Overall, we are so pleased with our bathroom floor. It completes the look of our entire bathroom so nicely– I can’t wait to show you the rest of it!
 http://www.b4andafters.com")


Your floor turned out so well. I did some of the square peel and stick tiles and like how it turned out. I thought about doing the wood vinyl planks, but opted for the square tiles. I think that I would have been happy with either, based on how yours turned out.
This is the floor that just got flooded….and it seems to be fine! I’m relieved. I just used some square tiles for a tabletop. It is a bit hard for me to cut straight, even with a straight edge. I guess clamping it down would help, but I didn’t think of it.
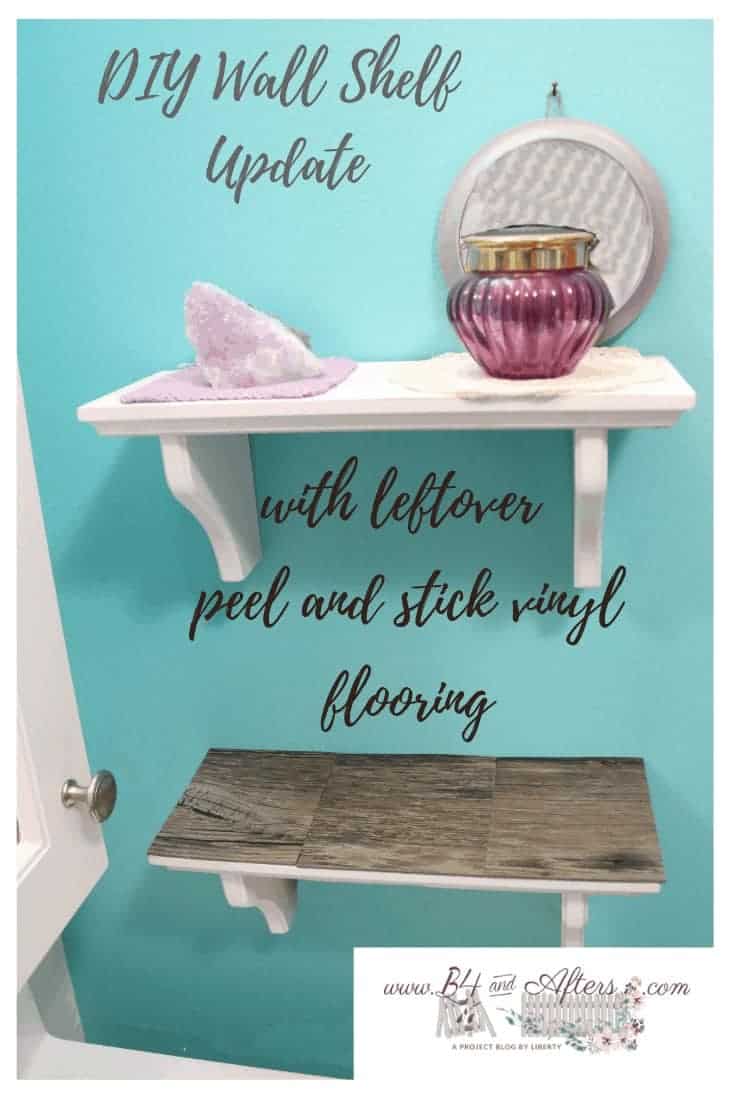
Did you see where I used the leftover plank tiles for a shelf? Do you have any leftovers?