
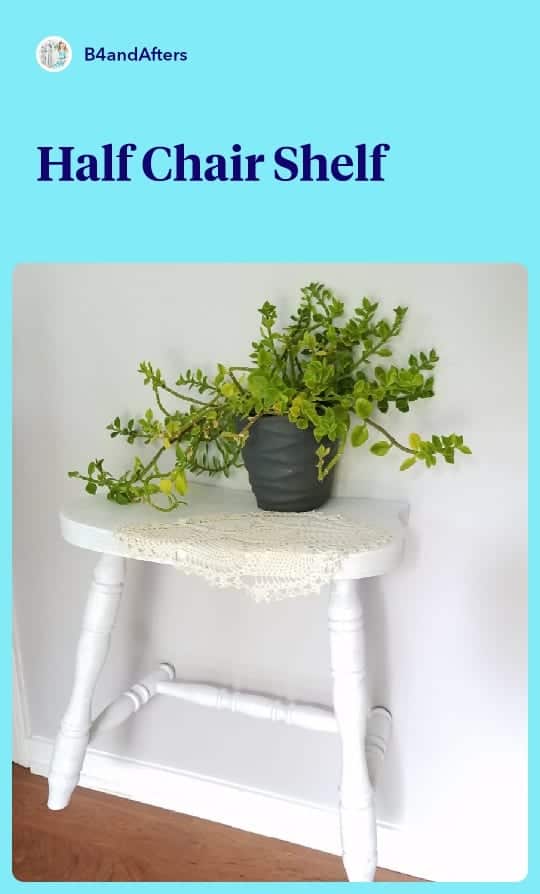
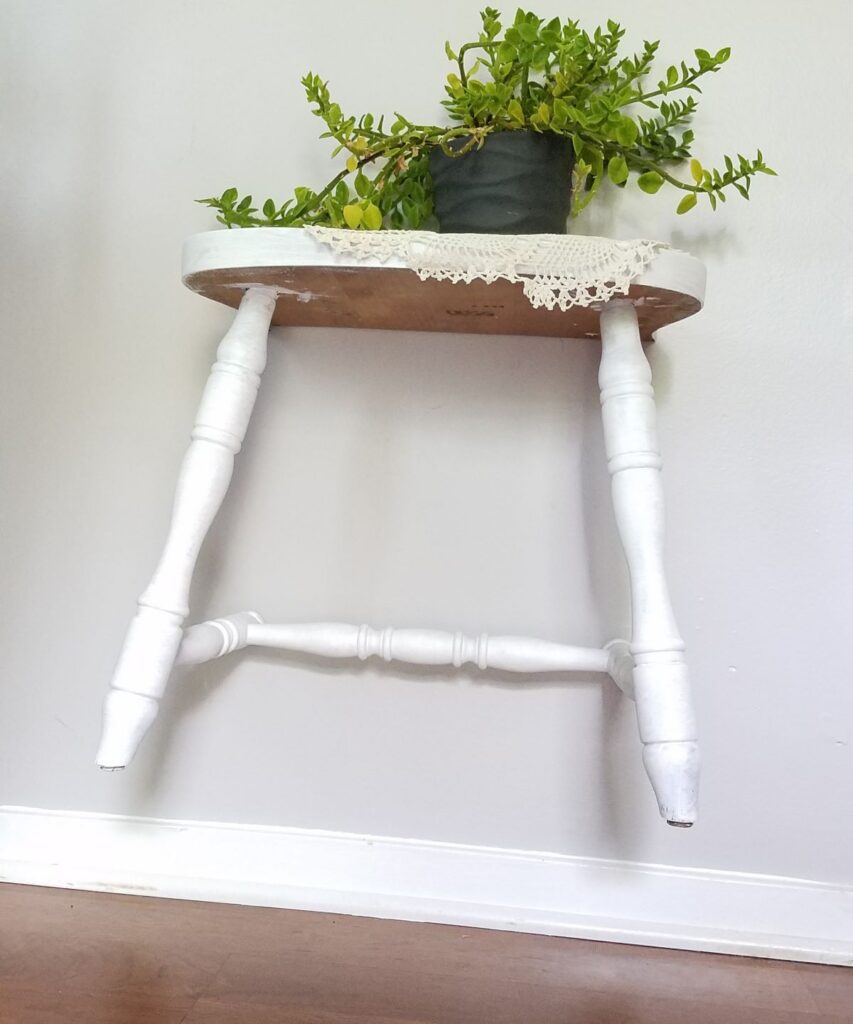
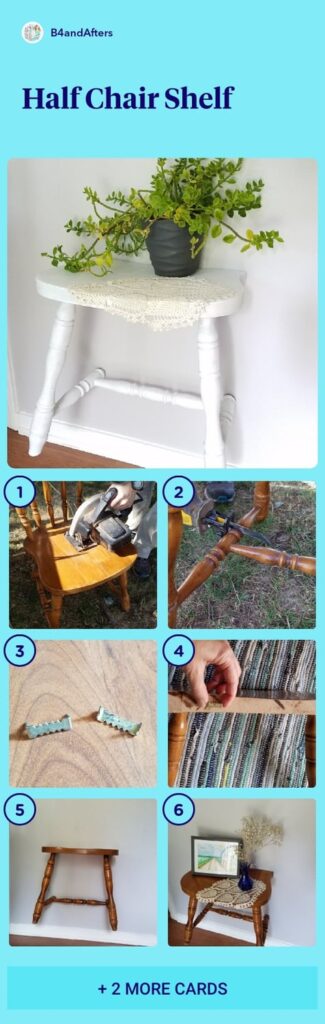
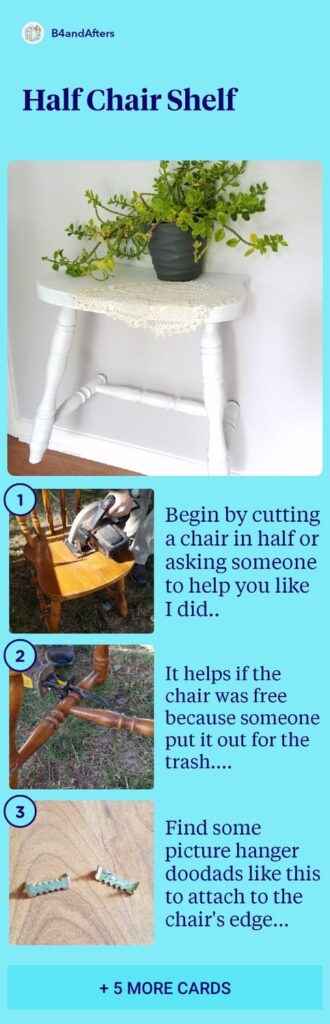
Wait Till you see this Half Chair Shelf
Last summer I was doing a yardsale with a friend when a potential customer stopped by looking for wooden chairs. She wanted to make them into “Half Chair Shelves” to sell on Facebook Marketplace. We didn’t have any, but she showed me pictures of one she had made. Later I looked up more pictures…. and of course I was just itching to try making a half chair shelf of my own!

One of my favorite things is taking something that would normally go in the trash, and remaking it into something useful. In my neighborhood, you can find lots of chairs that people put out for the trash. [A few weeks ago I missed out on some Windsor chairs, because someone beat me to them while I was switching from my car to our truck to pick them up!]
Another blogger that I enjoy who remakes things is Salvaged Living. You might like her projects, too!
How to Upcycle a Chair
Here’s the video in case you’d rather watch it instead.
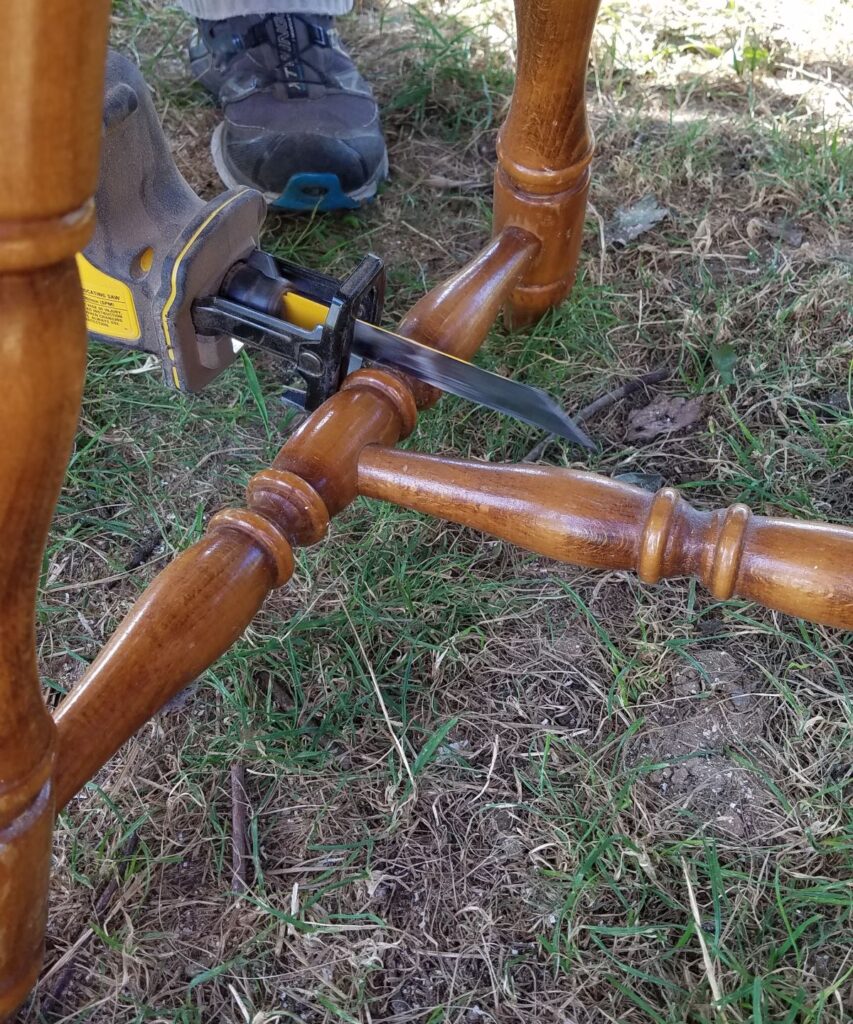
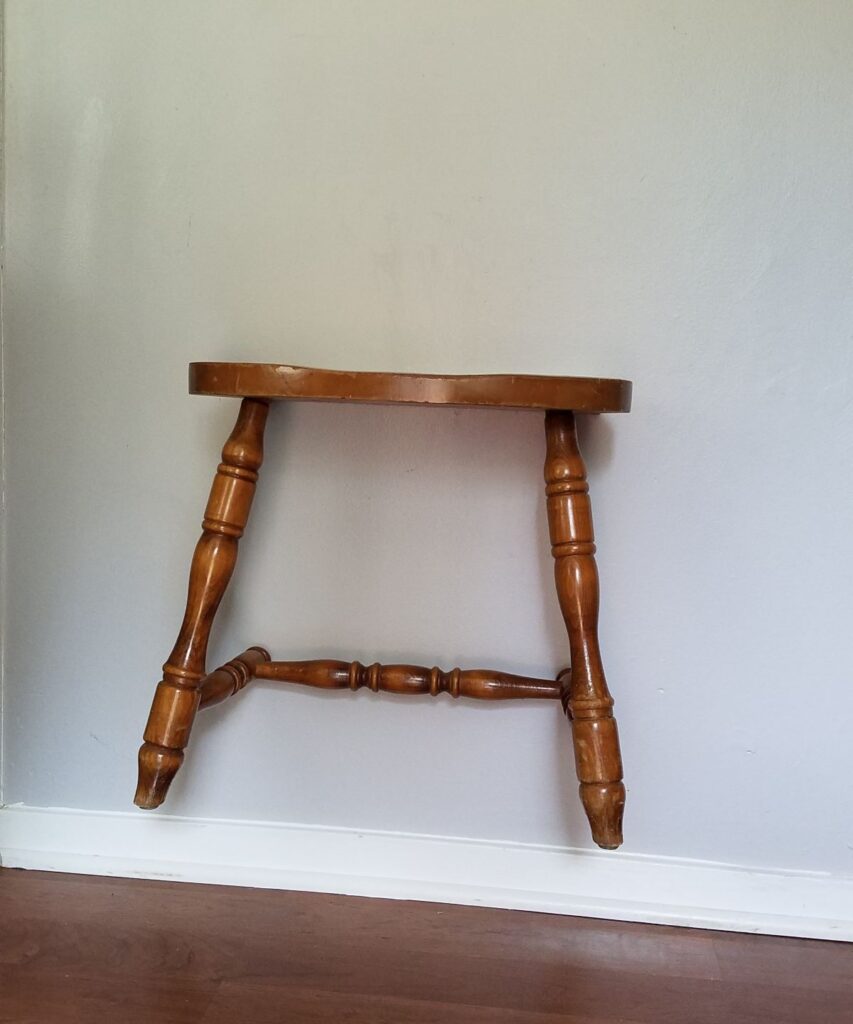
Begin by cutting a chair in half or asking someone to help you like I did..
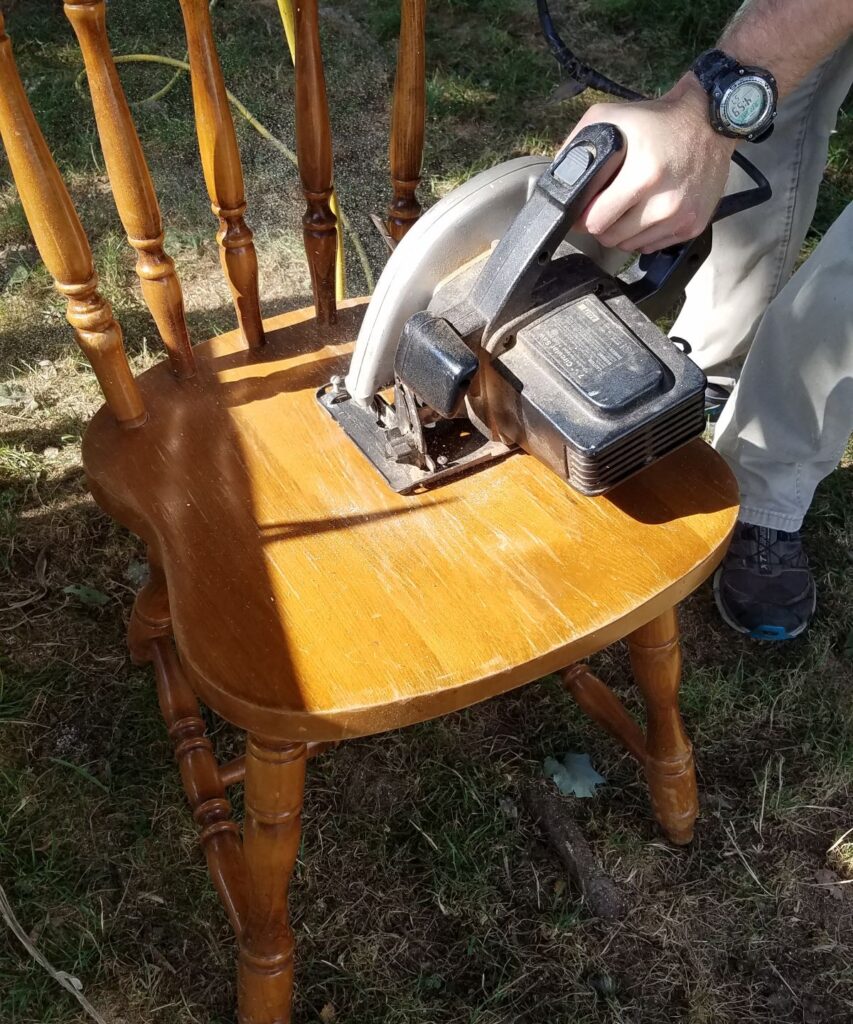
It helps if the chair was free because someone put it out for the trash….
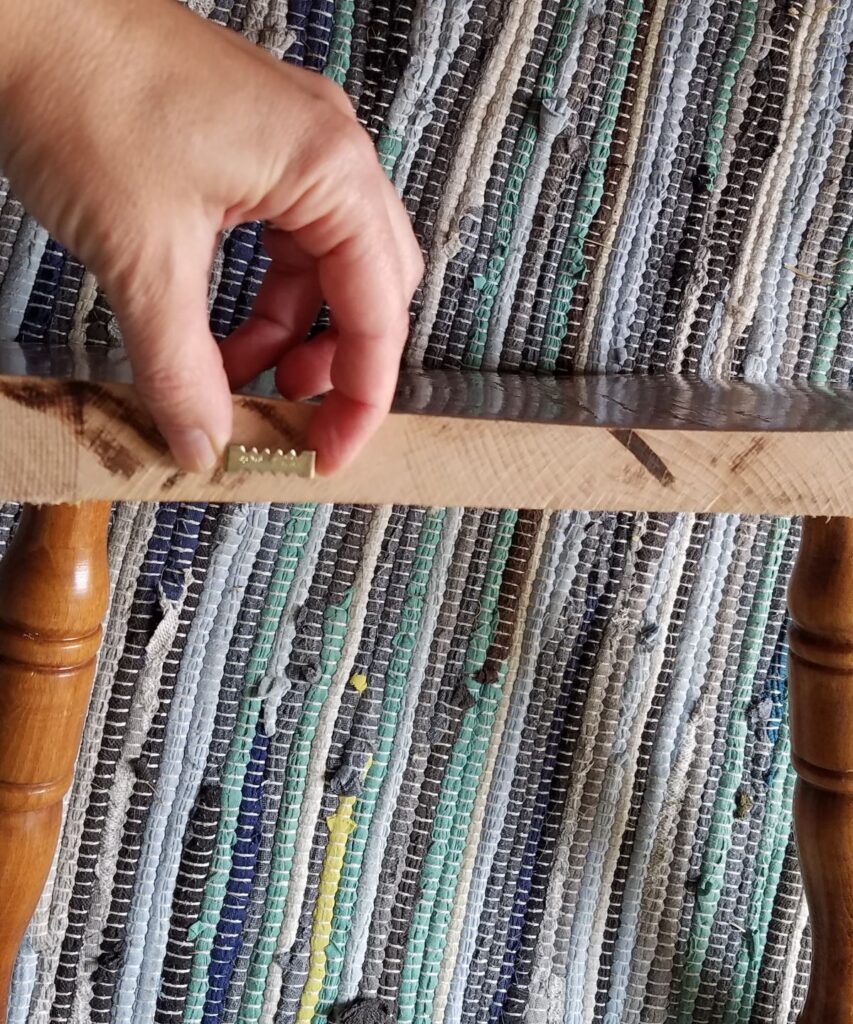
Find some picture hanger doodads like this to attach to the chair’s edge…
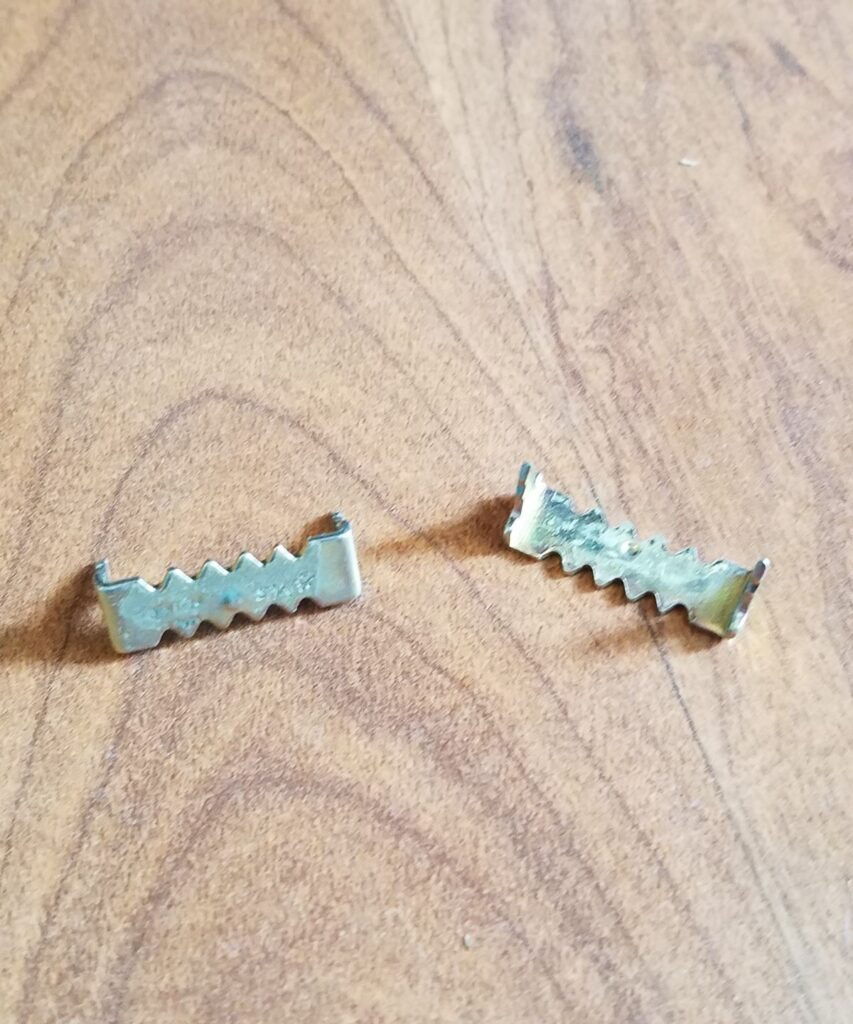
Hammer them into the sawn/unfinished edge.
Put two nails into the wall to hang your new shelf on!
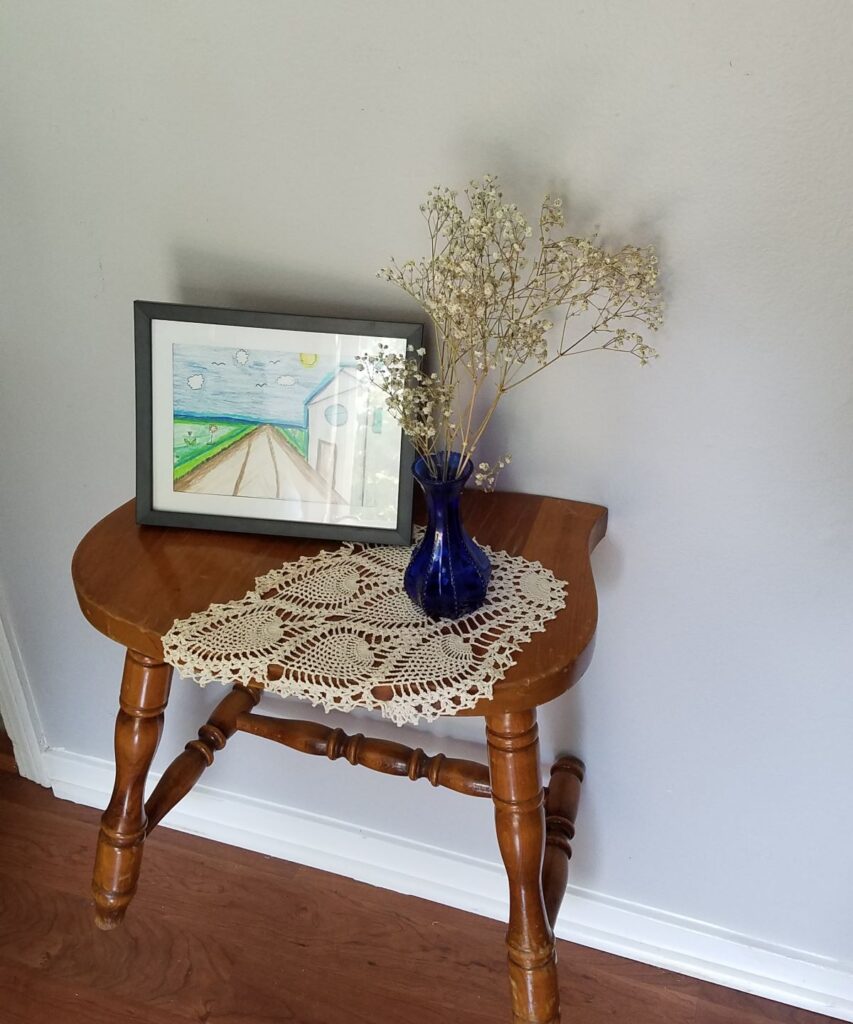
Style it…
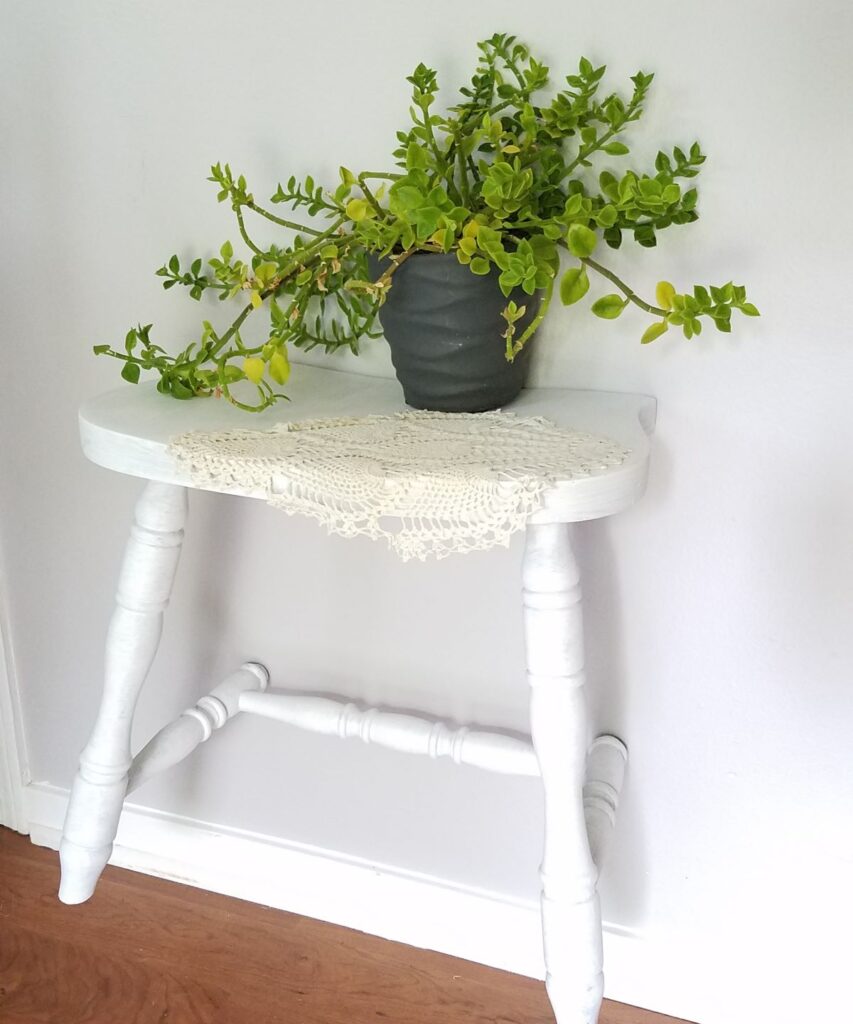
If you want to paint it, you can. I recommend using Black Dog Salvage Furniture Paint.
Smile really big because you have half a chair hanging from the wall!
How to Make a Half Chair Shelf
I had sooo much fun creating this half chair shelf. It was sooo easy, too! You could use a shelf like this in your bathroom, home office, or anywhere that you need an extra shelf.
Those hanging doo dads? I found out their name. They are called a nail-less sawtooth hanger. I bought a pack of 100 of them for a very reasonable price, and I have been using them for so many things– to hang pictures on the wall, to hang my daughter’s many canvas art projects…. I really don’t know how I managed without them before now!
At first I used a glossy finish when I painted the chair. Then I realized that I would rather have a flat finish, so for the second coat I used a flat finish. The glossy coat hadn’t really covered well over the chair’s glossy finish, and I hadn’t sanded it, so the flat finish helped with the coverage. It also gave more of a vintage feel. That’s the great thing about a project like this– when you are just making something for fun, you can experiment. “Experience is the best teacher” or rather, Experiments are the best teachers, as far as DIY projects are concerned!


Really cute idea Liberty. Too bad you missed out on the Windsor chairs.
Cindy
Oh I know! But my husband was happy not to have one more thing around here…..