How I Installed a Removable Pulley Clothesline All By Myself
This post will show you how to easily install a removable pulley clothesline. A list of supplies is included.
Do you hang your clothes to dry outside in the summer time? I like to when I can. I think clothes and towels last longer when they are not put in the dryer. You know all that lint that you clean out of your dryer? Well, that is your fabric being thrown away, little by little.
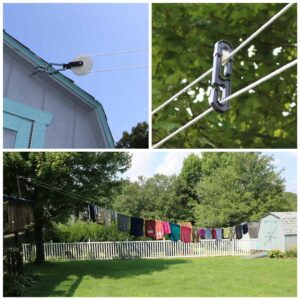
I live near Amish country. Frequently I have seen long lines of clean clothes on a pulley, hanging out to dry over a dirty, muddy farmyard. The lines are strung very high a lot of the time– straight from the house to an outbuilding or barn of some kind.
(*This post may contain affiliate links. By purchasing anything from these links, I may receive a small commission at no cost to you. More information is available on my Disclosure page.)
When we got our new to us house, I wanted a clothesline installed. At first I thought that I wanted an umbrella type, but I soon thought of how I could install my own pulley clothesline from my deck to my shed! I decided to make it removable– one of the reasons is so that we can pull our camper in and out of the yard. I set out to my local home improvement store to purchase my supplies.
I bought:
- 2 pulleys
- clothesline rope
- 2 hitch rings with screw eye
- 2 spring links
- a big bolt to attach a board to my deck
- 4 clothesline separators
Be sure to buy everything with enough weight capacity for more than you think you will need. Remember that when clothes are wet they are pretty heavy.
I attached an extra board to my deck with a big bolt (drilling a hole first, for the bolt). This board’s purpose was to place the clothesline pulley at the right height so that I could easily hang clothes on it. If you are thinking about where you could install a clothesline like this– remember that it needs to be high enough off of the ground so that sheets and things will not drag. Keep in mind that the rope will stretch down. Your clothesline also needs to be where you can reach it easily enough to hang the clothes and take them off. I think the Amish might hang theirs out an upstairs window, or off of a front or back porch. (The little square block of wood to the left of the board keeps the board upright when the weight of the clothes tries to make it lean over.)
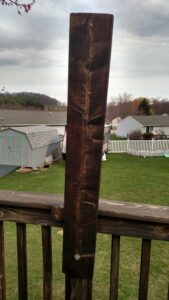
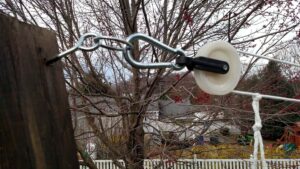
I attached one hitch ring to my shed, and the other one to the board on my deck.
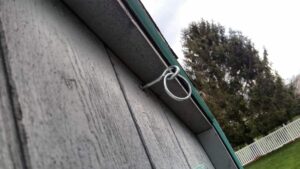
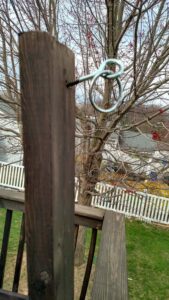
I threaded the rope through the pulleys, and then tied a knot. Every so often the rope stretches, and I have to tie the knot again to tighten the rope. Then I used a spring link to attach the pulley to the hitch ring at each end. When I want to take off my removable clothesline (as I do when winter comes or when moving the camper through our yard), I just unclick the spring link from the hitch ring on each end. It could not be any easier!!!
When I hang clothes out, I start with the knot on the rope closest to me, and then it moves out to the shed as I hang the clothes. Then I just take them off in reverse, starting with the clothes closest to me on the deck. As you can see, the clothes are hung on the part of the rope nearest the ground.
There is one more thing you need, and that is a little gadget called a clothesline separator. This holds both ropes together, so that the weight of the clothes or towels does not stretch the bottom rope way down. You will need several of them– how many depends on low long your rope is.
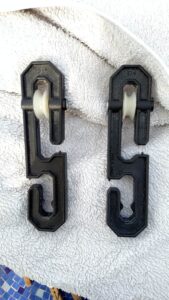
You attach them at regular intervals in between clothes.
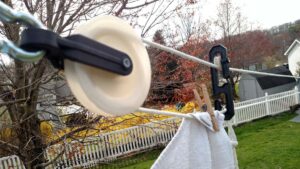
AFTER!!
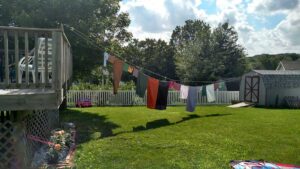
One more thing– you will want to use heavy duty clothespins. The best place to find them is a yard sale, because “they don’t make them like they used to” — as the saying goes. But if you are willing to pay $$$, you can find the good ones online by clicking here.


Thank you for sharing at #ThursdayFavoriteThings. Pinned and shared.
Oh well done! I do love to hang clothes outside in the summer. Thank you for sharing this really helpful tutorial, and for your support of the Hearth and Soul Link Party. Hope you are having a lovely weekend!
I’m glad you like it, April! Hearth and Soul is one of my favorite parties.