Carousel Horse Birthday Cake
Introduction
My daughter loves horses and princesses. Last year’s birthday cake was a Castle Cake. The year before that included a horse cupcake cake. So this year I had to come up with a different horse cake. Here’s what I did. I hope you like it!
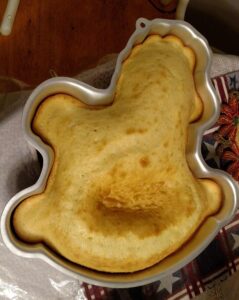
Before
(*This post may contain affiliate links. By purchasing anything from these links, I may receive a small commission at no cost to you. More information is available on my Disclosure page.)
Supplies
This is one of my favorite cakes that I have made. It was not as hard as it might look. I spent a lot of time gathering supplies. This is what I gathered:
- a rocking horse cake pan from a thrift store
- a carousel music box from a consignment store
- edible pink glitter from a local cake supply store
- flower candles
- horse shaped chocolate molds
- pink chocolate melting wafers
- boxed cake mix
- a ton of homemade frosting
Horse Shaped Chocolate Molds
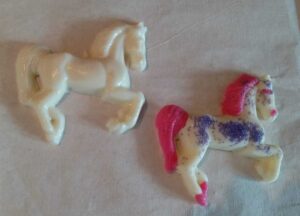
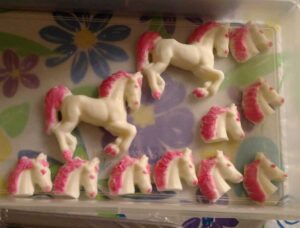
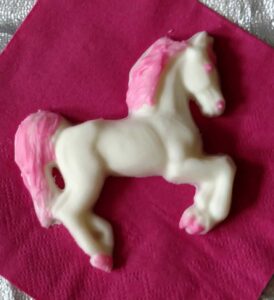
It was fun to make these horses with chocolate molds. I used purple sugar on one of the horses below. I used the pink melting wafers to color the mane, tail, eye, nostril, and hooves– so that the horses would match the cake. They look so much better than the plain white horse, yes? I used the horse head cameos to decorate around the base of the Music Box part of the cake. I used the whole horses as party favors for the guests.
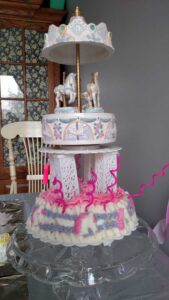
Carousel Music Box Accent Cake
I like incorporating part of our children’s gift into the cake. For example, if they like a certain toy, then I can use it as a cake topper. In this case, I wanted to give our daughter a carousel music box. I finally found one that was acceptable, after ordering and returning a different one. I added pink glitter (not edible) to the music box with Mod Podge.
Carousel Horse Cake
Now for the grand carousel horse cake! I used a rocking horse pan and a boxed cake mix. I don’t mind buying box cake mixes. However, I cannot stand to use store bought frosting; so I always make that. It was easy to cut off the rocking part of the horse.
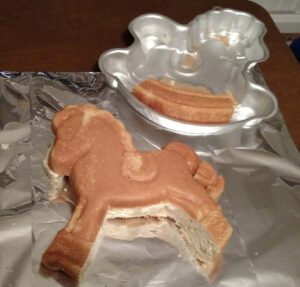
The horse’s tail was not as long as I wanted it to be, so I used some of the rocking part to lengthen the tail.
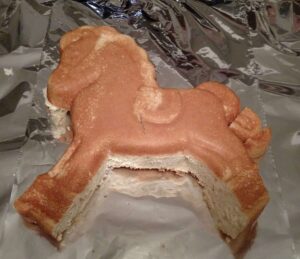
I had baked some cupcakes and flat cakes. I cut strips for the pole, and used cupcakes (minus their wrappers) for the ends of the pole.
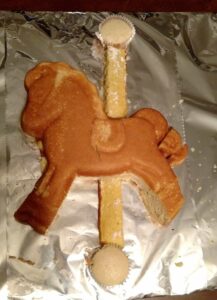
I stuffed extra pieces of cake under hollow parts around the tail and maybe the nose and head. Then I frosted the edges to hold it all together.
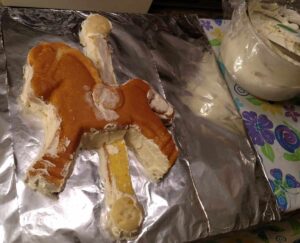
Because of the indentations, it was easy to see where the placement of bridle, saddle, eye, and mane should go. I outlined them with white frosting.
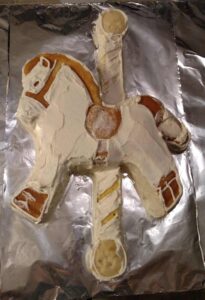
And now for the fun part! I had my colors all ready to use.
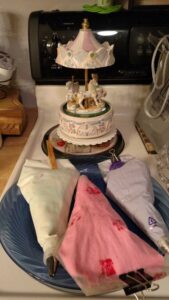
First, I used purple with a star tip for the bridle, saddle, eye, and nostril. I was amazed at how easy it was– just like filling in the lines in a coloring book!
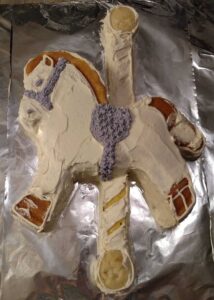
Then I used a very large star tip for the mane, tail, and hooves. It is a plastic tip that I saved from a churro making kit.
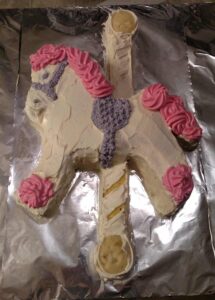
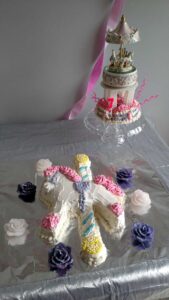
Next came the blue and yellow for the pole. Then I outlined the edge all around the entire cake with white. Then I added the mini white pearls to the yellow, and sugar to the blue. Last of all was the edible pink glitter over the horse– can you see it?!
The Result
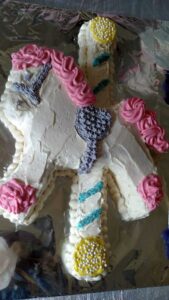
One of the challenges of making a cake like this is fitting it into the refrigerator, and hiding it until the next day.
AFTER!!
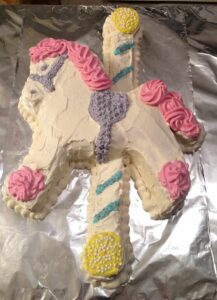
I did not want to stick candles into the cake, so the floating flower candles worked out perfectly. I had added non-edible glitter to the candles, too.
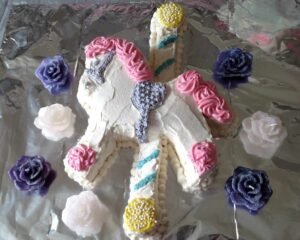
Here are both cakes together.
In another post, I will show you what activity the birthday guests participated in at this party! Sign up below to receive new posts to your email so that you won’t miss it…


You have the cutest molds for sweet treats. I need to up my game!
Awh, this is so sweet, what a clever way to reuse the rocking horse pan for a totally different cake.
Thank you! I’m glad that you like it!
Your cake turned out so cute. What an accomplishment. Thank you for sharing on Over the Moon.
I’m happy that you like it. You’re welcome!