Painting Faux Molding
Before

(*This post may contain affiliate links. By purchasing anything from these links, I may receive a small commission at no cost to you. More information is available on my Disclosure page.)
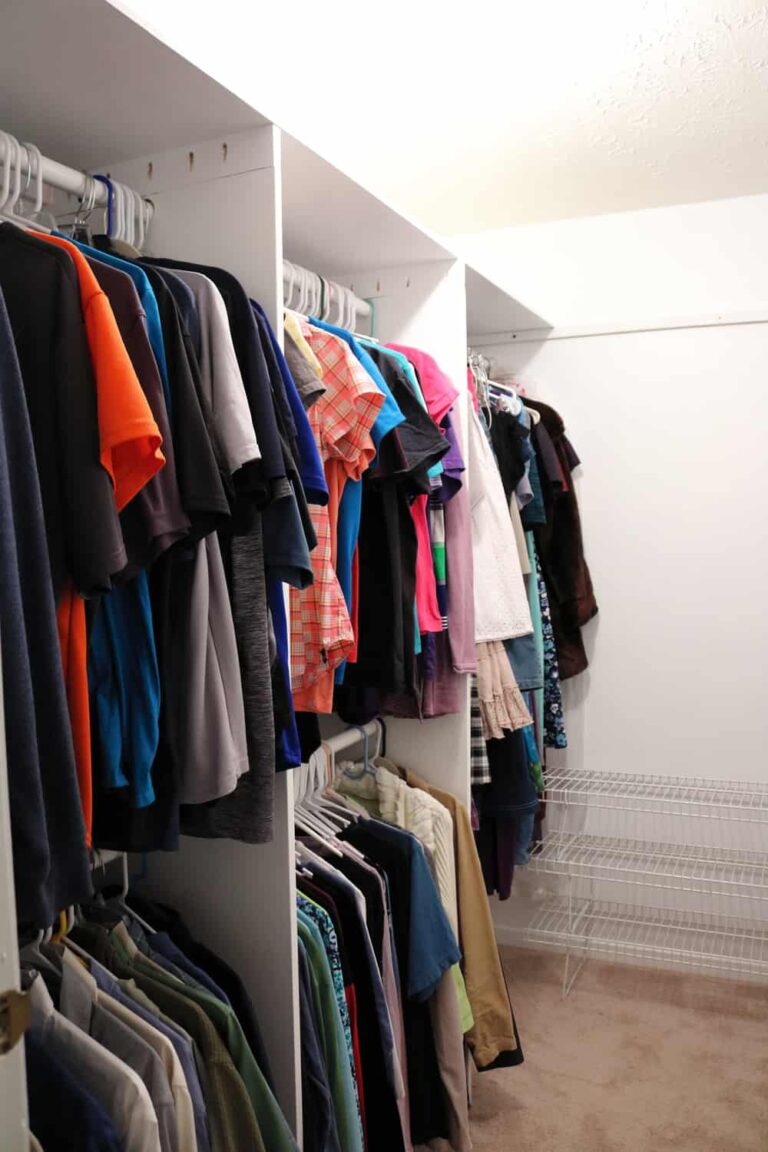
At our condo we did not have molding around any of the doorways or closets. When I started thinking about it, I realized that it would be rather impossible to do because of the placement of the doors on the wall. Look at the Before picture, above. There is not any room on the right to add any molding! And somehow I got the idea that I could Paint molding on! And the paint could turn to the side, like real molding could not. See what I mean? Here is my green frog tape in the middle of the process:

I emailed Lisa Quinn, the hostess of a show from the Live Well Network. She was kind enough to reply with the answer to my question of How to paint faux molding! She said that I would need three colors, and to apply them like this:
- The first trim color about one inch wide
- The second color one shade darker than the trim color about 3 inches wide, and
- Then the third color (outer edge) three shades darker than the trim color and only 1/4 inch wide.
That would have been some very wide trim in total, so I cut down the widths to my liking-
- the inner trim color I made about 1/2 inch wide
- the next only 2 inches or less wide, and
- then the outer shade I kept at a quarter inch. (Scroll down to the end to see a closeup.)

As you can see, it took a lot of tape. I reused the tape, which helped a lot. The green frog tape* doesn’t bleed as much as the regular blue tape can. I painted the faux molding around our kitchen/dining room doorway and around 2 closets. Both closets were like the one above, where there was not enough room for real molding. I really like the results, don’t you?
AFTER!

And here is a close up of the finished molding. You can see the three colors. This project took a lot of time, but did not cost much beside the small amount of paint and the frog tape. Later on when we repainted the dining room, added chair railing, and crown molding; I kept my painted faux molding.

SaveSave