Flower Wallpaper Border
I found some pretty wallpaper border at Goodwill. I bought it, thinking maybe I would use it for some sort of crafts. Maybe I would use it in scrapbooking. It was pretty, and I am attracted to things for their color. So it didn’t cost much to add it to my craft supply.
My daughter’s bedroom had not been painted since we had moved in. She wanted the walls to be pink. I thought maybe instead of painting her room, I could just put up the wallpaper border and that would be good enough. I looked at the wallpaper border, and measured around her room. Hmmm– I had just enough, by accident.
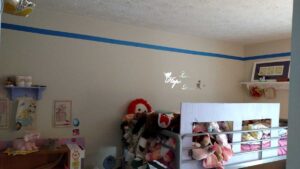
I measured the border, added just a little extra, and taped around her room.
Before
(*This post may contain affiliate links. By purchasing anything from these links, I may receive a small commission at no cost to you. More information is available on my Disclosure page.)
For some reason I feel like I did this project backwards. For some reason, I decided to put the wallpaper border up first, and then paint the walls. I don’t remember why I did this; I think it was because I wasn’t exactly sure that I was going to tackle painting the walls. But I needed to use wallpaper primer under the border, and not on the walls, so it was going to be taped either way….
I found out about Zinsser Wallpaper Primer* just before I did this project, and I’m so glad that I did. It made the border stick with just the right amount of grip while it was wet. After a year, it hasn’t peeled even a tiny bit. And when the time comes down the road to take the border off, I think the primer will hold up to its claim of making the border easy to remove.
In this picture you can see the white primer, and the unpainted part to the right. The primer is not a flat paint– it is kind of shiny, with what seems like a very small amount of fine sand in it (be sure to stir it well).
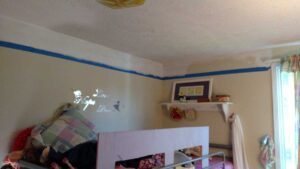
And here is the same wall with the blue tape pulled off, partially wallpapered.

I did not have much extra wallpaper, so I measured and remeasured. I measured very carefully, and managed to match the pattern in each of the corners. I overlapped the corners by a quarter to half an inch to the adjoining wall– that was so much easier and better than trying to measure it up perfectly to the corners.
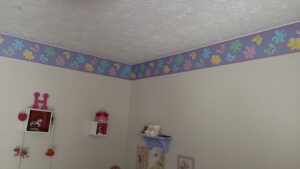
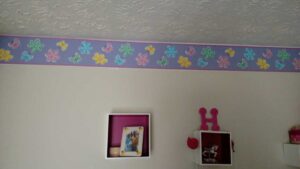
So I got the border put up all around the walls– up to this point above the window. And it took awhile to figure out how to join the two sides together so that the patterns matched. Because of the design, I couldn’t just cut a piece that would fit in that empty spot– Do you see the partial green flower on the right edge? That was the problem– I didn’t want a cut off flower in the pattern. (I didn’t realize that my curtain was going to disguise most of that problem, but even so– I wanted it to look its best!)
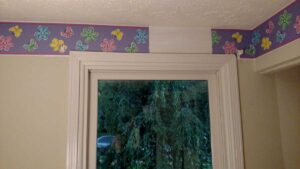
So I cut a zig-zag edge to cover that green flower, and to go around the pink flower under it. It matched the pattern almost perfectly! Below is the piece I cut to fill in that gap above the window:
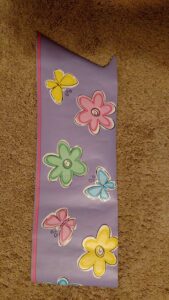
Your only hint of the joining patterns is the repeat of the pink flower and yellow butterfly two times, to the right. And that ends up being completely disguised by the curtain later on.
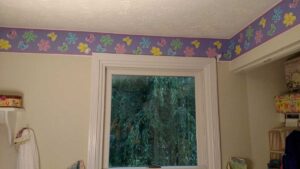
AFTER!!


