Downstairs Bathroom Part 2
This post is the second in a series on the building of our Downstairs Bathroom.
You can find the first post here.
The picture below shows the view looking towards the basement stairs. The bathroom door will be near the stairs, perpendicular to them.
Before
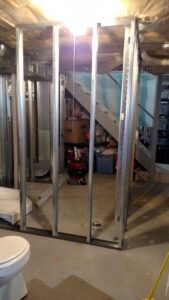
You can see the downstairs bathroom taking shape as the walls go up. The view below is facing the wall next to the water heater.
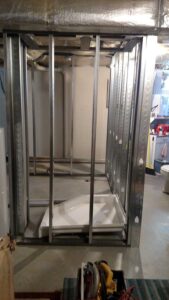
Here is the outside drywall.
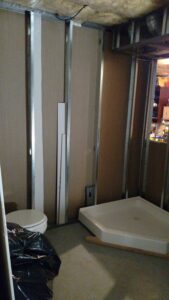
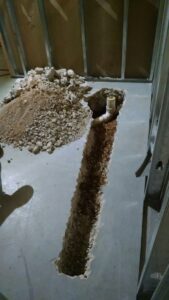
You may remember that we had a rough-in for the sink and toilet, but nothing for the shower. That meant the concrete had to be broken up, the shower drain pipe laid, and then concrete poured back over it all.
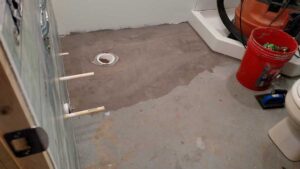
Here is a picture of the concrete poured back in. It shows the toilet drain to the left, and the new shower drain to the right.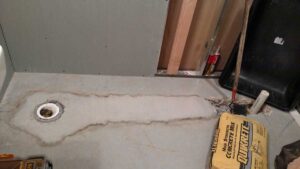
The shower basin was put in, and the floor was leveled so that the toilet would sit level. You can see that in the picture below. There are sooo many details involved in a construction project. We are very glad that our contractor paid attention to all those details, giving us a fantastic result. I can’t wait to finish this series so that you can see the great bathroom that we now have!
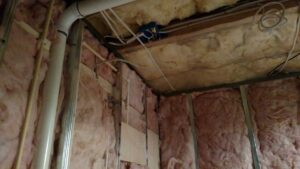
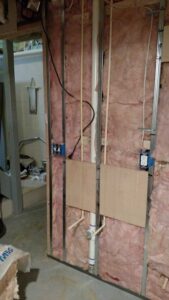
The bathroom stayed in this stage for a long time as the electricity was being run; and also all the water pipes for the sink, toilet, and shower were being put in. After the water pipes were installed, the insulation was put into the walls. Here is the view toward the ceiling…
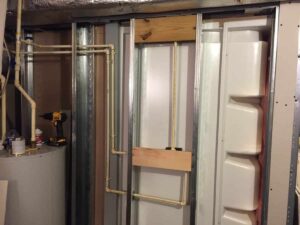
And here is the view behind the shower surround showing all of those pipes:
Before…. to be continued….
To read Part 3, go here.
For Part 4, go here.

