
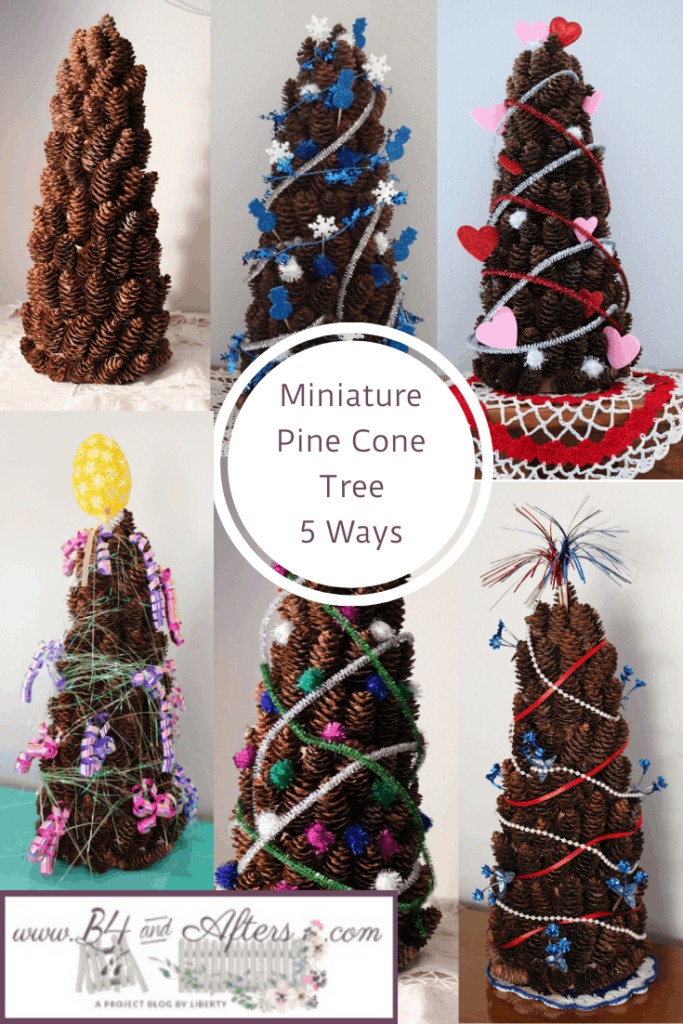
Miniature Pine Cone Tree
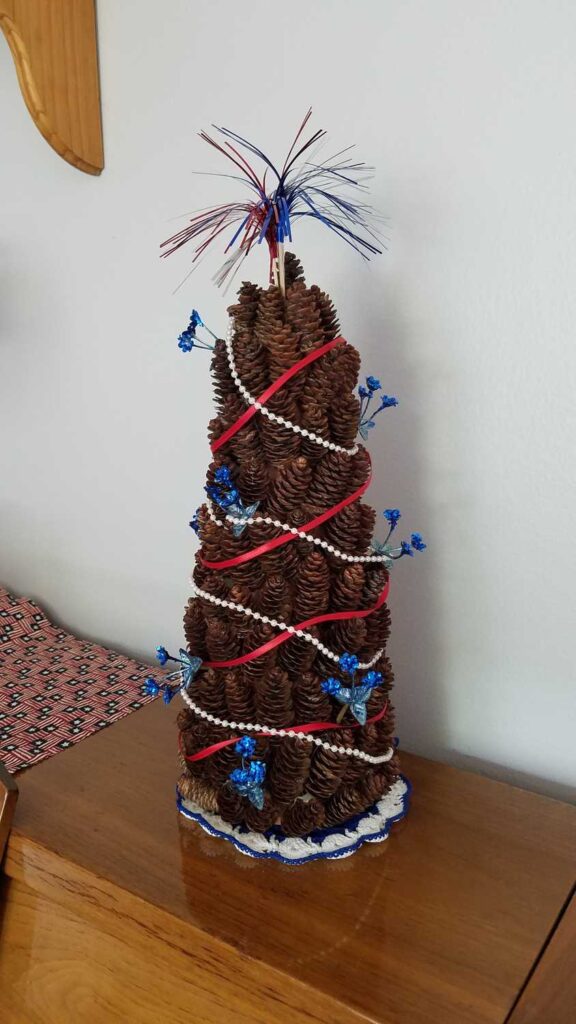
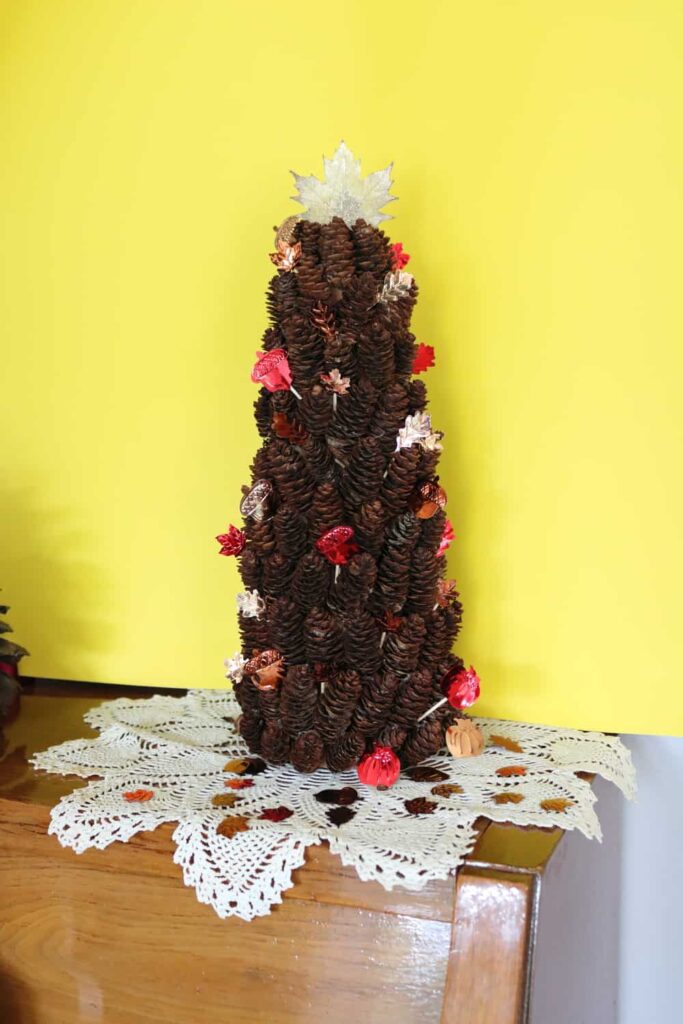
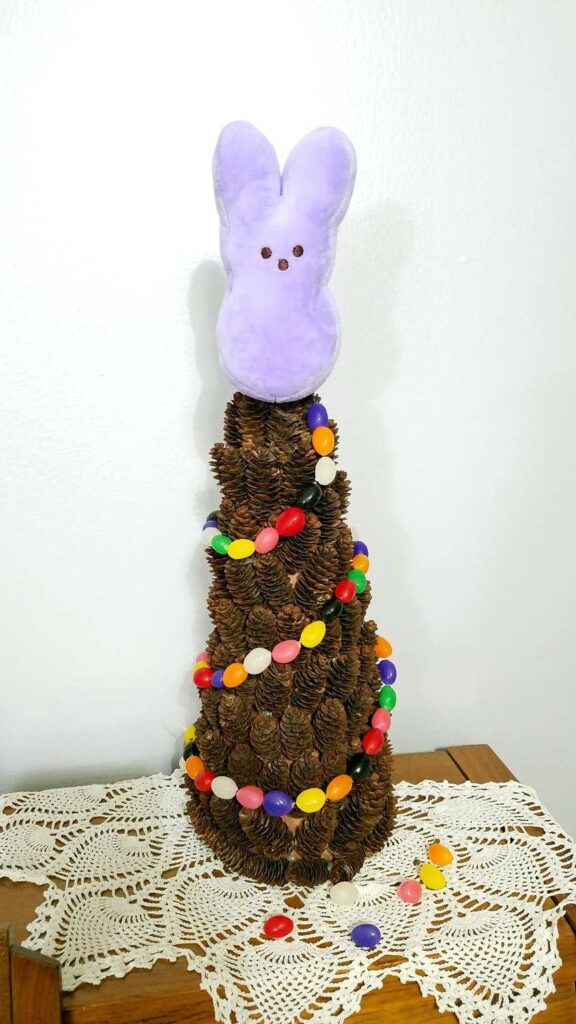
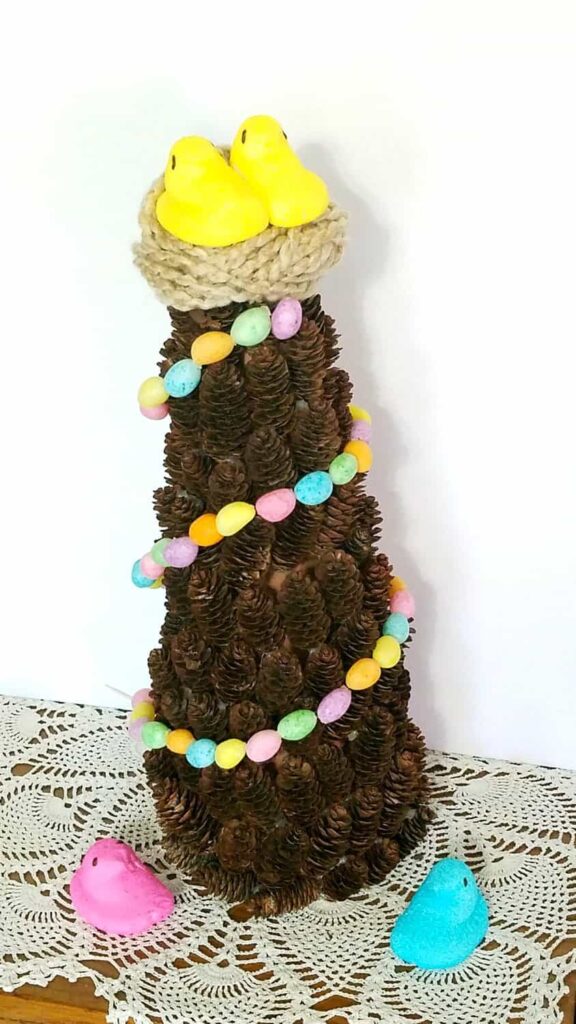
Update: I have decorated this little tree many ways since I first created it. To see it decorated for different seasons and occasions, Click Here.

My husband had helped cut down an evergreen tree for our neighbor. When we cleaned it up, there were tons of little pine cones on the ground. I collected them, washed them, and let them dry. I had a styrofoam cone on hand. I decided to add my pine cones to the cone : ).
Pinecones Before

(*This post may contain affiliate links. By purchasing anything from these links, I may receive a small commission at no cost to you. More information is available on my Disclosure page.)
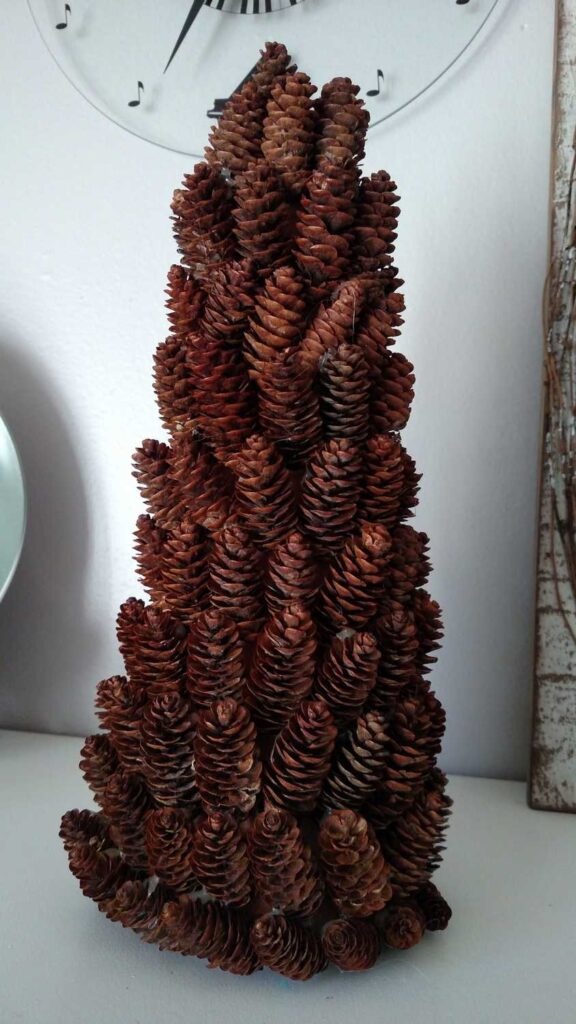
This particular tree’s pine cones were on the small side, at about two inches long.

First, I taped brown construction paper to the white styrofoam cone, in case the pine cones did not cover the entire surface. I used a hot glue gun to attach the pine cones. Did you know that you can buy a “low heat” hot glue gun? I don’t know how long they have been available, but that is what I bought when the one I had fell apart. I really like not burning my fingers on super hot glue.
I started at the top, and worked my way down the cone. It took a bit of time, but it was not hard to do.

And here is the finished cone! It is about fifteen inches tall.

I really like how it turned out. I thought about adding some glitter, but I decided that I like it how it is.

Here is another picture in a more natural light setting. I think I’m going to use this “pinecone cone” among some low light live plants above the fridge in my kitchen. It has been hard to keep plants alive in this particular space, but I won’t have to worry about that with this piece! It was a lot of fun to use supplies that I found in nature, instead of buying something from the store. God’s creation is amazing!
Miniature Pinecone Tree AFTER!

Here it is in its current home above the refrigerator. I think it looks so nice up there with my plants… and I don’t have to water it, or worry if it has enough sunlight! : )

*Linked up at Amaze Me Monday and Made By You Monday.
**This post was featured at Eclectic Red Barn’s Over the Moon Link Party
and also at Grandma’s House DIY.
![]()
![]()
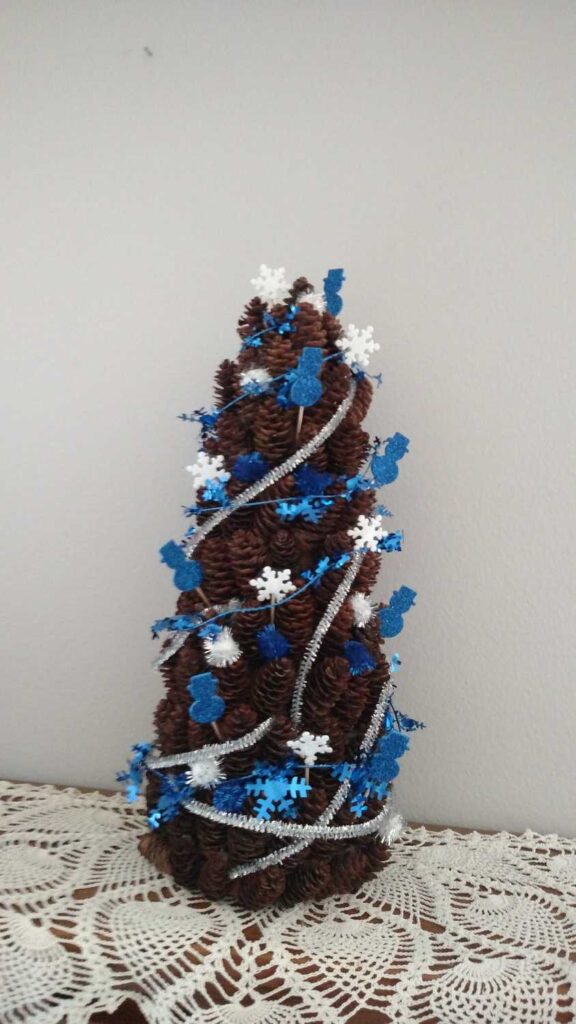
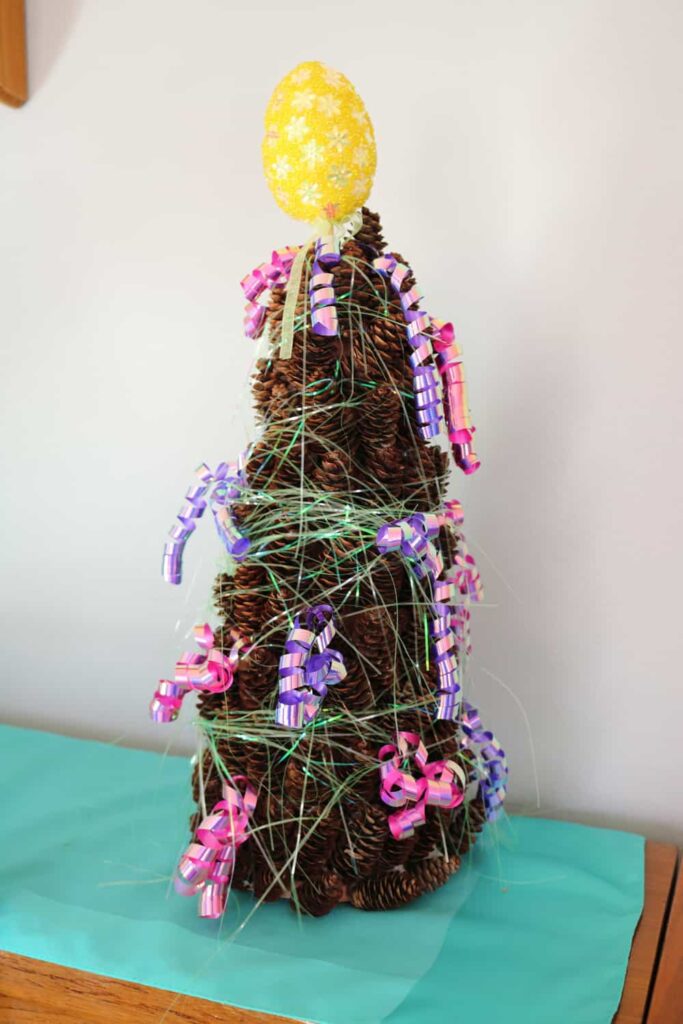
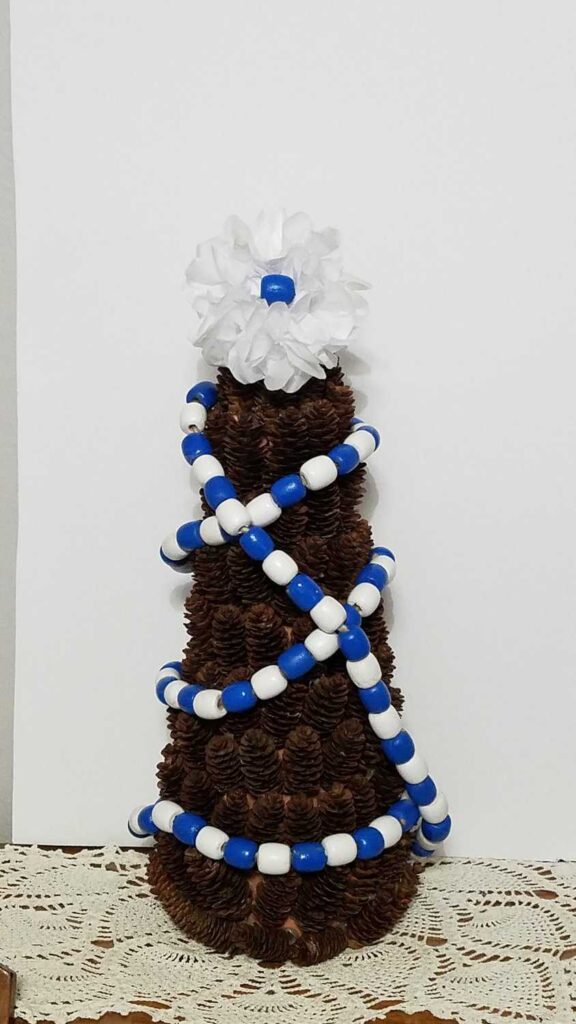
To see other ways to decorate a Pine Cone Tree, Click on the picture below.


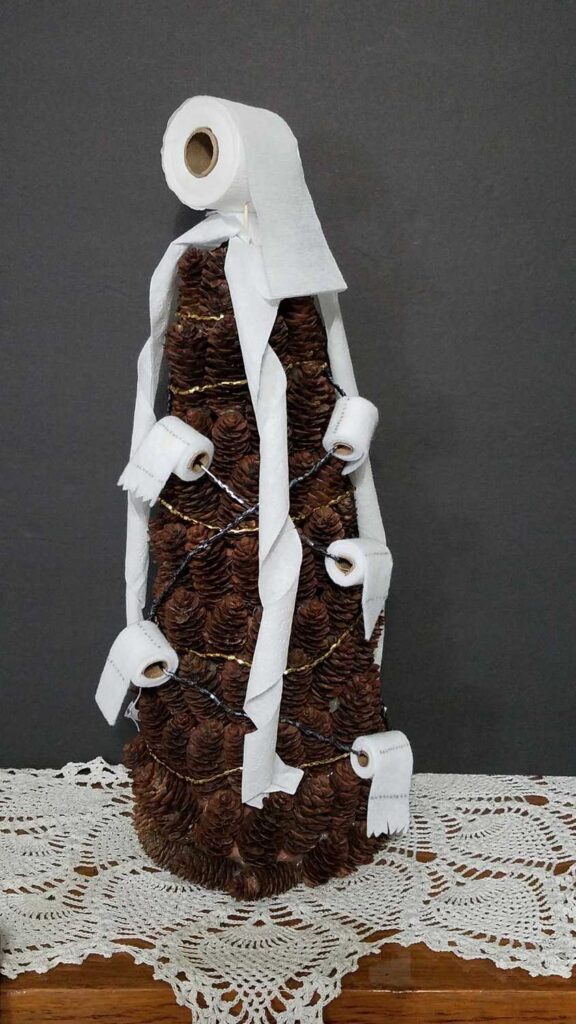


Can you add fairy lights to the tree?
Of course! You can see the version where I added lights here: https://www.b4andafters.com/mini-christmas-pine-cone-tree/
Your trees are quite, but I prefer my pine cones coming point down starting at the bottom, they have a more natural look.
Such a cute idea! I have been wanting to make one to go with our Christmas decor but I do like that it works for the fall season too. Pinned. Thanks for sharing with us at the Hello Fall party.
You’re welcome, Thank you!
This is such a pretty idea. I need to find a few more pine cones and then I’ll give it a try!
I’m glad that you like it!
What a great way to use these little pine cones. You could always keep it like this for a few Autumns and then bling it up one Christmas when you fancy a change!
Yes, I thought of that, too!
I love your small pinecone tree. So cute. Stop by Over The Moon Linky Party since you are being featured.
Hugs,
Bev
Thank you so much Beverly for featuring my little pinecone tree! I appreciate it.