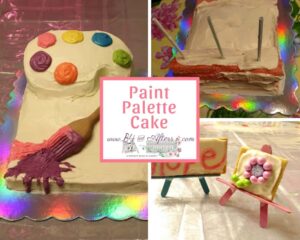
Paint Palette Cake
This cake was part of an art-themed birthday party for my daughter. I really enjoy perusing Pinterest and Google and then combining the ideas that I find into my own idea.
[sc name=”This Post May Contain Affiliate Links”]
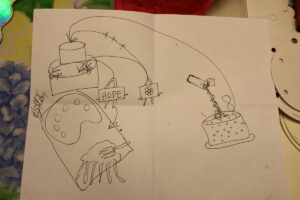
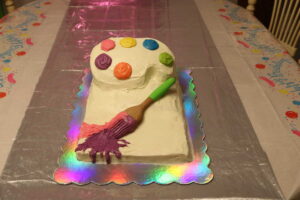
I made this cake for my daughter’s 8th birthday. She wanted an art theme, and she was specific in her description. I took her description, incorporated some of my own ideas, and created this cake to surprise her. Here is my drawing as I thought through what I wanted to do.
Toppers- Make Ahead
After I decided on my design from drawing out my ideas, I realized that it would be a lot easier to make the cake itself if I made the toppers ahead of time. It really makes a huge project seem less daunting when you can make some of the littler things first.
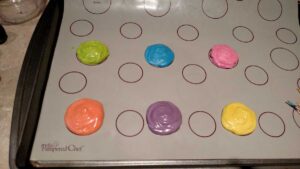
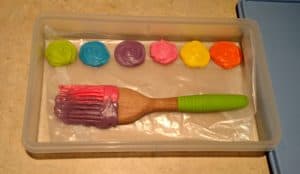
So I created these colored white chocolate drops several days ahead of time.
First, I melted Ghiradelli White Chocolate Melting Wafers and mixed food coloring in to make each color. I used about 4 wafers for each color. Melt the wafers using your microwave’s “melt chocolate” setting– but only for a few seconds since you are melting a very small amount of chocolate.
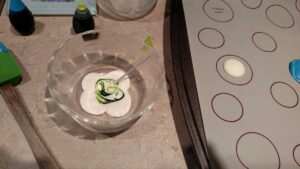
I used my Pampered Chef silicone mat to get each drop the same size. I like using miniature spatulas to scrape every list bit out of the glass dish. Then I used a toothpick to swirl it around.
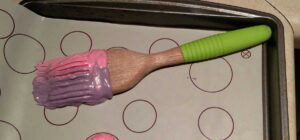
I had a silicone basting brush that was perfect for the base of a paintbrush for my Paint Pallete Cake.
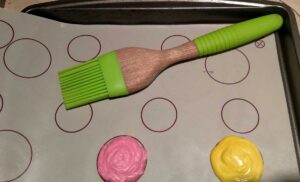
I used two colors of melted chocolate to put on my basting brush. I used pink and purple (my daughter’s favorite colors) and swirled them together a bit. Then I dragged a fork through the chocolate to make it look like a paint brush again.
Lastly, I saved the drops and the paintbrush in a sealed container until I was ready to make the cake. Unless your house is really hot for some reason, there is no reason to refrigerate these.
The Cake Base
Then came the day for making the cake itself. I baked a strawberry cake mix on a 13 x 18 jelly roll pan. Then I cut it into the size that I wanted for the base, with thin strips leftover. I used the strips to stack on one end of the cake, to make an incline like a ramp.
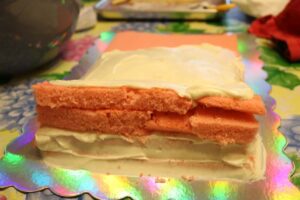
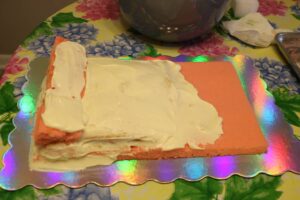
I held it together with drinking straws.
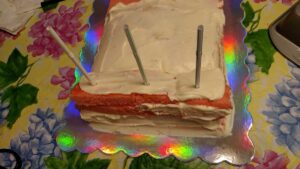
I cut the straws off after sticking them into the cake.
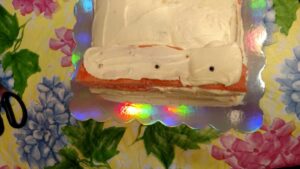
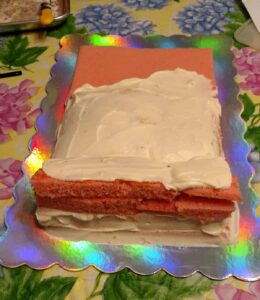
I added more yellow/ vanilla cake but didn’t take a picture before adding the crumb coat and putting it into the fridge. Do you have any idea how stopping to take pictures slows down a project?!
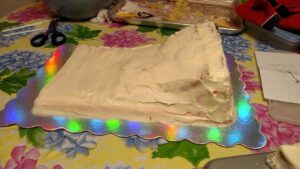
After it refrigerated a bit, I cut the corners off, rounding them to match the picture in my head. Now you can see that vanilla cake.
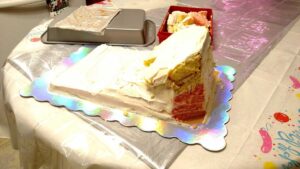
I also cut out an indentation on the lower part of the “ramp.” Then I crumb coated the corners and the indentation before adding the final layer of frosting.
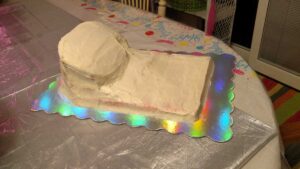
Assembly
When it came time to assemble the cake, I just added the prepared chocolate toppers to the cake. The chocolate did not bleed the color onto the frosting, and it didn’t sweat or slide or cause any other problems. (However, the children thought the drops would be globs of frosting and when they discovered that it was chocolate, several children did not eat it.)
For the paintbrush, I remelted some of the pink and purple that I had made to add to the end of the brush, like the frosting was splashing on the top and sides of the cake. It is a good idea to make extra of whatever color(s) you plan to use for this part, or you may have a hard time matching the colors.
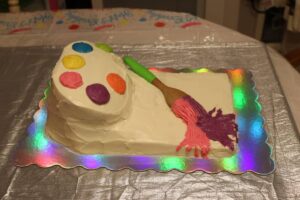
I used to use foil to cover cardboard for my cakes. Then at Christmas I discovered these nice cake boards in the clearance sales and so I bought several.
The Dollar General had this plastic bright pink Happy Birthday sign that blinks. It was a fun addition.
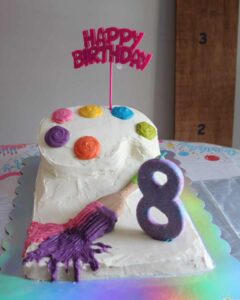
The only 8 candle that I could find was blue– and that would not do, so I did what I’ve learned to do— I painted it with Mod Podge and added some pink glitter.
I hope that you have enjoyed seeing how I made the Paint Pallete Cake. To see the Flower Balloons I made to go with this party, Click Here.
Well, one cake would not hold all of my ideas for this Artist Themed party. I made another cake….. an Anti Gravity Cake. Have you ever made one of those?? (Look for a post about that one sometime in the future….)



Thank you for sharing at #ThursdayFavoriteThings. Pinned and shared.
How cute is that cake?! It is wonderful. Thank you for sharing it with us at Thursday Favorite Things!
You’re welcome, Pam! I thought that you would like it. : )
That cake is really pretty. I like the “paint” drip effect! I know your daughter loved it. The Modge Podge and glitter trick is a good idea. I will keep that in mind. If I’m missing something, I usually look around for a substitute.
Thank you so much Kristie! (typo fixed : ) )