Easy Flower Balloons
For my kids’ birthdays, a big portion of their gift is the cake, the party, and everything that goes along with it. I guide my children in their choice of a theme, and then the rest is a surprise to them. Last year for my daughter’s 8th birthday, she requested an art cake and theme. She was detailed in her thoughts about the cake, and I really enjoyed making it for her (that will be another post).
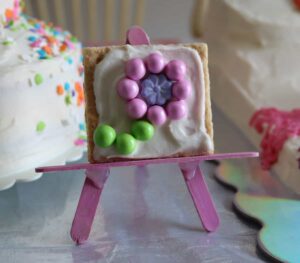
How do flower balloons go along with an art themed party? I’ll tell you. My daughter loves flowers, so naturally an artistic piece would include flowers. Part of her party included these little easels with edible flower art on them.
[sc name=”This Post May Contain Affiliate Links”]
I used a graham cracker, frosting, and sixlets to create the edible art. I made the easel out of popsicle/ craft sticks that I painted and hot glued together.
I bought a kit at the party store to make these flower balloons. Then I made more with my own materials. If you have posterboard, you can make these yourself! Here’s how.
Materials needed:
- one large (5″) poster board circle
- one small (3.5″) poster board circle
- one five inch yellow balloon
- 5 five inch balloons (I used bright pink)
- 5 nine inch balloons in a coordinating color (I used light pink)
- hole punch
- ribbon or string
To cut two circles out of poster board: Make one circle 3.5 inches in diameter and another circle 5 inches in diameter. (Download circle templates here.) In both circles, punch 5 holes equally spaced with a hole puncher. Punch a hole in the center of both circles. In the large circle, punch one extra hole in between two of the holes and thread a ribbon or string through it.
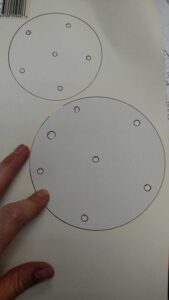
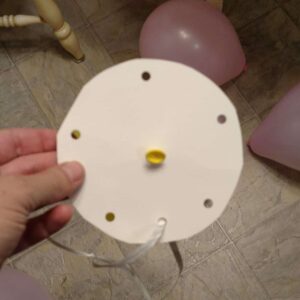
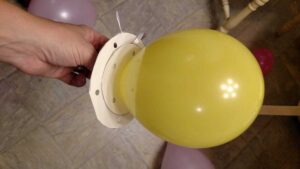
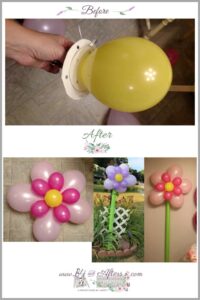
Inflate all of your balloons. Holding the two poster board circles together, put the knot of the yellow balloon through the center of both circles, so that the balloon is on top of the smaller circle, and the knot is on the back of the larger circle.
Here’s the back:
And here is the front:
Then put the knots of your smaller 5 inch balloons into the holes in the smaller poster board circle.
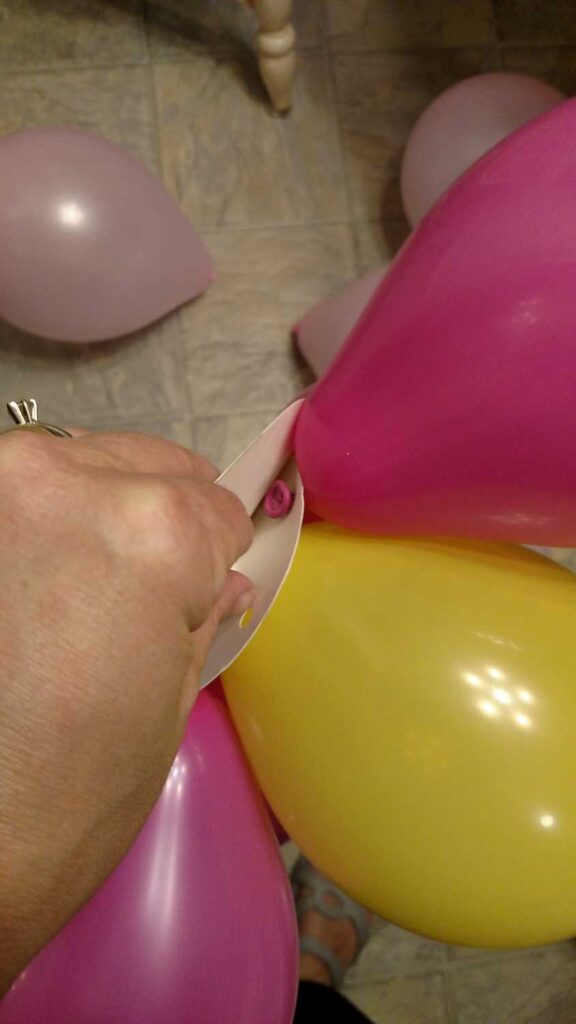
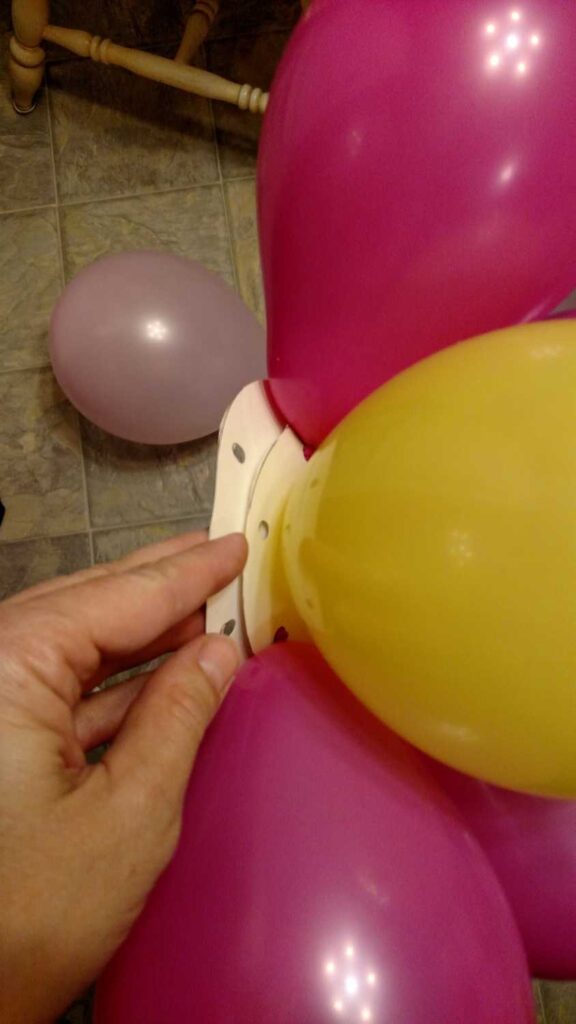
Here are all of the smaller balloons attached.
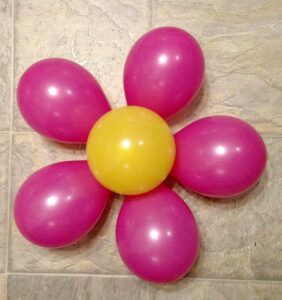
After you get the small balloons finished, then put the larger balloons in the back larger poster board circle. You should end up with a flower that looks like this!
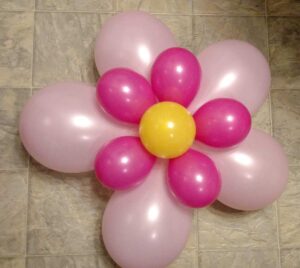
Use packing tape or masking tape to tape the pool noodle onto the flower.
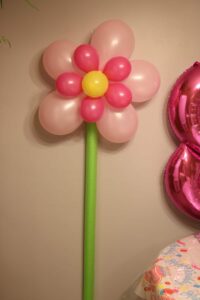
Then attach the flower to the wall, a lamp post, or a mailbox. I would avoid putting it on a tree where the bark might pop the balloons.
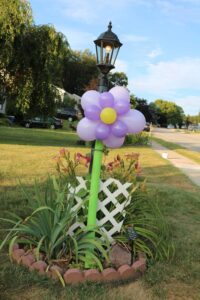
These flower balloons were so easy to make. I know that the little girls (and maybe the big girls!) in your life would love to have one of these, whether it is for a special occasion or “just because.”

How sweet this all is! I love the balloons, and the little tiny easel is adorable! I’m featuring this post at Thursday Favorite Things tomorrow! Thanks for sharing!
Thank you for the feature, Pam. Of course you like the easel! The Paint Palette Cake will be posting in the next few weeks… I think you’ll like it, too.
Congratulations! Your post was my feature pick at #ThursdayFavoriteThings this week. Visit me at https://www.marilynstreats.com on thursday morning to see your feature! All hosts choose their own features from the comments left on their blog so be sure to return to my blog to see your feature. I invite you to leave more links to be shared and commented upon. Please don’t forget to add your link numbers or post title so we can be sure to visit!
Thank you so much, Marilyn! I won’t be able to stop by until the afternoon, but I’ll come as soon as I can! : )
Thank you for sharing at #ThursdayFavoriteThings. Pinned and shared.