
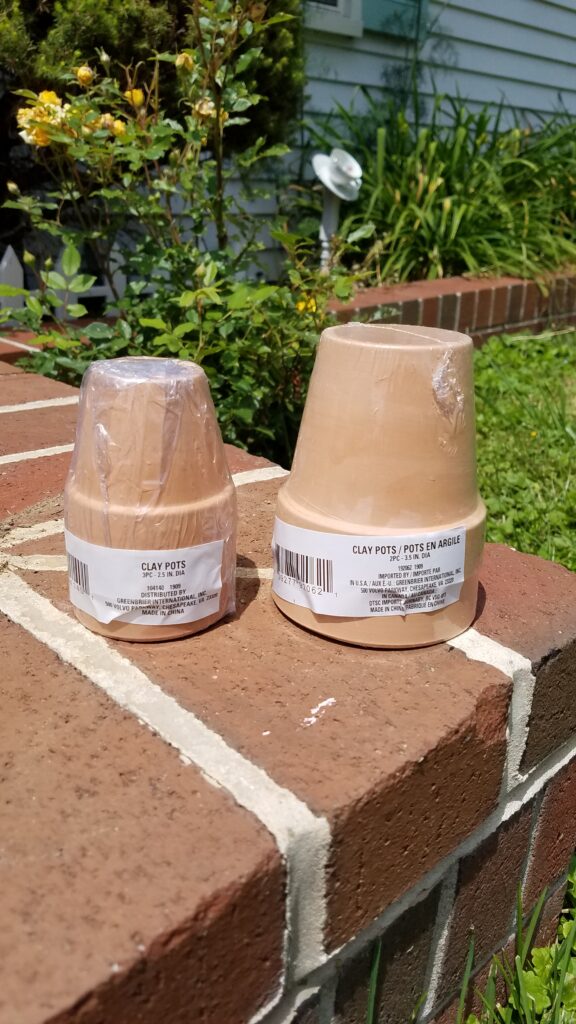
Decoupaging Mini Terra Cotta Pots
I have tried several times to decoupage without success. I tried Easter eggs from the craft department. I tried round Christmas ornaments. As you can tell from all my other projects– the problem wasn’t that I’m not crafty! But the tissue paper wouldn’t look right. In fact, it looked terrible!
I admired other people’s decoupage projects. Such beautiful Easter eggs I saw, from such gorgeous napkins! I started buying cute paper napkins. I bought patterned tissue paper.
Today I am thrilled to tell you that I do believe I finally succeeded when I tried decoupaging some miniature terra cotta planters that I found at the Dollar Tree! And I am going to share my tips with you, just in case you too have struggled to decoupage.
(P.S. I used this little pots to make a miniature topsy turvy plant tower, which you can see here!)
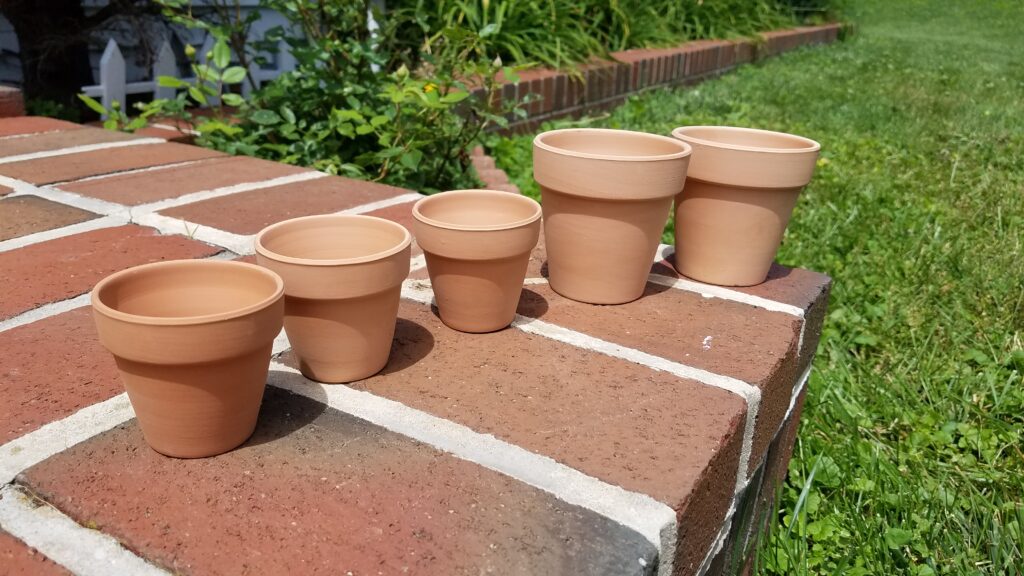
Miniature Clay Pots, Before
My Planter has a secret….. of how it manages to stay lightweight!!!!
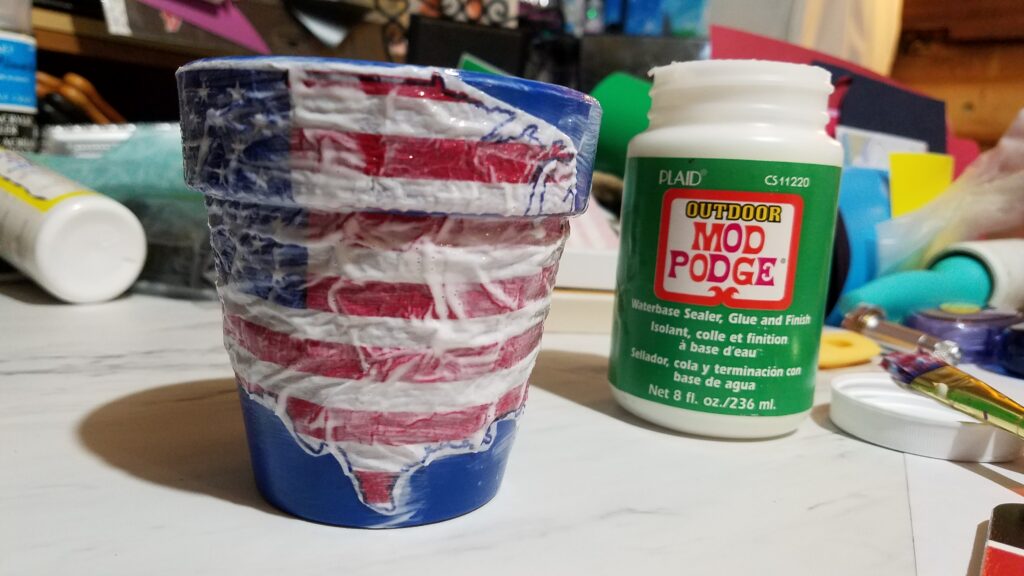
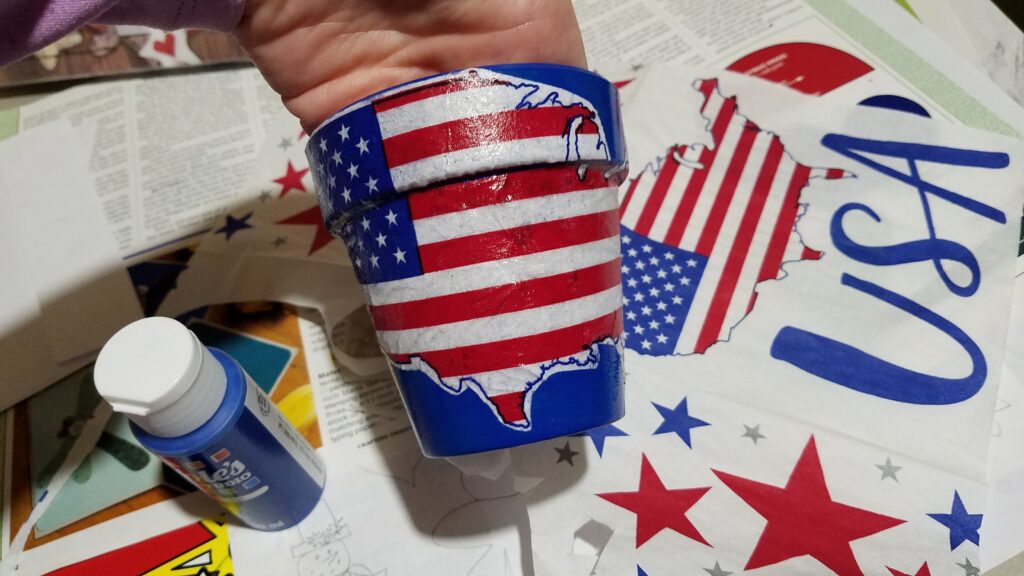
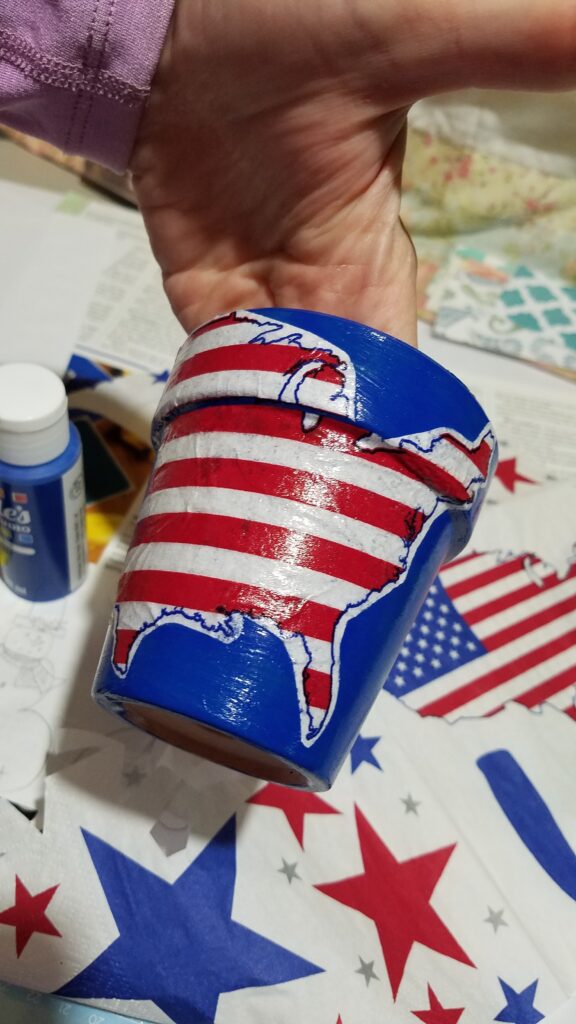
I had never painted terra cotta pots before. Let me tell you— it was sooooo much fun!!! I painted two pots blue and two pots white. The fifth pot I used both blue and white for a marble effect. The craft paint dried quickly. The Mod Podge that I used for the decoupaging was Outdoor Mod Podge– so that sealed in the paint color in addition to decoupaging. I probably won’t even put these pots outdoors though….
My Best Decoupaging Tips
First of all– they make it look so easy! It was not easy for me. But I encourage you to keep trying, like I did. One day something will click, and it will work.
Secondly, accept the fact that applying a flat tissue paper to a round object is going to look somewhat messy. Okay really messy. Try to think of it as “rustic” and you will feel better.
Thirdly, instead of trying to completely cover an object like they do with the Easter egg decoupaging, try cutting out a flower or a star, and decoupaging just that. When I cut out stars from a paper napkin to apply to my tiny terra cotta pot, that was where I had the best success so far. The stars laid very flat on my surface.
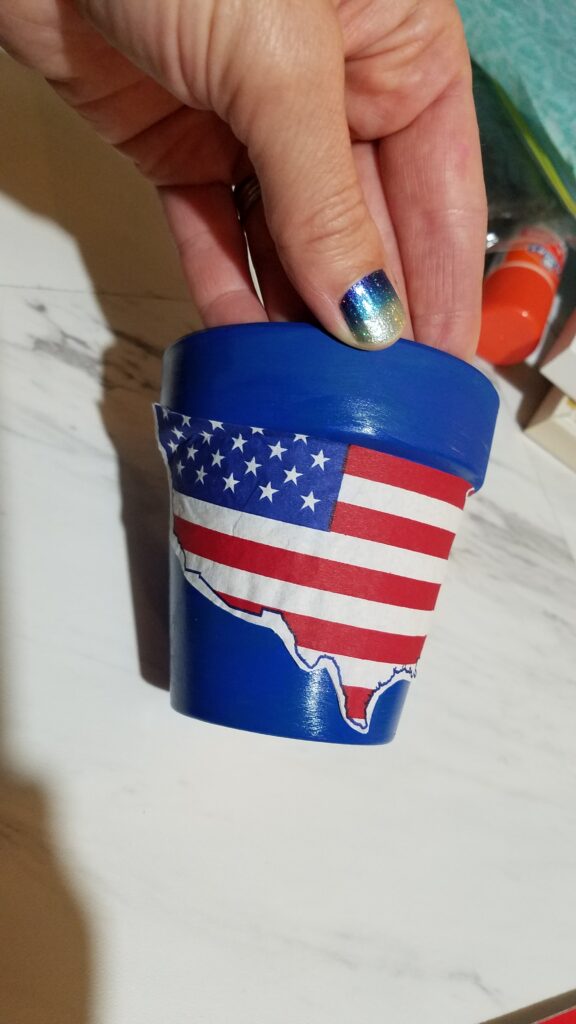
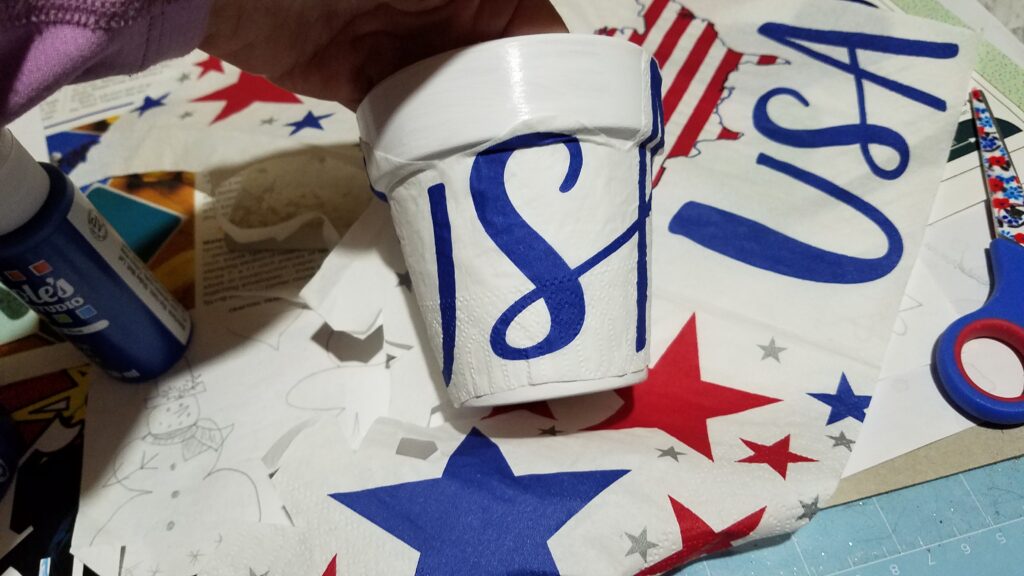
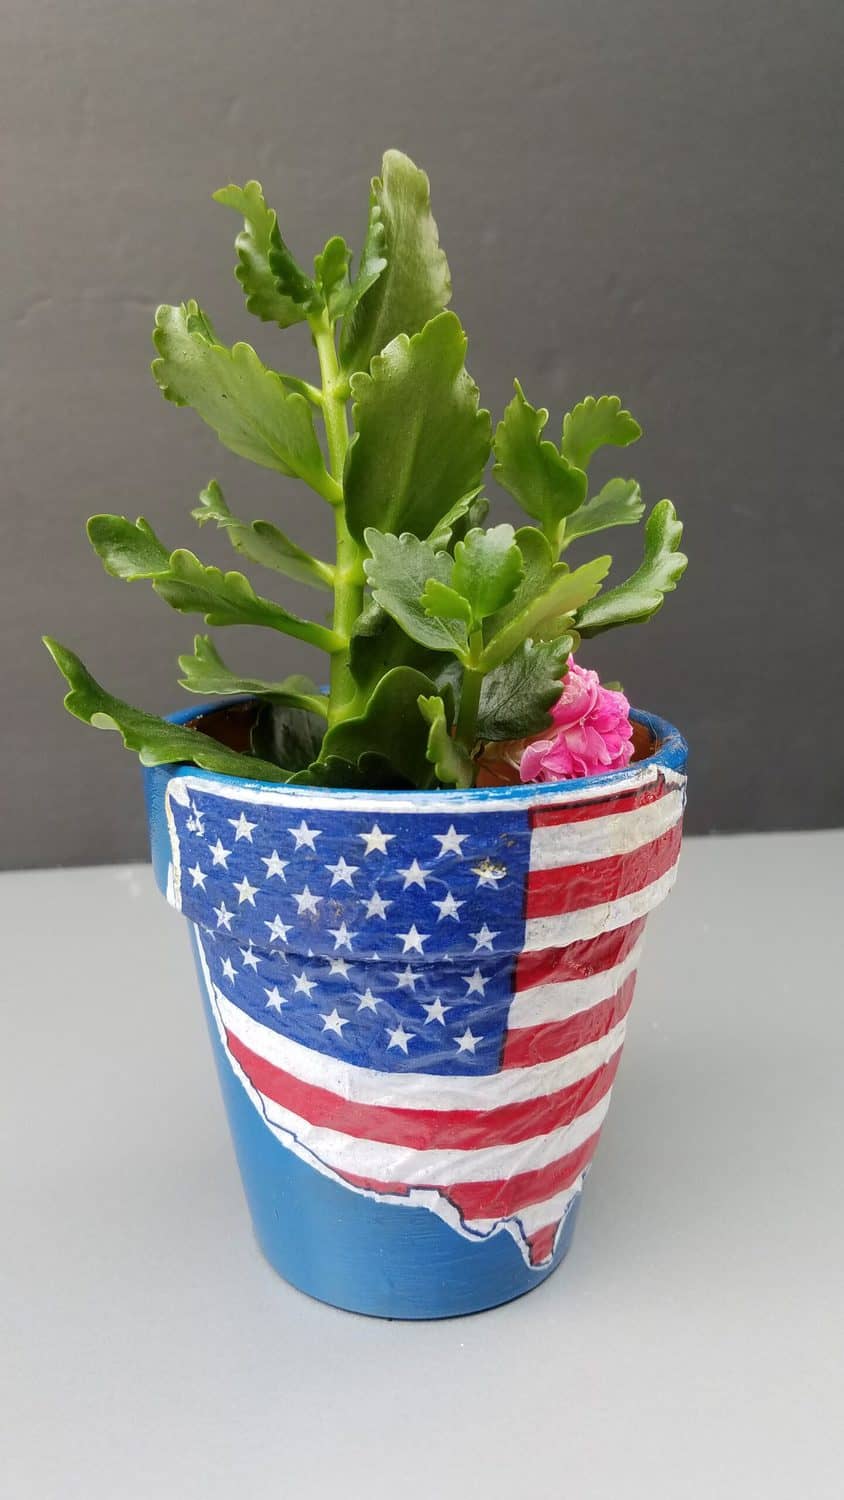
If you try a large item like my United States or the USA, accept that there will probably be some air bubbles in it. For both of these larger pieces, I cut some slits so that they would fit better going on the round sides of the pots. In face, I cut the entire United States apart, and applied one piece to the rim, and the bottom piece to the lower part of the pot. It would never have worked at all if I had left it in one piece.
It is important to work small sections, and work them quickly. You want to put a thin wet layer of mod podge on the pot first, smooth on your napkin, then apply a THIN layer of mod podge on top. The key is to use a very thin layer, and don’t keep brushing. Repeat: Do not overbrush. Brush the mod podge on quickly, and then stop when you want to keep brushing to get it smoother. Just stop. : ).
I did the United States one first, and put WAY too much mod podge on. With the USA, I applied a very thin layer two or three times, and it turned out much better, I think.
Can you tell that I am very excited that I finally succeeded in decoupaging?!!!

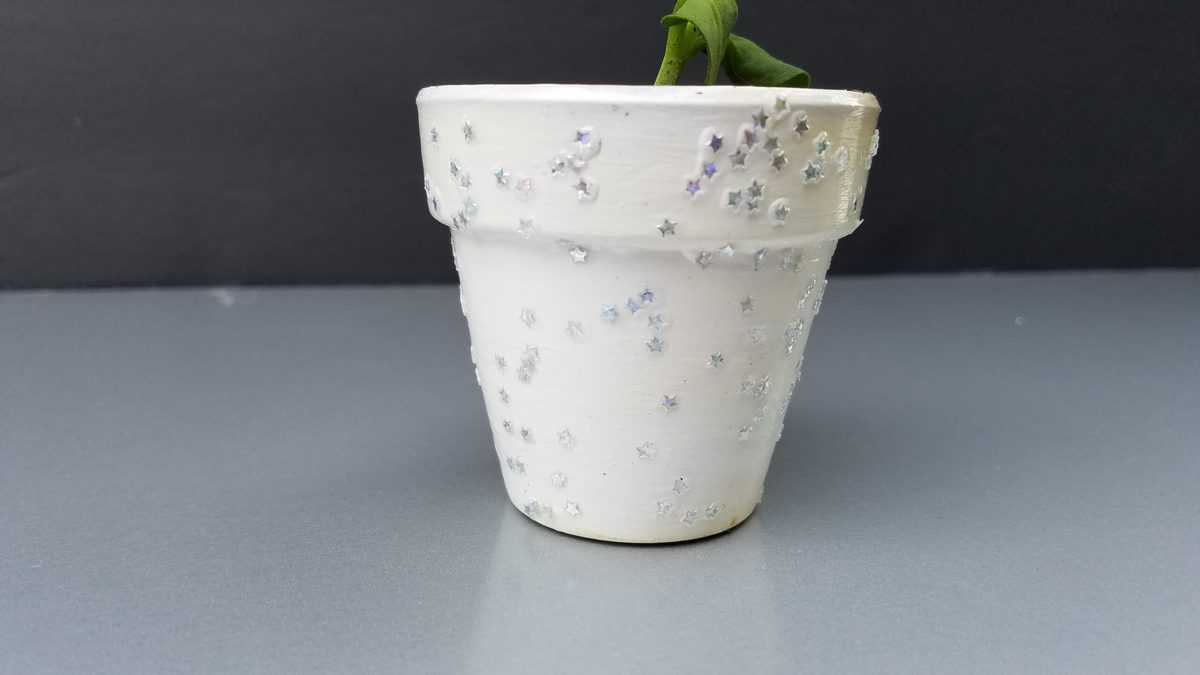
On this little pot I did not add a napkin. I painted it white, mod podged it, added glitter stars, and mod podged again to seal in the glitter. I used Outdoor Mod Podge, and it did yellow on the white paint after several days. If you want to avoid the yellowing, just paint it over a color other than white. You don’t notice the yellow on the blue pots that I painted.
See all of the wrinkles in the United States napkin? It looked great at first, but after several days, this is what it looked like. I know what happened. I didn’t take the layers apart in the napkin!! So when decoupaging a napkin, **don’t forget to to take apart the layers and use only the top layer!!
Decoupage, AFTER!
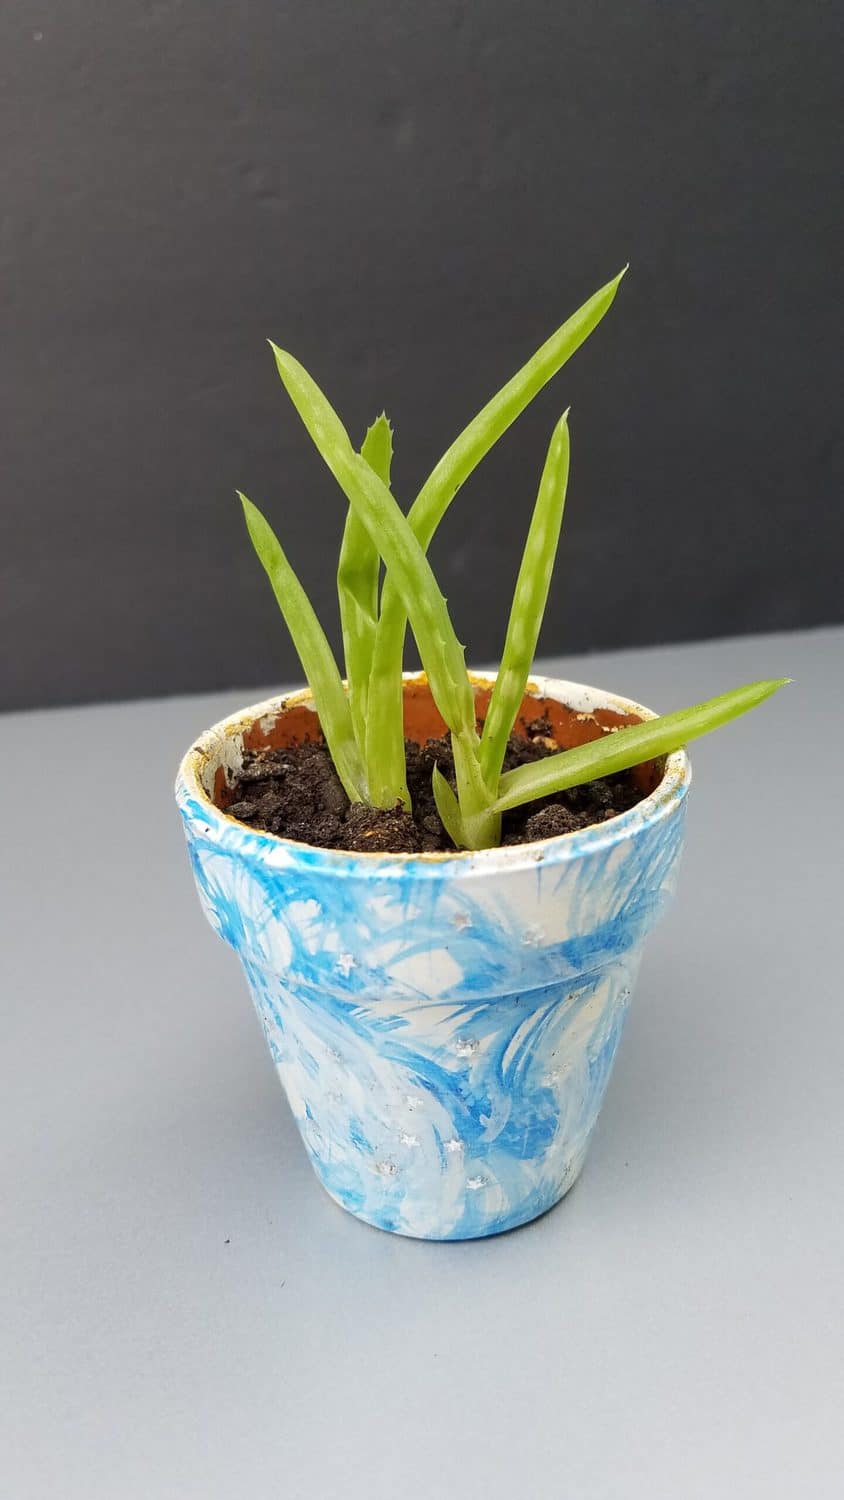
I used blue and white paint to make a marbled look on this pot. I added a few little glitter stars to this one, too.
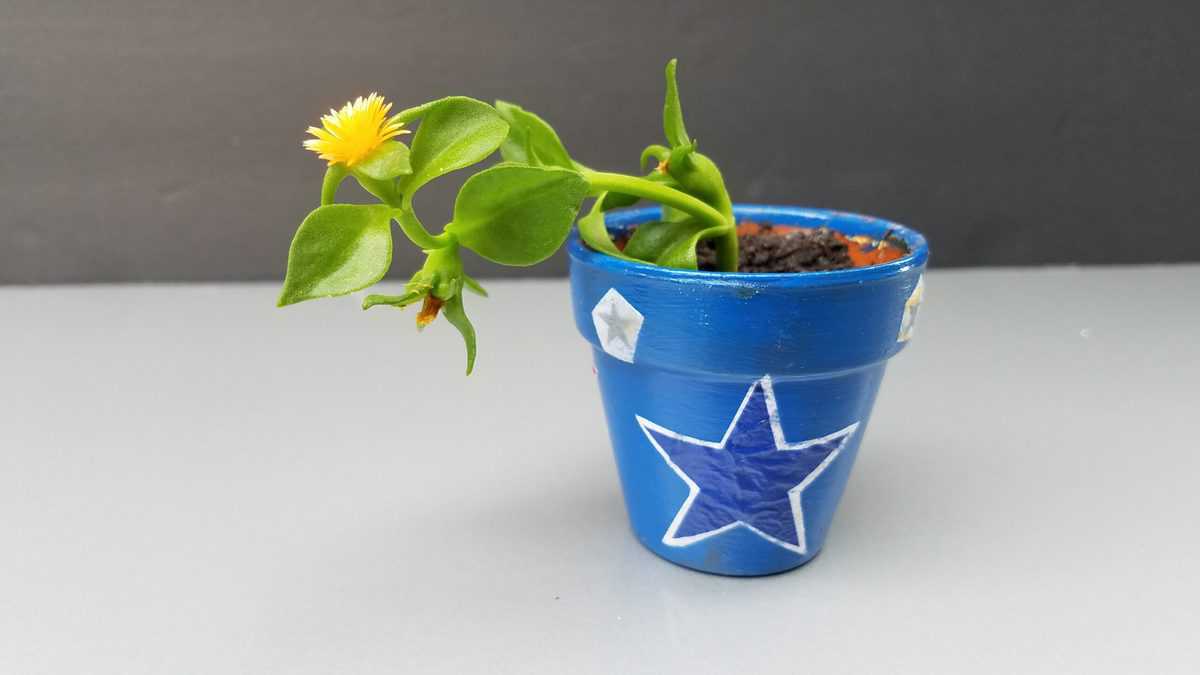
And here is the little blue pot that I added stars to!
Lastly, here is a split second video of the USA napkin decoupaged onto the pot. Again, I should have used only one layer of napkin….
If you’ve never decoupaged anything before, I encourage you to try it with a flat surface first.
*Remember to use only one layer of napkin. *Remember to add a wet layer of decoupage first. *Remember to use a very thin layer of mod podge on top of the tissue.  *Remember not to overbrush.

On Wednesday I will show you what more I did with these great little Patriotic mini planters!
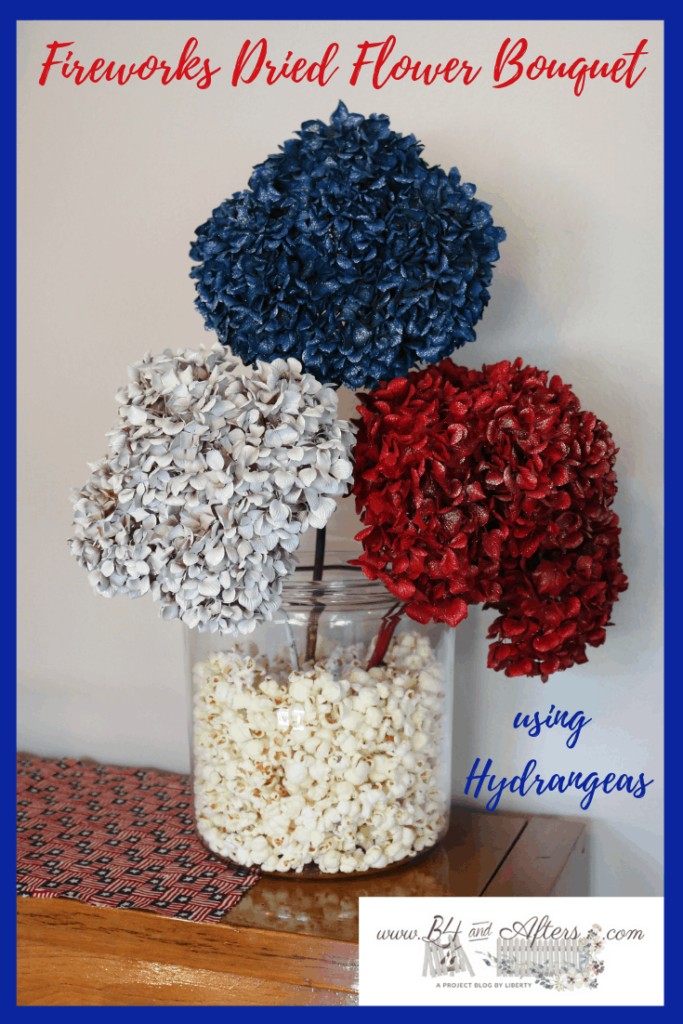
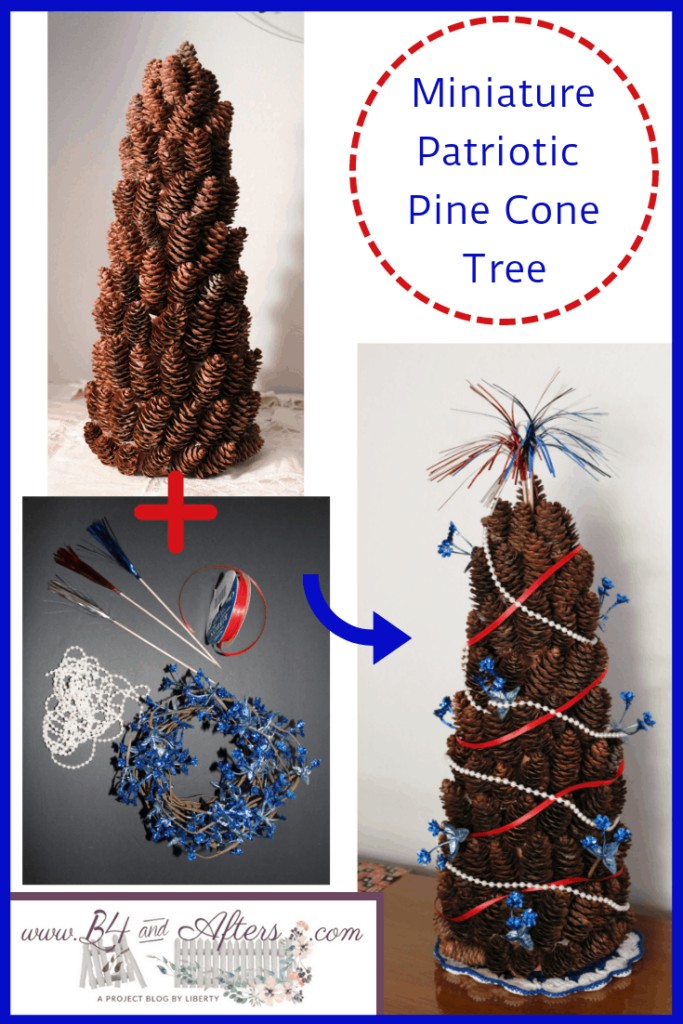
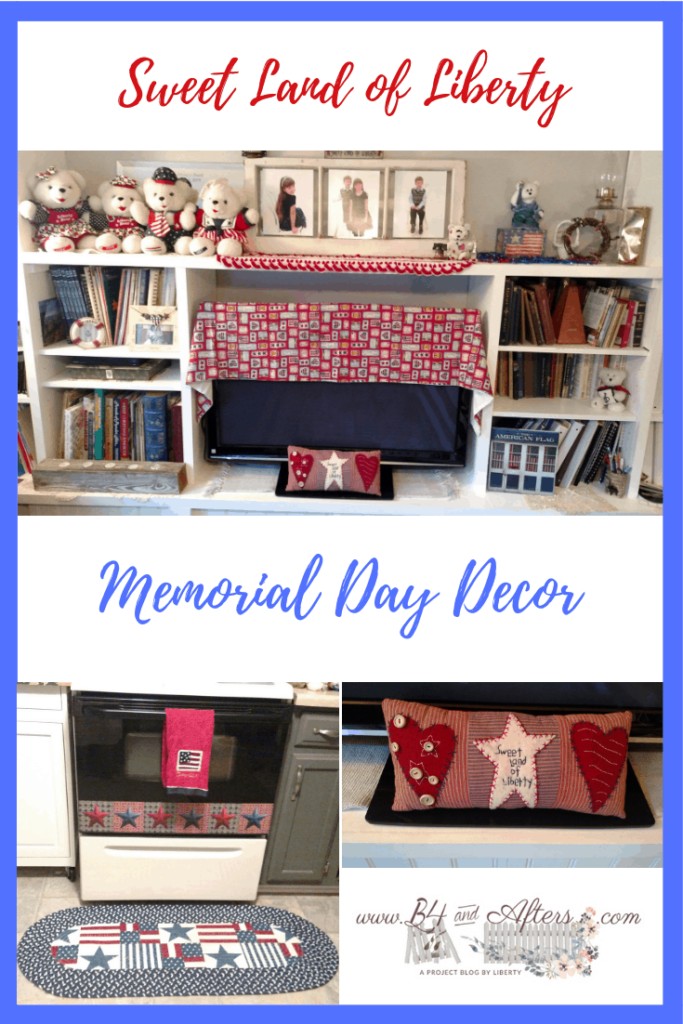
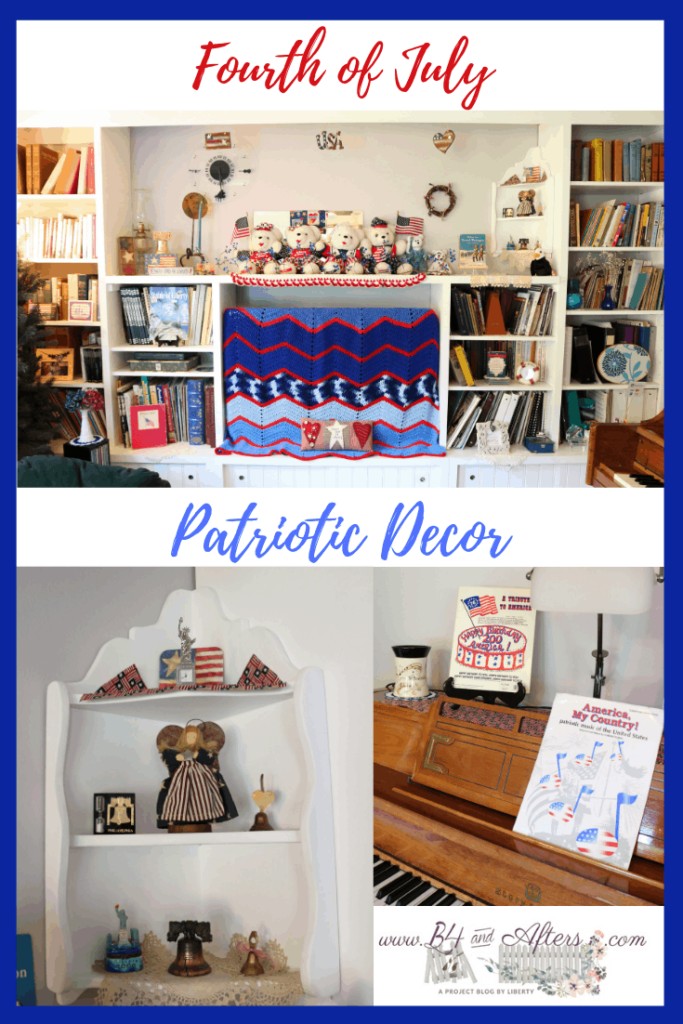
More Patriotic Ideas


Some great tips Liberty.
Cindy
Your pieces look great, Liberty! I believe those of us who decoupage, most have experienced what you’ve gone through, too! I love to decoupage and it’s a wonderful craft technique! But, I never really know how it will turn out, each time! There are so many variables! I’ve had lots of successes and failures, too. Each time is different. And for the failures, I just wash it off and start again. That’s the beauty of decoupaging. Just don’t give up. Do what works for you and you will be fine!
These are so pretty!! Thanks for sharing the tips. I’ve tried decoupage in the past but I didn’t like it. Your tips are very helpful so I’m going to give it another try!